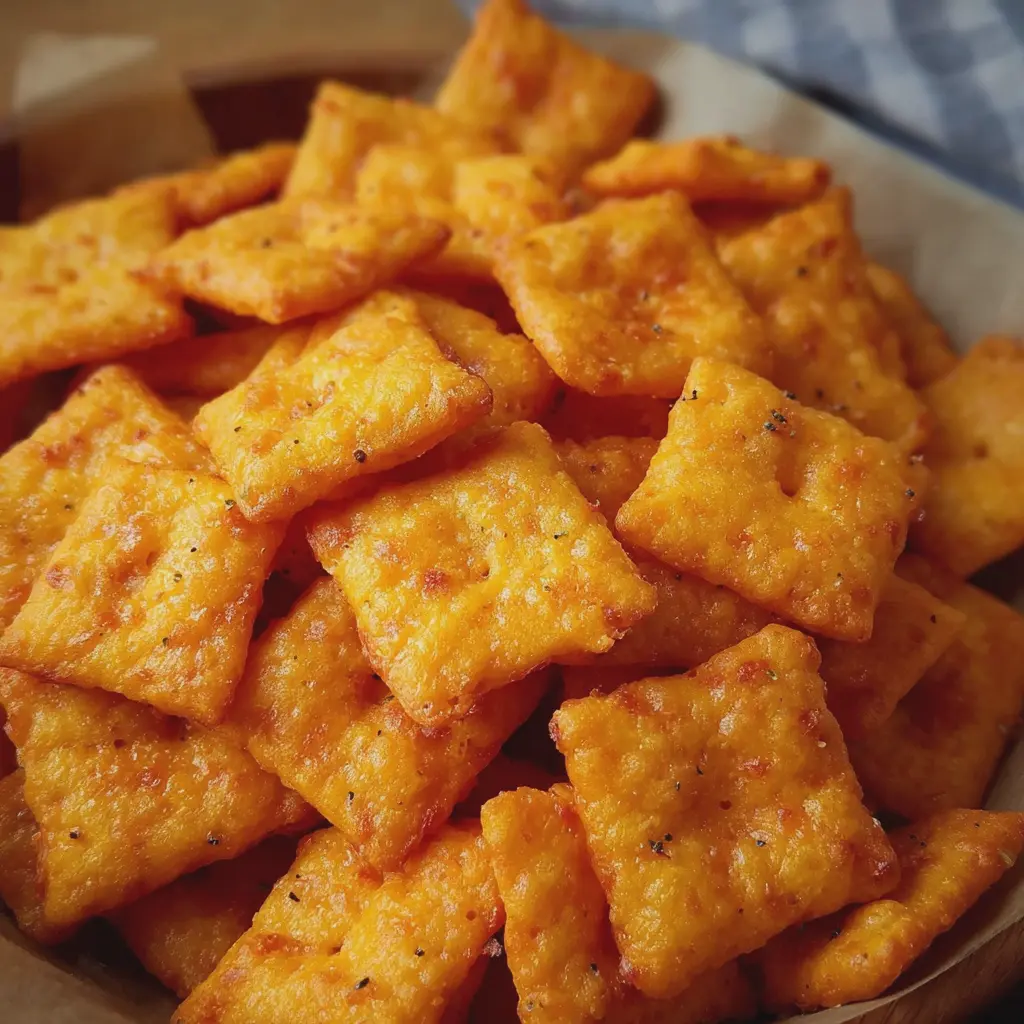
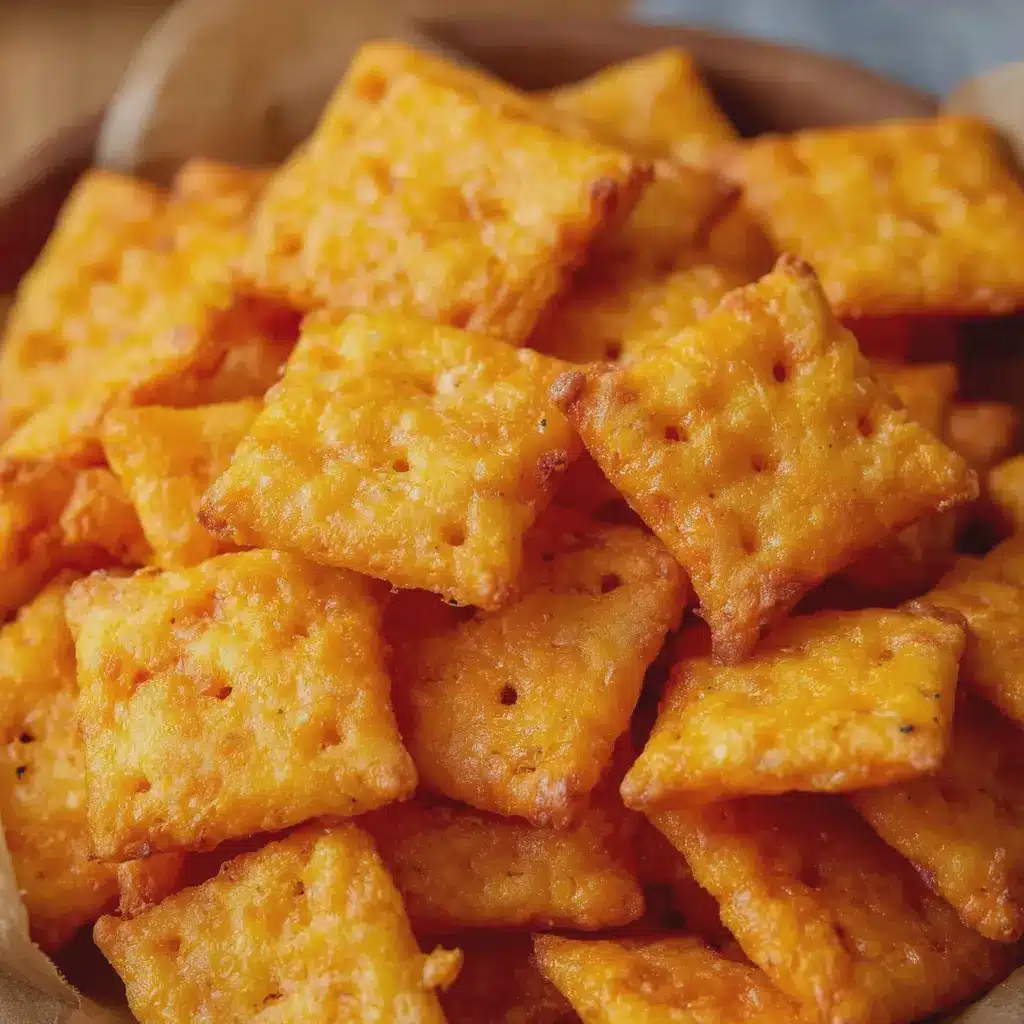
Introduction to Homemade Cheez-Its
There’s something irresistibly comforting about a snack that brings back childhood memories—Homemade Cheez-Its do just that! While the store-bought versions are undoubtedly convenient, making your own offers a delightful twist that elevates this beloved snack to a whole new level. So, why choose homemade Cheez-Its over the packaged ones? Let’s dig into that!
Why Choose Homemade Cheez-Its Over Store-Bought?
One major perk of whipping up your own batch of homemade Cheez-Its is control over ingredients. Have you ever turned a box around and pondered what exactly goes into those tasty little squares? Often, store-bought versions are loaded with preservatives and artificial flavors—yuck! When you make your own, you can use high-quality cheese, like sharp cheddar or a flavorful Gruyère, without all the additives. Being able to customize ingredients means you can tweak the recipe to be gluten-free or even make it dairy-free.
Another aspect to consider is the taste—nothing beats the flavor of freshly baked snacks! When you bite into a homemade Cheez-It, you not only get a crunchy texture but also an explosion of cheesy goodness. The aroma that fills your kitchen as they bake is simply heavenly.
Plus, they’re super easy to make! With just a few simple steps, you can have a batch ready in no time. This makes them ideal for a relaxing weekend project or a fun cooking date night. Want to share with friends? Making a large batch is perfect for gatherings, and everyone will love the personal touch!
Did you know homemade snacks are gaining popularity among health-conscious consumers? According to recent studies, more people are choosing to prepare meals at home to maintain healthier diets (Harvard Health). So why not hop on the trend with your own creative spin on Cheez-Its?
In short, homemade Cheez-Its provide a tasty alternative that checks all the boxes: flavor, control, and fun! Ready to dive into the recipe? Let’s get started!
Ingredients for Homemade Cheez-Its
Essential ingredients for the perfect cracker
Creating homemade Cheez-Its is a delightful way to indulge your cheesy cravings while knowing exactly what goes into your snacks. To start off on the right foot, gather these essential ingredients:
- Sharp Cheddar Cheese: This is the star of the show. Opt for high-quality sharp cheddar to get that bold, irresistible flavor.
- All-Purpose Flour: Provides structure and crispiness. You can substitute with whole wheat flour for a healthier twist.
- Salt: A pinch enhances the cheese flavor and adds depth to your crackers.
- Butter: Chilled and cubed, butter lends a flaky texture. You can use unsalted for more control over the saltiness.
- Water: Just enough to help bring the dough together.
- Optional Spices: Feel free to sprinkle in some paprika, garlic powder, or even cayenne for a kick!
For a twist, consider pairing these crackers with homemade dips that complement their cheesy goodness. Have fun experimenting, and remember, the key to the best homemade Cheez-Its lies in the balance of these ingredients! If you’re interested in more snack ideas, check out resources like Serious Eats for inspiration.
Preparing Homemade Cheez-Its
Getting ready to whip up a batch of homemade Cheez-Its is not just a cooking task; it’s a fun project that can welcome flavor and nostalgia into your kitchen! There’s something special about biting into a crunchy, cheesy snack that you made yourself. So, let’s dive into the details of creating these delightful treats from scratch!
Gather Your Ingredients
Before you start, it’s essential to organize all your ingredients. Here’s what you’ll need to create these cheesy bites:
- 1 cup shredded sharp cheddar cheese
- 1 cup all-purpose flour
- 1/2 teaspoon salt
- 1/4 teaspoon cayenne pepper (optional for a kick)
- 4 tablespoons cold unsalted butter, cut into small pieces
- Ice water, as needed to form the dough
Make sure your cheese is freshly shredded for that rich, creamy texture—pre-packaged cheese often contains anti-caking agents that can affect the final product. If you’re feeling adventurous, you can experiment with different types of cheese, such as pepper jack or gouda, for a unique twist.
Blend the Cheese and Dry Ingredients
Start by mixing your cheese and dry components in a food processor. Combine the following in the processor’s bowl:
- Shredded cheddar cheese
- All-purpose flour
- Salt
- Cayenne pepper (if you’re adding some heat)
Pulse the mixture until well combined. You want the cheese to be finely blended with the flour, creating that characteristic cheesy flavor reminiscent of your favorite store-bought snack. This method saves time and ensures everything mixes thoroughly. If you’d like an in-depth guide on using a food processor, check out this resource.
Incorporate the Butter
Once your cheese and dry ingredients are blended, it’s time to bring in the butter. Add the cold, diced butter pieces to the processor. Pulse again until the mixture resembles coarse crumbs. This step is crucial; the cold butter helps create that delightful flaky texture, making your homemade Cheez-Its even more satisfying.
Form the Dough
Next, you’ll want to bring the mixture together into a cohesive dough. Transfer the crumbly mixture to a bowl and gradually add ice water, just one tablespoon at a time. Mix it with your hands until the dough forms into a ball. It shouldn’t be sticky or overly wet. If necessary, you can add more flour until you achieve the desired consistency. Pro tip: If the dough feels too dry, add a few extra drops of water.
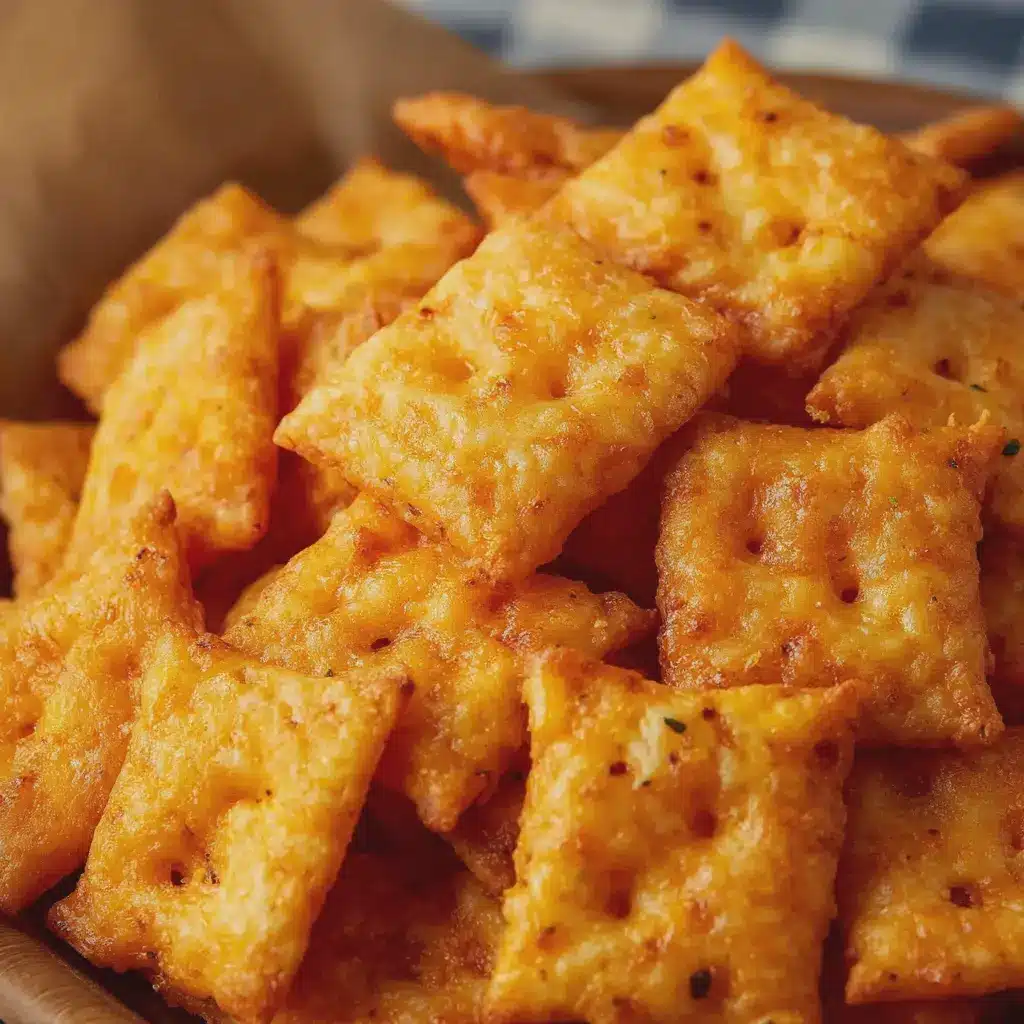
Roll and Cut the Dough
With your dough ready, it’s time to have some fun! Roll it out on a floured surface until it’s about 1/8 inch thick. Use a sharp knife or a pizza cutter to cut it into small squares or rectangles, around 1 inch in size. It’s okay if they’re not all perfect; the rustic look just adds character to your homemade Cheez-Its. For added flavor, you can sprinkle some extra cheese or herbs on top before baking!
Bake to Perfection
Preheat your oven to 350°F (175°C). Line a baking sheet with parchment paper to prevent sticking. Place your cut dough pieces on the prepared sheet, leaving space between them as they expand while baking. Bake them for about 15-20 minutes or until they’re golden brown. Keep an eye on them; the baking time might vary based on your oven. The irresistible aroma wafting through your kitchen will be your signal that they’re almost done!
Once the homemade Cheez-Its are out of the oven, let them cool for a few minutes. This cooling time is crucial as it contributes to their perfect crunch. So, grab a cozy chair and enjoy your delicious creations!
These easy steps will lead you to a successful batch of homemade Cheez-Its, perfect for snacking or sharing. Interested in more cheesy delights? Check out the Cheese Board blog for various recipes and ideas!
Variations on Homemade Cheez-Its
When it comes to homemade Cheez-Its, the classic recipe is just the beginning. Why not take your snacking experience to a whole new level with some fun variations? Here are two delightful twists that are sure to impress your friends and family.
Spicy Cheddar Cheez-Its
If you enjoy a bit of heat, these spicy cheddar Cheez-Its will quickly become a favorite. Just add a sprinkle of cayenne pepper or red pepper flakes to your dough for that perfect kick. For an extra flavor boost, consider incorporating smoked paprika or a dash of your favorite hot sauce. Pairing these with a cooling dip, like homemade ranch or creamy avocado dip, adds balance and richness to the flavor experience. With the rise of spicy snacks, you might find these Cheez-Its to be just as addicting as your favorite hot wings. Plus, if you’re curious about heat levels, check out this guide on spicy ingredients.
Herbed Cheez-Its with a Twist
Want to bring a fresh twist to your homemade Cheez-Its? Try adding some finely chopped fresh herbs to the mix, such as rosemary, thyme, or basil. These herbs not only enhance the flavor but also give your crackers a deliciously aromatic quality. For a zesty touch, incorporate some lemon zest. These herbed Cheez-Its are wonderful as an appetizer or paired with creamy cheeses for a sophisticated snack platter. You can also get creative with combinations—think about blending your favorite herbs with a hint of garlic powder for a savory experience that’ll have guests asking for the recipe.
Experimenting with these variations will not only satisfy your taste buds but also offer a delightful spin on a classic snack favorite.
Cooking Tips and Notes for Homemade Cheez-Its
How to Achieve the Perfect Crispiness
Creating deliciously crisp homemade Cheez-Its is all about technique and timing. Here are a few tips to ensure your cheesy snacks are just how you love them:
-
Optimal Thickness: Roll out your dough to about 1/8-inch thick. This thickness strikes the right balance between a pleasantly crunchy exterior and a satisfying bite.
-
Use Parchment Paper: Line your baking sheets with parchment paper. Not only does it prevent sticking, but it allows for even heat distribution, making it easier to achieve that perfect golden color.
-
Monitor Baking Time: Keep a close eye on your Cheez-Its as they bake. Rushing to pull them out can result in chewy snacks instead of crisp ones. Typically, 10-12 minutes at 350°F does the trick.
And don’t forget to let them cool completely before munching! For a delightful flavor twist, try incorporating different herbs or spices—check out this guide on flavor pairings. Happy baking!
Serving suggestions for Homemade Cheez-Its
Pairing ideas for snacking enjoyment
Whether you’re enjoying homemade Cheez-Its solo or sharing them with friends, the right accompaniments can elevate your snacking experience. Here are some delightful pairing ideas:
-
Dips and Spreads: Pair your homemade Cheez-Its with creamy dips like guacamole, hummus, or a tangy cheese spread. The contrast of textures makes for a flavorful bite that keeps you coming back for more.
-
Savory Meats: Enjoy them alongside sliced turkey bacon or chicken ham for a satisfying protein boost. These savory options complement the cheesy flavor while providing a hearty snack.
-
Fresh Produce: Slice up some crisp veggies, like cucumbers, bell peppers, or cherry tomatoes, to balance the richness of the Cheez-Its. The crunch of fresh produce is refreshing and adds a pop of color to your plate.
-
Beverage Options: For a refreshing drink, consider serving homemade Cheez-Its with sparkling water or a fruity iced tea. Both options cleanse the palate and enhance the flavors of your snack.
Don’t forget to experiment! You might find your own perfect combination that makes homemade Cheez-Its even more enjoyable. For more inspiration, check out this article on snack pairings. Happy snacking!
Time Breakdown for Homemade Cheez-Its
Preparation Time
Making homemade Cheez-Its is a fun and rewarding process, and you’ll spend about 15-20 minutes on preparation. This includes gathering your ingredients, grating cheese, and mixing everything together. It’s a great time to put on your favorite playlist and get into the groove of cooking!
Cooking Time
Once your dough is ready, baking your delicious Cheez-Its will take around 15-20 minutes. Keep an eye on them, as the perfect golden-brown color is what you’re aiming for. The aroma wafting through your kitchen is something you won’t want to miss!
Total Time
In total, you’re looking at about 30-40 minutes from start to finish. That’s less time than many take to order takeout! With such a quick turnaround, these tasty snacks are perfect for unexpected guests or a cozy movie night. Plus, you can adjust the recipe effortlessly—want to spice them up? Toss in some herbs or spices!
For more about perfecting your snack game, check out this article on cheese varieties for tips on the best cheeses to use. Who knew making homemade Cheez-Its could be so easy and fun?
Nutritional facts for Homemade Cheez-Its
When you whip up a batch of homemade Cheez-Its, it’s good to know how they stack up nutritionally. Let’s break down the essentials:
Calories
A typical serving of homemade Cheez-Its, about 1 ounce (or roughly 30 pieces), contains around 150-200 calories. This makes them a satisfying snack without completely derailing your day.
Protein
These cheesy bites pack in around 4-6 grams of protein per serving, thanks to the cheese and possibly some added nutritional yeast. It’s a delightful way to fuel your day!
Sodium
While homemade Cheez-Its can be lower in sodium than store-bought versions, they typically have about 200-300 mg of sodium per serving. You can adjust this by controlling the salt you add—who says you have to follow the recipe exactly?
If you’re curious about the health implications of sodium intake, check out resources from the American Heart Association for comprehensive insights.
Making your own Cheez-Its not only ensures you know exactly what’s in them, but lets you indulge without guilt!
FAQs about Homemade Cheez-Its
Can I use different types of cheese?
Absolutely! One of the best parts about making homemade Cheez-Its is the freedom to experiment with various cheeses. Cheddar is traditional and a crowd favorite, but you can mix it up! Try a sharp white cheddar for a bolder flavor, or consider creamy gouda for a smooth texture. For a fun twist, blend in some pepper jack for a bit of spice. Just remember, the moisture content can vary, so adjust your flour accordingly to maintain that perfect crunchy texture.
How do I store leftover Cheez-Its?
Storing your homemade Cheez-Its correctly will keep them fresh and crunchy. Let them cool completely before transferring them to an airtight container. You can also use resealable bags, but squeeze out as much air as possible. If stored properly, they should stay fresh for up to a week at room temperature. For longer storage, consider freezing them—just make sure they are sealed tightly to prevent freezer burn.
What’s the best way to reheat Cheez-Its?
If you find your homemade Cheez-Its have lost their crunch, don’t toss them! Reheating is simple. Preheat your oven to 350°F (175°C) and spread them out on a baking sheet. Bake for about 5-10 minutes, checking frequently to ensure they don’t overcook. You can also microwave them for about 10-15 seconds, but this method can sometimes make them chewy—so the oven is your safest bet.
For more tips on cheese varieties, check out Cheese.com, a fantastic source for everything cheesy!
Conclusion on Homemade Cheez-Its
In conclusion, homemade Cheez-Its offer a delightful twist on a classic snack that’s sure to impress. Not only are they easy to whip up, but they also allow for customization with your favorite cheeses and spices. Whether you’re enjoying them during a cozy movie night or packing them for a work lunch, these tasty bites are a crowd-pleaser.
Remember, there’s something special about crafting your own treats. Plus, you can feel good about what’s going into your snacks—no preservatives, just pure goodness! If you’re up for experimenting, consider adjusting the recipe to include ingredients like Turkey Bacon for a unique flavor. So why not give it a try? Check out this guide on the benefits of homemade snacks for additional inspiration!
Print
Homemade Cheez-Its: The Best Crunchy Snack You’ll Love
- Total Time: 35 minutes
- Yield: 24 servings
- Diet: Vegetarian
Description
Enjoy the irresistible crunch of homemade Cheez-Its, perfect for snacking anytime.
Ingredients
- 1 cup sharp cheddar cheese, shredded
- 1/4 cup unsalted butter, softened
- 1 cup all-purpose flour
- 1/2 teaspoon salt
- 1/4 teaspoon paprika
- 2 tablespoons cold water
Instructions
- Preheat your oven to 375°F (190°C).
- In a mixing bowl, combine the cheese, butter, flour, salt, and paprika.
- Mix until crumbly, then add water gradually until a dough forms.
- Roll out the dough and cut into desired shapes.
- Place on a baking sheet and bake for 15-20 minutes until golden brown.
Notes
- For extra flavor, add a pinch of cayenne pepper.
- Serve with your favorite dips for an even tastier treat.
- Prep Time: 15 minutes
- Cook Time: 20 minutes
- Category: Snacks
- Method: Baking
- Cuisine: American
Nutrition
- Serving Size: 5 crackers
- Calories: 150
- Sugar: 1g
- Sodium: 180mg
- Fat: 9g
- Saturated Fat: 5g
- Unsaturated Fat: 3g
- Trans Fat: 0g
- Carbohydrates: 15g
- Fiber: 0g
- Protein: 3g
- Cholesterol: 15mg
")