Introduction to Lunch Lady Peanut Butter Bars
The nostalgia of school snacks
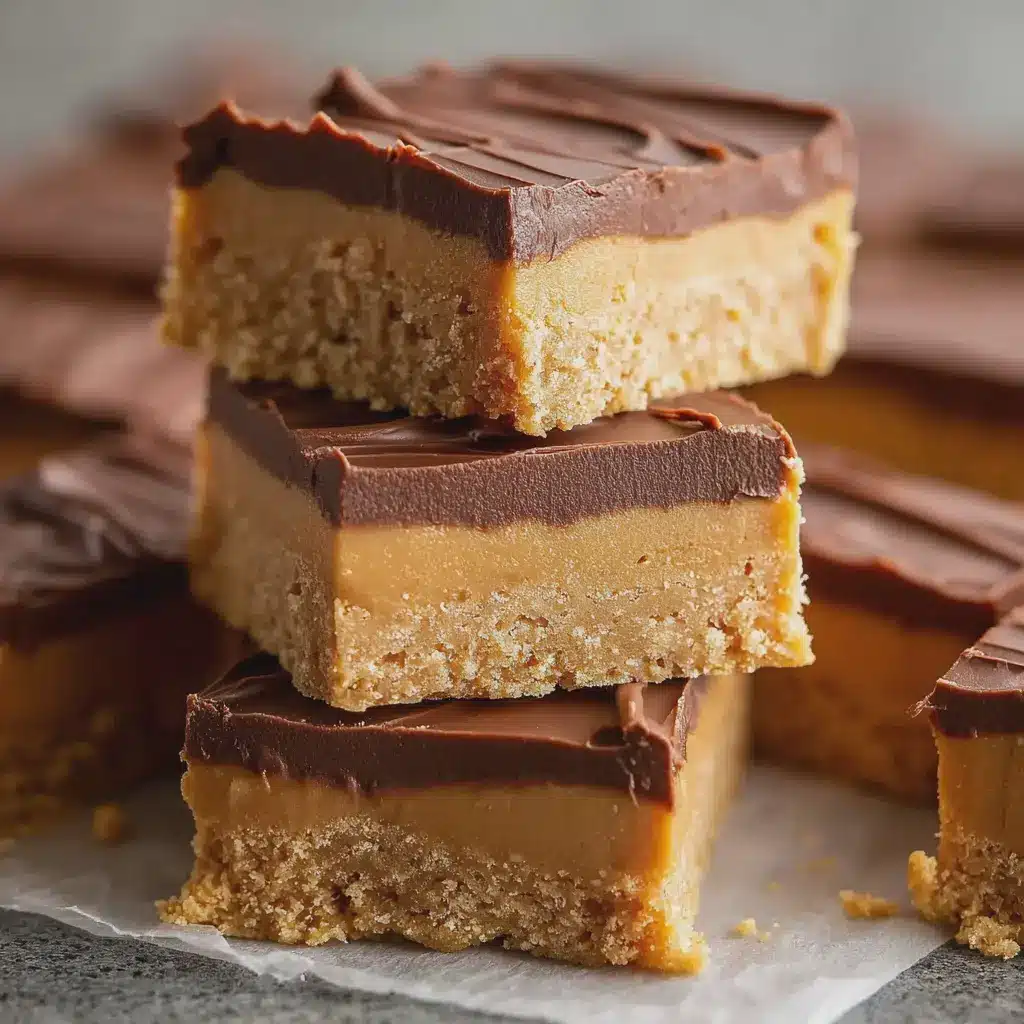
Remember the joy of opening your lunchbox to find a sweet treat tucked alongside your sandwich? For many, those moments are forever tied to the unmistakable flavor of lunch lady peanut butter bars. These delightful squares, with their rich, creamy peanut butter and a buttery, crumbly base, evoke warm memories of the cafeteria as much as they do of lunchtime trades with friends.
In those carefree school days, snacks weren’t just fuel; they were mini celebrations that broke up the day. The experience of sharing too-buttery desserts with classmates created little bonds. And if you were lucky, you snagged an extra bar or two, feeling as though you’d struck gold. For many, lunch lady peanut butter bars symbolize comfort, friendship, and, of course, unadulterated indulgence.
Why you’ll love making these bars at home
Fast forward to the present, and you might find yourself yearning for those nostalgic flavors. The great news is, recreating lunch lady peanut butter bars in your own kitchen isn’t just possible—it’s a delightful journey. When you whip up a batch, you’re not just making a snack; you’re crafting a slice of nostalgia that can be shared with friends or enjoyed solo while binge-watching your favorite series.
Here are a few reasons to make these delicious bars at home:
-
Simplicity: The ingredients are likely already in your pantry—peanut butter, sugar, oats, and butter—making it a quick and easy option for dessert.
-
Customization: You can experiment with flavors! Want a touch of chocolate? Drizzle some melted chocolate over the top. Prefer crunchy textures? Add nuts or even chocolate chips.
-
Nostalgic experience: Bringing these bars back to the table offers an opportunity for storytelling. Remember how they brought a smile to your face in school? Now you can share that happiness with the next generation.
If you’re looking for more inspiration, check out sites like Taste of Home and Food Network for creative twists!
So, grab that peanut butter jar, and let’s get started on these lunch lady peanut butter bars—you won’t regret it!
Ingredients for Lunch Lady Peanut Butter Bars
When it comes to making lunch lady peanut butter bars, gathering the right ingredients is key to achieving that nostalgic flavor. Here’s what you’ll need to get started:
Essential ingredients you need
- Old-fashioned oats: These will provide a hearty texture, giving your bars that classic chewy consistency.
- Creamy peanut butter: Choose a quality natural peanut butter for a rich flavor that pairs beautifully with the oats.
- Honey or maple syrup: These serve as sweeteners and help to bind the mixture together. Plus, they add a delightful sweetness!
- Brown sugar: Just a bit will enhance that deep flavor profile you’re looking for.
- Vanilla extract: A splash of this magic ingredient will elevate the overall taste.
- Salt: Don’t skip it! A pinch brings all the flavors into harmony.
Optional toppings to elevate your bars
- Chocolate chips: Because who doesn’t love a little chocolate?
- Chopped nuts: Adding walnuts or almonds can give a nice crunch.
- Dried fruit: Raisins or cranberries can introduce a fruity twist.
- Drizzle of peanut butter on top: For peanut butter lovers, this is a must!
These simple yet effective ingredients will not only help you create delicious lunch lady peanut butter bars but can be customized to suit your taste. Have fun experimenting! For more cooking tips, feel free to check out The Kitchn for inspiration.
Step-by-step Preparation of Lunch Lady Peanut Butter Bars
Creating delicious lunch lady peanut butter bars feels like a nostalgic trip down memory lane. These bars are perfect for a midday snack, an after-school treat, or even as a sweet finish to a family dinner. Ready to make your very own? Let’s dive into this delightful cooking adventure, step by step.
Gather your ingredients
Before you start mixing and baking, it’s essential to gather all the ingredients. Here’s what you’ll need:
-
For the bars:
-
1 cup unsweetened peanut butter
-
1 stick unsalted butter
-
1 cup sugar
-
1 cup brown sugar
-
2 eggs
-
2 cups all-purpose flour
-
2 teaspoons baking soda
-
1/2 teaspoon salt
-
1 cup buttermilk
-
For the frosting:
-
1 cup creamy peanut butter
-
1/4 cup unsalted butter
-
4 cups powdered sugar
-
1/4 cup milk
Having everything at your fingertips means you won’t have to pause during the cooking process!
Preheat and prepare your baking pan
Set your oven to 350°F (175°C). While the oven is heating up, grab a 9×13 inch baking pan. Grease it lightly with butter or line it with parchment paper for easy removal later. This small step will significantly simplify cleanup and prevent your bars from sticking!
Whisk together the dry ingredients
In a large mixing bowl, whisk together the flour, baking soda, and salt until evenly distributed. It’s crucial to make sure there are no lumps—this will help your lunch lady peanut butter bars rise evenly while baking.
Melt the wet ingredients
In a medium saucepan over low heat, melt together the butter and peanut butter until they are smooth and cohesive. This process should take about 3-5 minutes. The aromatic bliss of melted peanut butter will fill your kitchen. It’s so comforting—it’s almost like a warm hug!
Combine wet and dry ingredients
Once the butter and peanut butter are fully melted, remove the saucepan from the heat and let it cool slightly (about 5 minutes). Gradually add the sugar and brown sugar, stirring until fully incorporated. Then, pour this mixture into the bowl with your dry ingredients, combining them well. You should have a thick batter starting to form.
Add eggs and buttermilk
Next, crack the eggs into your mixture, followed by adding the buttermilk. Stir everything together until just blended. Make sure not to overmix, as this can lead to denser bars. The batter should be thick but spreadable—perfect for pressing into your prepared pan.
Bake the bars to perfection
Pour the batter into your greased baking pan and use a spatula to spread it evenly. Place it in the preheated oven and bake for 25–30 minutes or until a toothpick inserted in the center comes out clean. The edges should be golden brown, enticing you with their aroma.
Prepare the peanut butter frosting
While your bars are baking, prepare the creamy frosting. In a bowl, mix together the peanut butter, butter, and a pinch of salt until smooth. Gradually add the powdered sugar and milk, mixing until you reach a spreadable consistency. If it’s too thick, just add a little more milk.
Frost and finish your bars
Once your lunch lady peanut butter bars are done baking, let them cool completely in the pan for about 10 minutes, then transfer to a wire rack to cool completely. After they’ve cooled, generously spread the peanut butter frosting over the top. Cut into squares, serve, and watch them disappear fast!
These bars not only bring back memories but also offer a delightful taste that combines nostalgia with modern cooking ease. Enjoy the treat with friends or family, and don’t be surprised if they request a repeat performance. Happy baking!

Variations on Lunch Lady Peanut Butter Bars
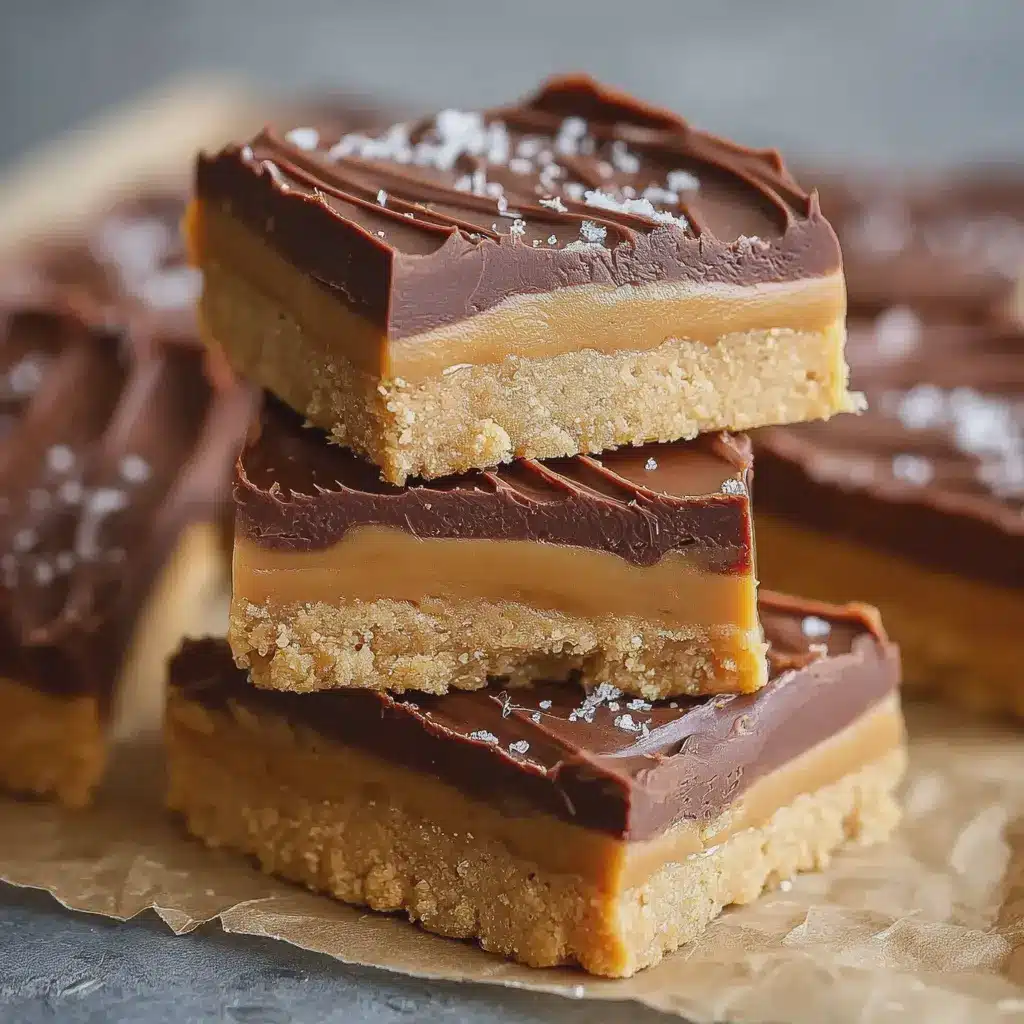
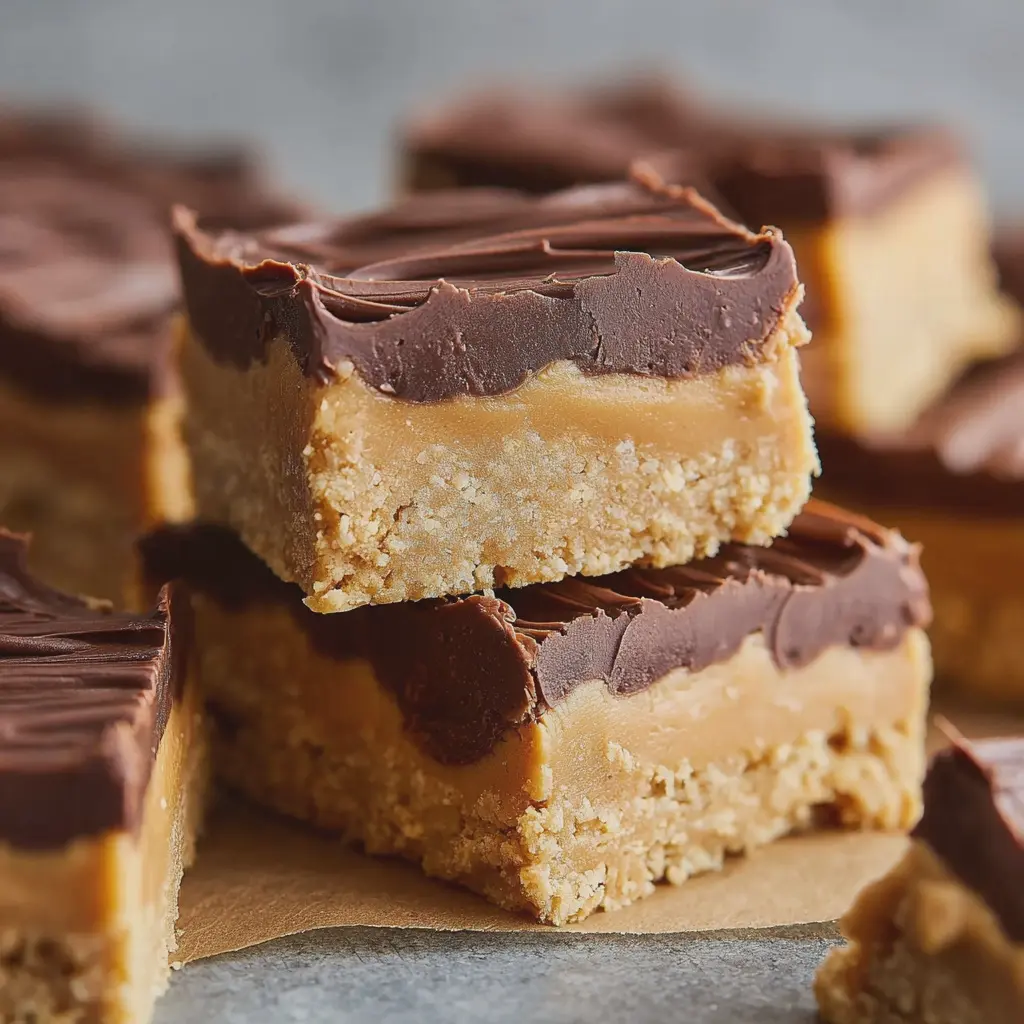
Chocolate Peanut Butter Bars
If you’re a fan of the classic lunch lady peanut butter bars, you’ll love this delightful twist! By adding a layer of chocolate, you elevate the flavor profile to a whole new level. Here’s how to do it:
- Ingredients: Follow the original recipe for the base but add 1 cup of semi-sweet chocolate chips for the topping.
- Instructions: Once your peanut butter layer is set, melt the chocolate chips either in a microwave or a double boiler. Pour it over the cooled peanut butter layer and let it set before cutting into squares.
This chocolatey version is not just delicious; it also brings a bit of decadence to your snack time. Share them with friends or sneak some into the office—they’re sure to become a favorite!
Nut-Free Alternatives
For those who need a nut-free option, you can easily adapt the lunch lady peanut butter bars. Instead of peanut butter, try using sunflower seed butter or soy nut butter. These alternatives offer a similar texture and flavor, ensuring you still enjoy that creamy goodness without any nuts.
- Tip: Check for nut-free oats and ensure that the chocolate chips you choose are also nut-free.
Making these adjustments doesn’t compromise taste; in fact, many find the sunflower seed version adds a unique twist that’s worth trying. If you’re looking for more ideas about nut-free snacks, check out resources like Snacksafely.com for tips and product recommendations.
By experimenting with these variations, you can enjoy lunch lady peanut butter bars tailored to your taste and dietary needs—no matter what! Happy baking!
Cooking Tips and Notes for Lunch Lady Peanut Butter Bars
Tips for Perfecting the Texture
To achieve delicious lunch lady peanut butter bars with the ideal chewy yet slightly crumbly texture, consider these pointers:
- Use Fresh Ingredients: Especially with your peanut butter, fresher means better. If you can find freshly ground peanut butter from a local shop, go for it!
- Don’t Overmix: When combining your wet and dry ingredients, mix just until combined. Overmixing can result in a denser bar—unless that’s your thing!
- Temperature Matters: Let your ingredients reach room temperature before mixing. Butter straight from the fridge can lead to uneven textures.
Common Mistakes to Avoid
Even the best recipes can go awry. Here are some pitfalls to dodge:
- Skipping the Cooling Step: It’s tempting to dive into those warm bars, but letting them cool completely improves their structure.
- Not Measuring Ingredients: Baking is a science! Use a kitchen scale for precise measurements, especially for flour.
- Using Low-Quality Peanut Butter: Opt for a natural, creamy variety without added sugars and oils to elevate flavor.
For more helpful baking insights, check out Serious Eats or America’s Test Kitchen!
Serving Suggestions for Lunch Lady Peanut Butter Bars
Pairing Ideas for a Delightful Snack
When it comes to enjoying your Lunch Lady Peanut Butter Bars, think outside the conventional snack box! These bars pair wonderfully with a variety of beverages. A cup of rich, freshly brewed coffee or a tall glass of cold almond milk will harmonize beautifully with the creamy, sweet flavors of the bars. If you’re in the mood for something fruity, consider a refreshing smoothie made with banana and spinach; the natural sweetness and nutrients will complement the peanut butter perfectly.
Creative Ways to Serve These Bars
Ready to elevate your lunch game? You can get creative with presentation! Slice the Lunch Lady Peanut Butter Bars into fun shapes with cookie cutters for a whimsical twist, perfect for a lunch box surprise. Alternatively, serve them with a side of fresh fruit, like strawberries or apple slices, to balance out the richness.
Want to add a touch of flair? Drizzle some melted dark chocolate or caramel on top for an indulgent treat that’s sure to impress any guest. You might draw inspiration from Taste of Home for additional serving ideas. Enjoy your culinary creation!
Time Breakdown for Lunch Lady Peanut Butter Bars
Preparation Time
Getting started with your lunch lady peanut butter bars only takes about 15 minutes. Gather your ingredients, which may include oats, peanut butter, sugar, and perhaps some chocolate chips—trust me, it’s worth it! Prepare your baking dish by lining it with parchment paper, so you’ll have an easy cleanup later.
Baking Time
Once you’ve mixed your ingredients, it’s time to bake! Pop the mixture into the oven and let it set for about 20 to 25 minutes. You want those edges to be golden but not overdone—keep a close eye on them.
Cooling and Frosting Time
After baking, let your lunch lady peanut butter bars cool for at least 15 minutes. This is the perfect time to whip up a quick frosting if you’re feeling fancy. Once frosted, allow another 10 to 15 minutes for the frosting to set.
Total Time
In total, you’re looking at around 1 hour for the complete process. That’s not bad for a delicious treat that takes you right back to childhood! If you want to dive deeper into baking tips, you might find this guide on cookie baking essentials helpful for your next culinary adventure. Enjoy your baking!
Nutritional Facts for Lunch Lady Peanut Butter Bars
When you’re reaching for a sweet yet satisfying snack, Lunch Lady Peanut Butter Bars come to the rescue. Let’s break down the nutritional facts to see what you’re getting with each delightful bite.
Calories per serving
Each serving contains approximately 200 calories. This makes it a good option for a quick treat without sacrificing too much of your daily caloric intake. Perfect for a mid-afternoon pick-me-up!
Protein content
Packed with peanut butter goodness, these bars offer around 5 grams of protein per serving. That’s great news for those looking to boost their protein intake throughout the day, especially when you’re in need of energy for a workout or a busy schedule.
Sugar and fat breakdown
- Sugar: Approximately 10 grams, which adds a touch of sweetness without going overboard.
- Fat: Around 9 grams, mainly coming from the peanut butter, providing healthy fats that keep you satiated.
For a deeper dive into nutritional information, head over to the USDA FoodData Central for detailed breakdowns. Enjoy every morsel of these beloved Lunch Lady Peanut Butter Bars—they’re a tasty balance of sweetness, protein, and healthy fats!
FAQs about Lunch Lady Peanut Butter Bars
If you’re thinking about making Lunch Lady Peanut Butter Bars, you might have a few questions floating around in your mind. Don’t worry; we’ve got you covered! Here are some common queries about these delicious treats.
Can I make these bars ahead of time?
Absolutely! One of the best things about Lunch Lady Peanut Butter Bars is that they’re perfect for meal prepping. You can make them a day or two in advance, which makes them a fantastic option for busy weeks. Just allow them to cool completely before cutting into bars, and you’ll have a sweet treat ready for those afternoon cravings or a quick grab-and-go snack.
How should I store leftover bars?
To keep your Lunch Lady Peanut Butter Bars fresh, store them in an airtight container at room temperature for up to a week. If you want to extend their shelf life, consider refrigerating them, where they can last for about two weeks. You can also freeze them for up to three months—just ensure they’re well-wrapped! When you’re ready to enjoy, simply let them thaw for a bit, and you’ll be back in peanut butter bliss!
What can I substitute for peanut butter?
If you’re not a fan of peanut butter, or if allergies are a concern, there are plenty of tasty substitutes. Almond butter, cashew butter, or sunflower seed butter work wonderfully in this recipe. Each alternative brings its unique flavor profile, keeping your Lunch Lady Peanut Butter Bars exciting and accommodating. Explore your options, and you might discover a new favorite!
For additional insights on nut alternatives, check out resources like the Culinary Institute of America that delve deeper into ingredient substitutes. Enjoy your baking adventure!
Conclusion on Lunch Lady Peanut Butter Bars
Recap of the Joys of Homemade Treats
Homemade treats like lunch lady peanut butter bars remind us of simpler times – a sweet escape from our busy lives. Not only are these bars deliciously chewy and perfectly sweet, but they also offer a wonderful sense of nostalgia that store-bought snacks just can’t match.
By baking them yourself, you can customize ingredients to fit your tastes or dietary needs. Enjoy the satisfaction that comes from creating something incredibly tasty in your own kitchen. Plus, sharing these bars can be a great way to connect with friends and family.
For inspiration, check out Baking Basics for tips on perfecting your homemade treats!
Print
Lunch Lady Peanut Butter Bars: The Best Homemade Treat to Savor
- Total Time: 45 minutes
- Yield: 24 servings
- Diet: Vegetarian
Description
These Lunch Lady Peanut Butter Bars are a nostalgic treat that brings back memories of school lunches. They’re rich, creamy, and oh-so-delicious!
Ingredients
- 1 cup peanut butter
- 1 cup granulated sugar
- 1 cup brown sugar
- 2 large eggs
- 1 teaspoon vanilla extract
- 1 1/2 cups all-purpose flour
- 1 teaspoon baking powder
- 1/2 teaspoon salt
- 1/2 cup chocolate chips
Instructions
- Preheat the oven to 350°F (175°C).
- In a large mixing bowl, cream the peanut butter, granulated sugar, and brown sugar until smooth.
- Add the eggs and vanilla extract, mixing well.
- In a separate bowl, combine the flour, baking powder, and salt.
- Gradually mix the dry ingredients into the wet ingredients.
- Fold in the chocolate chips.
- Spread the batter evenly in a greased 9×13 inch baking pan.
- Bake for 25-30 minutes or until golden brown.
- Let cool before cutting into bars.
Notes
- For a richer flavor, use crunchy peanut butter.
- These bars can be served warm or at room temperature.
- Prep Time: 15 minutes
- Cook Time: 30 minutes
- Category: Dessert
- Method: Baking
- Cuisine: American
Nutrition
- Serving Size: 1 bar
- Calories: 180
- Sugar: 14g
- Sodium: 100mg
- Fat: 8g
- Saturated Fat: 2g
- Unsaturated Fat: 5g
- Trans Fat: 0g
- Carbohydrates: 24g
- Fiber: 1g
- Protein: 4g
- Cholesterol: 30mg
")