
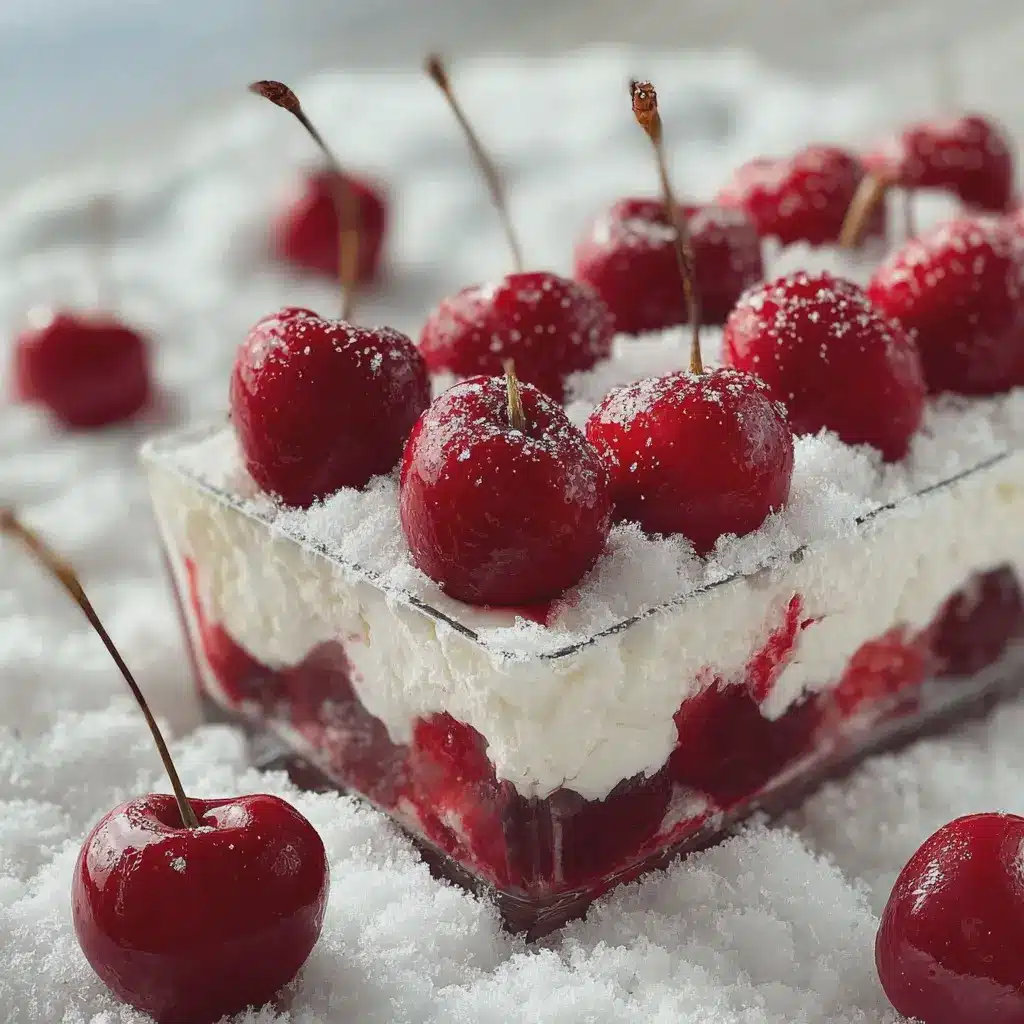
Introduction to Cherries in the Snow
When it comes to delightful desserts, Cherries in the Snow offers a refreshing twist that’s perfect for any occasion. This dish not only brings a pop of color to your table but also combines creamy textures with the vibrant taste of cherries. Imagine hosting a gathering and surprising your friends with this unique treat that has them asking for seconds!
A Refreshing Twist on Traditional Desserts
We often find ourselves reaching for the same old desserts, but Cherries in the Snow breaks that mold beautifully. This dessert, composed of fluffy cream and sweet cherries, invites a sense of nostalgia while embracing modern flavors. It’s like a cool breeze on a hot summer day—light, bright, and utterly satisfying!
What’s fantastic about this dish is how it caters to different palates. Whether you’re a chocolate lover or prefer fruity delights, Cherries in the Snow meets you halfway. The tartness of cherries balanced with a rich, creamy base creates a beautiful harmony of flavors. According to Healthline, cherries are not only delicious but loaded with antioxidants and nutrients, adding a touch of health to your indulgence.
If you’re looking to impress without spending hours in the kitchen, Cherries in the Snow simplifies the sweet-tooth dilemma. The ease of preparation means you can whip it up quickly, leaving you more time to bask in the glow of your guests’ delight and share stories over a delicious meal.
- Perfect for gatherings: Makes for a show-stopping dessert at parties.
- Seasonal flexibility: Use frozen cherries for a year-round treat.
- Customizability: Add in your favorite nuts or a drizzle of honey for extra flavor!
With summer approaching, now’s the ideal time to experiment with this dessert. The layers of cream and cherries can easily be adapted to suit your personal taste or dietary restrictions. If you’re intrigued, keep reading for a detailed recipe that will guide you step-by-step in creating this lovely dish at home.
For more tips on incorporating fresh fruits into desserts, check out this helpful guide from BBC Good Food. It’s all about having fun with flavors and enjoying the process!
Whether you’re preparing for a festive occasion or a cozy night in, Cherries in the Snow has the potential to become a cherished favorite. Get ready to dazzle your taste buds and share sweet moments with friends and family!
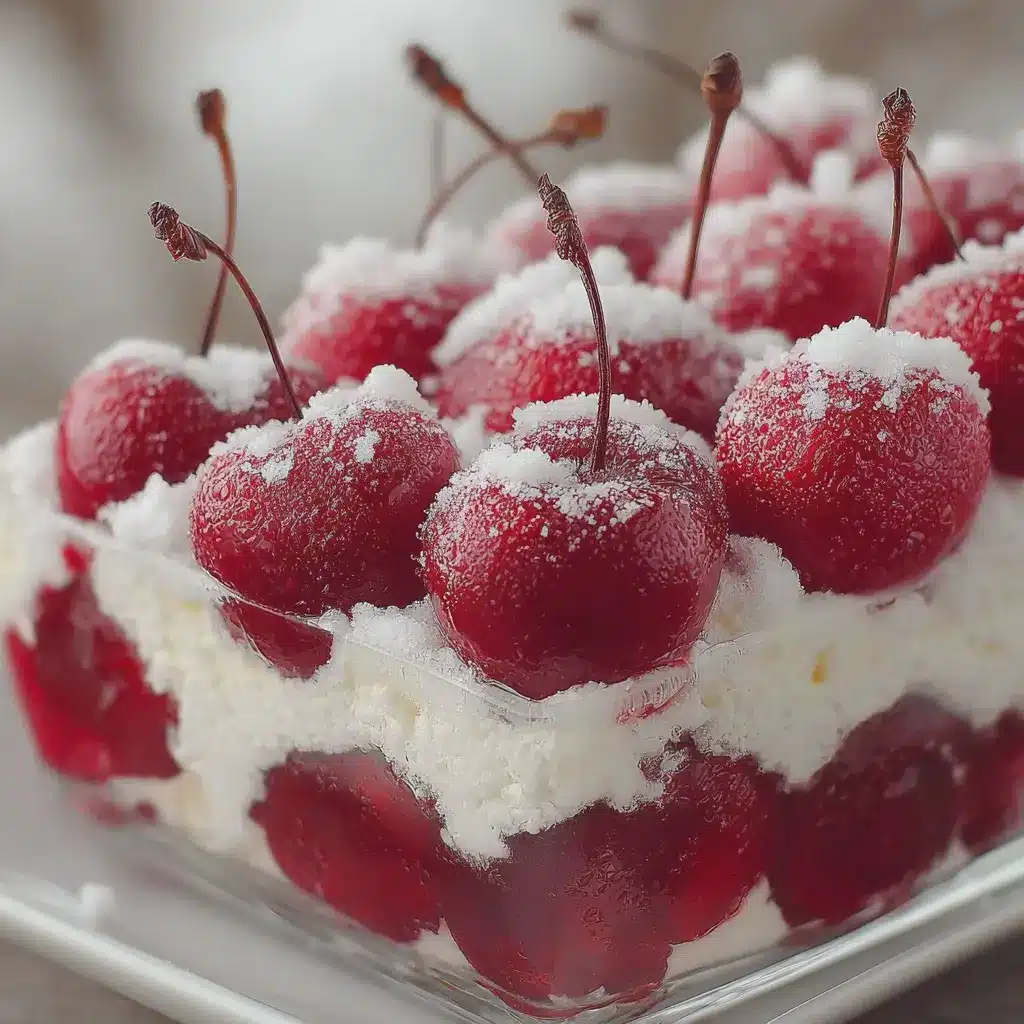
Ingredients for Cherries in the Snow
Creating a delightful dessert like Cherries in the Snow requires a few essential ingredients that come together to deliver a sweet and creamy experience. Let’s explore what you’ll need to whip up this indulgent treat.
Essential Ingredients for Indulgence
-
Fresh Cherries: The star of the dish! Look for plump, ripe cherries that are bursting with flavor. You can even consider using frozen cherries if fresh ones aren’t in season; they can add a refreshing quality while being budget-friendly.
-
Whipped Cream: Homemade is best! Whipping your own cream not only tastes richer, but it also allows you to control the sweetness.
-
Cream Cheese: This gives a luscious texture and creamy depth to the dessert. Opt for full-fat cream cheese for the richest flavor.
-
Powdered Sugar: For that perfect sweetness without the graininess. Adjust to your taste!
-
Vanilla Extract: A splash of pure vanilla can elevate the flavors, adding warmth and comforting notes.
Imagine serving this delightful dish at your next gathering or cozy night in. Whether you’re enjoying it solo or with friends, Cherries in the Snow is perfect for any occasion! For more tips on using fresh fruits in desserts, check out The Kitchn.
Step-by-step Preparation of Cherries in the Snow
Creating the delectable dessert known as Cherries in the Snow is not just about following a recipe; it’s about enjoying the process and the delicious result! This refreshing treat is perfect for gatherings or simply to enjoy at home on a cozy evening. Let’s dive into the steps that will guide you through crafting this delightful dessert.
Soften that cream cheese
To start off your Cherries in the Snow journey, you’ll want to soften your cream cheese. This is a crucial step that ensures your mixture will be both creamy and smooth, allowing every bite to melt in your mouth.
- Take an 8-ounce package of cream cheese out of the fridge and let it sit at room temperature for about 30 minutes.
- If you’re pressed for time, you can also cut the cream cheese into smaller cubes and microwave it for 10-15 seconds. Just make sure it doesn’t get too warm!
Softening the cream cheese nicely allows it to blend effortlessly with the other ingredients in the following steps, making it all the more enjoyable. You could even think about using a high-quality cream cheese brand for enhanced flavor!
Beat it all together
Once your cream cheese has reached that perfectly soft consistency, it’s time to mix it with some sweetness. You’ll need:
- 1 cup of powdered sugar
- 1 teaspoon of vanilla extract
In a mixing bowl, combine the softened cream cheese, powdered sugar, and vanilla extract. Using an electric mixer, beat the mixture on medium speed until it’s smooth and creamy. You’re aiming for a consistency that’s easy to spread yet holds its shape.
- This step is where the magic begins — the creamy blend is the foundation of your Cherries in the Snow dessert!
Fold in the whipped topping
Now comes the pièce de résistance! After you’ve got that creamy mixture going, it’s time to elevate it further by folding in some whipped topping.
- Grab about 8 ounces of a frozen whipped topping (thawed).
- Gently fold it into the cream cheese mixture using a spatula. The goal here is to keep the mixture light and airy, so be gentle!
Folding, as opposed to mixing, helps maintain the fluffiness of the whipped topping. This will give your Cherries in the Snow a delightful texture that contrasts beautifully with the cherry pie filling.
Layer the angel food cake
To build the layers of your dessert, you’ll want to prepare your angel food cake.
- Slice the cake into even layers, about 1-inch thick.
In a 9×13 inch baking dish, lay down one layer of cake, ensuring it covers the bottom. This serves as a soft base for all the decadent flavors to come.
Add the cherry pie filling
Now for the fun part — adding that bright, tangy cherry pie filling!
- Pour approximately 1 can (21 ounces) of cherry pie filling over the angel food cake layer, spreading it evenly.
The sweet and tart flavors of the cherries will complement the creaminess of the cheese mixture perfectly, bringing everything together to create a delightful balance.
Repeat and refrigerate
At this point, you’ll repeat the layering process.
- Add another layer of the cream cheese mixture, then another layer of cake, followed by more cherry filling, and finish with a final layer of the creamy mix.
Once completed, cover the dish with plastic wrap and let it chill in the refrigerator for at least 4 hours, or even overnight if you have the patience!
This chill time allows the flavors to meld beautifully and makes slicing the dessert a breeze later on.
With these steps, you’re not only preparing a dish; you’re crafting a dessert that’s bound to impress. Whether you’re sharing it at a potluck or enjoying it cozy at home, Cherries in the Snow is an easy yet sophisticated treat. Enjoy making it! For a delightful pairing, consider serving it with a side of freshly brewed coffee or a herbal tea for a perfect touch. Happy cooking!
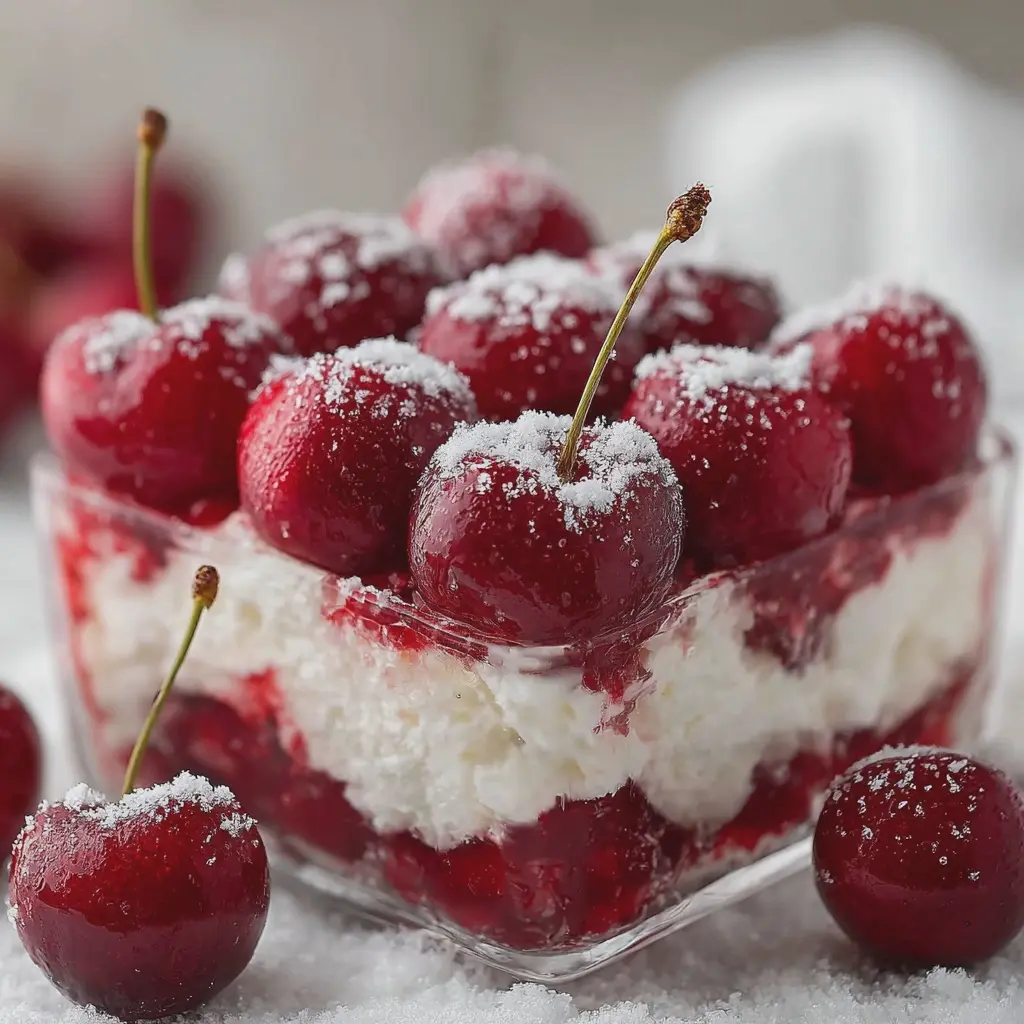
Variations on Cherries in the Snow
Seasonal Fruit Variations
While Cherries in the Snow is a delightful classic, don’t shy away from experimenting with seasonal fruits that excite your palate. For a refreshing twist, consider using:
- Raspberries: Tart and vibrant, they add a burst of flavor and a beautiful contrast.
- Blueberries: Sweet and juicy, these little gems provide a delightful pop while boosting the antioxidant content of your dish.
- Peaches: Creamy and fragrant, peaches in the summer make an ideal substitute that complements the fluffy texture.
- Pineapple: For a tropical vibe, fresh pineapple can add a sweet and tangy hit.
By incorporating seasonal fruits, you not only enhance your Cherries in the Snow but also embrace what nature offers throughout the year. Discover seasonal fruit guides on Fresh Fruits to inspire your next culinary adventure.
Add-Ins for Extra Flavor
Looking to elevate your Cherries in the Snow? Consider these exciting add-ins that deliver bold flavors:
- Almond Extract: A few drops can transform your dish, lending a lovely nutty undertone.
- Coconut Flakes: For a hint of tropical flair, sprinkle some unsweetened coconut on top to create texture and richness.
- Turkey Bacon: Adding crispy Turkey Bacon bits not only introduces a savory element but also contrasts beautifully with the sweet cherries.
- Zest of Lemon or Lime: A sprinkle of citrus zest can brighten the flavors and bring balance to your dessert.
Try experimenting with these elements to create a version of Cherries in the Snow that’s uniquely yours. Links like Epicurious offer a treasure trove of inspiration for ingredient combinations that are sure to delight your taste buds. What variation will you try first?
Cooking Tips and Notes for Cherries in the Snow
Get the Right Texture
Achieving the perfect texture in Cherries in the Snow is crucial. You want a creamy, fluffy base that contrasts beautifully with the pop of sweet cherries. To get there, make sure your cream cheese is at room temperature before blending. This ensures a smooth mixture, free from lumps. If the consistency seems thick, fold in a little whipped cream for airiness without compromising flavor!
Choosing the Right Dish
The presentation of your Cherries in the Snow is just as important as the taste. A glass trifle dish or a layered parfait glass allows those vibrant cherry layers to shine through, making it as delightful to look at as it is to eat. For a more rustic vibe, consider using a stemmed bowl. Think about portion sizes too; this dessert can be quite rich, so small servings can enhance the experience.
For more tips on perfect dessert presentations, check out this helpful guide from Food Network.
Getting the nuances of this delightful dish right can transform your kitchen adventure into a sweet success!
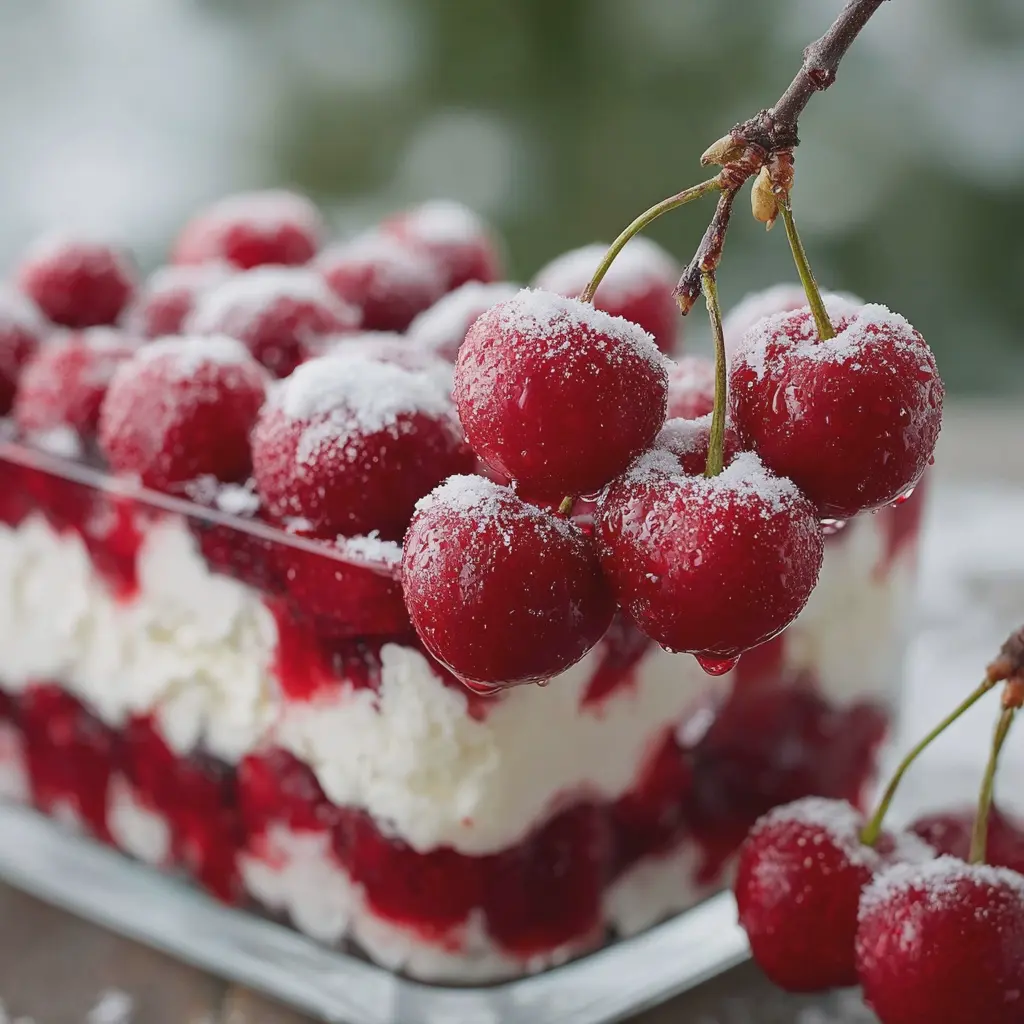
Serving Suggestions for Cherries in the Snow
Tips for Gorgeous Presentation
When you’re ready to serve your Cherries in the Snow, consider placing them in elegant dessert dishes. A clear glass bowl can showcase the beautiful color contrast between the bright cherries and the fluffy white topping. Garnish with fresh mint leaves to add a pop of color and a hint of freshness. If you’re feeling creative, you could stack individual servings in a mason jar for a charming touch at a picnic or a casual gathering.
Delicious Dessert Pairings
Looking to elevate your dessert experience? Pairing Cherries in the Snow with other delightful treats can turn a simple dish into a showstopper. Here are a few ideas:
- Serve alongside a slice of rich chocolate cake for a classic dessert duo.
- Enjoy with vanilla ice cream for an extra creamy angle.
- Pair with almond or coconut macaroons to bring out the flavors of the cherries.
These combinations not only enhance flavor but also make for beautiful presentations that are sure to impress your guests. Want to explore more dessert pairings? Check out Epicurious for delicious ideas!
Time Breakdown for Cherries in the Snow
When it comes to preparing Cherries in the Snow, understanding the timing involved can make your cooking experience much smoother. Let’s break it down:
Preparation Time
Getting started with this delightful dish takes about 15 minutes. You’ll need to pit the cherries, whip the cream, and ready the other ingredients. Having everything prepped in advance can make all the difference.
Refrigeration Time
After assembling your Cherries in the Snow, it’s best to let them chill for about 2 hours. This allows the flavors to meld beautifully, ensuring every bite is a refreshing treat.
Total Time
In total, you’re looking at roughly 2 hours and 15 minutes from start to finish. With minimal effort and a little patience, you’ll have a stunning, flavorful dessert that’s sure to impress.
Ready to dive in? You can always check out more tips on dessert preparation at CookingLight. Enjoy making your Cherries in the Snow!
Nutritional Facts for Cherries in the Snow
Calories per Serving
When it comes to enjoying Cherries in the Snow, you might be curious about how they fit into your nutritional goals. Each serving typically contains around 150-200 calories, making it a delightful treat without tipping the scale too much. This means you can relish the rich flavors without the guilt!
Key Nutrients
This scrumptious dessert boasts a blend of beneficial nutrients:
- Vitamin C: Essential for immune health and skin vitality.
- Antioxidants: Cherries are packed with powerful antioxidants that reduce inflammation.
- Fiber: Aiding digestion and promoting a feeling of fullness.
For a deeper dive into the health benefits of cherries, check out studies from sources like the USDA or explore nutrition blogs that highlight their benefits. So go ahead, indulge in Cherries in the Snow, confident in their nutritional offerings!
FAQs about Cherries in the Snow
Can I make this dessert ahead of time?
Absolutely! Cherries in the Snow not only tastes amazing, but it also holds up well when made in advance. If you’re planning for a gathering or just want to enjoy this delightful treat later, prepare it a day ahead and store it in the refrigerator. Just be sure to cover it well to keep it fresh. When you’re ready to serve, it’s best to let it sit at room temperature for about 15-30 minutes for optimal flavor.
What’s the best way to store leftovers?
If you have any mouthwatering leftovers of your Cherries in the Snow, you can simply cover the dish with plastic wrap or transfer individual portions to airtight containers. Store them in the refrigerator where they’ll last for up to three days. Just a heads-up: the longer they sit, the softer the cake may become, but it will still taste fantastic.
Can I use different cake types?
Definitely! While the traditional recipe is delightful, feel free to get creative. You can substitute the cake base for various types, such as sponge cake, vanilla cake, or even a gluten-free version if needed. Each cake will bring its own flair to your Cherries in the Snow. Just keep in mind that the texture and moisture level may slightly change, so adjust your chilling time accordingly.
For more tips on baking and recipe variations, check out resources from The Kitchn or Serious Eats. Happy baking!
Conclusion on Cherries in the Snow
A perfect dessert for any occasion
In the realm of delightful desserts, Cherries in the Snow stands out as a versatile option that can elevate brunches, dinner parties, or even cozy nights in. The creamy, dreamy texture combined with the pop of tart cherries makes it an irresistible treat for any palate. Plus, it’s a breeze to whip up!
Imagine impressing your friends with this stunning dessert while keeping things simple. Whether you’re a novice baker or a seasoned chef, this recipe is sure to become a staple in your repertoire.
So why not bring a little sweetness into your life? Explore more ideas for delightful desserts at Taste of Home or browse through seasonal recipes at AllRecipes. Your next gathering will surely be a hit with Cherries in the Snow!
Print
Cherries in the Snow: A Delightfully Easy Dessert to Savor
- Total Time: 2 hours 20 minutes
- Yield: 8 servings
- Diet: Vegetarian
Description
Cherries in the Snow is a simple yet delicious dessert, perfect for any occasion. This delightful treat combines the vibrant flavors of cherries with a creamy, fluffy topping.
Ingredients
- 1 can cherry pie filling
- 1 package cream cheese
- 1 cup powdered sugar
- 1 container whipped topping
- 1 cup crushed graham crackers
- 1/2 cup melted butter
- 1 teaspoon vanilla extract
Instructions
- In a mixing bowl, combine the cream cheese and powdered sugar until smooth.
- Fold in the whipped topping and vanilla extract until well incorporated.
- In another bowl, mix the crushed graham crackers with melted butter to form the crust.
- Press the crust mixture into the bottom of a serving dish.
- Spread the cream cheese mixture over the crust.
- Top with cherry pie filling.
- Chill in the fridge for at least 2 hours before serving.
Notes
- For a lighter version, substitute low-fat cream cheese and whipped topping.
- Feel free to use fresh cherries if they are in season.
- Prep Time: 20 minutes
- Category: Dessert
- Method: No-Bake
- Cuisine: American
Nutrition
- Serving Size: 1 slice
- Calories: 250
- Sugar: 18g
- Sodium: 180mg
- Fat: 12g
- Saturated Fat: 7g
- Unsaturated Fat: 3g
- Trans Fat: 0g
- Carbohydrates: 34g
- Fiber: 1g
- Protein: 3g
- Cholesterol: 30mg