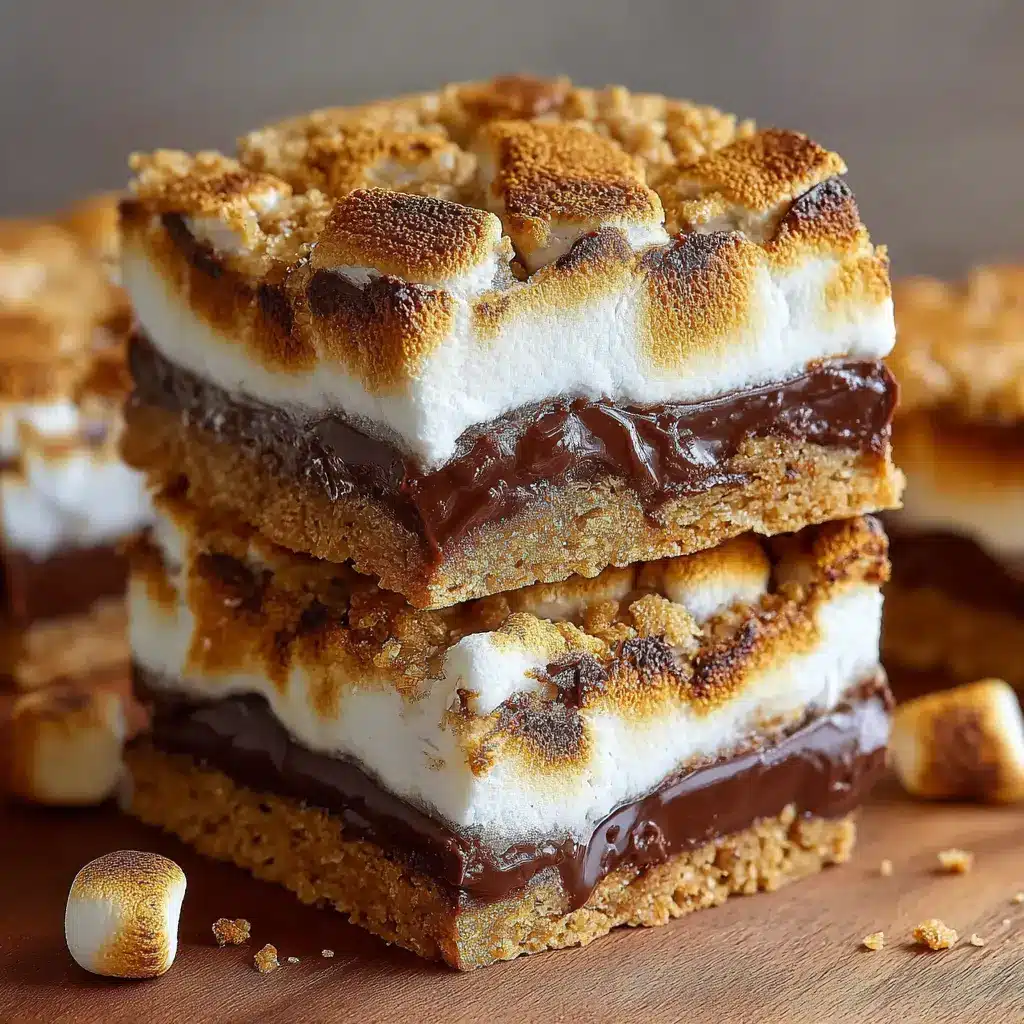
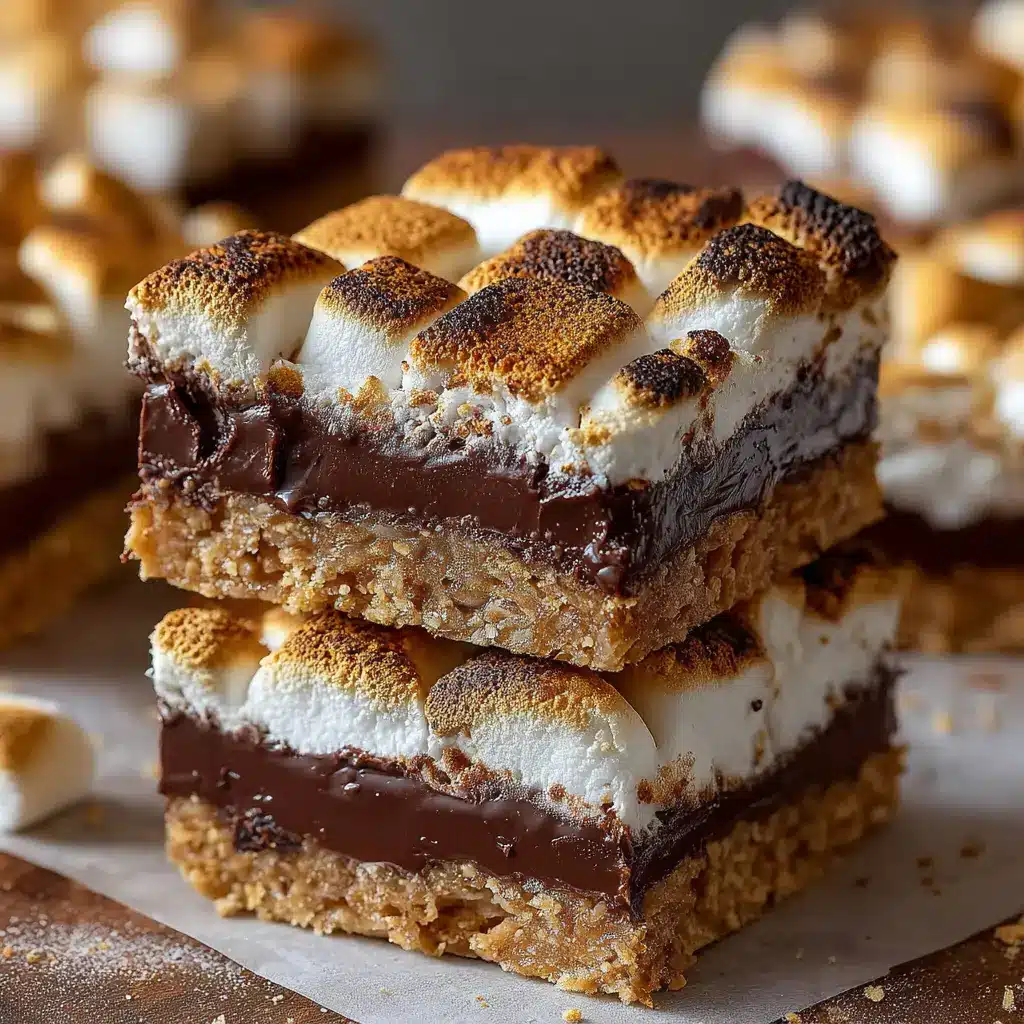
Introduction to S’mores Bars
When it comes to dessert ideas that capture nostalgia and delight the taste buds, s’mores bars rank surprisingly high on the list. These delightful treats take the classic campfire favorite—graham crackers, marshmallows, and chocolate—and transform them into a convenient, easy-to-eat bar format. But why are s’mores bars a must-try?
Why S’mores Bars Are a Must-Try Dessert
Uniquely Versatile
One of the best things about s’mores bars is their ability to adapt to your tastes. Don’t like traditional chocolate? Replace it with caramel or peanut butter. Prefer a gluten-free option? Simply choose gluten-free graham crackers and ensure your chocolate is suitable. The array of modifications means that everyone can enjoy these bars, regardless of dietary preferences.
Easy to Make
If you’ve ever attempted to roast marshmallows over a campfire, you know it can be a messy affair. With s’mores bars, you can skip the hassle. All you need is a baking dish, some key ingredients, and about 30 minutes. It’s a fantastic weekend project or a sweet addition to any gathering—perfect for impressing friends at your next barbecue or casual dinner party.
Shareable Treats
There’s something inherently social about food, and s’mores bars are no exception. They are excellent for sharing and can easily be sliced into bite-sized pieces. This makes them perfect for potlucks, picnics, or even as a little indulgence while binge-watching your favorite series. Plus, who doesn’t love a dessert that invites conversation and reminiscence?
Hosting Made Easy
Planning a cozy gathering? Consider adding s’mores bars to your dessert table. They pair beautifully with milk or even a warm hot chocolate for that true autumn experience. Having something homemade, warm, and gooey can set a wonderful tone for your get-together.
So, whether you’re reminiscing about summers spent around a campfire or simply craving something sweet, consider whipping up a batch of s’mores bars. They’re straightforward, delightful, and definitely a crowd-pleaser—your tastebuds will thank you! For more ideas on delightful desserts, check out resources like Taste of Home for some inspiration!
Ingredients for S’mores Bars
Creating delicious s’mores bars is all about using the right ingredients that bring together flavors and textures for an unforgettable treat. Let’s dive into the essentials you’ll need for this mouthwatering recipe!
Graham Cracker Crust
- Graham crackers: Ideal for that classic, sweet crunch. Aim for about two cups of finely crushed graham crackers.
- Unsalted butter: You’ll need around 1/2 cup melted to bind the crust perfectly.
Chewy Center
- Marshmallows: Mini marshmallows work best, about 2 cups to achieve that gooey, melt-in-your-mouth sensation.
- Chocolate chips: A cup of semi-sweet chocolate chips or a chopped chocolate bar for richness.
Topping Options
- Extra chocolate: For those chocolate lovers, consider adding a sprinkle of chocolate over the top or some chocolate drizzle.
- Nutty addition: Chopped nuts can add a delightful crunch — think pecans or almonds!
With these core ingredients, you’re just a few steps away from crafting your own s’mores bars. For a detailed recipe with tips, check out Food Network.
Happy baking!
Step-by-Step Preparation of S’mores Bars
S’mores bars combine the classic charm of traditional s’mores with the convenience of easy-to-bake treats. Perfect for cozy gatherings or just a night in, these bars are sure to evoke nostalgia and satisfy sweet cravings. Let’s take a look at how to prepare these delightful confections step-by-step.
Preheat Your Oven
The first and perhaps the simplest step is to preheat your oven to 350°F (175°C). This ensures that once your ingredients are ready, you won’t have to wait for the oven to heat up. Trust me, no one likes waiting when they’re excited about baking s’mores bars!
Prepare the Graham Cracker Crust
Now, let’s prepare that iconic crust. You’ll need:
- 1 ½ cups of graham cracker crumbs
- ½ cup of unsweetened cocoa powder
- ½ cup of sugar
- 1 stick (½ cup) of melted butter
- A pinch of salt
In a mixing bowl, combine the graham cracker crumbs, cocoa powder, sugar, and salt. Then, pour in the melted butter and mix until your consistency resembles wet sand. If you enjoy a crunchier crust, try using a fork or a food processor to ensure even distribution! In fact, a study by the American Journal of Clinical Nutrition suggests that engaging with food preparation can enhance your culinary skills and enjoyment.
Bake the Crust
Once your mixture is ready, it’s time to transfer it into a greased baking dish—an 8×8 inch pan works perfectly. Press the crust evenly across the bottom and up the sides of the pan. This creates a sturdy foundation for your s’mores bars. Pop it into the preheated oven and bake for about 10 minutes, allowing the crust to firm up and develop a nice base flavor.
Layer the Chocolate
After your crust has done its time in the oven, it’s time to add the chocolate layer. For this, you’ll need:
- 2 cups of semi-sweet chocolate chips
Evenly sprinkle the chocolate chips over the baked crust. As they begin to melt, you can gently spread them out with a spatula. If you want an added flavor punch, consider mixing in some chocolate with hazelnut spread or almond chocolate to give your bars a gourmet twist!
Add the Marshmallow Layer
Now comes the star of the show—the marshmallows. You’ll need:
- 2 cups of mini marshmallows
Spread the mini marshmallows generously over the melted chocolate layer. Don’t be shy; the more, the merrier! If you’re feeling adventurous, you could even drizzle some caramel sauce on top for an extra layer of sweetness and flavor complexity.
Bake the Bars
Return the assembled dish to the oven and bake for an additional 10-15 minutes, or until the marshmallows have puffed up and turned a beautiful golden brown. Keep a close eye on them; you don’t want burnt marshmallows ruining your masterpiece! The s’mores bars will smell fantastic during this step, likely making everyone in the house feel a little more cheerful.
Cool and Slice
Once baked, allow your s’mores bars to cool in the pan for about 15-20 minutes. This waiting period enhances the flavors and helps the bars set, making them easier to slice. After they cool, use a sharp knife to cut them into squares or rectangles—whatever shapes you prefer. Two handy tips: using a wet knife can make slicing easier, and waiting until they’re completely cooled will ensure cleaner edges.
And there you have it! Your homemade s’mores bars are ready to be enjoyed. Whether served at a gathering or kept for personal indulgence, these bars are bound to be a hit. Happy baking!
Creative Variations on S’mores Bars
Maybe you’re like me and can’t resist the gooey-sweet delight of s’mores bars. They’re classic, but why stop at just the traditional version? Let’s explore some clever twists that’ll keep your taste buds dancing!
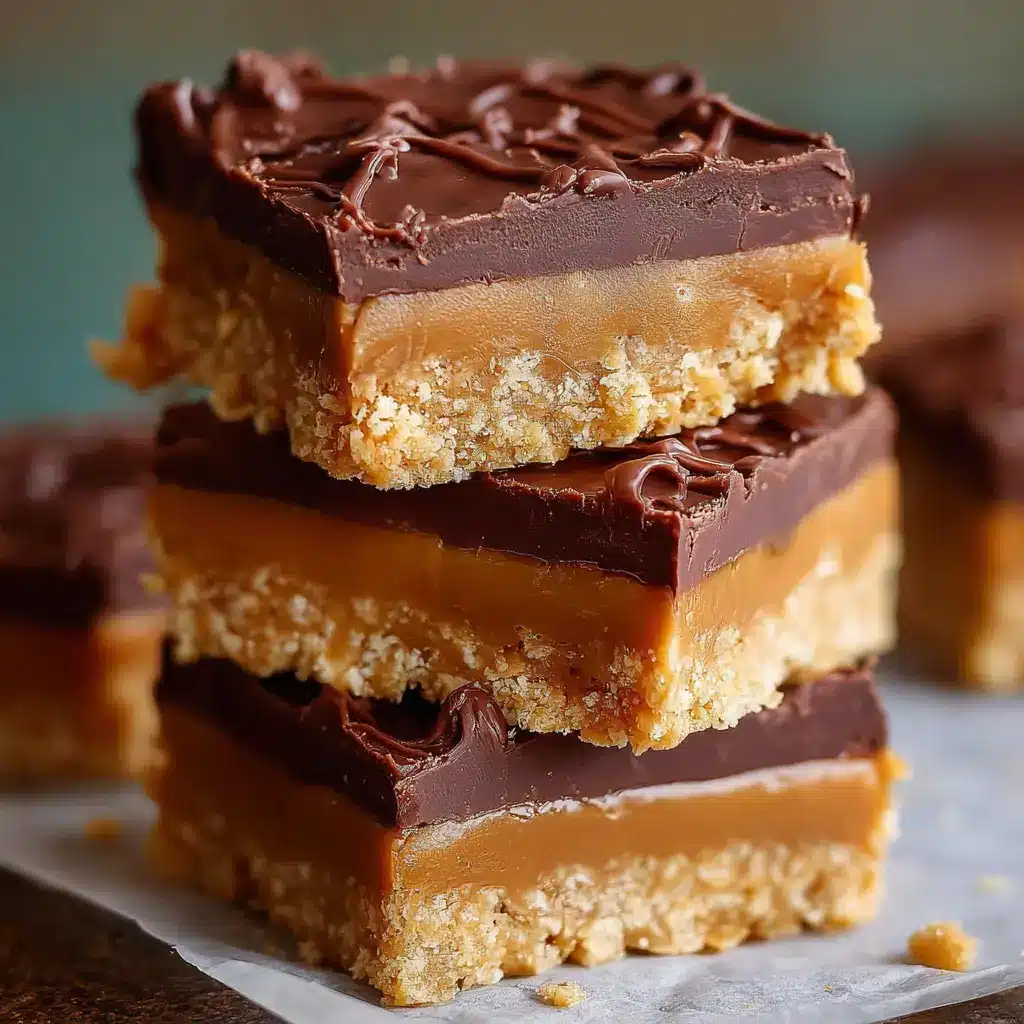
Peanut Butter S’mores Bars
If you’re a peanut butter fanatic, I’ve got just the thing: Peanut Butter S’mores Bars. Instead of the classic chocolate layer, spread a layer of creamy peanut butter over the graham cracker base. Top it off with mini marshmallows and a drizzle of melted chocolate. The nutty flavor paired with the sweet marshmallows and graham crackers is seriously a game changer. You can even add a sprinkle of crushed peanuts for an extra crunch!
Nut-Free S’mores Bars
Hosting a friend with nut allergies? No problem! Make Nut-Free S’mores Bars by simply sticking to the essentials. Swap out any nut butter or toppings for sunbutter or even a rich caramel layer. This way, you maintain that delightful sweetness and gooeyness without compromising anyone’s health. Don’t forget to double-check that your graham crackers are nut-free—some brands might sneak in traces or include nut-derived ingredients! For more information on allergies and safe substitutions, you can check out the Allergy and Asthma Foundation of America.
Creating these variations not only adds to your s’mores bars repertoire but also allows you to cater to diverse tastes and dietary needs. So why not give these fun twists a try at your next gathering? You’ll be the star of the show, and your friends will thank you for the sweet surprises!
Cooking Tips and Notes for S’mores Bars
When it comes to making s’mores bars, getting the right texture and flavor is key. Here are some helpful tips to make your baking experience seamless:
Choosing the Right Ingredients
- Use high-quality chocolate: Opt for a good milk chocolate or a rich dark chocolate for a gourmet twist. Brands like Ghirardelli or Scharffen Berger can elevate your bars.
- Fresh marshmallows: Go for soft, fresh marshmallows for that irresistible gooeyness. Don’t settle for stale ones; trust me, it makes a difference!
Baking Perfection
- Greasing the pan well: Make sure you generously grease your baking dish to prevent sticking—nobody wants to lose part of their precious s’mores bars to the pan!
- Cool and slice carefully: Let your bars cool completely before slicing. This allows the flavors to set and makes cutting easier.
Flavor Variations
Feel free to experiment! Add in some chopped nuts or a swirl of peanut butter for an extra layer of flavor. For more fresh takes on this classic treat, check out resources like The Kitchn for ideas.
Enjoy your baking adventure! With these s’mores bars tips, you’ll impress friends and family alike.
Serving Suggestions for S’mores Bars
When the craving for s’mores bars hits, it’s all about how you serve them. These delightful treats can be taken from a simple dessert to a memorable experience with just a few creative touches.
Pairing with Beverages
Consider offering a variety of beverages that enhance the flavors of your s’mores bars. For something refreshing, ice-cold milk or a creamy vanilla almond milk can make the perfect complement. If you’re feeling adventurous, whip up a batch of homemade hot chocolate topped with marshmallows for an added cozy twist.
Toppings Galore
Get creative with toppings! Here are some fun ideas:
- Drizzle melted chocolate and caramel on top.
- Sprinkle crushed graham crackers for extra texture.
- Add a handful of chopped nuts for a savory crunch.
Create a S’mores Bar Station
Set up a DIY s’mores bar at your next gathering. Lay out all the essentials – s’mores bars, extra chocolate, and toppings – and let your guests customize their bites. It’s interactive, engaging, and, best of all, delicious.
For more inspiration on pairing desserts, check out resources from Food & Wine or Bon Appétit. Enjoy your cooking adventure!
Time Breakdown for S’mores Bars
Preparation Time
Making s’mores bars is a quick and delightful treat! You’ll need about 15-20 minutes to gather your ingredients and whip up the base. This includes crushing graham crackers, mixing in brown sugar, and blending in that irresistible melted butter. It’s a straightforward process that even beginners can tackle with ease!
Baking Time
Once your mixture is ready, pop those delicious bars into the oven for a cozy 25-30 minutes. You’ll know they’re done when the edges are golden brown and the center is just set—trust me, the aroma will be hard to resist!
Total Time
Overall, you’re looking at approximately 45-50 minutes from start to finish. Just enough time for a quick chat with a friend or to prep that ice cream you plan to serve on the side. So go ahead and indulge in these easy, gooey s’mores bars! They’re perfect for sharing (or keeping all to yourself)! If you’re curious about the best pairing ideas, consider some classic milk or even coffee to elevate your experience.
Nutritional Facts for S’mores Bars
Making s’mores bars is not only about indulgence; it’s also helpful to understand what you’re putting into your body. Here’s a quick breakdown of their nutritional profile:
Calories
One serving of s’mores bars typically contains around 200-250 calories. Given their rich ingredients, they pack a tasty punch that can satisfy your sweet tooth without completely derailing your health goals.
Sugars
With approximately 18-22 grams of sugar per serving, these bars are definitely a treat! Pairing the chocolate and marshmallows gives that classic sweet flavor, but moderation is fabulous for achieving a balanced diet. For more insights on sugar intake, check out the CDC’s recommendations.
Fats
S’mores bars usually have around 9-12 grams of fat, largely from ingredients like butter and chocolate. While these fats are not all bad, they can add up, so consider enjoying these bars as an occasional delight rather than a daily snack.
Being conscious of these numbers can help you savor every bite of your s’mores bars, knowing you’re making a deliciously informed choice! For healthier variations, you might want to explore alternatives at Healthline.
FAQs about S’mores Bars
Can I make S’mores Bars ahead of time?
Absolutely! One of the best aspects of s’mores bars is that they can be prepared in advance, making them a perfect treat for gatherings or a cozy night in. After baking, allow them to cool completely, then cover them tightly with plastic wrap or foil. They can typically stay fresh for up to three days at room temperature. If you need to store them longer, consider refrigerating them for up to a week.
How do I store leftover S’mores Bars?
Storing leftover s’mores bars is simple. To keep them fresh:
- Room Temperature: Place the bars in an airtight container. They’ll remain delicious for about 3 days.
- Refrigeration: If you prefer a chilled treat, these bars can last up to a week in the fridge. Just be sure to wrap them well to prevent them from drying out.
- Freezing: Feeling ambitious? You can freeze them! Cut them into squares, wrap them individually in plastic wrap, and place them in a freezer-safe container. They’ll last up to 2 months — perfect for a last-minute dessert.
Can I substitute ingredients in S’mores Bars?
Definitely! S’mores bars are versatile. If you’re out of graham crackers, use digestive biscuits or even crushed cookies for a unique twist. Want to switch up the chocolate? Dark chocolate or peanut butter chips can elevate the flavor. You can also customize the type of marshmallows or even use a different nut butter to bind the ingredients.
For more great tips, check out resources like Bon Appétit or Food Network. They are excellent places for fun ingredient swaps and recipe inspiration!
Conclusion on S’mores Bars
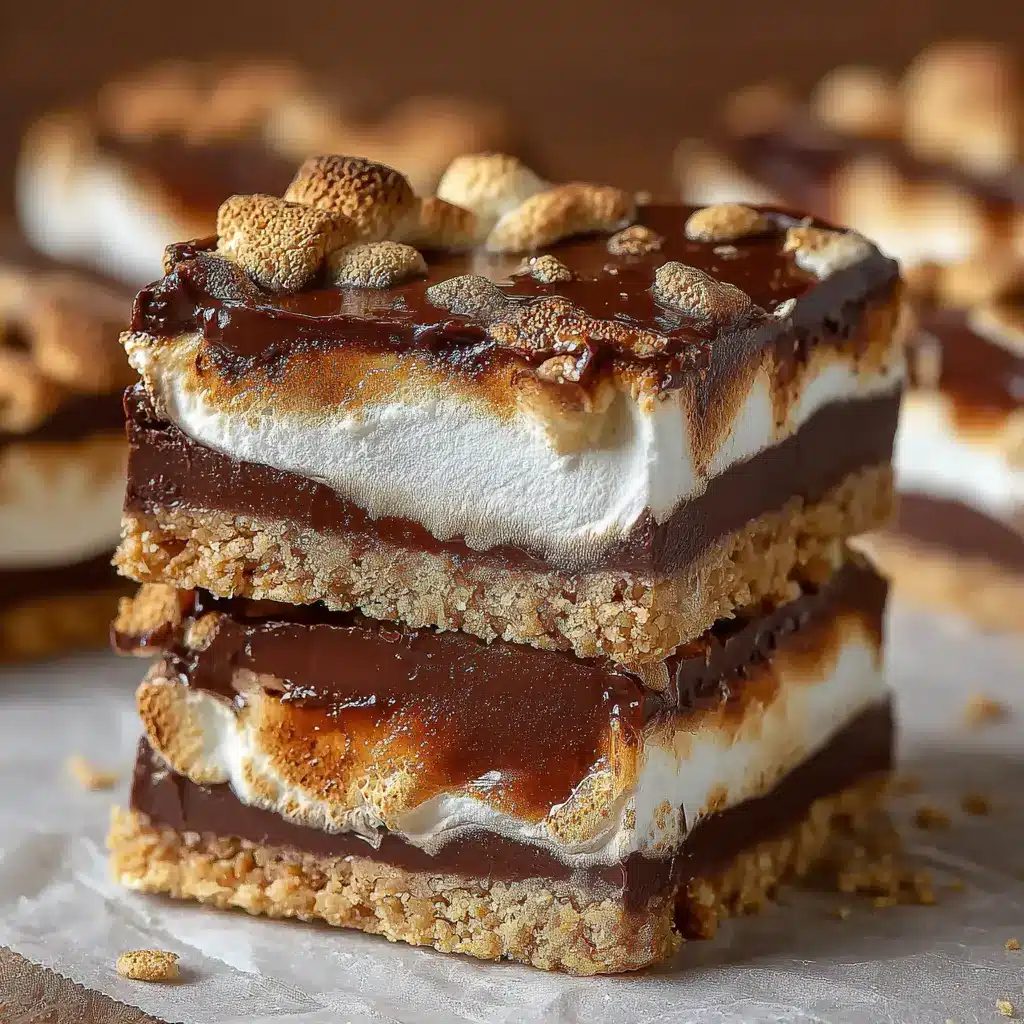
S’mores bars are a delightful treat that bridges the gap between nostalgia and modern dessert convenience. Whether you’re gathering around a fire or hosting a cozy movie night, these bars are sure to impress. Their easy preparation and delightful combination of chocolate, marshmallow, and graham crackers make them a favorite for both kids and adults alike.
To elevate your s’mores experience, consider adding unique twists like peanut butter or even substituting classic ingredients with fun alternatives. With just a few simple ingredients, you can create a memorable dessert for any occasion. So, why wait? Gather your friends and dive into the delicious world of s’mores bars today! For more luscious dessert ideas, check out resources like Sally’s Baking Addiction or Serious Eats.
Print
S’mores Bars: Indulgent Treats That Bring Joy to Every Bite
- Total Time: 35 minutes
- Yield: 16 bars
- Diet: Vegetarian
Description
These S’mores Bars are an indulgent treat that combines the classic flavors of s’mores into a delicious, easy-to-make dessert. Perfect for gatherings or a sweet snack!
Ingredients
- 1 ½ cups graham cracker crumbs
- ½ cup unsweetened cocoa powder
- 1 cup sugar
- ½ cup unsalted butter, melted
- 1 large egg
- 2 cups mini marshmallows
- 1 cup chocolate chips
- ½ cup milk chocolate bars, chopped
Instructions
- Preheat your oven to 350°F (175°C) and grease a 9×9 inch baking pan.
- In a large bowl, mix together graham cracker crumbs, cocoa powder, and sugar.
- Add the melted butter and egg to the mixture, stirring until combined.
- Press the mixture into the bottom of the prepared baking pan.
- Bake for about 10 minutes, then remove from the oven.
- Sprinkle mini marshmallows and chocolate chips evenly over the baked crust.
- Layer the chopped chocolate bars on top of the marshmallows and chips.
- Return to the oven and bake for an additional 5-7 minutes, until marshmallows are golden brown.
- Allow to cool before cutting into squares and serving.
Notes
- For extra flavor, add a pinch of sea salt on top before baking.
- Store in an airtight container for up to a week.
- Prep Time: 15 minutes
- Cook Time: 20 minutes
- Category: Desserts
- Method: Baking
- Cuisine: American
Nutrition
- Serving Size: 1 bar
- Calories: 220
- Sugar: 16g
- Sodium: 150mg
- Fat: 10g
- Saturated Fat: 6g
- Unsaturated Fat: 2g
- Trans Fat: 0g
- Carbohydrates: 30g
- Fiber: 1g
- Protein: 2g
- Cholesterol: 30mg
")