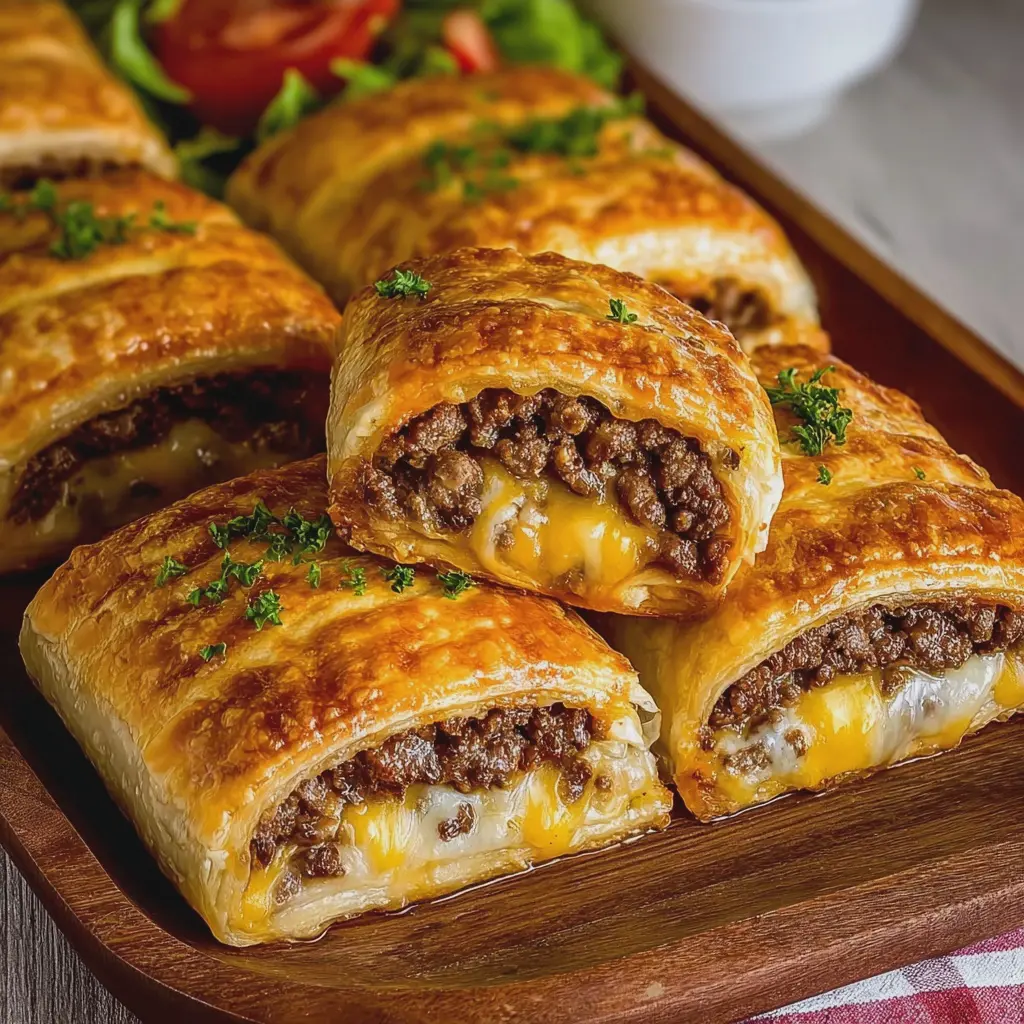
Introduction to Cheeseburger Pockets
If you’ve ever found yourself craving a cheeseburger but desperately searching for a quick and easy meal option, cheeseburger pockets are here to save the day. Imagine the satisfying taste of a juicy cheeseburger, but wrapped up in a delicious, portable pocket that you can eat on the go. They’re not just any meal—they’re a revolution for your weeknight dinner routine.
Why Homemade Cheeseburger Pockets Are a Game Changer?
First, let’s talk about freshness. When you create homemade cheeseburger pockets, you control the ingredients. This means you can use lean beef, whole grain dough, and fresh toppings like diced tomatoes or pickles. You can swap out traditional burger components to suit your taste, like using turkey bacon for added flavor or chicken ham for a twist that you won’t find at your typical fast-food joint. It’s this level of personalization that makes them a great option for busy young professionals looking to maintain a balanced diet.
Additionally, preparing cheeseburger pockets is incredibly easy. With a little prep—the dough can be made from scratch or purchased pre-made—you can whip these up in under 30 minutes. This is a huge win when you’re juggling work, fitness, and your social calendar. You can even make a big batch in advance, freeze them, and enjoy them throughout the week. Just heat them in the oven or microwave for a satisfying meal in minutes.
Moreover, these cheeseburger pockets are perfect for meal prep. According to the USDA, meal prepping can save you time and reduce food waste, making it a sustainable choice for your lifestyle. Furthermore, they offer a fun and interactive way to get your friends or family involved in cooking. Everyone can customize their own pocket, creating a unique culinary experience.
In short, whether you’re at home or on the go, having cheeseburger pockets in your repertoire can transform how you think about meals. Ready to dive into this exciting recipe? Let’s get cooking! For more tips on meal prepping, check out these resources.
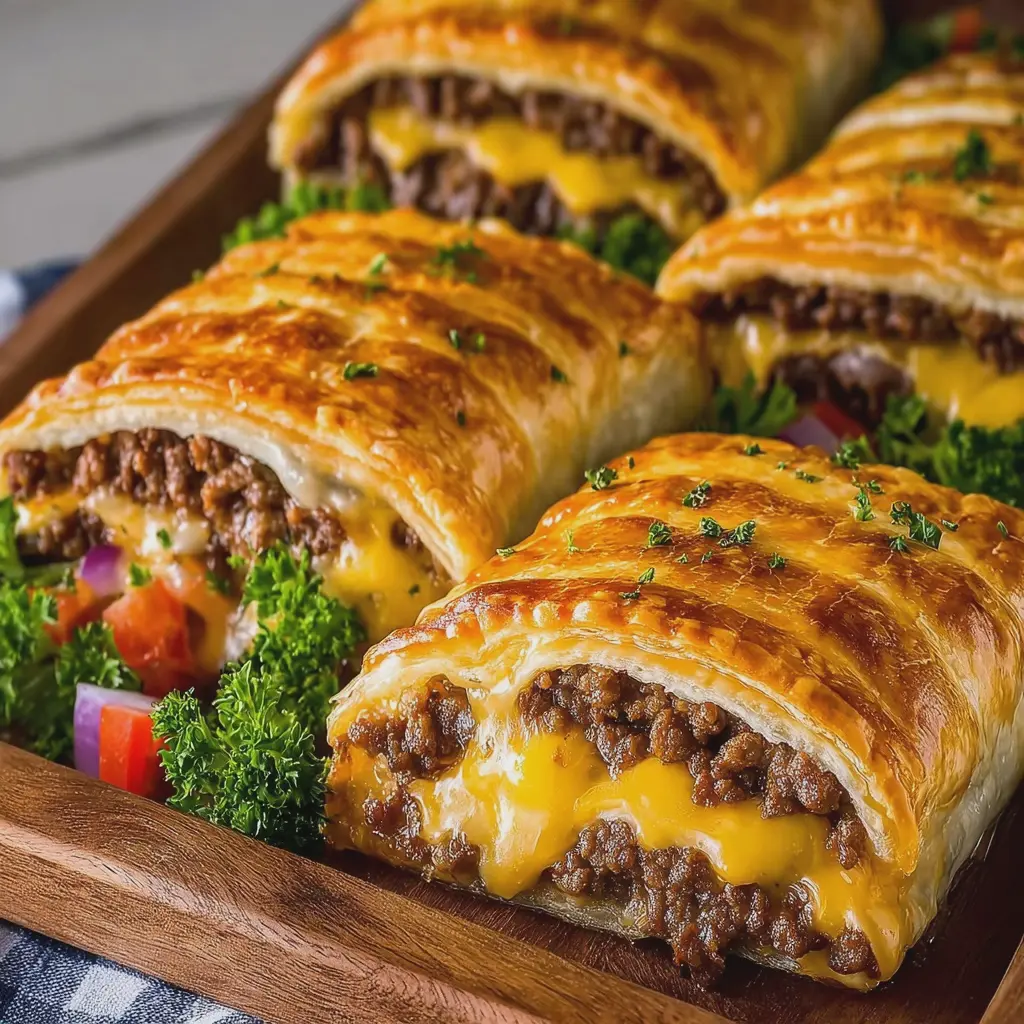
Ingredients for Cheeseburger Pockets
Essential ingredients for a delicious cheeseburger pocket
Creating mouthwatering cheeseburger pockets at home is both fun and rewarding. Let’s gather the essentials that will elevate your pockets from average to outstanding.
- Ground Beef: The star of any cheeseburger, finely ground beef offers a rich, savory flavor. Look for a blend with about 80% lean meat for that perfect balance of taste and juiciness.
- Turkey Bacon: For that crispy texture without excessive fat, turkey bacon is an excellent choice. It adds a delightful crunch while keeping your pockets lighter.
- Chicken Ham: If you want to switch up the flavor profiles, diced chicken ham brings a subtle smokiness to the party.
- Cheese: Opt for shredded cheddar or American cheese for that gooey, melty goodness that brings everything together.
- Onions and Garlic: Sautéed onions and minced garlic enhance the flavor tremendously, creating a fragrant base that’s hard to resist.
- Seasonings: Don’t forget salt, pepper, and your favorite herbs to bring all the flavors alive.
Mix it up, have fun, and feel free to check out more ideas on cooking substitutions for a creative twist!
Preparing Cheeseburger Pockets
Creating cheeseburger pockets can feel like a culinary adventure right in your own kitchen! Whether you’re cooking for friends or whipping up a quick meal for yourself, these golden, flaky pockets filled with savory goodness are sure to be a hit. Let’s dive into the preparation process.
Preheat and Prepare Your Skillet
Before anything else, it’s time to kick things off by preheating your oven to 375°F (190°C). This step ensures that when you finally bake your cheeseburger pockets, they’ll be perfectly crispy on the outside and gooey on the inside.
Next, place a large skillet on medium heat. If you’re like me and love a good non-stick skillet, now’s the time to pull it out. It’ll help prevent any sticking or burning, making cleanup a breeze later on.
Sauté the Onions to Perfection
Now comes the aromatic part. Add a dash of olive oil to your skillet and toss in some finely chopped onions. As they sauté, stir occasionally until they turn translucent and soft, about 3-4 minutes. If you want to bring even more depth to your cheeseburger pockets, consider mixing in a pinch of garlic or a sprinkle of your favorite herbs. The smell will make your kitchen feel inviting and warm—a perfect start for your meal!
A little tip: If you’re curious about the health benefits of cooking with onions, check out this Nutritional Guide for more!
Brown the Ground Beef in Your Skillet
With those onions caramelized just right, it’s time to introduce the star of the show: ground beef. Add it to the skillet, breaking it apart with a spoon or spatula. Continue to cook until it’s browned completely, which should take about 5-7 minutes. Make sure not to skip this step—browning the beef adds a rich layer of flavor to your cheeseburger pockets.
Looking for a leaner option? You could also swap in ground turkey or even plant-based grounds!
Add Seasoning and Let the Flavors Mingle
Once your beef is browned, it’s time for the fun part: seasoning! Sprinkle in some salt, pepper, and a blend of your favorite spices. Think of adding a touch of mustard powder or Worcestershire sauce for that classic cheeseburger tang. Allow the mixture to simmer for another couple of minutes—this is where all those flavors start to meld beautifully.
Are you wondering what other flavor-enhancing tricks you can try? This article on Essential Seasonings might spark some inspiration!
Cool and Assemble the Cheeseburger Pockets
Once your filling has cooled slightly, it’s time to assemble those cheeseburger pockets! Grab your dough, which you can make from scratch or use pre-made puff pastry. Roll it out, and cut it into squares or circles. Spoon a generous amount of your beef and onion mixture into the center of each piece, then top with shredded cheese before folding them over. Don’t forget to seal the edges well—using a fork can make a charming crimped design while ensuring everything stays inside!
Bake Until Golden Brown and Delicious
Now comes the final and most exciting step: baking! Place your assembled cheeseburger pockets on a parchment-lined baking sheet and pop them into the preheated oven. Bake for about 15-20 minutes, or until they’re golden brown. The smell wafting through your kitchen will make it hard to wait, but trust me—it’ll be worth it.
As you remove them from the oven, let them cool for just a few minutes before serving. You can pair them with your favorite dipping sauces like ketchup or a spicy mayo, and watch as your friends joyfully dig into your delicious creation!
And there you have it, the complete guide to preparing cheeseburger pockets. Enjoy the experience and impress your friends or family with these scrumptious treats!
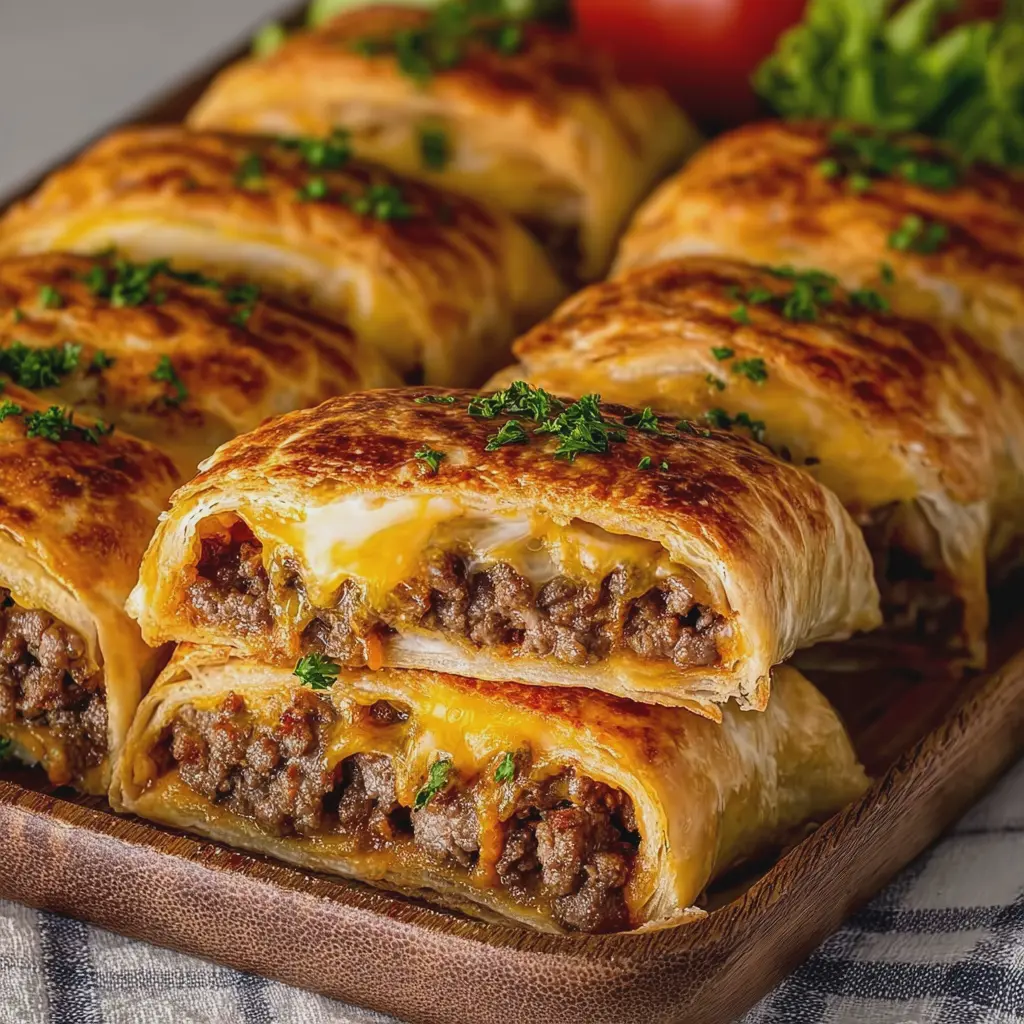
Variations on Cheeseburger Pockets
Spicy Cheeseburger Pockets with Jalapeños
Looking to add a kick to your cheeseburger pockets? Try incorporating jalapeños! Their heat complements the flavor of the beef perfectly. Simply mix chopped jalapeños into your beef mixture before assembling the pockets. If you’re feeling extra adventurous, a sprinkle of pepper jack cheese can really amp up the spice factor. For more spicy inspiration, check out Spicy Food Trends.
Vegetarian Cheeseburger Pockets Using Lentils
For a meatless twist, consider making vegetarian cheeseburger pockets with lentils. Cooked lentils provide a hearty texture and absorb flavors well. You can sauté them with onions, garlic, and your favorite seasonings, creating a delicious filling that satisfies without the beef. And let’s not forget the cheese—crumbled feta or sharp cheddar can add that creamy element we love in traditional cheeseburger pockets. For more vegetarian recipes, visit Forks Over Knives.
Cheeseburger Pocket Sliders for Parties
Hosting a gathering? Cheeseburger pocket sliders are the ultimate crowd-pleaser! Simply make smaller versions of the pockets, which are perfect for dipping. Serve them alongside a variety of sauces—think ketchup, BBQ, or even a zesty ranch dressing. These mini delights cater to various tastes and keep your guests coming back for more! Plus, they’re easy to prepare and can be made ahead of time for a stress-free entertaining experience.
With these delightful variations, you’re sure to impress friends and family while keeping meals exciting. Turn your cheeseburger pockets into a memorable experience!
Cooking tips and notes for Cheeseburger Pockets
Best practices for perfect dough
Creating the ideal dough is key to making delicious cheeseburger pockets. Here are some tips to ensure success:
- Use cold ingredients: Start with cold butter or margarine for a flaky texture. When kneading, avoid overworking the dough to keep it tender.
- Measure accurately: Too much flour can lead to a tough dough. Use a kitchen scale or spoon flour lightly into your measuring cup for precision.
- Rest the dough: Let it chill in the refrigerator for 30 minutes—this helps with elasticity, making it easier to roll out.
For additional guidance on dough preparation, check out this expert article.
Tips for even cooking
Even cooking is crucial for achieving perfectly golden cheeseburger pockets. Consider these suggestions:
- Uniform filling: Chop your ingredients evenly for consistent cooking. This ensures that every bite packs a flavorful punch.
- Preheat your oven: Always preheat your oven to the recommended temperature before baking. This step allows the dough to rise properly and cook evenly.
- Use baking sheets wisely: For best results, use parchment paper to prevent sticking, ensuring all sides brown beautifully.
With these tips in mind, you’ll be ready to whip up mouthwatering cheeseburger pockets that your friends and family will love!
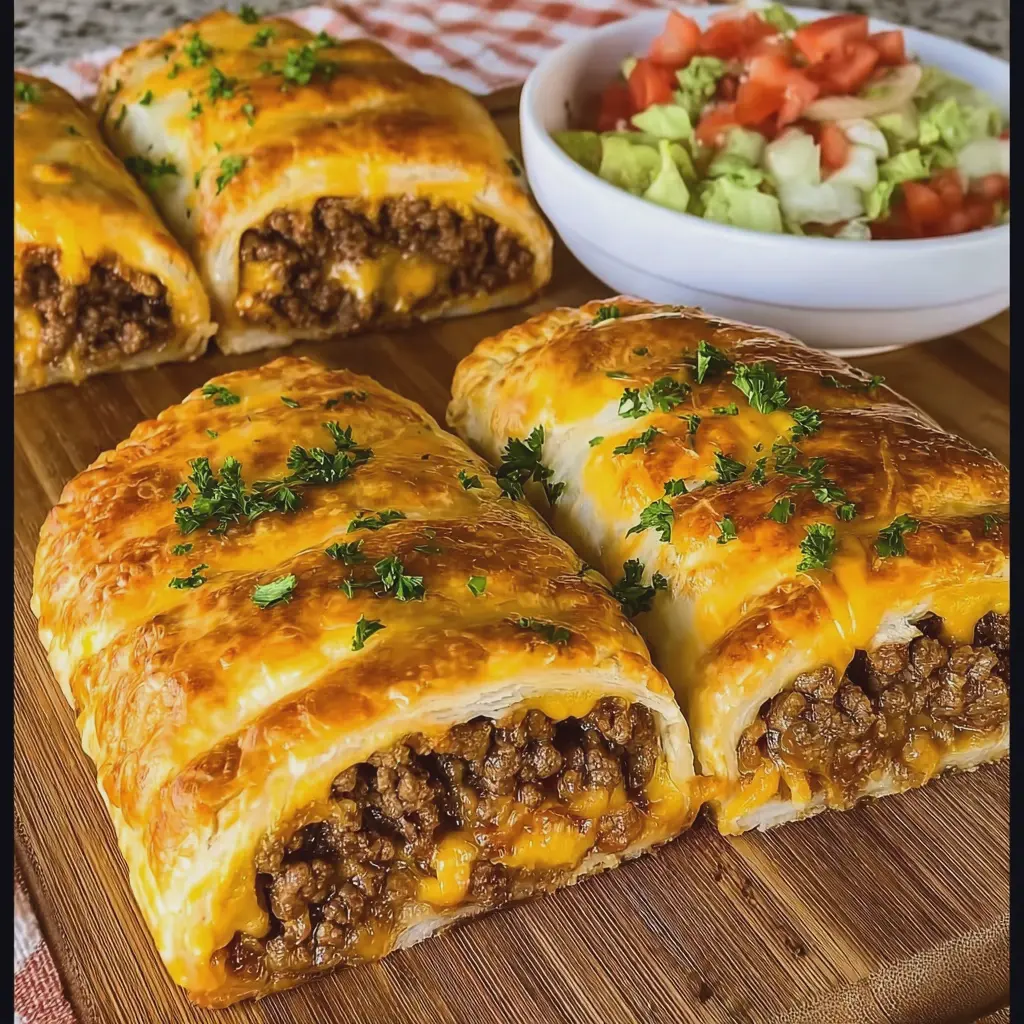
Serving suggestions for Cheeseburger Pockets
Ideal Dipping Sauces
When it comes to cheeseburger pockets, a delightful dipping sauce can elevate the entire experience. Try pairing them with classic condiments for that homey feel:
- Ketchup: Simple, yet satisfying.
- Mustard: Adds a tangy twist—perfect for those who enjoy a little zing.
- Barbecue Sauce: The smoky flavor complements the cheeseburger filling wonderfully.
- Ranch Dressing: Creamy and rich, it’s a crowd-pleaser!
Experimenting with various sauces can make your meal exciting and cater to everyone’s palate.
Pairing with Sides
To complete your cheeseburger pocket meal, consider these sides that balance flavor and texture:
- Crispy Fries: Traditional, crunchy fries are a natural pairing. Try sweet potato fries for a hint of sweetness.
- Coleslaw: The crunchiness and acidity of coleslaw cut through the richness of the pockets, adding freshness.
- Garden Salad: A light salad dressed in vinaigrette provides a refreshing contrast and is an easy way to include veggies.
These pairings make for a satisfying meal that’s perfect for casual weeknight dinners or gathering with friends. Don’t forget to check out some dipping sauce recipes for even more creative ideas!
Time breakdown for Cheeseburger Pockets
Preparation time
Getting started on your cheeseburger pockets is all about efficiency. You’ll need about 15–20 minutes to gather ingredients, chop veggies, and prepare the filling. Pro tip: multitask by preheating your oven while you prep!
Cooking time
Once your pockets are stuffed and sealed, pop them in the oven for approximately 20 minutes. Keep an eye on them; you want a golden brown finish that is both inviting and delicious.
Total time
All in all, you’re looking at around 40–45 minutes from start to finish. That means you can whip up these delightful treats on a weeknight without missing a beat! Ideal for a cozy dinner or impressing friends during game night. Dive into this recipe and enjoy a fun twist on a classic favorite! If you’re curious about more tips for meal prepping, check out resources at The Kitchn.
Nutritional facts for Cheeseburger Pockets
Calories per serving
When it comes to tasty meals like cheeseburger pockets, you’re probably curious about the caloric content. Each serving typically contains around 350-400 calories. Not bad for a meal that feels indulgent, right?
Key nutrients
These delightful pockets are not just about calories; they pack a nutritious punch! Here are a few key nutrients you can expect:
- Protein: Approximately 20g, thanks to the beef and cheese.
- Fat: About 18g, which can vary based on your choice of cheese and meat.
- Carbohydrates: Roughly 30g, providing energy for your day.
For more detailed nutritional insights, check out reliable sources like the USDA FoodData Central.
Healthier ingredient substitutions
Want to make your cheeseburger pockets a bit healthier? Here are some substitutions to consider:
- Lean beef or turkey bacon: Choosing leaner options can reduce fat calories.
- Low-fat cheese: Opting for reduced-fat cheese can help cut down on saturated fat.
- Whole wheat dough: For an added fiber boost, try using whole wheat dough instead of traditional pastry.
These simple tweaks can transform your meal into something that not only satisfies cravings but supports your wellness goals. With every bite of these cheeseburger pockets, you’re not just treating yourself; you’re nourishing your body too!
FAQs about Cheeseburger Pockets
Can I make cheeseburger pockets ahead of time?
Absolutely! Making cheeseburger pockets ahead of time is a great way to save time during busy weekdays. You can prepare the filling in advance, let it cool, then assemble the pockets with the dough. If you’re short on time, you can also fully cook them and store them in an airtight container in the fridge for up to three days. Just reheat in the oven for a few minutes before serving. Perfect for meal prepping those on-the-go lunches!
What can I use instead of crescent roll dough?
If crescent roll dough isn’t your thing or you’re looking for a healthier option, there are several alternatives! Consider using:
- Pizza dough: It gives a nice, chewy texture.
- Puff pastry: For an elegant, flaky finish.
- Whole wheat dough: For a healthier twist that adds fiber.
- Tortillas: For a lower-carb option, simply fold them around the filling.
Feel free to get creative with your dough choice for a personal touch!
Are cheeseburger pockets freezer-friendly?
Yes, cheeseburger pockets are fantastic for the freezer! Whether you make them from scratch or leftovers, they can be stored in a freezer-safe bag. Just ensure they are fully cooled before sealing to prevent moisture buildup. When you’re ready to enjoy them, pop them in the oven directly from the freezer, and you’ll have a delicious meal in no time. For more tips on freezing and reheating, you can check out this helpful guide on freezing meals.
So next time you’re in a pinch for dinner or lunch, remember these FAQs!
Conclusion on Cheeseburger Pockets
Why you should try making these today!
If you’re looking for a fun, portable meal that brings together the comforting essence of a cheeseburger without the mess, cheeseburger pockets are the answer! These delightful pockets are not only simple to whip up, but they also offer endless customization options—from adding your favorite veggies to switching in turkey bacon or chicken ham for added flavor and texture.
Imagine biting into a flaky crust filled with gooey cheese and seasoned beef: it’s basically a party in your mouth! Plus, you can easily stock your freezer with them for busy weeknights. So what are you waiting for? Dive into this recipe today and treat yourself to a delicious homemade meal! For more ideas on making weeknight dinners easy, check out EatingWell.
Print
Cheeseburger Pockets: Easy and Indulgent Recipe for Home Chefs
- Total Time: 30 minutes
- Yield: 8 servings
- Diet: Omnivore
Description
These cheeseburger pockets are an easy and indulgent recipe perfect for home chefs looking to impress.
Ingredients
- 1 pound ground beef
- 1 teaspoon garlic powder
- 1 teaspoon onion powder
- ½ teaspoon salt
- ¼ teaspoon black pepper
- 1 cup shredded cheddar cheese
- 1 package refrigerated crescent roll dough
- 1 egg, beaten (for egg wash)
Instructions
- Preheat your oven to 375°F (190°C).
- In a skillet over medium heat, brown the ground beef until fully cooked. Drain excess fat.
- Add garlic powder, onion powder, salt, and pepper to the beef, stirring to combine.
- Remove from heat and mix in the shredded cheddar cheese until melted.
- Roll out the crescent roll dough and cut into squares.
- Add a spoonful of the beef mixture to the center of each square.
- Fold the dough over the filling and seal the edges, then brush with the beaten egg.
- Bake in the preheated oven for 12-15 minutes or until golden brown.
- Let cool slightly before serving.
Notes
- For extra flavor, consider adding diced pickles or mustard to the beef mixture.
- These pockets can be prepped ahead of time and frozen for later use.
- Prep Time: 15 minutes
- Cook Time: 15 minutes
- Category: Main Dish
- Method: Baking
- Cuisine: American
Nutrition
- Serving Size: 1 pocket
- Calories: 220
- Sugar: 1 g
- Sodium: 400 mg
- Fat: 14 g
- Saturated Fat: 6 g
- Unsaturated Fat: 8 g
- Trans Fat: 0 g
- Carbohydrates: 10 g
- Fiber: 0 g
- Protein: 12 g
- Cholesterol: 50 mg