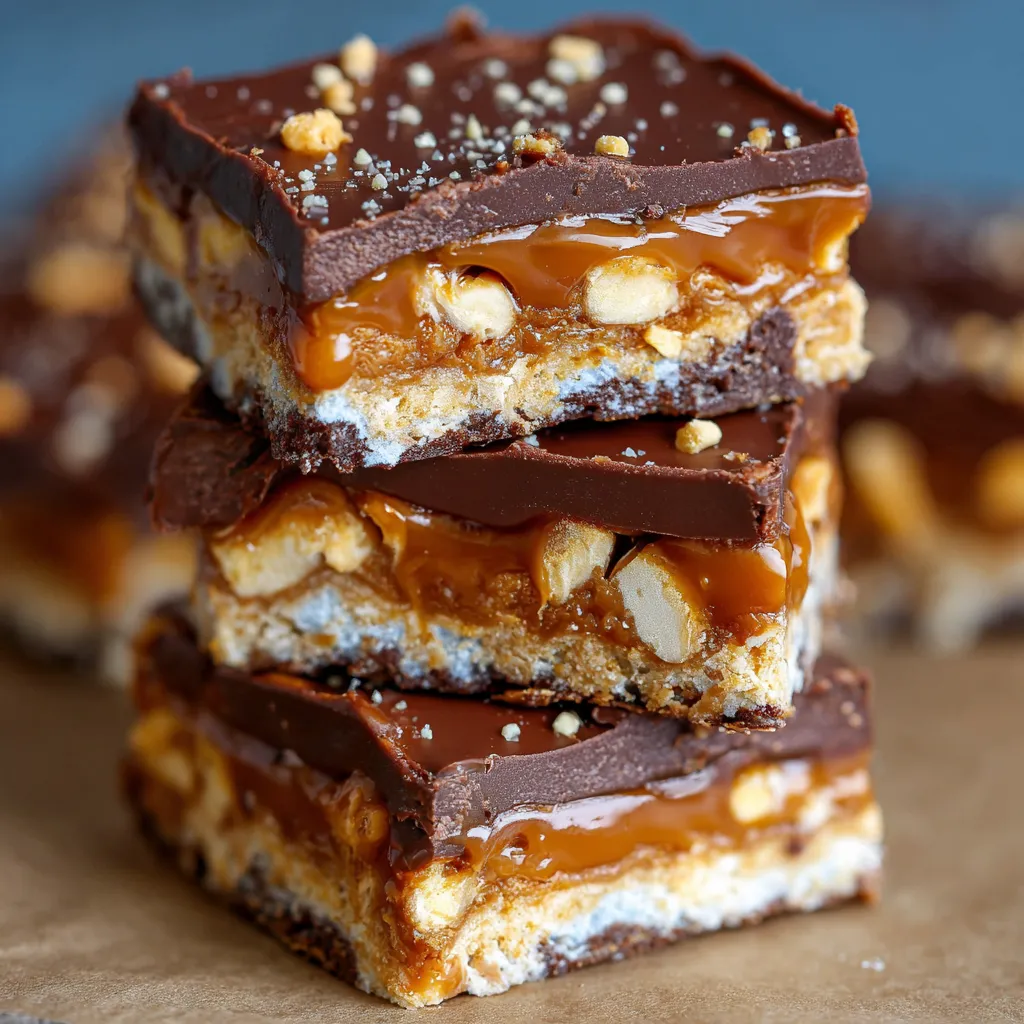
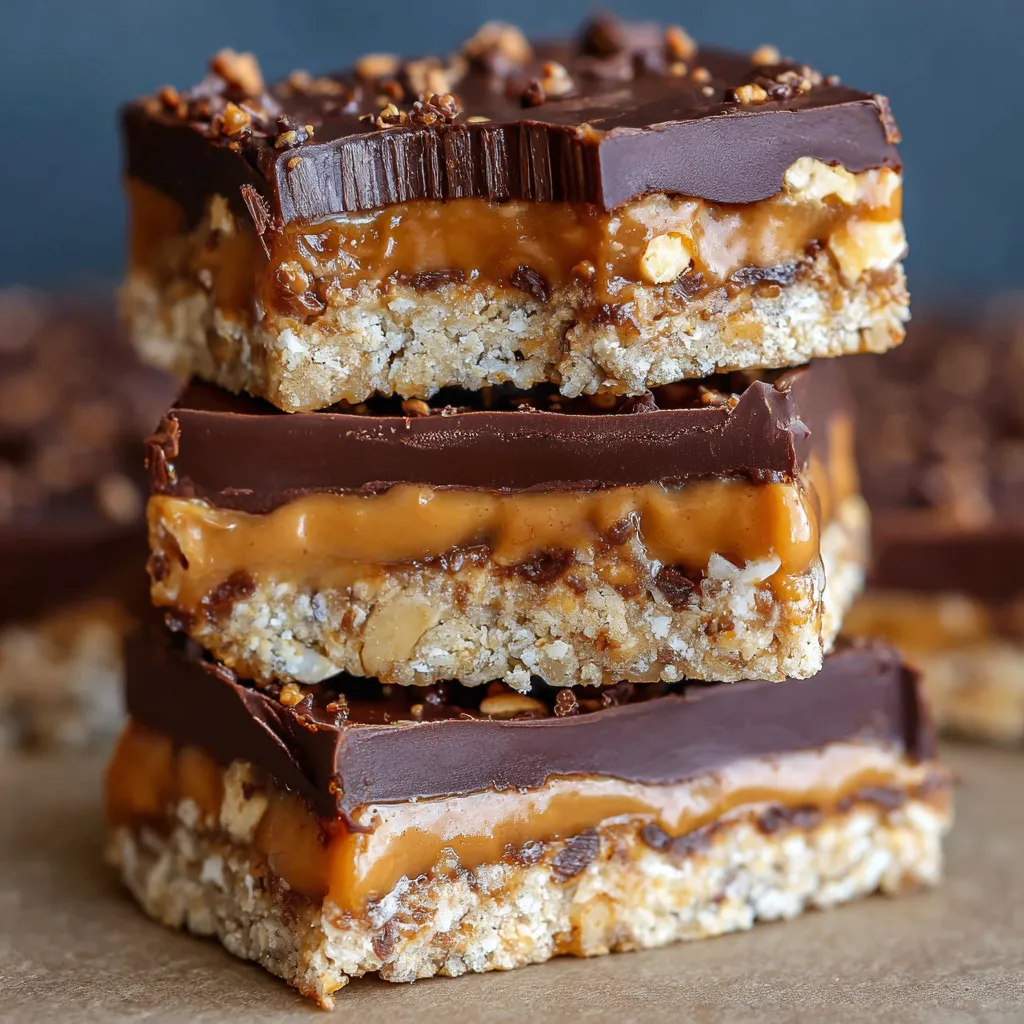
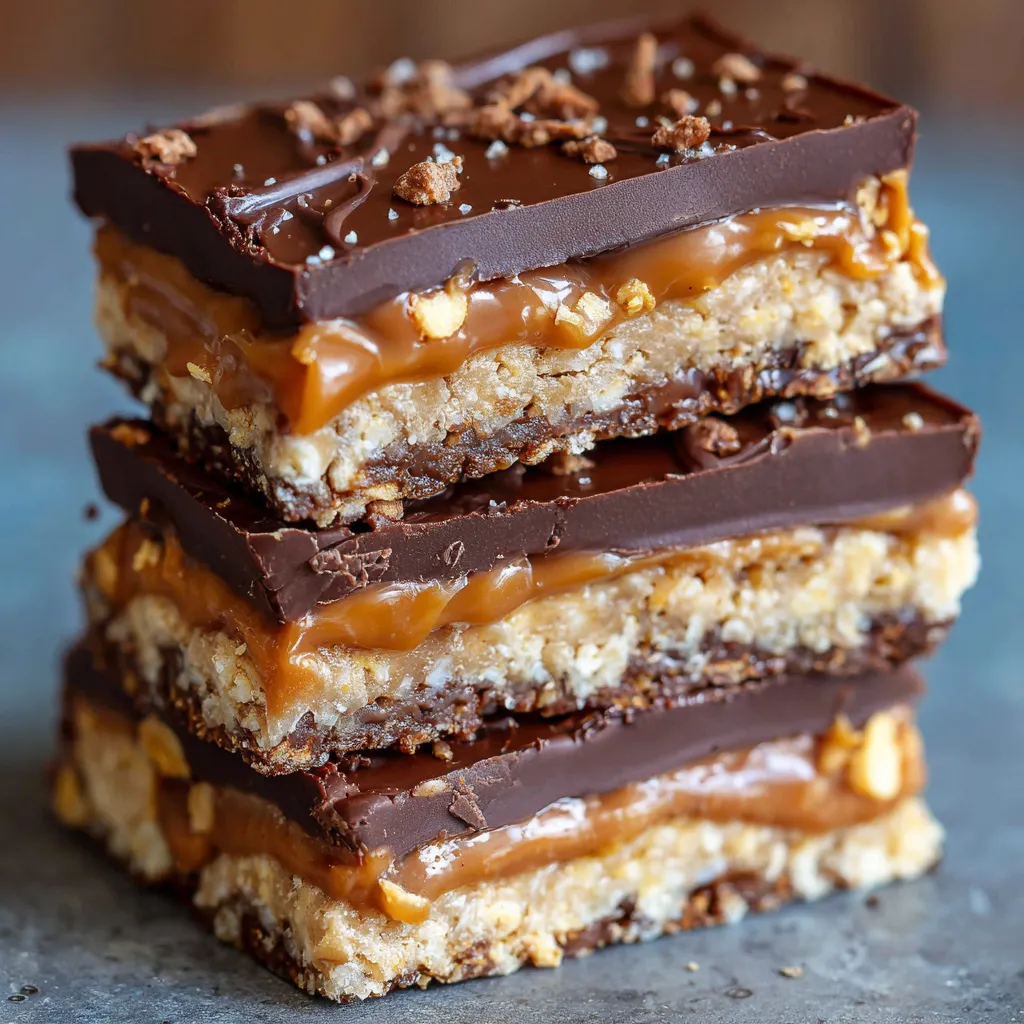
There’s something magical about a dessert that doesn’t require an oven. These No Bake Crispy Snickers Bars bring together everything you love about a classic Snickers—creamy caramel, crunchy peanuts, silky chocolate—with the irresistible crispiness of rice cereal. Perfect for busy days, last-minute parties, or just a sweet craving, this recipe is proof that homemade treats don’t have to be complicated.
With a prep time of just 15 minutes and no fancy equipment needed, you’ll feel like a kitchen pro as you whip up these chewy, crunchy, chocolatey bars. Whether you’re a seasoned baker or a total beginner, this one’s for you.
Why You’ll Love This Recipe
Key Benefits
This recipe is the ultimate combination of flavor, texture, and ease. Here’s why it’s going to be your new favorite:
-
No oven needed – Perfect for hot days or when you just don’t feel like turning on the heat.
-
Sweet and salty perfection – The salted peanuts add a wonderful contrast to the sweet caramel and chocolate.
-
Fast and fuss-free – Just melt, mix, press, and chill. That’s it.
-
Kid-friendly – Fun to make with kids and even more fun to eat.
Suitable For
These bars are perfect for so many occasions. Bring them to bake sales, potlucks, or family gatherings and watch them disappear in minutes. They also make a thoughtful homemade gift or an easy after-school snack. Even if you’ve never made a dessert before, you can absolutely pull this off.
Ingredients for No Bake Crispy Snickers Bars
Core Ingredients
You’ll only need a handful of pantry staples to create these decadent bars:
-
Rice cereal – The light, crispy base that holds everything together.
-
Chopped peanuts – For crunch and that signature Snickers flavor.
-
Milk chocolate chips – A smooth, melt-in-your-mouth topping.
-
Butter – Adds richness and helps bind the bars.
-
Caramel sauce – You can use store-bought or homemade.
-
Peanut butter – Creamy or chunky, whichever you prefer.
Each ingredient works in harmony to create a bar that’s chewy, crunchy, and perfectly sweet.
Substitutions and Tips
-
Swap peanuts for almonds or cashews if you prefer.
-
Use dark chocolate instead of milk chocolate for a richer flavor.
-
If you’re avoiding peanut butter, almond butter or sunflower seed butter are great alternatives.
-
Add a sprinkle of sea salt on top for a gourmet touch.
Best Chocolate for No Bake Crispy Snickers Bars
Choosing the right chocolate makes all the difference. Milk chocolate gives you that classic Snickers taste, but if you love a deeper, more intense flavor, dark chocolate is a fantastic option. For melting, chocolate bars generally melt more smoothly than chips, but either will work. Be sure to melt it slowly—30-second bursts in the microwave, stirring between each, will prevent it from seizing or burning.
Kitchen Tools You’ll Need
Must-Have Tools
This recipe keeps things simple. Here’s what you’ll need:
-
An 8×8-inch baking pan
-
Parchment paper for easy removal
-
A large mixing bowl
-
A small saucepan for melting ingredients
Nice-to-Have Tools
-
An offset spatula for spreading the chocolate evenly
-
A digital kitchen scale for more precise measurements
That’s it. No stand mixer, no candy thermometer, no stress.
How to Make No Bake Crispy Snickers Bars
Making these bars is as easy as it gets. With just a few steps and no oven in sight, you’ll be enjoying chewy, chocolatey bites in no time. Follow this guide and I’ll walk you through every stage, sharing little tips along the way to make sure your bars turn out perfectly.
Step 1 – Prepare Your Pan
Line an 8×8-inch baking pan with parchment paper, leaving a bit of overhang on the sides. This will make it much easier to lift the bars out later. If you don’t have parchment, lightly greasing the pan works too, but parchment really is your best friend for no-bake recipes.
Step 2 – Combine the Dry Ingredients
In a large mixing bowl, combine the rice cereal and chopped peanuts. Give them a quick stir to mix. This is your crunchy base, and it’s important to have it ready because you’ll need to work quickly once the melted mixture is ready.
Step 3 – Melt and Mix
In a small saucepan, add the butter, caramel sauce, and peanut butter. Set it over low heat and stir constantly until the mixture is completely melted and smooth. Keep the heat gentle—high heat can cause the caramel to scorch.
When it’s ready, pour this warm, gooey mixture over your cereal and peanuts. Work quickly with a wooden spoon or spatula to combine everything. The goal is to coat every bit of cereal before the mixture starts to cool.
Step 4 – Press Into the Pan
Scoop the mixture into your prepared pan. Use the back of a spoon or an offset spatula to press it down firmly and evenly. Pressing firmly helps the bars hold their shape when cut. If the mixture sticks to your spoon, lightly oil it or use a piece of parchment to press.
Step 5 – Melt the Chocolate
Place the milk chocolate chips in a microwave-safe bowl. Microwave in 30-second bursts, stirring in between, until melted and smooth. Be patient and stir well after each burst to avoid overheating.
Pour the melted chocolate over your cereal mixture and spread it into an even layer. Take a moment here—it’s surprisingly satisfying to watch that glossy chocolate cover the surface.
Step 6 – Chill and Slice
Transfer the pan to the refrigerator and chill for at least 2 hours, or until firm. When you’re ready to cut, use a sharp knife and warm it slightly under hot water for cleaner slices. Cut into squares or rectangles, depending on how generous you’re feeling.
Tips for Success
-
Work quickly when mixing the cereal with the melted caramel and peanut butter. Once it starts cooling, it becomes harder to combine evenly.
-
Use salted peanuts for that perfect sweet-salty balance.
-
If you love a little extra flair, sprinkle a pinch of flaky sea salt on top of the chocolate before chilling. It not only looks beautiful but tastes incredible.
-
For perfectly neat bars, let them sit at room temperature for 5-10 minutes before slicing.
How to Store No Bake Crispy Snickers Bars
At Room Temperature
These bars will keep well at room temperature for up to 2 days if your kitchen isn’t too warm. Store them in an airtight container to prevent the chocolate from softening.
In the Refrigerator
For longer freshness, refrigerate in an airtight container for up to a week. Stack layers with parchment between them to avoid sticking.
Freezing Tips
You can freeze these bars too. Wrap individual pieces in parchment and place them in a freezer-safe bag or container. They’ll keep for up to 2 months. To enjoy, thaw in the fridge overnight or at room temperature for 30 minutes.
Frequently Asked Questions
Can I use homemade caramel sauce?
Absolutely. Just make sure it’s thick enough to set, or the bars might not hold together as well.
Can I make this nut-free?
Yes. You can leave out the peanuts entirely or replace them with sunflower seeds for a similar crunch. Use a seed butter in place of peanut butter.
How do I keep the chocolate from cracking when slicing?
Take the pan out of the fridge and let it sit at room temperature for about 10 minutes before cutting. A warm knife helps too.
Can I double the recipe for a bigger crowd?
You can. Simply double all ingredients and use a 9×13-inch pan instead of the 8×8-inch pan.
Related Recipes
If you loved these No Bake Crispy Snickers Bars, you might enjoy these other sweet treats from RecipeSeasys:
-
Peanut Butter Rice Krispie Treats with M&Ms and Chocolate Chips – Fun and colorful for kids.
-
Coconut Toffee Chocolate Chip Cookie Bars – A chewy, toffee-filled delight.
-
No Bake Coconut Cream Balls – A quick, tropical-inspired no bake dessert.
-
Easy Divinity Candy Recipe – Classic Southern candy with a melt-in-your-mouth texture.
Conclusion
These No Bake Crispy Snickers Bars are proof that you don’t need fancy techniques or hours in the kitchen to create a show-stopping dessert. With their chewy-crunchy texture and layers of caramel, chocolate, and peanuts, they’re as satisfying to make as they are to eat.
Try them out and share your creations with friends and family—they’ll think you spent all afternoon in the kitchen.
Print
No Bake Crispy Snickers Bars Recipe
- Total Time: 2 hours 20 minutes (including chilling)
- Yield: 16 bars
- Diet: Vegetarian
Description
These No Bake Crispy Snickers Bars are loaded with creamy caramel, crunchy peanuts, rich chocolate, and crispy rice cereal for the ultimate treat.
Ingredients
- 1 cup milk chocolate chips
- 1 cup peanuts, roughly chopped
- 1/4 cup butter
- 3 cups rice cereal
- 1 cup caramel sauce
- 1/2 cup peanut butter (creamy or chunky)
Instructions
- Line an 8×8-inch pan with parchment paper.
- Combine rice cereal and chopped peanuts in a large bowl.
- Melt butter, caramel sauce, and peanut butter over low heat until smooth.
- Pour over the cereal and peanuts, stirring quickly to coat evenly.
- Press the mixture firmly into the prepared pan.
- Melt chocolate chips in 30-second microwave bursts, stirring in between.
- Spread melted chocolate over the cereal mixture.
- Refrigerate for 2 hours or until firm. Cut into bars and enjoy.
Notes
- Use salted peanuts for a sweet-salty balance.
- Add sea salt on top of the chocolate for extra flavor.
- Store in an airtight container in the fridge for up to a week.
- Prep Time: 15 minutes
- Cook Time: 5 minutes
- Category: Dessert
- Method: No Bake
- Cuisine: American
Nutrition
- Serving Size: 1 bar
- Calories: 245 kcal
- Sugar: 20g
- Sodium: 105mg
- Fat: 13g
- Saturated Fat: 6g
- Unsaturated Fat: 5g
- Trans Fat: 0g
- Carbohydrates: 29g
- Fiber: 1g
- Protein: 4g
- Cholesterol: 5mg
")