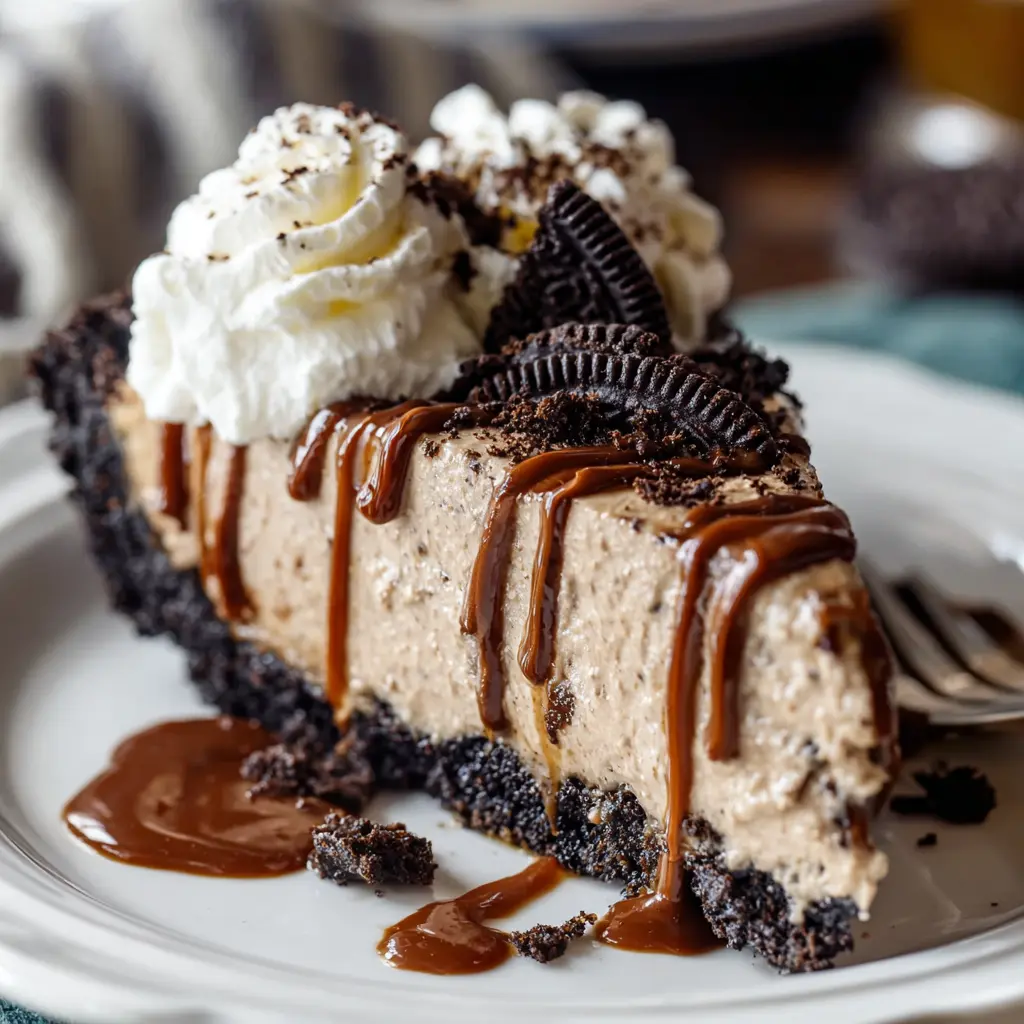
Introduction to Mudslide Pie
If you’re a young professional juggling work, social life, and self-care, finding the perfect dessert can feel like a daunting task. Enter mudslide pie, an indulgent treat that combines ease of preparation with a delightful taste experience. Imagine coming home after a long day: the couch beckons, and the last thing you want to do is slave away in the kitchen. This is where the beauty of mudslide pie shines.
Why Mudslide Pie is the Perfect Dessert for Young Professionals
-
Minimal Effort, Maximum Reward: The preparation for mudslide pie is a breeze, perfect for those who might not have honed their baking skills yet. With an Oreo cookie crust and a rich filling that comes together in a matter of minutes, you can impress yourself, your friends, or that special someone with little fuss.
-
Flavorful Comfort in Every Bite: The taste of mudslide pie is like a warm hug on a chilly evening. Chocolate lovers will rejoice at the creamy texture and sweet notes, all while knowing they didn’t have to spend hours preparing it. According to a study from the American Culinary Federation, desserts play a significant role in elevating mood, making this an ideal pick-me-up.
-
Great for Entertaining: If you find yourself hosting a casual get-together or potluck, mudslide pie is a crowd-pleaser. You can whip it together ahead of time, freeing you up to enjoy your guests — and let’s be honest, impressing everyone with a deliciously decadent dessert sets a cheerful tone for the evening. Plus, serving it alongside some coffee or a scoop of ice cream is an instant win.
-
Flexible and Customizable: One of the best parts about this dessert is that it’s adaptable. Feel free to swap out ingredients based on dietary needs or personal preferences. For example, you can substitute non-dairy products without sacrificing flavor.
Imagine treating yourself after a hectic week or satisfying your sweet tooth with a homemade dessert that doesn’t demand your time or energy. Want to know more about how to make this delectable mudslide pie? Keep reading to discover a recipe that’s not only tasty but also tailored for young lifestyle trends.
If you’d like to dive deeper into the world of desserts, check out resources from The Food Network or Bon Appétit for more delightful ideas!
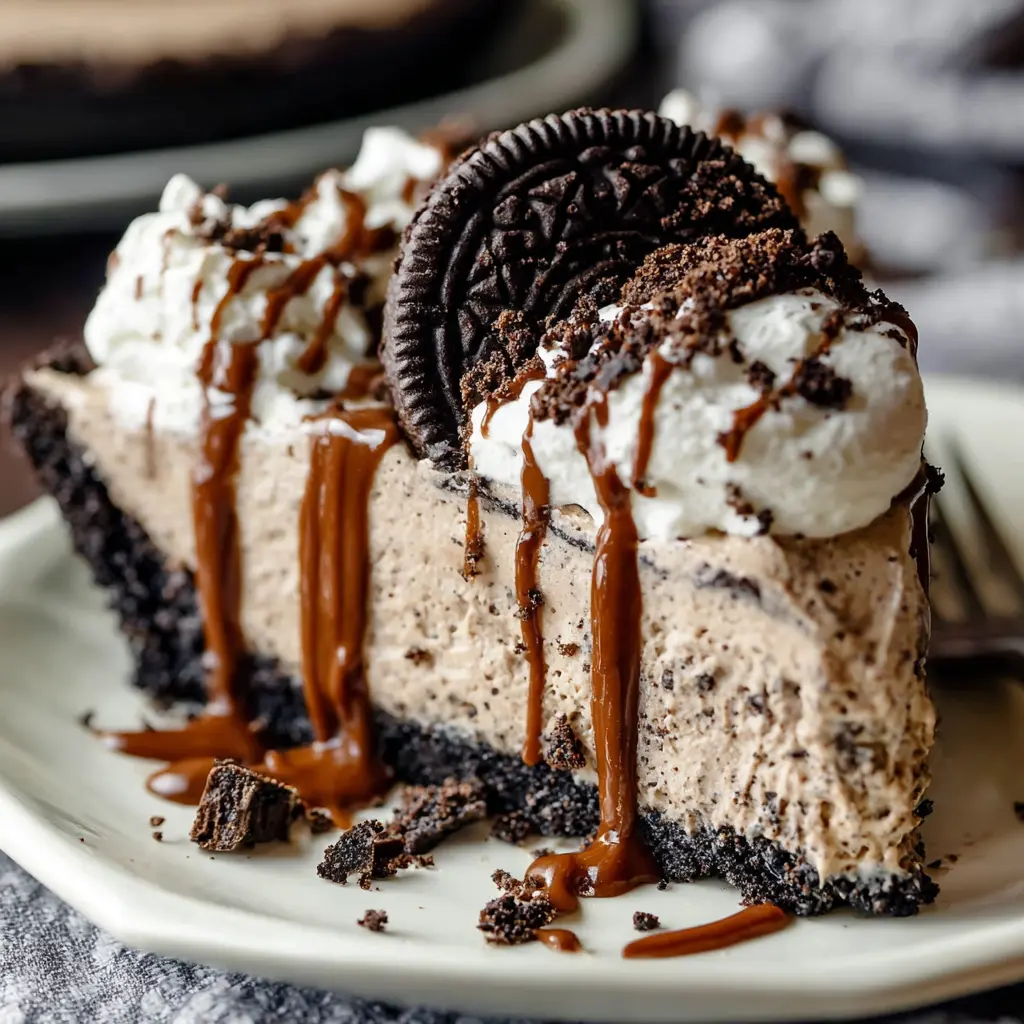
Ingredients for Mudslide Pie
Creating a mudslide pie is as fun as it is delicious! Let’s dive into the ingredients you’ll need to whip up this indulgent dessert, featuring a luscious Oreo cookie crust that sets the stage for a chocolate lover’s dream.
Listing the Delicious Components
- Oreo Cookie Crust
- 24 Oreo cookies, finely crushed
- ½ cup unsalted butter, melted
- Filling
- 1 cup heavy cream
- 1 cup chocolate pudding
- 1 cup coffee pudding
- ½ cup powdered sugar
- 2 teaspoons vanilla extract
- Whipped Topping
- 1 cup heavy whipping cream
- 2 tablespoons cocoa powder
- 1 tablespoon sugar
- Garnish
- Chocolate shavings
- Crushed Oreos
- A drizzle of chocolate syrup
This mudslide pie is not just dessert; it’s an experience! Perfect for gatherings, this recipe offers a mix of flavors that both guests and family will love. If you’re keen on additional tips, consider checking out resources like Joy of Baking for more expert insights! So, are you ready to get baking?
Step-by-Step Preparation of Mudslide Pie
Creating a mudslide pie is a delightful adventure that combines rich flavors and a touch of indulgence. Let’s get started on this scrumptious dessert that’s sure to impress your friends and family!
Preheat Your Oven
Before diving into the recipe, the first step you’ll want to take is to preheat your oven to 350°F (175°C). This is crucial for ensuring that your Oreo cookie crust bakes up perfectly. Take a moment to gather your ingredients, and while the oven is warming up, you can move on to the next step.
Create the Oreo Cookie Crust
The crust is the foundation of our mudslide pie, and fortunately, it’s incredibly simple to make. Grab about 24 Oreo cookies and crush them into fine crumbs. You can do this by placing them in a food processor or by putting them in a resealable bag and smashing them with a rolling pin.
- Ingredients for the Crust:
- 24 Oreo cookies (crushed)
- 5 tablespoons of melted butter
Combine the crushed Oreos with the melted butter in a mixing bowl until they resemble wet sand. Press this mixture firmly into the bottom and up the sides of a pie pan. Once you have a nice even layer, pop it into the oven for 10 minutes. This will help set it, giving you a deliciously crunchy base for your mudslide pie.
Prepare the Creamy Filling
With your crust baking, it’s time to prepare the creamy filling. This filling is where the magic truly happens!
- Ingredients for the Filling:
- 1 cup cream cheese (softened)
- 1 cup powdered sugar
- 1 cup heavy whipping cream
- 1 cup chocolate syrup
- ¼ cup brewed coffee (cooled)
In a mixing bowl, combine the softened cream cheese and powdered sugar. Beat until the mixture is fluffy and well combined. Gradually add in the heavy whipping cream, mixing until you achieve soft peaks. Stir in the chocolate syrup and brewed coffee, mixing until everything is blended into a delectable filling.
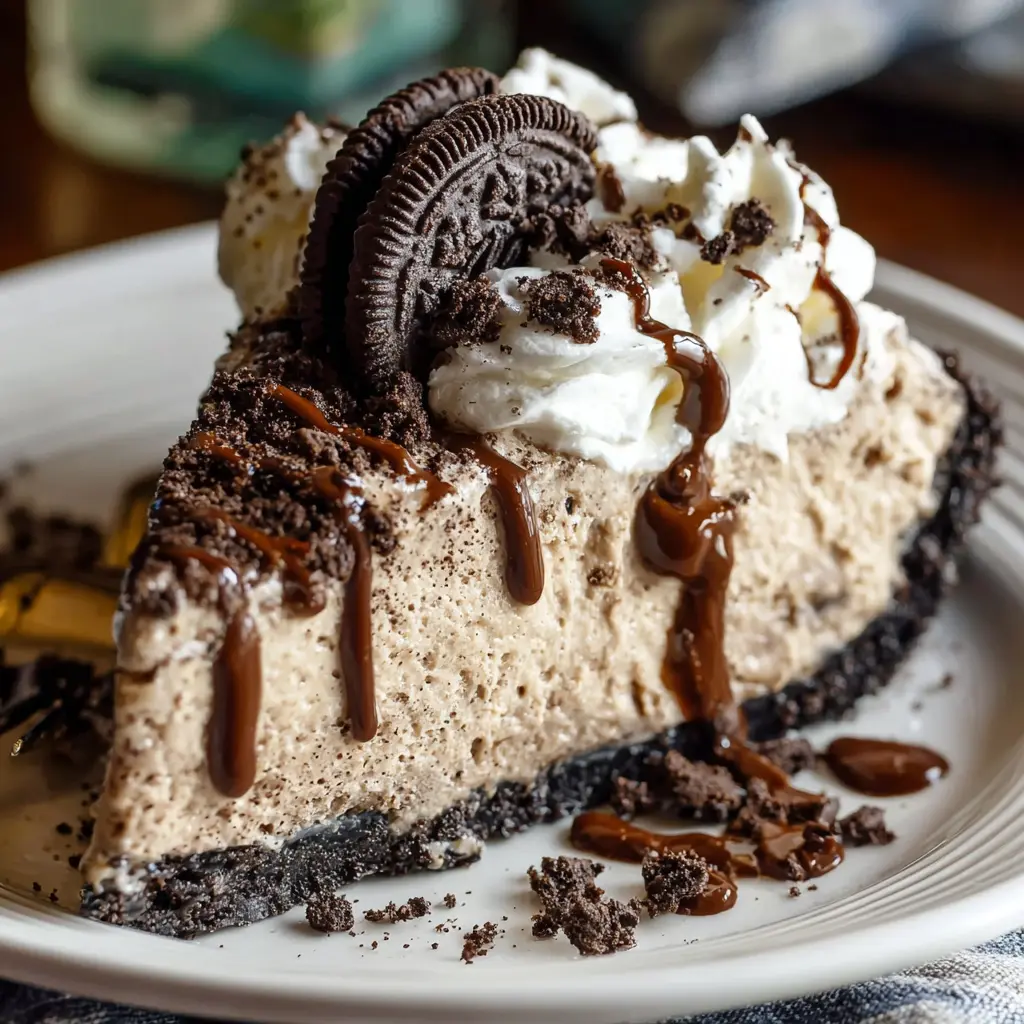
Assemble the Mudslide Pie
Once your filling is ready and your crust has cooled, it’s time to assemble your mudslide pie. Pour the creamy filling into the crust and spread it out evenly. This pie is already looking good, isn’t it? For an extra touch of flair, you can drizzle additional chocolate syrup on top before refrigerating it.
Chill and Set the Pie
The final step to achieving the perfect mudslide pie is chilling it. Cover your assembled pie with plastic wrap and place it in the refrigerator for at least 4 hours, or preferably overnight. This waiting game is crucial, as it allows the flavors to meld and the filling to firm up to a sliceable consistency.
A Fun Tip
If you’re planning on serving this pie at a gathering, consider making it the night before. It’s a wonderful way to save time the day of your event, and your guests will love the anticipation of digging into a delicious dessert!
In conclusion, making a mudslide pie is a straightforward process that offers a rewarding outcome. Each layer brings something special—crispiness from the crust, creaminess from the filling, and of course, that rich chocolate flavor. Feel free to explore variations, such as adding a layer of whipped cream on top before serving, or even personalizing it with different types of cookies for the crust.
For more delicious dessert ideas, check out this chocolate mousse recipe that pairs wonderfully with our mudslide pie! Enjoy your baking journey!
Variations on Mudslide Pie
Mudslide Pie with Different Flavors
If you’re already a fan of mudslide pie, you might be curious about how to shake things up a bit in the flavor department. One delicious twist is to incorporate different types of chocolate. Dark chocolate could bring a rich, slightly bittersweet contrast that complements your sweet tooth perfectly. For a fruitier take, consider adding raspberry or orange zest to your filling, giving your pie a refreshing pop.
Another fun idea is to try using alternative crusts. Instead of the classic Oreo cookie crust, you could experiment with a graham cracker or a chocolate chip cookie crust. And if you’re feeling adventurous, you might even mix in some crushed nuts for a bit of a crunch! If you want more inspiration for flavors, check out this article on creative dessert ideas that could spark your imagination.
Family-Friendly Mudslide Pie
Not everyone wants a hearty, rich dessert after dinner, especially when kids are around. To make your mudslide pie more family-friendly, how about swapping out some of the ingredients for lighter versions? You can use Greek yogurt instead of heavy cream for a tangy, thicker filling. Simply omit any adult-specific flavors and stick to classic sweet ingredients like vanilla, chocolate, and perhaps a hint of caramel.
Adding in toppings like whipped cream and mini chocolate chips can appeal to younger palates. Trust us, they’ll love it! Plus, making this a bonding experience by inviting your family to help with the decoration can turn your pie into a fun weekend project.
Cooking Tips and Notes for Mudslide Pie
Common Pitfalls to Avoid
Making a mudslide pie can feel daunting, but with a few insider tips, you’ll nail it on your first try! One common pitfall is underbaking the pie. Aim for a firm filling; it should resemble a slightly set pudding. Additionally, be cautious about melting your cream cheese too quickly in the microwave—go for short bursts and stir in between. This helps avoid an unsmooth texture.
Another tip is to avoid overmixing your whipped cream. Gentle folding preserves that lovely lightness you want in your filling. Lastly, if possible, allow your pie to chill for adequate time; impatience here can lead to a messy slice!
Ingredient Substitutions
Don’t fret if you’re missing an ingredient! To customize your mudslide pie, consider using almond milk instead of regular milk for a dairy-free version, or opt for coconut cream to amplify that rich flavor. You can also substitute the traditional chocolate crust with a graham cracker crust for a different twist. Feeling adventurous? Swap regular cream cheese for a vegan option, and you’ll still enjoy that delightful creaminess without compromising on taste.
For more helpful tips on ingredient swaps, check out Serious Eats for a wealth of options! Remember, cooking is all about fun and experimentation, so feel free to get creative!
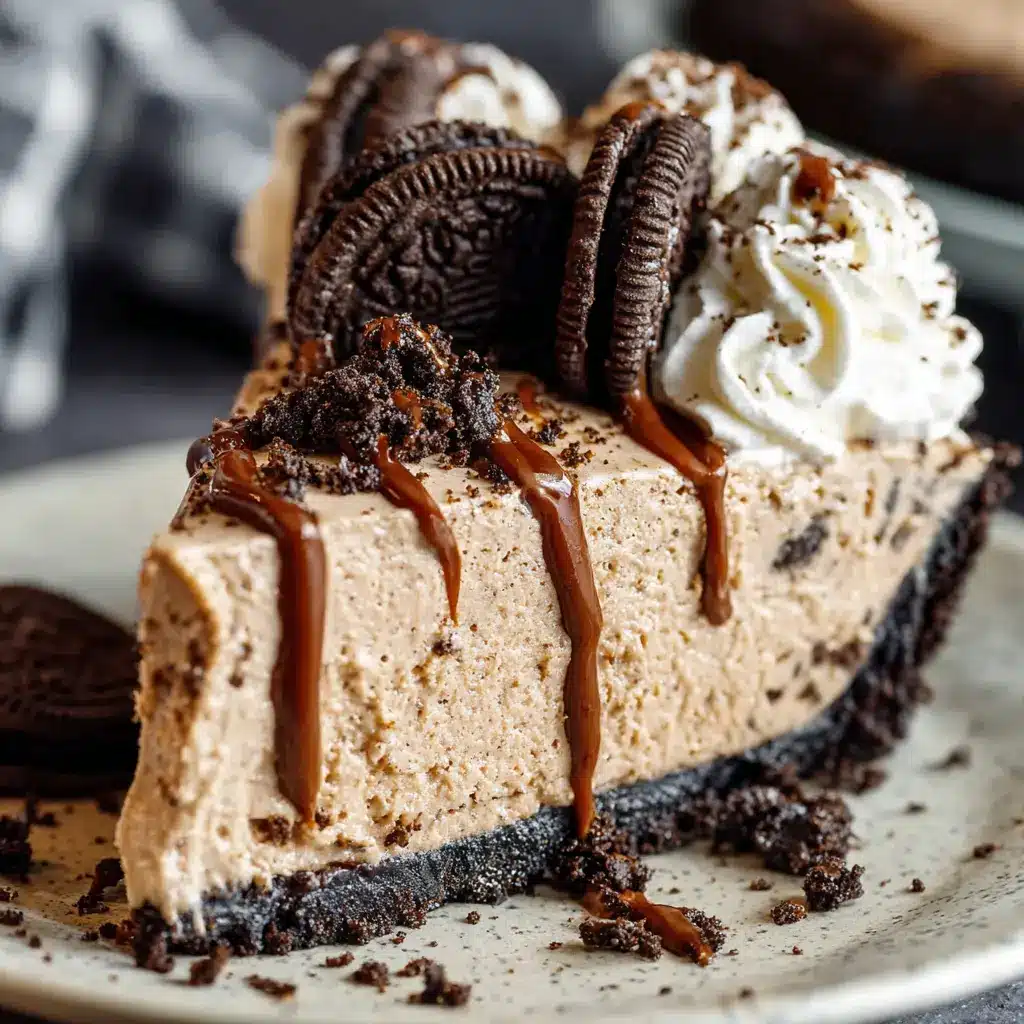
Serving Suggestions for Mudslide Pie
How to Present Your Dessert
Serving your mudslide pie can be just as exciting as making it! Start by slicing the pie into generous portions and placing each piece on a stylish dessert plate. A drizzle of chocolate sauce or a sprinkle of powdered sugar can elevate the presentation even more. For a fun twist, consider topping each slice with a dollop of whipped cream and a few chocolate shavings or crushed Oreos for that extra flair.
When hosting a gathering, why not create a dessert bar with toppings? Guests can personalize their slices with choices like toasted coconut, caramel sauce, or even nuts, making each experience unique!
Pairing Ideas with Mudslide Pie
To complement your mudslide pie, think of drinks that balance the richness of the dessert:
- Coffee: A warm cup of brewed coffee can cut through the heavy sweetness of the pie.
- Milkshakes: Why not whip up a creamy vanilla or caramel milkshake?
- Fruit Smoothies: A refreshing fruit smoothie can lighten up the meal and provide a nice contrast to the chocolate.
For tips on pairing desserts with beverages, check out this article for more ideas that will impress your guests.
Time Breakdown for Mudslide Pie
Preparation Time
Making your mudslide pie is a breeze! You’ll need about 20 minutes to gather your ingredients and whip up that delicious Oreo cookie crust. If you’re a multitasker (who isn’t these days?), you can prep your filling while the crust sets!
Baking and Chilling Time
Next up, you’ll want to bake that crust for approximately 10 minutes before letting it chill for at least 1 hour. This is a crucial step that ensures a perfectly firm base for your pie.
Total Time
All in all, expect to dedicate a total of around 1 hour and 30 minutes from start to finish. But hey, most of it is just waiting for that mudslide pie to chill! Perfect time to catch up on a show or grab a quick bite. For some inspiration on serving, check out The Spruce Eats.
Ready to dive into this scrumptious dessert? You’ve got this!
Nutritional Facts for Mudslide Pie
Calories Per Slice
When indulging in a mudslide pie, it’s good to know what you’re enjoying. Each slice contains approximately 320 calories. While it’s a sweet treat, moderation is key!
Key Nutritional Information
Here’s a closer look at what makes up those delicious calories:
- Total Fat: About 18g (25% of daily value)
- Saturated Fat: 9g (45% of daily value)
- Sugars: 22g (varies based on ingredients)
- Protein: 4g
- Carbohydrates: 36g
For alternative, healthier options or tips on reducing sugar, check out Healthline for some suggestions. Remember, this mudslide pie is meant to be enjoyed—just balance it with a nutritious meal plan throughout the day! Whether you’re sharing it with friends or savoring it solo, it’s a delightful way to treat yourself.
FAQs About Mudslide Pie
Can I Make Mudslide Pie Ahead of Time?
Absolutely! One of the fantastic things about mudslide pie is that it can be prepped in advance. If you’re planning for a special occasion or just want to enjoy this delicious dessert without the fuss, whip it up the day before and let it chill in the refrigerator overnight. Just remember to leave off any toppings until you’re ready to serve, as they can get a bit soggy if they sit too long.
How Should I Store Leftovers?
If you’re lucky enough to have leftovers (which is rare with how tasty this pie is), store them in an airtight container in the fridge. It should last a couple of days—though we wouldn’t judge if you just took it straight from the pie dish! When you’re ready to dig in again, a quick whip of fresh whipped cream on top brings it back to life. Need storage tips? Check out The Food Lab’s guide for more insights on keeping that pie fresh!
Is There a Non-Alcoholic Version of Mudslide Pie?
For those who prefer an alcohol-free experience, a mudslide pie without alcohol is totally doable! Substitute any alcohol with delicious alternatives like coffee, chocolate syrup, or even a splash of vanilla extract for flavor. You can also use a decaffeinated coffee mix if you’re looking to curb the caffeine. If you want a bit of that classic taste without the buzz, simply adjust the recipe, and you’ll have a fantastic dessert that everyone can enjoy.
Feel free to reach out with more questions about creating the perfect mudslide pie, and happy baking!
Conclusion on Mudslide Pie
Recap of Why You’ll Love This Dessert
In summary, mudslide pie is a decadent treat that’s perfect for any celebration or just a cozy night in. With its irresistible Oreo cookie crust and creamy filling, it offers a delightful combination of textures and flavors that will leave your taste buds wanting more.
The simplicity of this recipe makes it accessible for both beginner and seasoned bakers alike. Plus, you can easily customize the dessert to cater to different dietary preferences by swapping in alternatives like coconut cream or using gluten-free cookies. Why not impress your friends at your next gathering with this show-stopping dessert? You won’t regret it! For more cooking inspiration, check out this resource for other delicious recipes.
Print
Mudslide Pie: Indulgent Dessert with Oreo Cookie Crust Recipe
- Total Time: 4 hours 30 minutes
- Yield: 8 servings
- Diet: Vegetarian
Description
Indulge in this delightful Mudslide Pie featuring a rich Oreo cookie crust.
Ingredients
- 1 ½ cups Oreo cookie crumbs
- ½ cup unsalted butter, melted
- 2 cups heavy cream
- 1 cup powdered sugar
- 1 cup chocolate liqueur
- 1 cup coffee liqueur
- 1 cup semi-sweet chocolate chips
- ¼ cup whipped cream for topping
- 2 tablespoons chocolate shavings for garnish
Instructions
- Preheat the oven to 350°F (175°C).
- Combine Oreo cookie crumbs and melted butter in a bowl; mix well.
- Press the mixture into the bottom and up the sides of a pie pan.
- Bake crust for 10 minutes, then let it cool.
- In a mixing bowl, whip the heavy cream until soft peaks form.
- Add powdered sugar and mix until combined.
- Fold in the chocolate and coffee liqueurs carefully.
- Pour the filling into the cooled crust and chill in the refrigerator for at least 4 hours.
- Before serving, top with whipped cream and chocolate shavings.
Notes
- For a non-alcoholic version, substitute the liqueurs with coffee and chocolate syrup.
- Let the pie sit at room temperature for a bit before slicing for easier serving.
- Prep Time: 20 minutes
- Cook Time: 10 minutes
- Category: Dessert
- Method: Baking
- Cuisine: American
Nutrition
- Serving Size: 1 slice
- Calories: 450
- Sugar: 25g
- Sodium: 150mg
- Fat: 30g
- Saturated Fat: 18g
- Unsaturated Fat: 10g
- Trans Fat: 0g
- Carbohydrates: 40g
- Fiber: 2g
- Protein: 5g
- Cholesterol: 80mg
")