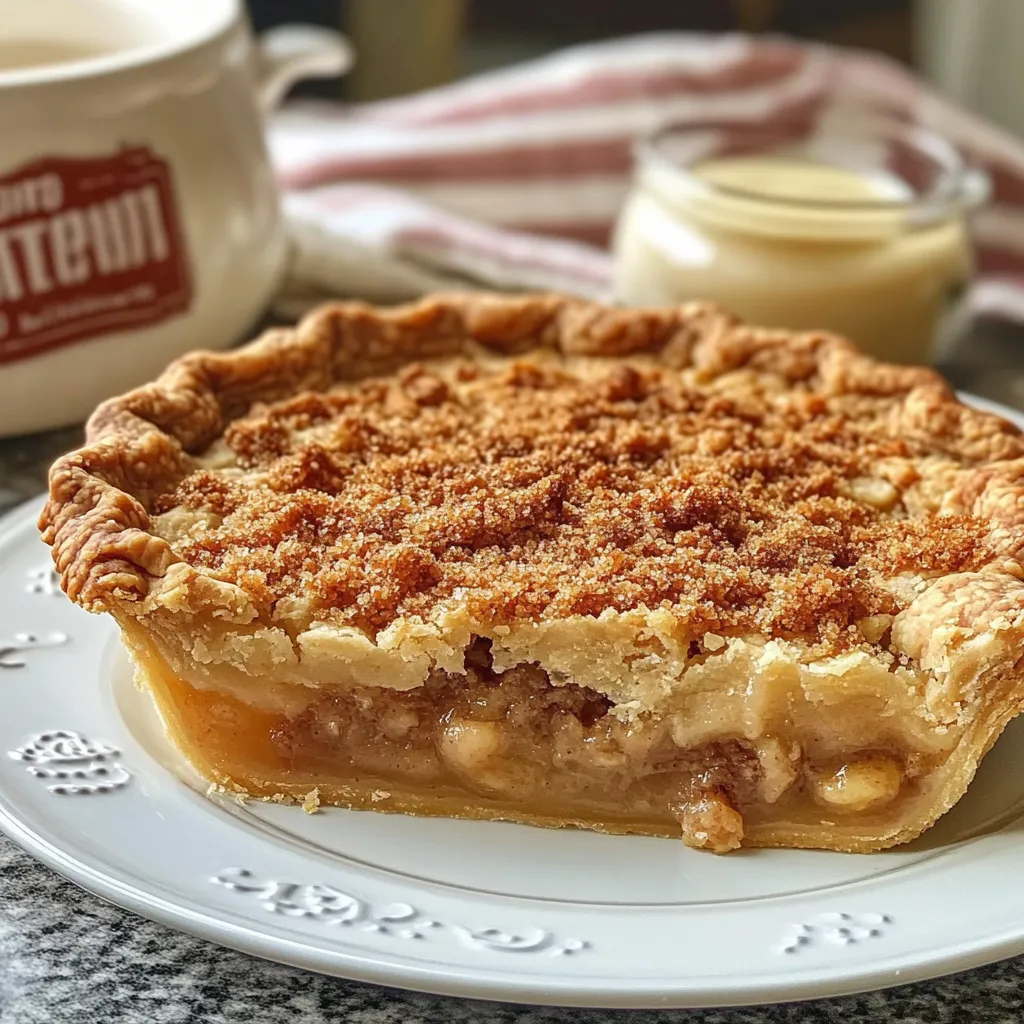
There’s something special about a recipe that’s been passed down through generations—especially when it results in a pie crust that’s golden, flaky, and full of love. Grandmother’s Pie Crust Recipe isn’t just a method; it’s a memory baked into every bite. Whether you’re baking for the holidays or just because, this recipe brings warmth to your kitchen and comfort to your table.
Homemade pie crust might sound intimidating, but I promise—it’s easier than you think. With just a few simple ingredients and a little guidance, you’ll be making crust that rivals any bakery. Ready to roll? Let’s get started.
Why Grandmother’s Pie Crust Is So Loved
There’s a reason this crust recipe has stood the test of time. It’s soft and tender in the middle with crisp, buttery edges that melt in your mouth. But the true magic? It brings people together. Whether it’s Thanksgiving, Sunday dinner, or a quiet afternoon craving, pie is a centerpiece—and this crust is its unsung hero.
Unlike store-bought options, this homemade crust lets you control every detail: the thickness, the flavor, and that all-important flakiness. Plus, it’s surprisingly forgiving. Once you’ve tried it, you’ll wonder why you ever reached for a premade one.
If you’re looking for more time-tested recipes like this, check out Grandma Ople’s Apple Pie—it’s a classic pairing with this crust.
Simple Ingredients, Timeless Flavor
One of the best things about this recipe is that it doesn’t call for anything fancy. These are pantry staples with the power to turn into something unforgettable:
-
2 ½ cups all-purpose flour – The base of your crust. Stick to a standard, unbleached flour for best results.
-
1 teaspoon salt – Just enough to balance the butter and enhance the flavor.
-
1 cup unsalted butter (cold and cubed) – Cold butter is key to those flaky layers.
-
6–8 tablespoons ice-cold water – Just enough to bring it all together.
Want to sweeten things up a bit for a fruit pie? Add a tablespoon of granulated sugar.
Smart Substitutions
If you’re avoiding dairy, swap the butter for a plant-based margarine or chilled coconut oil. Both offer great texture—though coconut oil will add a slight flavor, which can be lovely in tropical or spiced pies.
Curious about other baking swaps? This comprehensive guide to baking substitutions from Sally’s Baking Addiction has you covered.
How to Make Grandmother’s Pie Crust
Let’s walk through the process, step-by-step. You don’t need any fancy tools here—just your hands, a fork, and a little confidence.
Step 1: Combine the Dry Ingredients
In a large mixing bowl, whisk together the flour and salt. This simple step ensures everything is evenly distributed from the start.
Step 2: Cut in the Butter
Add the cold, cubed butter to the bowl. Using a pastry cutter, two forks, or even your fingertips, work the butter into the flour until the mixture resembles coarse crumbs. You’re aiming for little pea-sized pieces of butter throughout—these will melt during baking, creating those irresistible flaky layers.
Pro Tip: If your kitchen is warm, pop your butter in the freezer for a few minutes before using. It makes a world of difference.
Step 3: Add the Water
Drizzle in the ice-cold water, one tablespoon at a time, and stir gently with a fork. The dough should just start to come together. You don’t want it sticky—just moist enough to hold its shape when pressed.
Step 4: Bring the Dough Together
Use your hands to gently press the dough into a ball. If it’s a little crumbly, that’s okay. A few gentle kneads will help it come together. Be careful not to overwork it—doing so can develop gluten, which leads to a tough crust.
Step 5: Chill
Wrap the dough tightly in plastic wrap and refrigerate for at least 30 minutes. This step isn’t optional. Chilling gives the gluten time to relax and keeps the butter cold, which is essential for that flaky texture.
Want to make it ahead? You can refrigerate the dough for up to two days or freeze it for longer storage.
Step 6: Roll It Out
Once chilled, place the dough on a lightly floured surface and roll it into a circle about 1/8-inch thick. Start from the center and roll outward, rotating the dough to keep it even and prevent sticking.
If cracks appear, don’t stress. Just press them back together—this dough is wonderfully forgiving.
Step 7: Fit It Into the Pan
Gently lift the rolled dough and lay it into your pie pan. Press it in carefully so it hugs the bottom and sides. Leave about an inch of overhang around the edge.
Step 8: Trim and Crimp
Trim the excess dough with kitchen scissors, then fold the overhang under itself to form a neat edge. Use your fingers or a fork to crimp the border—this adds a decorative touch and helps seal the crust.
Want to see crimping in action? Check out this easy video tutorial on shaping pie crusts.
Step 9: Blind Bake if Needed
If your filling doesn’t need baking (like for a cream pie), you’ll want to pre-bake the crust. Line it with parchment paper, fill with pie weights or dried beans, and bake at 375°F for 15 minutes. Remove the weights and paper, then bake for another 5–7 minutes until golden.
Let the crust cool completely before adding your filling.
Grandmother’s Secrets for Pie Crust Success
Over the years, I’ve learned that it’s the little things that make a big difference. Here are a few of Grandma’s tried-and-true tips:
-
Use cold ingredients – The colder your butter and water, the flakier your crust.
-
Don’t overwork the dough – Stop mixing as soon as it holds together.
-
Chill twice if needed – If your dough gets too soft while rolling, chill it again before baking.
-
Sweet or savory? – Add sugar for fruit pies, or herbs like thyme and rosemary for savory ones.
-
Freeze ahead – Make extra dough and freeze it. Just thaw in the fridge overnight before using.
How to Store and Reheat Grandma’s Pie Crust
Whether you’re prepping ahead for the holidays or saving leftover dough, storing your pie crust the right way ensures it stays fresh and ready for action.
For Unbaked Dough:
Once the dough is formed into a disc and wrapped tightly in plastic wrap, it can be stored in the refrigerator for up to 2 days. If you want to keep it longer, pop it into a freezer bag and freeze for up to 3 months.
When you’re ready to use it, just move it to the fridge the night before and let it thaw slowly. Avoid defrosting on the counter—it can make the butter too soft, which affects the flakiness.
For Baked Crust:
If you’ve blind-baked your crust, let it cool completely before storing. Wrap it loosely in foil or plastic wrap, and keep it at room temperature for up to 2 days, or in the fridge for up to a week.
Need to refresh the texture? Warm the crust in a 350°F oven for 5 to 7 minutes before filling.
For more freezer tips, Serious Eats offers a full breakdown on freezing pie crusts.
What to Make with Grandma’s Pie Crust
This crust isn’t just for one type of pie—it’s a blank canvas for your creativity. You can go sweet, savory, or somewhere in between.
Sweet Ideas:
-
Classic apple pie – A perfect pairing with this crust. Add a lattice top for extra charm.
-
Pumpkin pie – The silky filling contrasts beautifully with the flaky base.
-
Cherry or berry pies – Bright, tangy fruits pop inside this buttery shell.
Savory Ideas:
-
Chicken pot pie – Rich, creamy filling wrapped in golden crust—pure comfort.
-
Quiche – This crust holds up beautifully to custardy fillings.
-
Tomato pie or vegetable tart – A summer favorite with fresh herbs and cheese.
You can even use the dough for mini hand pies, turnovers, or pop tarts. Just roll it thinner, cut it into rounds or rectangles, and fill as you like.
Need inspiration? Browse Bon Appétit’s savory pie ideas to get started.
Grandmother’s Pie Crust Recipe – Frequently Asked Questions
Even the best recipes raise a few questions. Here are the most common ones—and the solutions that will help you bake with confidence.
Can I use a food processor instead of mixing by hand?
Absolutely. Just pulse the flour and butter until the mixture resembles coarse crumbs. Then add the water, a little at a time, and pulse until the dough just begins to form. Stop as soon as it starts clumping—overmixing can ruin the texture.
For guidance, check out this food processor pie dough tutorial.
What if I want a dairy-free pie crust?
You can use plant-based margarine or coconut oil instead of butter. Just make sure whatever you use is solid and cold when mixed in, so you still get those flaky layers. Coconut oil adds a slight sweetness, which can be great in dessert pies.
Why did my crust shrink when baking?
This is often caused by one of two things: overworking the dough or skipping the chill time. Make sure you chill the dough thoroughly, and if you’re blind baking, consider chilling the filled pie pan for 10 minutes before putting it in the oven. That helps everything hold its shape.
Can I freeze pie crust dough?
Yes, and it freezes beautifully. Wrap it tightly in plastic wrap and then in a freezer bag to prevent freezer burn. Thaw in the fridge overnight before using.
Do I always need to blind bake the crust?
Not always. If your filling is going to be baked—like with apple or pecan pie—you can bake the crust along with the filling. But for cream pies or no-bake fillings, blind baking is essential to keep the crust crisp and fully cooked.
Still unsure? This blind baking guide from The Kitchn is helpful.
Troubleshooting: What Can Go Wrong (And How to Fix It)
Even with the best intentions, pie crust can be a little tricky. Here are quick fixes for common issues:
-
Dough too dry? Add ice water 1 teaspoon at a time until it comes together.
-
Too sticky? Dust with a bit of flour and chill it again before rolling.
-
Tearing while rolling? Patch it gently with extra dough and keep going.
-
Crust shrinks or slumps? Make sure you chilled the dough and the pie pan before baking.
Remember, no pie crust is ever truly ruined. It’s all part of the learning process, and the imperfections often add charm.
Related Recipes
If you loved this Grandmother’s Pie Crust Recipe, you might enjoy these comforting classics from RecipeSeasys:
-
Peach Dump Cake – A simple, juicy dessert perfect for summer pies.
-
Lemon Raspberry Cupcakes – Sweet and tart, ideal with a flaky crust base.
-
Pineapple Upside Down Cupcakes – Use pie crust for a creative twist on this fruity treat.
-
Chocolate Peanut Butter Cake – For a richer dessert pairing with your crust.
-
Easy Divinity Candy – A nostalgic holiday treat to complement your pie table.
Final Thoughts: Baking with Love and Tradition
This crust is more than a recipe—it’s a tribute to the bakers who came before us. It’s about slowing down, working with your hands, and putting a little heart into what you make. And when your pie comes out of the oven with that golden, flaky finish, you’ll feel it too.
Don’t be afraid to make it your own. Add a pinch of cinnamon, some grated citrus zest, or a handful of chopped herbs depending on your filling. The beauty of this recipe is how versatile and forgiving it is.
Print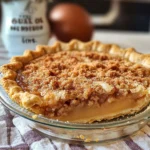
Grandma’s Pie Crust – The Best Homemade Recipe of 2025
- Total Time: 1 hour 5 minutes (includes chill time)
- Yield: 1 9-inch pie crust
Description
This classic Grandmother’s Pie Crust Recipe delivers a perfectly flaky, buttery crust using just four simple ingredients. Ideal for sweet or savory pies, it’s a timeless baking essential passed down through generations.
Ingredients
- 2 ½ cups all-purpose flour
- 1 teaspoon salt
- 1 cup unsalted butter, cold and cut into cubes
- 6–8 tablespoons ice-cold water
- Optional: 1 tablespoon sugar (for sweet pies)
Instructions
- In a large bowl, whisk together flour and salt.
- Add cold, cubed butter and cut it into the flour using a pastry cutter or fork until it resembles coarse crumbs.
- Drizzle in ice-cold water, 1 tablespoon at a time, mixing gently until the dough starts to form.
- Form the dough into a ball, handling it as little as possible.
- Wrap the dough in plastic wrap and refrigerate for at least 30 minutes.
- Roll out dough on a floured surface to about 1/8-inch thickness.
- Transfer dough to a pie pan, trim and crimp the edges.
- If blind baking, line the crust with parchment paper, add pie weights, and bake at 375°F for 15 minutes. Remove weights and bake for another 5–7 minutes until golden.
Notes
- Always use very cold butter and water for best flakiness.
- Do not overwork the dough or it will become tough.
- Wrap and freeze dough for up to 3 months.
- Add herbs for savory pies or sugar for fruit pies.
- Prep Time: 15 minutes
- Cook Time: 20 minutes
Nutrition
- Serving Size: 1/8 of pie crust
- Calories: 215
- Sugar: 0.5g
- Sodium: 190mg
- Fat: 17g
- Saturated Fat: 11g
- Unsaturated Fat: 5g
- Trans Fat: 0g
- Carbohydrates: 14g
- Fiber: 1g
- Protein: 2g
- Cholesterol: 45mg
")