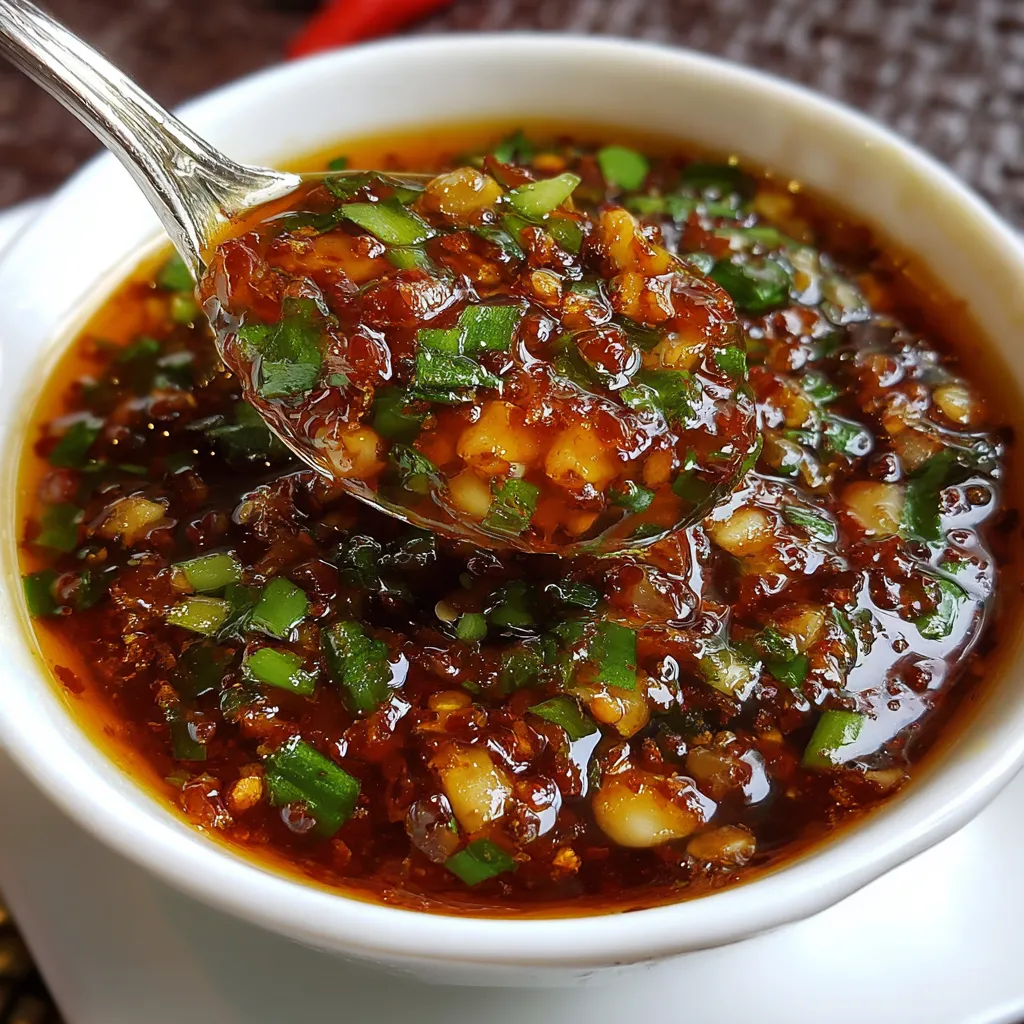
Introduction
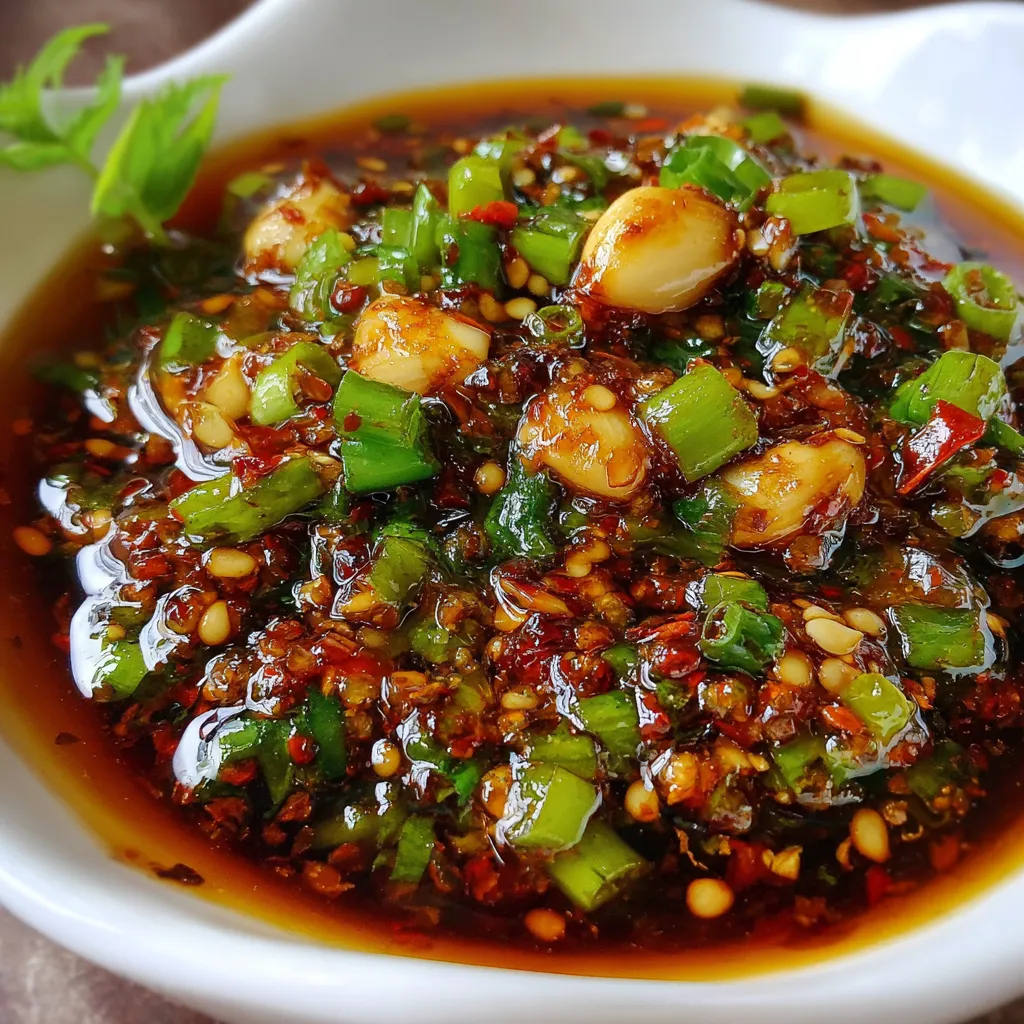
There’s something magical about the fiery kick of garlic chili sauce. That burst of heat, the deep savoriness of garlic, and a hint of tanginess—it’s the condiment that transforms ordinary dishes into something unforgettable.
But let’s be honest. Most store-bought versions fall short. They’re either too sweet, too salty, or lack the rich, bold flavors you crave from your favorite restaurant. This recipe changes all of that.
With just a handful of pantry ingredients and 15 minutes of your time, you can create a restaurant-quality garlic chili sauce right in your own kitchen. It’s easy, quick, and incredibly versatile. Whether you’re spooning it over dumplings, drizzling it on noodles, or stirring it into fried rice, this sauce delivers every time.
And the best part? You control the heat, the sweetness, and every little detail.
Why You’ll Love This Garlic Chili Sauce – Restaurant Style
Key Benefits
This isn’t just another chili sauce recipe. It’s designed to deliver everything you love about the versions served in your favorite Asian restaurants:
-
Big, bold flavor from fresh garlic and perfectly balanced seasoning.
-
Customizable heat so you can make it mild or mouth-tinglingly spicy.
-
Glossy, restaurant-style texture that clings beautifully to noodles, dumplings, or grilled meats.
-
Quick and fuss-free—it’s ready in 15 minutes from start to finish.
Once you try this homemade version, it’s hard to go back to the jarred stuff.
Suitable For
This garlic chili sauce is perfect for:
-
Busy weeknight dinners when you need a flavor boost fast.
-
Meal prep—make a batch and keep it on hand for up to two weeks.
-
Vegans and gluten-free diets (with simple substitutions).
-
Spice lovers and even those who prefer a gentler kick.
It’s as family-friendly as it is fiery.
Ingredients for Garlic Chili Sauce – Restaurant Style
Core Ingredients
Let’s talk about what you’ll need. The beauty of this recipe is that it calls for simple, easy-to-find ingredients:
-
Fresh garlic cloves (about 10, finely minced). Fresh garlic makes all the difference—skip the pre-minced jars for the most vibrant flavor.
-
Red chili flakes (½ cup, or adjust to taste). These bring heat and a lovely red hue to the sauce.
-
Neutral oil (½ cup, like vegetable or avocado oil). This carries the flavors without overpowering them.
-
Rice vinegar (1 tablespoon) for that subtle tang.
-
Soy sauce (1 tablespoon) adds depth and umami.
-
Sugar (½ teaspoon) balances out the heat.
-
Salt (¼ teaspoon) to round out the flavors.
-
Sesame oil (optional, 1 teaspoon) for a nutty aroma that’s totally irresistible.
Substitutions and Tips
Here’s how you can tweak the recipe to suit your pantry or preferences:
-
Fresh chilies instead of flakes? Go for it. Finely chop them and simmer a little longer to let the flavors meld.
-
No rice vinegar? Try apple cider vinegar for a different but equally delicious tang.
-
Want it sweeter? A teaspoon of honey or hoisin sauce can add a lovely twist.
-
Gluten-free? Swap soy sauce for tamari or coconut aminos.
This sauce is forgiving and flexible, which makes it perfect for experimenting.
Best Garlic and Chilies for Garlic Chili Sauce
When it comes to garlic, fresh is non-negotiable. Pre-minced or jarred garlic just doesn’t deliver the same punch. Look for firm cloves with tight skins—these will give you that intense aroma and flavor.
As for chilies, you’ve got options.
-
Thai bird’s eye chilies for serious heat.
-
Korean gochugaru for a mild, slightly smoky spice.
-
Sichuan dried chilies if you love that tongue-tingling effect.
Mix and match to find your perfect balance.
Kitchen Tools You’ll Need
Must-Have Tools
-
Small saucepan for infusing the oil and building the sauce.
-
Heatproof spatula or spoon for stirring.
-
Clean glass jar with a tight lid for storing your finished sauce.
Nice-to-Have Tools
-
Garlic press if you want to save time on mincing.
-
Small funnel for mess-free transfer to your storage jar.
-
Food processor or blender if you prefer a smooth, glossy sauce instead of a textured one.
With these basics, you’re ready to whip up your own restaurant-worthy chili sauce in no time.
How to Make Garlic Chili Sauce – Restaurant Style
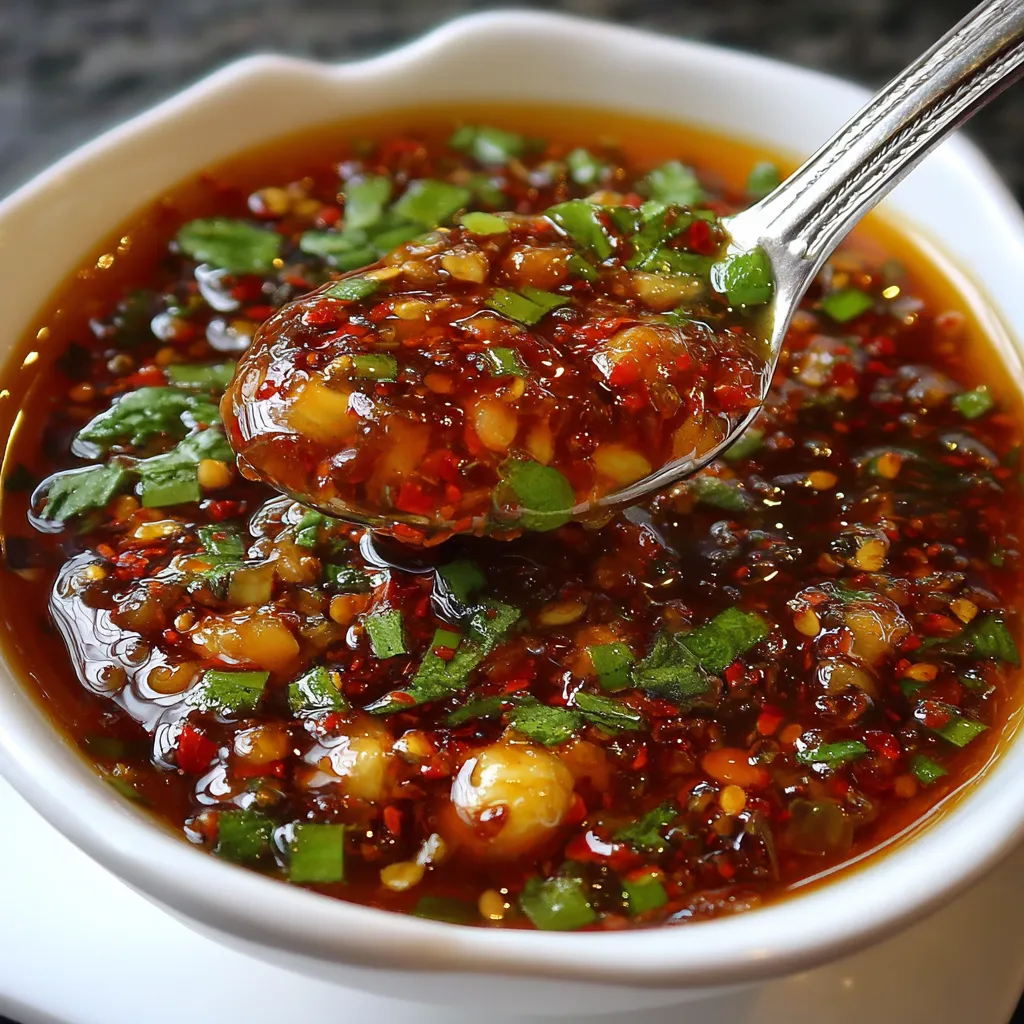
This sauce comes together so quickly, you’ll wonder why you ever bought a jar. Follow these step-by-step instructions, and I promise you’ll end up with a glossy, flavorful chili sauce that tastes like it came straight from your favorite takeout spot.
Step 1: Infuse the Oil
Start by pouring the neutral oil into a small saucepan and setting it over medium-low heat. You’re looking for a gentle sizzle, not an aggressive fry. Add the minced garlic and stir it gently as it cooks.
Here’s the key: keep the heat low and watch closely. Garlic burns fast, and once it turns bitter there’s no saving the batch. Aim for a soft golden color—it should smell rich and aromatic after about 2 to 3 minutes.
If it starts browning too quickly, lift the pan off the heat for a few seconds to cool things down.
Step 2: Add Chili Flakes
Once the garlic is perfectly golden, take the pan off the heat. Now’s the moment for the chili flakes. Stir them in carefully; the residual heat of the oil will bring out their color and fragrance without scorching them.
Be ready for a gentle bubble when the flakes hit the oil. That’s completely normal and means the flavors are waking up.
Step 3: Season the Sauce
With the pan still off the heat, stir in the rice vinegar, soy sauce, sugar, salt, and sesame oil if you’re using it. Taste a tiny spoonful (once it cools slightly) and adjust if needed. Want it a bit sweeter? Add a pinch more sugar. Craving extra tang? A dash more vinegar will do it.
At this point, your kitchen will smell incredible—spicy, garlicky, and full of promise.
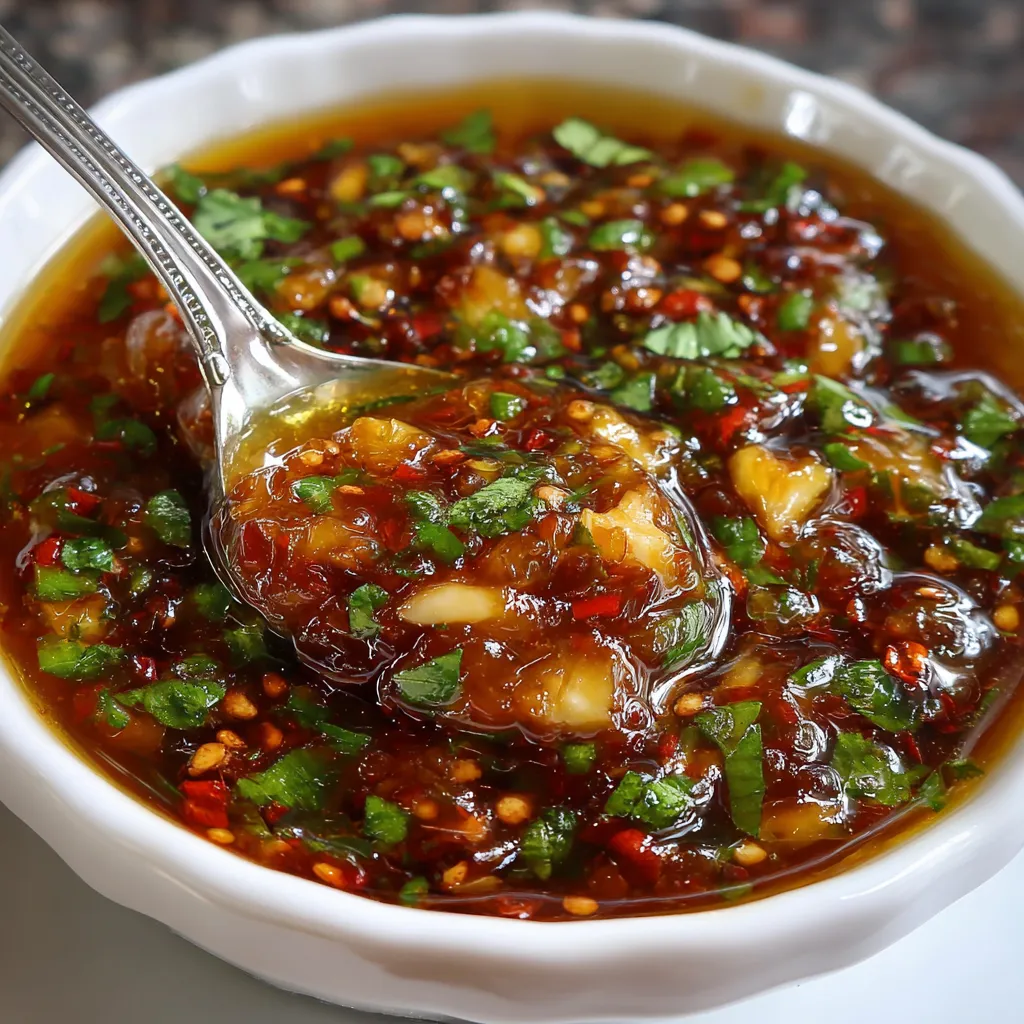
Step 4: Cool and Store
Allow the sauce to cool completely in the pan before transferring it to a clean glass jar. As it cools, it will thicken slightly and develop that restaurant-style glossy finish.
Store in the refrigerator for up to two weeks. A quick stir is all it takes to revive it if it separates a little over time.
Tips for Success
This sauce is simple, but a few pro tips make it foolproof:
-
Don’t rush the garlic. Patience here means you avoid bitter flavors.
-
Control your heat. For a mild sauce, use fewer chili flakes or choose a milder variety like Korean gochugaru. For serious spice lovers, add a spoonful of chili oil or fresh chopped chilies.
-
Keep it glossy. Avoid overheating after adding the seasonings—this keeps the sugars from caramelizing and changing the texture.
How to Store Garlic Chili Sauce
At Room Temperature
This sauce is best stored in the fridge, but if you’re using it the same day, it can sit out on the counter for a few hours safely.
In the Refrigerator
Pour your cooled sauce into a clean, airtight jar and store it in the refrigerator. It keeps beautifully for 2 to 3 weeks.
Freezing Tips
For longer storage, freeze portions in ice cube trays. Once solid, transfer the cubes to a freezer bag. Thaw overnight in the fridge or gently warm on the stovetop.
Frequently Asked Questions
What type of garlic is best for this sauce?
Fresh, firm cloves deliver the most vibrant flavor. Avoid pre-minced garlic from a jar—it tends to taste flat.
Can I use fresh chilies instead of dried?
Absolutely. Finely chop fresh red chilies and cook them slightly longer with the garlic to soften their bite and blend the flavors.
Is this sauce gluten-free?
Yes, as long as you use a gluten-free soy sauce or tamari. Fish sauce is naturally gluten-free, so you can swap that in too.
Can I freeze garlic chili sauce?
Yes, though the texture may change slightly. Freeze in small portions for easy use. Stir well after thawing.
How do I adjust sweetness or acidity?
Taste as you go. Add sugar in tiny increments for sweetness, or a few drops of vinegar to brighten the flavors.
Related Recipes
If you loved this garlic chili sauce, you might enjoy these flavorful dishes:
-
Easy Garlic Butter Cheese Bombs: Soft, buttery rolls oozing with melted cheese.
-
Garlic Parmesan Chicken Pasta: A creamy pasta dish perfect with a drizzle of chili sauce.
-
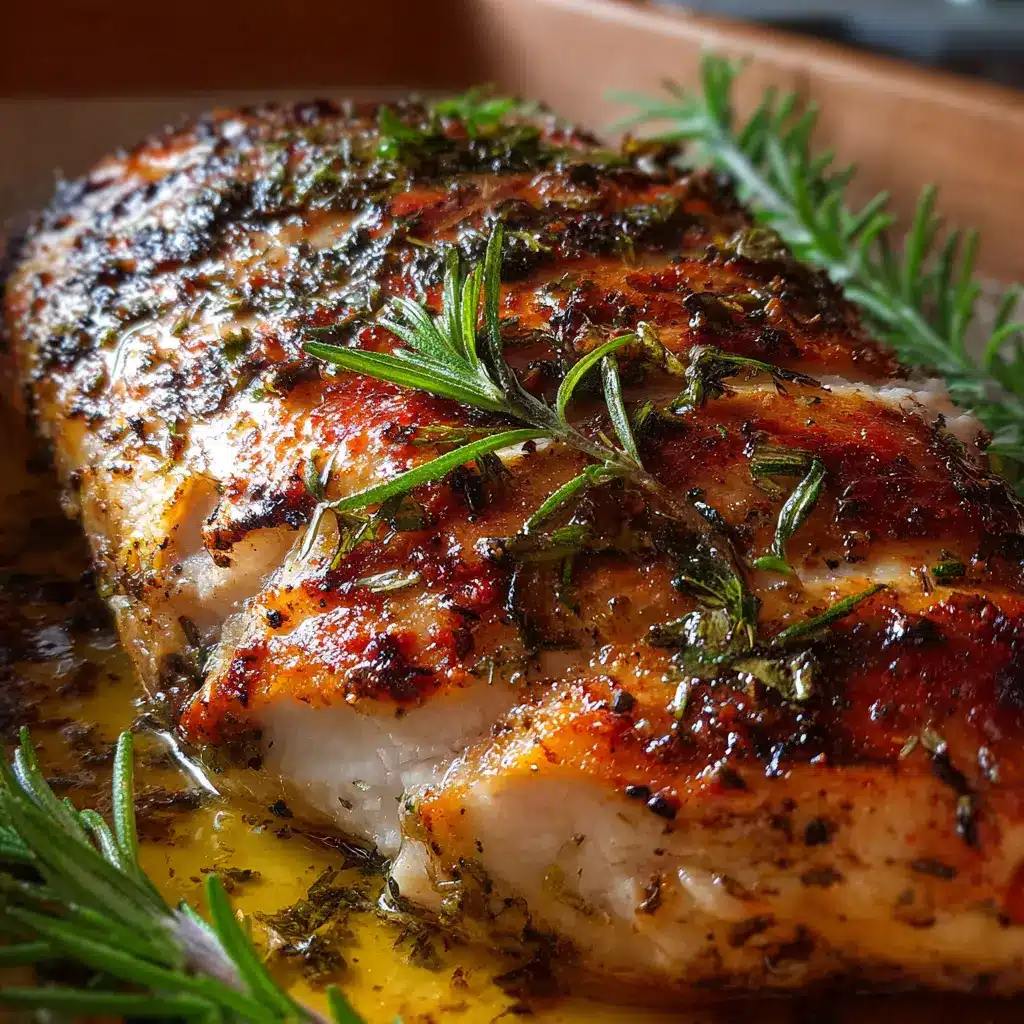
Golden Garlic Chicken Bites: Crispy, garlicky chicken pieces that pair perfectly with this sauce.
-
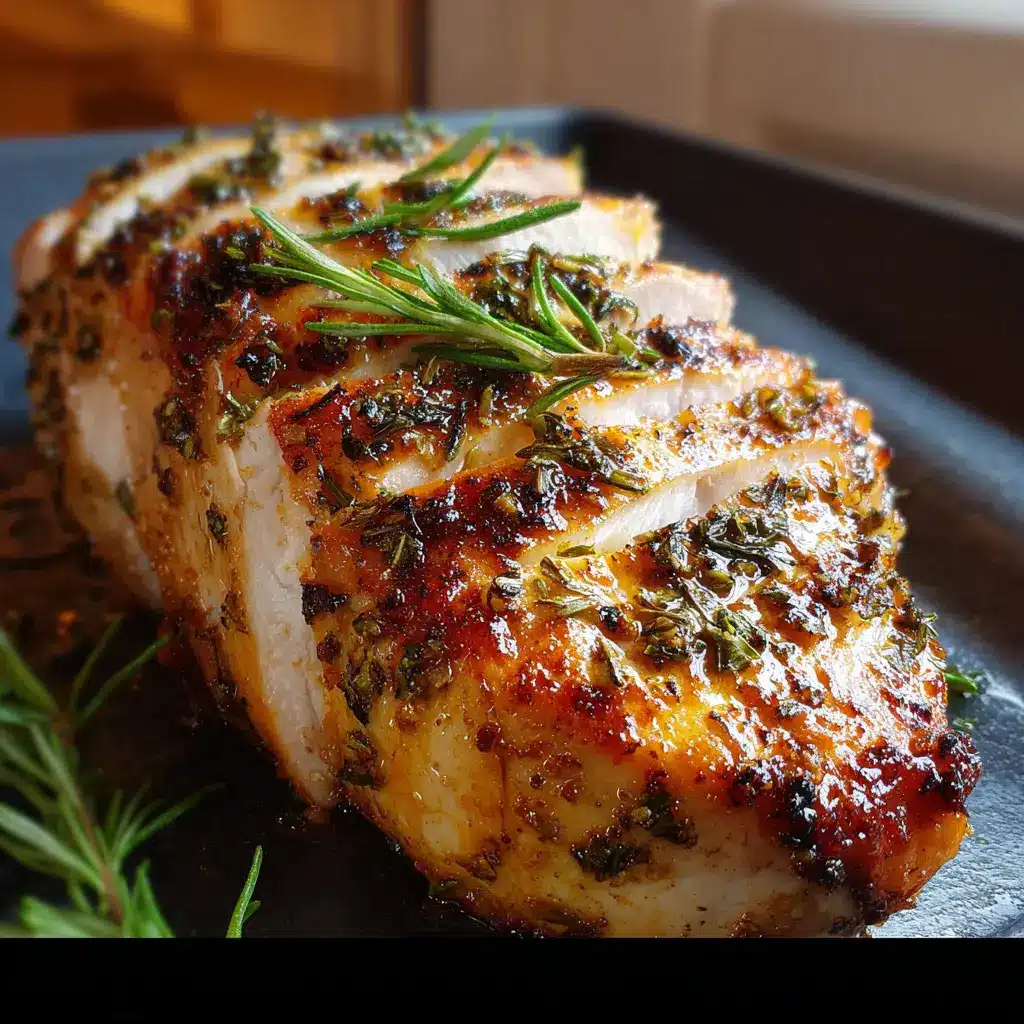
One Pan Garlic Herb Chicken: A full meal ready in one skillet with rich garlic flavor.
-
Air Fryer Garlic Parmesan Skewers: Tender skewered chicken enhanced by the spicy garlic chili drizzle.
Conclusion
This garlic chili sauce is more than just a condiment—it’s a flavor powerhouse that can elevate everything from dumplings to grilled vegetables. Once you’ve made it at home, the jarred version will never taste quite right again.
Try it. Share it. And don’t be surprised if it becomes your go-to secret weapon in the kitchen.
Print
Garlic Chili Sauce
- Total Time: 15 minutes
- Yield: 1 cup (8 servings)
Description
This garlic chili sauce delivers restaurant-style flavor with a spicy kick and rich garlic aroma. Perfect for noodles, dumplings, and marinades.
Ingredients
- 10 cloves garlic, minced
- 1 tbsp rice vinegar
- 1 tbsp soy sauce
- 1/2 cup red chili flakes
- 1/2 cup neutral oil (vegetable or avocado)
- 1/2 tsp sugar
- 1/4 tsp salt
- Optional: 1 tsp sesame oil
Instructions
- Heat oil in a saucepan over medium-low. Add minced garlic and sauté until golden (2-3 minutes).
- Remove from heat and stir in red chili flakes carefully.
- Add rice vinegar, soy sauce, sugar, salt, and optional sesame oil. Mix well.
- Let cool completely and store in a clean jar in the fridge for 2-3 weeks.
Notes
- Use fresh garlic for best flavor; avoid jarred minced garlic.
- Adjust chili flakes for desired heat level.
- For a smoother texture, blend briefly before storing.
- Add honey or hoisin for a sweeter twist.
- Prep Time: 5 minutes
- Cook Time: 10 minutes
Nutrition
- Serving Size: 2 tbsp
- Calories: 65
- Sugar: 0.2g
- Sodium: 120mg
- Fat: 7g
- Saturated Fat: 0.8g
- Unsaturated Fat: 6.2g
- Trans Fat: 0g
- Carbohydrates: 1g
- Fiber: 0.4g
- Protein: 0.3g
- Cholesterol: 0mg
")