Introduction to Garlic Butter Cheese Bombs
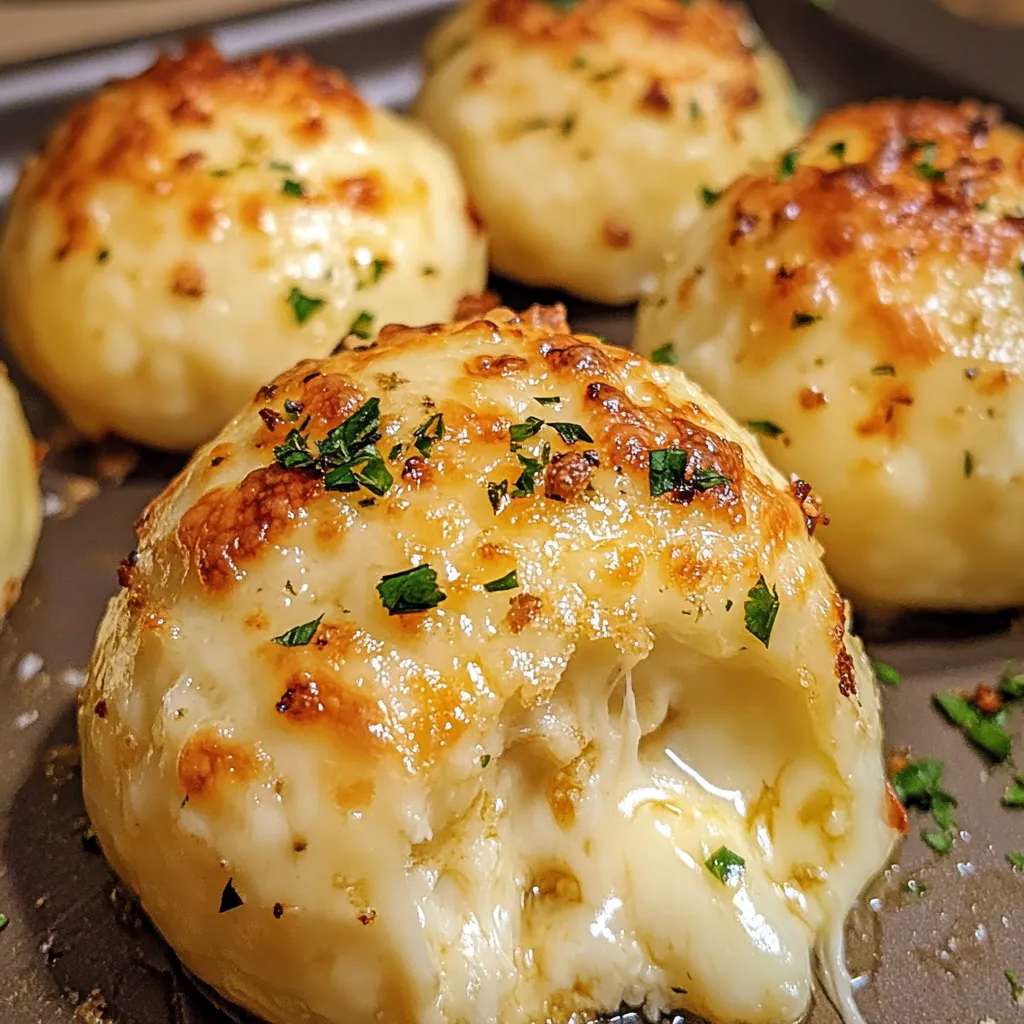
Garlic butter cheese bombs are the ultimate snack for cheese lovers and anyone craving a quick, savory treat. With a soft, buttery biscuit exterior and a gooey, melted cheese center, each bite combines comforting textures and flavors that are hard to resist. These easy-to-make appetizers are not only delicious but also highly versatile, making them ideal for gatherings, family dinners, or even casual nights in.
In addition to their rich flavors, garlic butter cheese bombs are a go-to choice for many because they’re incredibly quick to prepare. Using just a few simple ingredients like refrigerated biscuit dough and mozzarella cheese, these bombs can be assembled and baked in under 30 minutes, which makes them perfect for last-minute gatherings.
Their popularity also comes from how adaptable they are. You can customize these bombs with different cheeses, add extra seasonings, or even make them spicy.
Ingredients Overview
The beauty of garlic butter cheese bombs lies in their simplicity. With just a handful of basic ingredients—garlic powder, butter, and mozzarella cheese—you can create an incredibly savory and satisfying snack. The refrigerated biscuit dough makes this recipe especially convenient, allowing you to skip the hassle of making dough from scratch.
For those who enjoy experimenting, this recipe is highly adaptable. Consider swapping mozzarella with cheddar or even pepper jack for a spicier twist. You can also try different biscuit doughs, like crescent roll dough or pizza dough, for unique textures.
Step-by-Step Recipe Guide
Step 1: Preheat the Oven
Preheating the oven is essential for achieving a crispy, golden exterior on the cheese bombs. Set your oven to 375°F (190°C) and allow it to warm fully before baking. A properly preheated oven ensures even cooking, which helps the cheese bombs bake perfectly throughout. Line a baking sheet with parchment paper or lightly grease it to prevent sticking. This step makes cleanup easy and keeps the bottoms of the bombs golden and intact.
Step 2: Prepare the Biscuits
- Open the can of refrigerated biscuit dough and separate each piece.
- Flatten each biscuit into a round, about 3 inches in diameter. Flattening the dough helps create a surface that’s large enough to wrap around the cheese, forming a neatly sealed ball.
A uniform dough thickness will allow each bomb to cook evenly, preventing some from overcooking while others remain underdone.
Step 3: Add the Cheese
- Place a piece of mozzarella cheese in the center of each flattened dough circle. The cheese can be shredded or cut into small cubes, both of which melt smoothly inside the biscuit.
- Fold the edges of the dough up and around the cheese, pinching them firmly to ensure a tight seal. This step is crucial for preventing the cheese from leaking out as it melts in the oven.
Step 4: Season and Arrange
- Arrange the cheese-filled balls seam-side down on the prepared baking sheet. This placement helps them retain a round shape as they bake.
- In a small bowl, mix the melted butter, garlic powder, Italian seasoning, and a pinch of salt. Generously brush each cheese bomb with this seasoned butter mixture, adding a delicious, garlicky flavor and a golden finish to the tops.
Step 5: Bake
Bake the cheese bombs in the preheated oven for 12-15 minutes. They’re ready when they turn golden brown, with a light crispiness on the surface. The cheese inside should be melted and slightly gooey, adding a perfect contrast to the flaky exterior.
Serving Suggestions
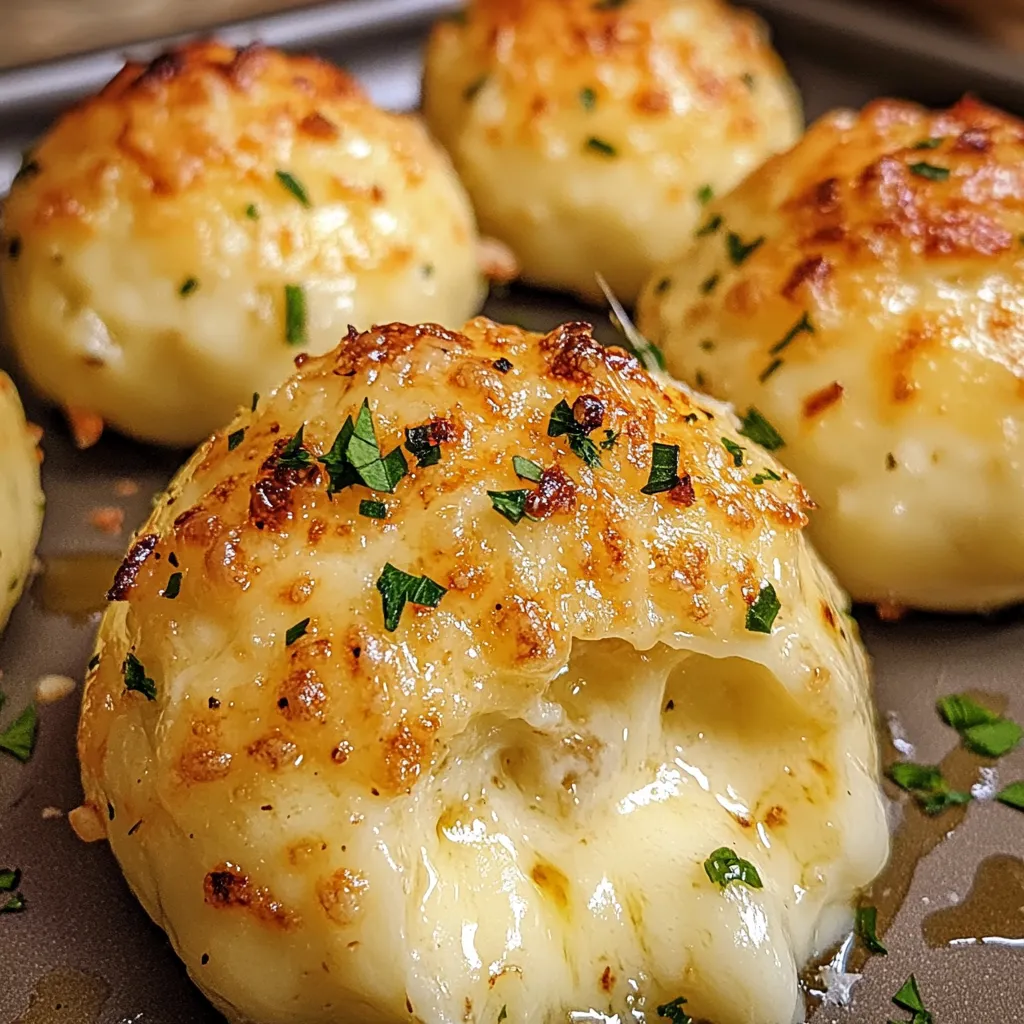
Garlic butter cheese bombs are deliciously versatile, making them the perfect addition to any meal or snack spread. Serve them warm to fully enjoy their gooey cheese filling and buttery flavor. Pair them with a variety of dipping sauces to elevate the experience—marinara sauce is a classic choice, while ranch dressing and garlic aioli add a cool, creamy contrast. For a bit of spice, serve with buffalo or sriracha mayo.
If you want to add a little flair, consider topping the cheese bombs with extra seasoning right after baking. A sprinkle of Parmesan cheese adds a savory bite, and a dash of crushed red pepper flakes offers a hint of heat. Freshly chopped parsley or basil also works well as a garnish, providing color and a fresh aroma.
These cheese bombs make an excellent appetizer, party snack, or even a fun addition to a game day spread.
Nutrition Information and Tips for Healthier Options
Each serving of garlic butter cheese bombs provides a comforting yet indulgent treat. Here’s an approximate nutritional breakdown per bomb:
- Calories: 150
- Fat: 9g
- Protein: 6g
- Carbohydrates: 12g
While these snacks are deliciously rich, there are ways to lighten them up. Use low-fat mozzarella cheese to reduce calories and saturated fat without sacrificing flavor. You can also opt for reduced-sodium seasoning to lower the overall sodium content, especially if serving multiple cheese bombs.
For a healthier base, substitute whole-wheat biscuit dough or make homemade dough with whole-grain flour for added fiber. Alternatively, use plant-based butter and cheese to make these bombs vegan-friendly without losing any of their indulgent appeal.
Recipe Variations and Customization Ideas
One of the best things about garlic butter cheese bombs is their versatility. You can customize them to suit a variety of flavor profiles or dietary preferences. For a spicy twist, add a small slice of jalapeno or a sprinkle of crushed red pepper flakes inside each bomb along with the cheese. This adds a kick to the classic recipe and pairs well with cool dipping sauces.
For a more aromatic flavor, try making herb-infused butter. Mix in fresh chopped rosemary, basil, or parsley with the melted butter before brushing it onto the dough. This creates a fragrant, herby crust that complements the cheesy filling perfectly.
For those seeking vegan or dairy-free options, it’s easy to make adjustments. Use plant-based butter and vegan cheese (like mozzarella-style shreds) to maintain that gooey, indulgent texture. Many vegan cheese options melt well, ensuring you don’t miss out on the signature pull-apart effect.
These customizations allow you to create garlic butter cheese bombs that cater to various tastes and dietary needs, making them ideal for diverse gatherings or personal preferences.
Expert Tips for Perfect Garlic Butter Cheese Bombs
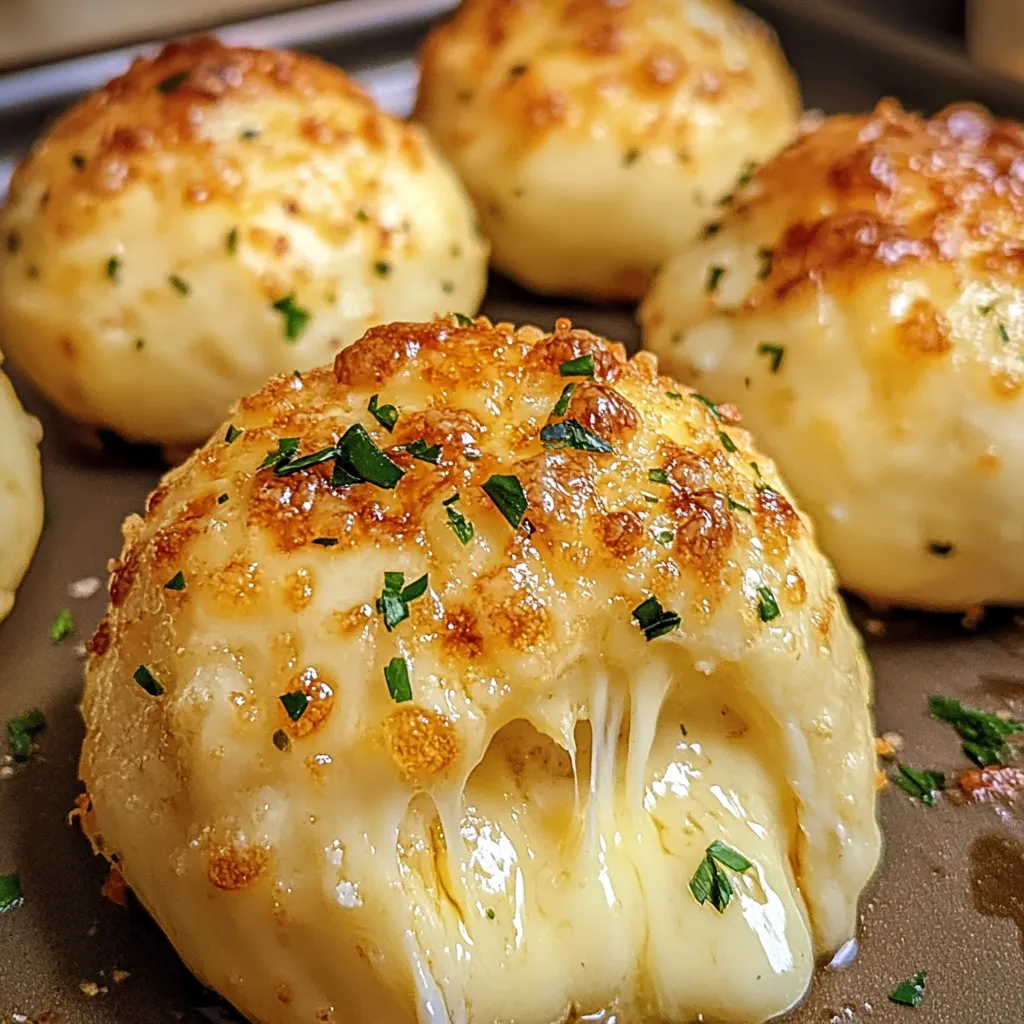
To achieve the perfect garlic butter cheese bomb, follow these expert tips for the best results every time:
- Avoid Soggy Dough: Flatten the dough evenly and avoid overfilling with cheese. Overfilling can cause moisture to build up, making the dough soggy.
- Prevent Cheese Leakage: To keep the cheese from leaking out, make sure to seal the dough tightly around the filling. Pinch the edges securely to form a seam, then place the bombs seam-side down on the baking sheet.
- Ensure Even Cooking: Space each bomb about an inch apart to allow even heat distribution. This helps each cheese bomb bake thoroughly without overcrowding, which can lead to uneven cooking.
These tips help you avoid common issues and create cheese bombs that are consistently delicious, with a perfectly melted center and golden, crisp exterior.
FAQ Section
How can I prevent the cheese from leaking out?
To avoid cheese leakage, ensure the dough is properly sealed around the filling. Flatten each piece of dough into a circle large enough to fully enclose the cheese, then pinch the edges tightly to form a solid seam. Place each cheese bomb seam-side down on the baking sheet to help it hold its shape during baking. This method prevents any cheese from escaping as it melts, keeping each bomb deliciously gooey inside.
Can I make cheese bombs ahead of time?
Yes, garlic butter cheese bombs can be prepared in advance. Follow the recipe steps up until baking, then arrange the assembled bombs on a lined baking sheet and cover with plastic wrap. Store in the refrigerator for up to a day before baking. When ready to serve, remove from the fridge, brush with seasoned butter, and bake as directed. This is perfect for saving time when preparing for parties or gatherings.
What are some dipping sauce options for cheese bombs?
Dipping sauces add an extra layer of flavor to these cheesy snacks. Some popular options include:
- Marinara sauce: A classic, Italian-inspired pairing.
- Ranch dressing: A cool and creamy contrast to the warm, garlicky bread.
- Garlic aioli: Adds a garlic kick that enhances the buttered crust.
- Buffalo sauce: Perfect for those who enjoy a bit of spice.
- Honey mustard: A tangy option that balances the richness.
How do I store and reheat leftovers?
To store leftovers, place the cheese bombs in an airtight container and refrigerate for up to two days. For best results, reheat them in the oven at 300°F for a few minutes until warmed through. This helps retain their crispy exterior, unlike microwaving, which can make them soggy.
Are there alternative doughs I can use?
Yes, while refrigerated biscuit dough is convenient, other doughs can work well too. Try crescent roll dough for a flakier texture or pizza dough for a chewier consistency. For those who prefer homemade, a basic bread dough recipe also creates a delicious, custom base for the cheese bombs. This flexibility allows you to adjust the flavor and texture to match your preference, ensuring tasty results every time.
Print
Easy Garlic Butter Cheese Bombs Recipe
- Total Time: 25 minutes
- Yield: 8 cheese bombs
Description
These garlic butter cheese bombs are a quick, savory snack filled with gooey mozzarella cheese and seasoned with garlic butter. Perfect for parties, game days, or any occasion that calls for delicious finger food.
Ingredients
- 1 teaspoon garlic powder
- 1 teaspoon Italian seasoning
- Pinch of salt
- 1 (16 oz) container refrigerated biscuit dough (8 biscuits)
- 4 ounces mozzarella cheese (shredded or cubed)
- 4 tablespoons melted butter
Instructions
- Preheat the oven to 375°F (190°C). Line a baking sheet with parchment paper or lightly grease it.
- Prepare the biscuits by flattening each into a 3-inch circle.
- Add Cheese: Place mozzarella in the center of each dough circle. Fold and pinch to seal.
- Season: Arrange seam-side down on the baking sheet. Mix melted butter with garlic powder, Italian seasoning, and salt, then brush over each bomb.
- Bake for 12-15 minutes, until golden brown. Serve warm.
Notes
- Substitute mozzarella with cheddar for a different flavor.
- Can be made ahead of time and baked just before serving.
- Prep Time: 10 minutes
- Cook Time: 15 minutes
- Category: Appetizer, Snack
- Method: Baking
- Cuisine: American, Italian-inspired
Nutrition
- Calories: 150
- Sodium: 210mg
- Fat: 9g
- Carbohydrates: 12g
- Fiber: 0.5g
- Protein: 6g

