Introduction
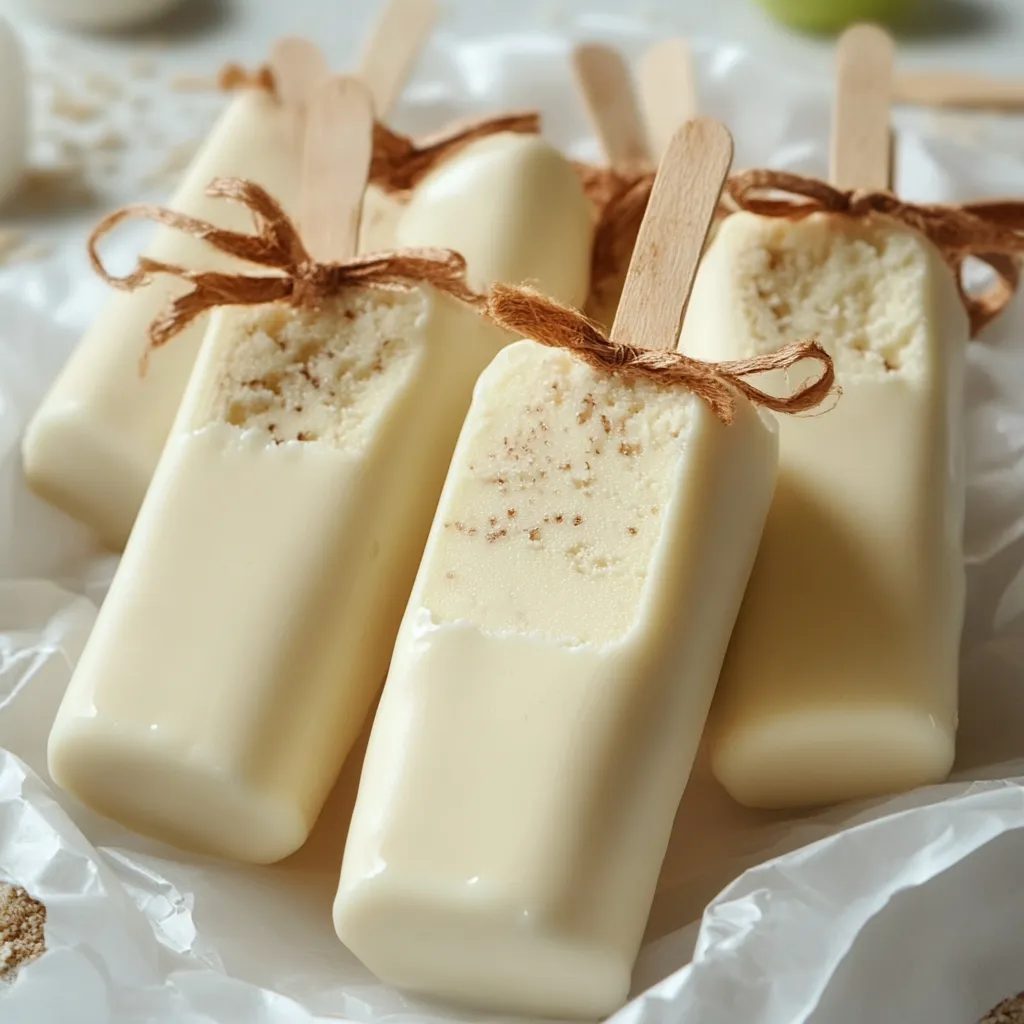
Homemade ice cream bars are the ultimate summer treat, and this recipe will have you whipping up creamy, dreamy bars in no time. What makes these bars special? They’re no-churn, require just a handful of simple ingredients, and can be customized endlessly with your favorite flavors. Whether you’re cooling off on a hot day or surprising guests at a family gathering, these ice cream bars deliver on flavor and fun. Get ready to make a dessert that’s as easy as it is irresistible!
Why You’ll Love This Recipe
Key Benefits
This recipe is designed for everyone, from beginner bakers to seasoned pros. The steps are straightforward, making it a breeze to prepare. Plus, the ingredients are easy to find, and the process is kid-friendly, so you can turn this into a fun family activity. These bars are also naturally gluten-free, and with a few tweaks, they can be made vegan-friendly!
Suitable For
Whether you’re hosting a summer barbecue, treating your family to a midweek dessert, or simply indulging your sweet tooth, these ice cream bars are the perfect choice. They’re portable, easy to eat, and guaranteed to impress.
Ingredients for Creamy Ice Cream Bars
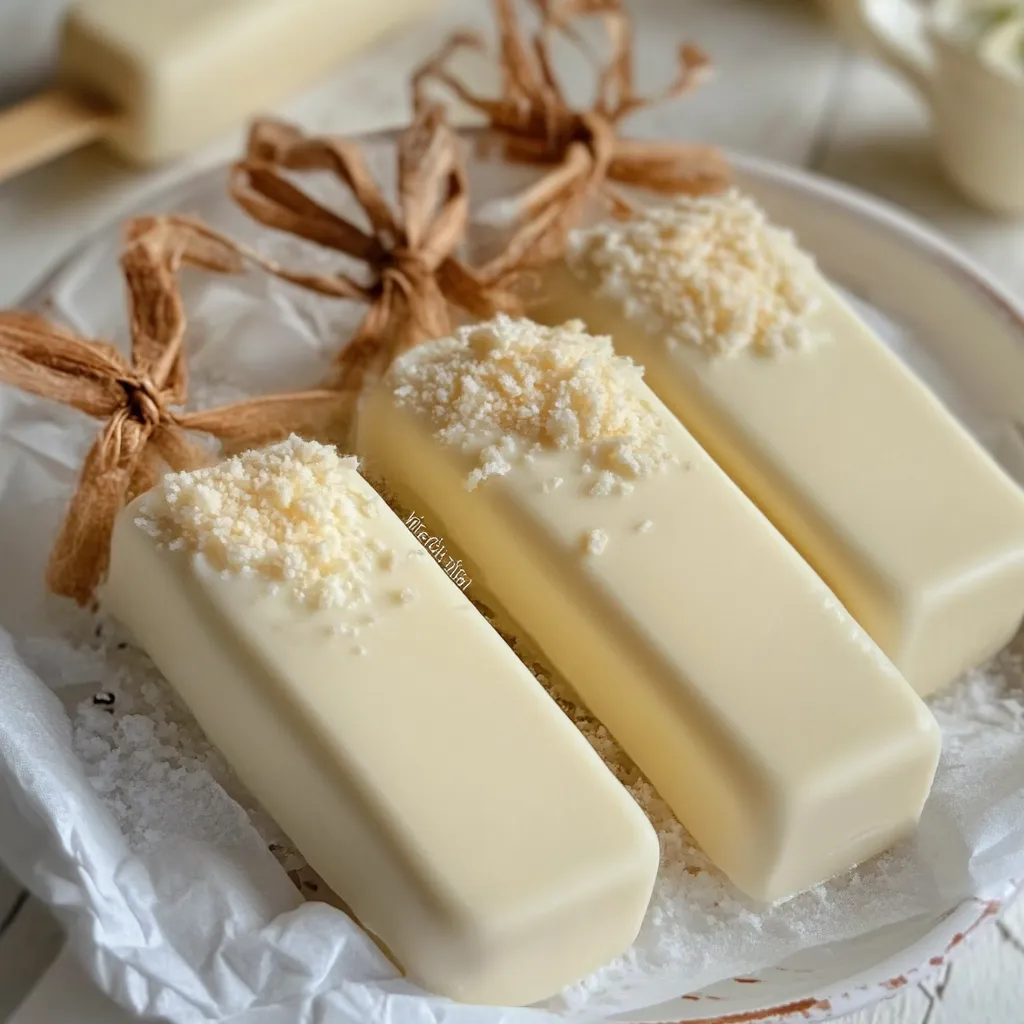
Core Ingredients
- Milk Powder: Adds a rich, creamy base to your bars.
- Sugar: Provides sweetness and helps with the texture.
- Condensed Milk: Enhances the creaminess and binds the ingredients together.
- Coconut Cream or Whipping Cream: The hero ingredient for that luxurious, silky texture.
- Coconut Milk or Regular Milk: Balances the richness of the cream while adding flavor.
- Cornstarch: Thickens the mixture to achieve a smooth consistency.
- Flavoring (optional): Vanilla, fruit essence, or citrus zest can elevate your bars with a burst of flavor.
Substitutions and Tips
- Vegan Options: Swap whipping cream for coconut cream and use plant-based condensed milk.
- Flavor Variations: Try a touch of mint extract, cocoa powder, or even a pinch of cinnamon for a twist.
- Sweetener Alternatives: Honey or maple syrup can replace sugar for a natural sweetness.
Kitchen Tools You’ll Need
Must-Have Tools
- Ice Cream Molds: For the perfect shape and portion.
- Blender or Whisk: Ensures the mixture is smooth and lump-free.
- Measuring Cups and Spoons: Precision is key for the best results.
Nice-to-Have Tools
- Silicone Molds: Add creative shapes to your bars.
- Food Processor: For blending fruit or nuts into the mixture.
Step-by-Step Instructions
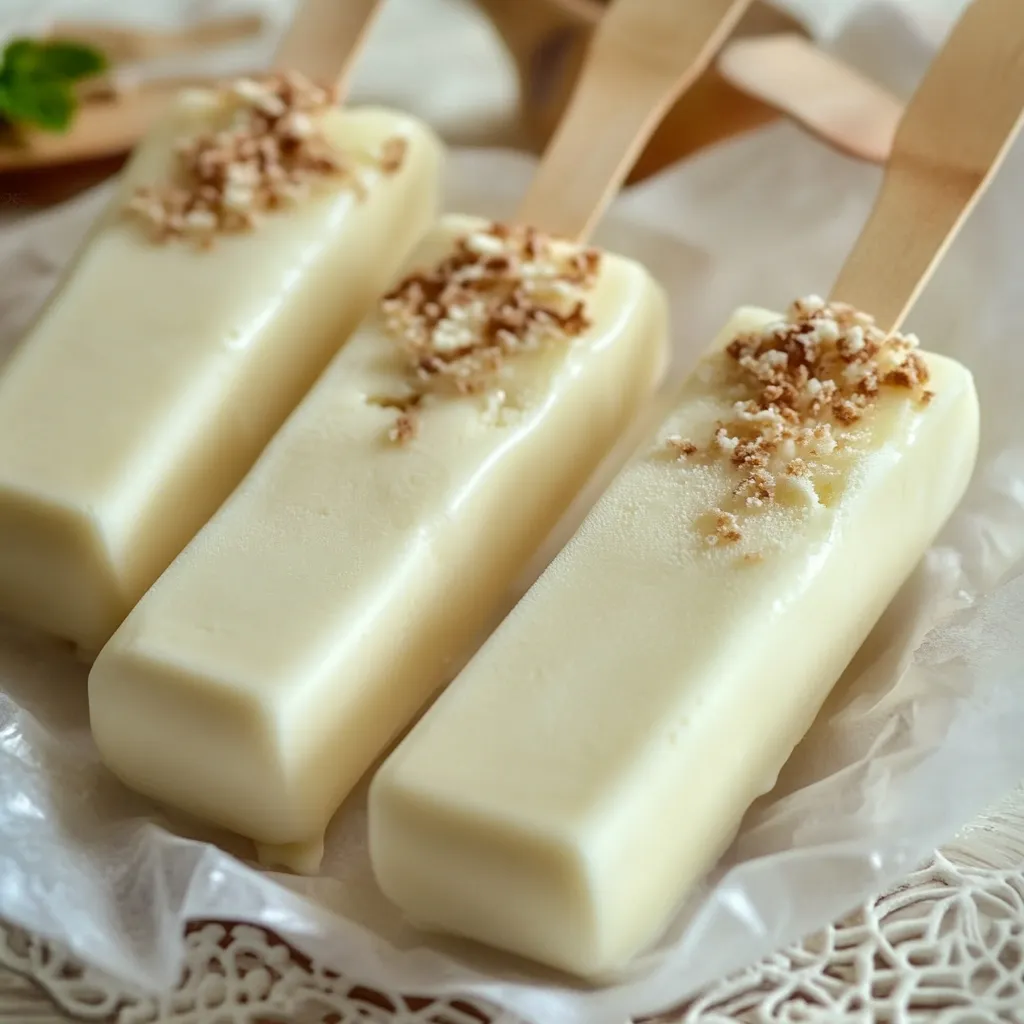
Step 1: Combine Ingredients
In a medium-sized pot, mix coconut cream, coconut milk, milk powder, sugar, and condensed milk. Stir until all the ingredients are fully combined. This step ensures the base is creamy and evenly sweetened.
Pro Tip: Use a whisk to dissolve any lumps in the milk powder for a smoother texture.
Step 2: Thicken the Mixture
Place the pot on low heat and stir continuously. Gradually add cornstarch while stirring to prevent clumping. Continue stirring until the mixture thickens to a custard-like consistency.
Pro Tip: Don’t rush this step—constant stirring prevents the mixture from burning and ensures a velvety texture.
Step 3: Fill and Freeze
Remove the pot from heat and, if desired, stir in your chosen flavoring. Pour the mixture into ice cream molds, filling them evenly. Insert popsicle sticks and place the molds in the freezer for at least 4 hours or until fully set.
Pro Tip: Use a measuring jug for easy pouring and minimal mess.
Tips for Success
Creating the creamiest, most delicious ice cream bars is easier than you think, but a few expert tips can take your results from good to exceptional. Follow these simple guidelines to ensure your homemade treats turn out perfectly every time.
Ensure a Creamy Texture
Ice crystals are the nemesis of smooth ice cream, but they’re easy to minimize with a few tricks. Whisk the cream mixture well to incorporate plenty of air, creating a soft and airy base. Using high-fat ingredients like coconut cream or whipping cream helps reduce water content, which is the main culprit behind those pesky ice crystals.
Pro Tip: Chill your molds and ingredients before starting. This reduces the temperature gap when freezing, allowing the bars to set evenly and smoothly.
Balance the Sweetness
A pinch of salt isn’t just for savory dishes—it’s your secret weapon for elevating sweet flavors. By adding a small amount of fine sea salt to the base, you’ll enhance the sweetness and create a balanced, sophisticated taste.
Customize Your Ice Cream Bars
The beauty of homemade ice cream bars is their endless customization potential. Love chocolate? Melt your favorite type and dip the bars for a decadent coating. Want fruity layers? Add a dollop of raspberry coulis or lemon curd to the molds before pouring in the ice cream mixture. You can even sprinkle chopped nuts, crushed cookies, or colorful sprinkles for added texture and fun.
Pro Tip: Work quickly when adding decorations to the chocolate coating—it hardens fast!
How to Store Creamy Ice Cream Bars
Proper storage is crucial to maintaining the texture and flavor of your ice cream bars. Here’s how to keep them fresh and ready to enjoy.
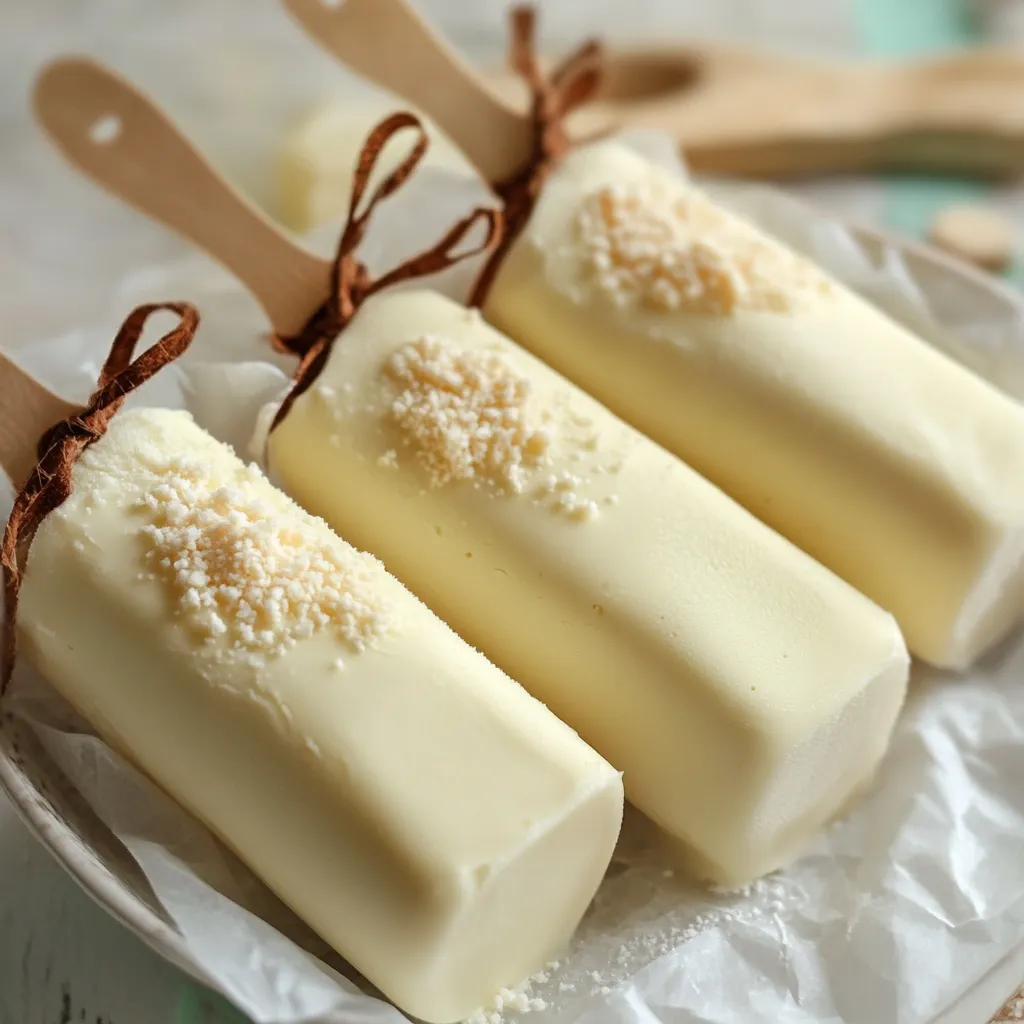
In the Freezer
Store your ice cream bars in an airtight container to prevent freezer burn and keep them tasting as fresh as the day you made them. If stacking is necessary, separate layers with parchment paper to avoid sticking. When stored properly, your bars will last up to 3 months.
Pro Tip: Label the container with the date and flavor variations so you can keep track of your creations.
Reheating and Serving Tips
While you don’t “reheat” ice cream, letting the bars sit at room temperature for a few minutes before serving will enhance the texture. This softens the outer layer slightly, making them easier to bite into. If you’ve coated them in chocolate, this step also ensures the shell doesn’t crack too easily.
Pro Tip: For a gourmet touch, drizzle a bit of caramel or fruit syrup over the bars just before serving.
Frequently Asked Questions (FAQs)
Can I Use Alternative Sweeteners?
Yes! Natural sweeteners like honey, maple syrup, or agave can replace sugar, but be aware that they may slightly alter the texture and freezing process. Use them sparingly to avoid overpowering the base flavors.
How Do I Make the Chocolate Coating Thinner?
For a thinner, more delicate chocolate shell, mix a small amount of coconut oil into the melted chocolate. This not only thins it out but also gives the coating a glossy finish.
What’s the Best Way to Add Fillings Like Caramel or Fruit?
Layer your fillings into the molds before adding the ice cream base. For example, spoon in caramel or fruit puree, then freeze for 10 minutes before adding the rest of the mixture. This keeps the layers distinct and visually appealing.
Can I Make These Bars Without Molds?
Absolutely! Pour the mixture into a shallow, freezer-safe container, and once frozen, cut it into bars. Insert popsicle sticks into each piece for a DIY mold-free solution.
Related Recipes
If you loved this Creamy Ice Cream Bars recipe, you might also enjoy:
- Chocolate Peanut Butter Cake: A rich and decadent dessert.
- Lemon Raspberry Cupcakes: A tangy and sweet summer treat.
- Peach Dump Cake: An easy fruit-filled dessert perfect for warm weather.
Conclusion
Homemade creamy ice cream bars are more than just a dessert—they’re a delightful experience you’ll want to share with loved ones. This recipe is perfect for all skill levels, allowing anyone to craft a treat that looks and tastes like it came straight from a gourmet shop. From experimenting with unique flavors to adding your own decorative touches, the possibilities are endless.
So, what are you waiting for? Grab your ingredients, unleash your creativity, and whip up a batch of these delectable frozen delights. Don’t forget to share your creations—tag your photos, comment with your tips, and inspire others to join the ice cream bar adventure. Happy freezing!
Print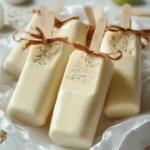
Creamy Ice Cream Bars Recipe
- Total Time: 4 hours 20 minutes
- Yield: 4–6 bars
Description
These creamy ice cream bars are the ultimate summer treat! With simple, no-churn ingredients, you can create customizable, luscious frozen bars in just a few steps. Perfect for hot days, family gatherings, or as a fun DIY dessert project.
Ingredients
- 35g milk powder
- 15g sugar
- 10g condensed milk
- 160g coconut cream or whipping cream
- 200g coconut milk or regular milk
- 10g corn starch
- 2g food flavoring (optional, such as vanilla or fruit essence)
Instructions
- Combine Ingredients: Mix coconut cream, milk, milk powder, sugar, and condensed milk in a pot. Stir until smooth.
- Cook Mixture: Heat on low, stirring continuously to prevent lumps or burning.
- Thicken Mixture: Gradually stir in cornstarch and cook until creamy.
- Add Flavoring: Remove from heat and mix in optional flavoring.
- Fill Molds: Pour the mixture into ice cream molds and insert popsicle sticks.
- Freeze: Freeze for at least 4 hours or overnight.
- Serve: Enjoy straight from the freezer!
Notes
- Chill molds and ingredients for faster freezing and smoother texture.
- Experiment with flavors like chocolate, mint, or fruit layers.
- Add a pinch of salt to balance sweetness and enhance flavor.
- Prep Time: 10 minutes
- Cook Time: 10 minutes
Nutrition
- Calories: 150 kcal
- Sugar: 12g
- Sodium: 20mg
- Fat: 8g
- Saturated Fat: 6g
- Carbohydrates: 18g
- Protein: 2g

