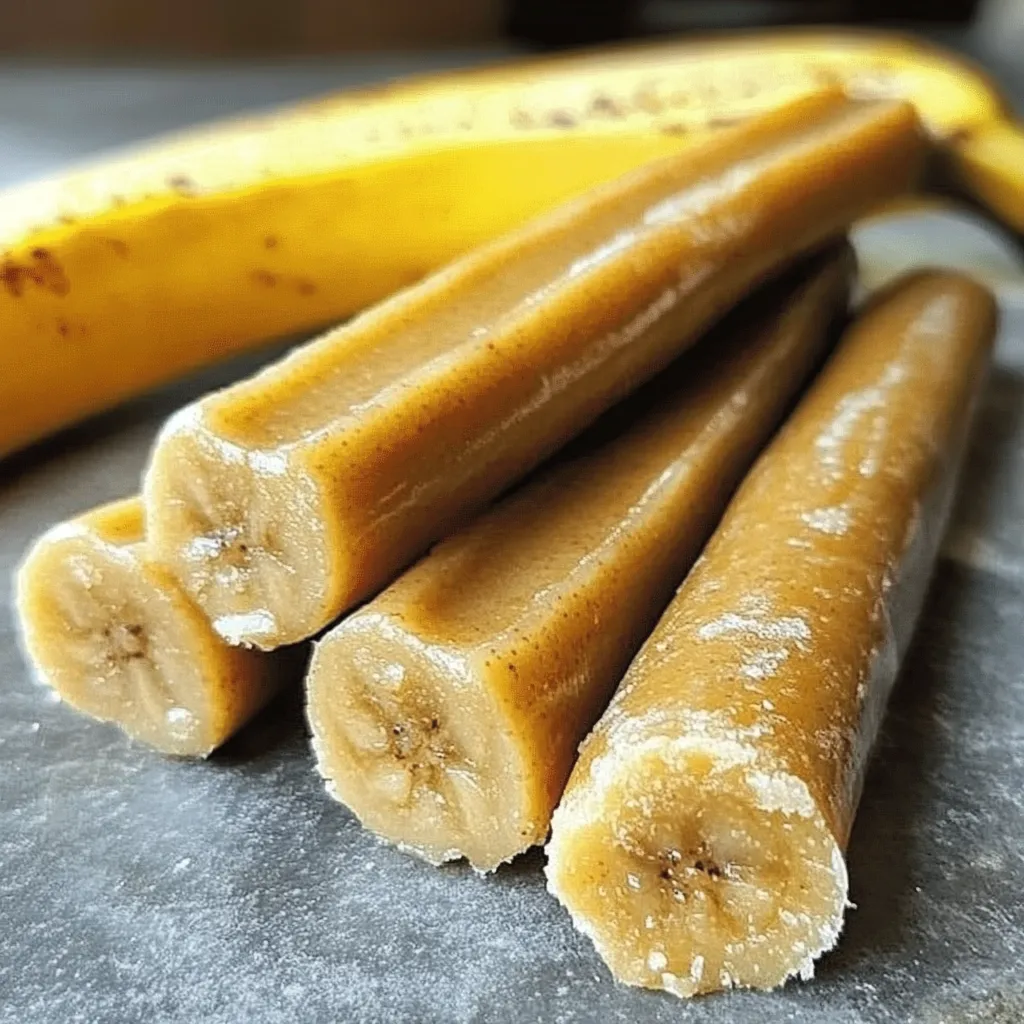
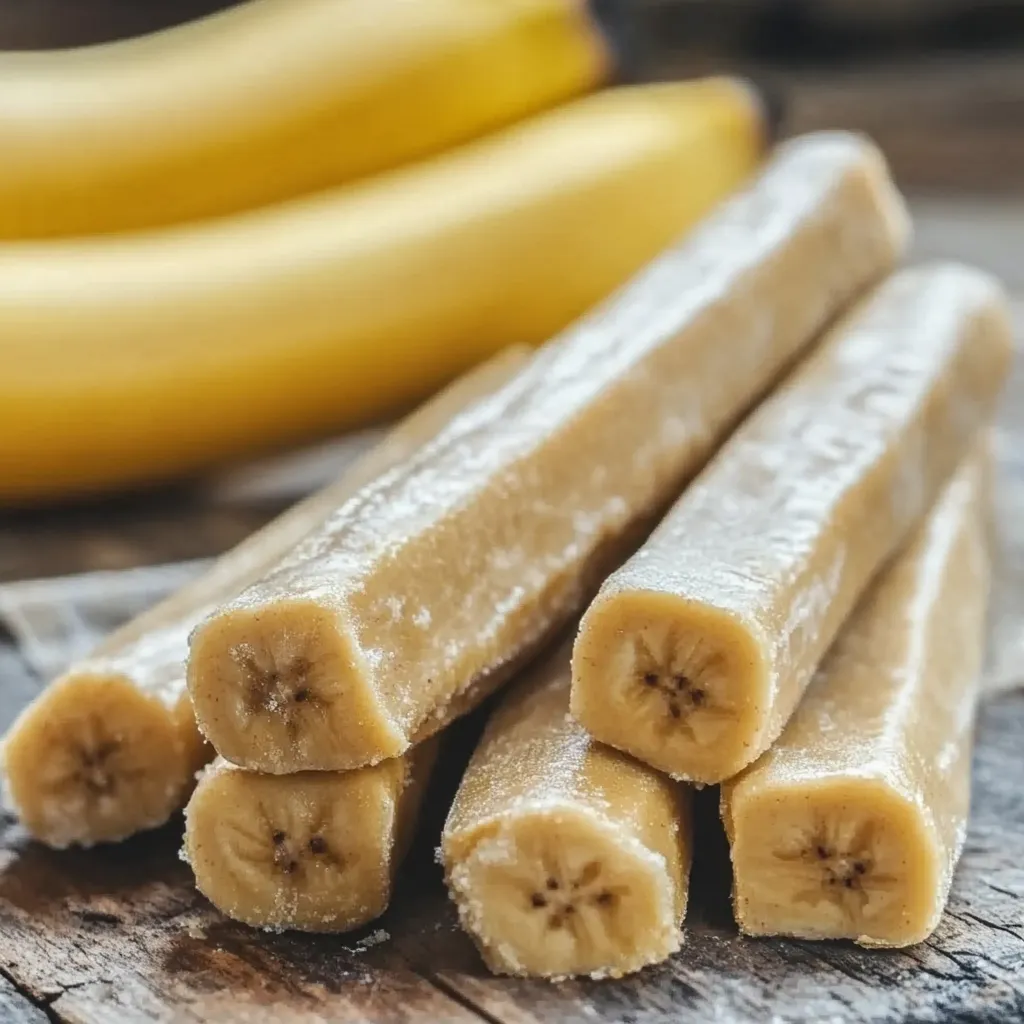
There’s nothing like the joy on your dog’s face when they get their paws on a delicious, homemade treat. If you’re like me and love pampering your pup, these Banana and Peanut Butter Chew Sticks for Dogs are going to become your new favorite recipe. Not only are they incredibly easy to make, but they’re also healthy, wholesome, and your furry friend is guaranteed to wag their tail in excitement each time you reach for the jar!
Why You’ll Love This Recipe
Key Benefits
-
Easy to Make: You don’t need to be an expert baker or spend hours in the kitchen. In fact, these dog treats come together quicker than you think.
-
Healthy and Wholesome: With natural peanut butter, ripe bananas, and whole wheat flour, these snacks are as nutritious as they are tasty.
-
Budget-Friendly: Store-bought dog treats can add up quickly. This homemade version saves you money and gives peace of mind knowing exactly what goes into your pup’s snack.
Suitable For
This recipe is perfect for:
-
Dog owners looking for simple, nutritious homemade treats.
-
Pet parents avoiding store-bought products with artificial ingredients.
-
Dogs of all sizes and ages. (Tip: You can adjust the size of the treats for puppies or senior dogs by simply shaping smaller, softer pieces.)
Ingredients for Banana and Peanut Butter Chew Sticks for Dogs
Here’s what you’ll need to get started. Remember, using high-quality ingredients not only makes the treats tastier for your pet but also supports their overall health.
Core Ingredients
-
1 ripe banana (mashed): A banana provides natural sweetness, fiber, potassium, and vitamin C, making these treats healthy and delicious.
-
½ cup natural peanut butter (xylitol-free): Peanut butter is a tasty favorite among dogs, full of protein and healthy fats. Make sure it’s completely xylitol-free, as xylitol is toxic to dogs.
-
1 ½ cups whole wheat flour (or oat flour for grain-free): Whole wheat flour gives the treats a hearty texture and provides fiber. If your dog is sensitive to grains, oat flour makes a fantastic gluten-free substitute.
-
1 teaspoon cinnamon (optional): Cinnamon isn’t just tasty—it also offers anti-inflammatory properties and can freshen your dog’s breath.
-
¼ cup water (as needed): Water ensures the dough has the perfect consistency. You may need more or less, depending on the humidity and flour type.
Substitutions and Tips
-
Flour Substitutions: If your pup has dietary restrictions, easily swap out whole wheat flour for oat flour, rice flour, or even coconut flour. Keep in mind coconut flour absorbs more liquid, so adjust accordingly.
-
Alternative Nut Butters: Can’t use peanut butter? Almond butter or sunflower seed butter are great alternatives—again, check carefully for xylitol.
-
Banana Alternatives: If bananas aren’t your dog’s favorite, unsweetened applesauce or pureed pumpkin works beautifully as a substitute. Just be aware these options have a higher moisture content, so you might need slightly less water.
Best Peanut Butter for Banana and Peanut Butter Chew Sticks
Choosing the right peanut butter makes a huge difference in both taste and safety.
-
Natural and Unsweetened: Always select natural peanut butter with no added sugars, salt, or artificial sweeteners.
-
Xylitol-Free: Check labels carefully. Xylitol, a common sweetener in human products, is extremely toxic for dogs.
-
Creamy vs. Chunky: Smooth peanut butter makes mixing easier, though chunky works just as well if your dog enjoys a little extra texture.
My personal favorite is natural, creamy peanut butter. It’s easy to mix, delicious, and readily available at your local grocery store. Brands like Smucker’s Natural or Whole Foods’ 365 are reliable, safe, and tasty choices.
Kitchen Tools You’ll Need
Let’s keep things simple and fun—there’s no fancy gear required here!
Must-Have Tools
-
Mixing Bowl: A large mixing bowl for blending all your tasty ingredients.
-
Baking Sheet: Any standard-size baking sheet will work perfectly.
-
Parchment Paper: Makes cleaning up easier and ensures your chew sticks won’t stick.
-
Oven: You’ll bake your treats at a gentle temperature until they’re golden and firm.
Nice-to-Have Tools
-
Rolling Pin: Handy for evenly rolling out the dough to a consistent thickness.
-
Cookie Cutters: Want something fun and whimsical? Cute cookie cutters like bones or paw prints are adorable.
-
Wire Cooling Rack: Helps cool your chew sticks evenly after baking, keeping them crisp and fresh.
With your ingredients and tools ready, you’re all set for creating these tasty Banana and Peanut Butter Chew Sticks your furry best friend will adore!
Kitchen Tools You’ll Need
Let’s start by gathering all the essentials. You probably already have everything you need right in your kitchen—no fancy gadgets required!
Must-Have Tools
-
Mixing Bowl: A large bowl makes combining ingredients quick and easy, with plenty of room to mix without spilling.
-
Baking Sheet: Any standard-sized baking sheet will work perfectly.
-
Parchment Paper: A lifesaver for clean-up and ensures your chew sticks don’t stick to the pan.
-
Oven: Your standard oven is perfect—gentle heat gives these treats the ideal crispness.
Nice-to-Have Tools
-
Wire Rack for Cooling: Helps your treats cool evenly, giving them the right texture every time.
-
Silicone Spatula: Makes sure you get every delicious drop of batter from the bowl—no waste here!
-
Dough Roller or Shaping Tool: Handy if you want perfectly shaped chew sticks, but your hands will do just fine, too!
How to Make Banana and Peanut Butter Chew Sticks for Dogs
Making these chew sticks is simpler than you might think—and honestly, it’s pretty fun! Let’s walk through it step-by-step together.
Step 1: Preheat the Oven
Start by preheating your oven to 325°F (163°C). While it warms up, line your baking sheet with parchment paper. This easy step ensures nothing sticks and cleanup is a breeze.
Step 2: Mix Ingredients
In your mixing bowl, mash up that ripe banana until it’s smooth and creamy. Now, add the natural peanut butter and stir until combined. Take your time here—mixing well gives these treats their tasty, chewy texture.
Step 3: Add Dry Ingredients
Gently add in your whole wheat or oat flour, along with the cinnamon if you’re using it. Stir slowly, allowing the dough to become nice and thick. It should feel slightly sticky—that’s exactly what you want!
Step 4: Adjust Dough Consistency
Not sure if the dough is right? Don’t stress! If it seems dry and crumbly, simply mix in a tablespoon of water at a time until it feels just right. You’re looking for dough that’s easy to handle, not overly wet.
Step 5: Shape the Chew Sticks
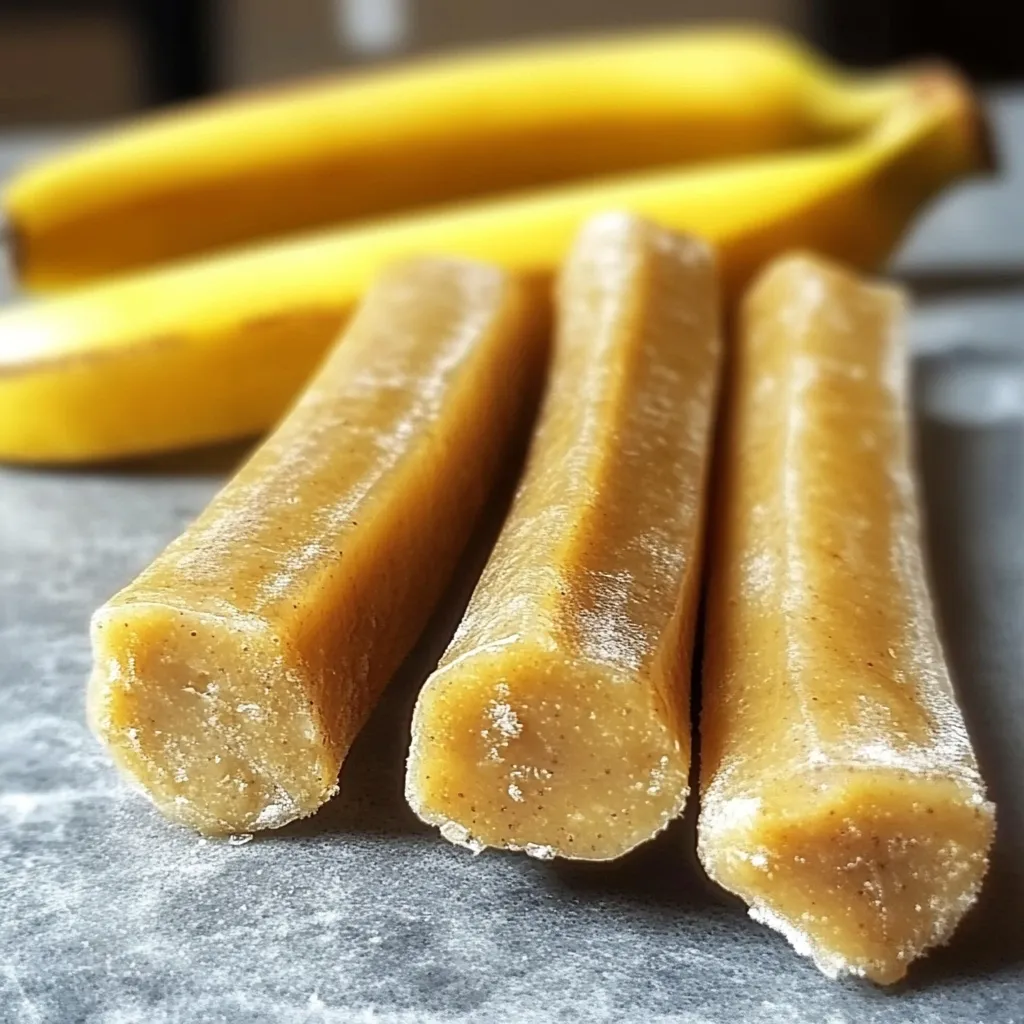
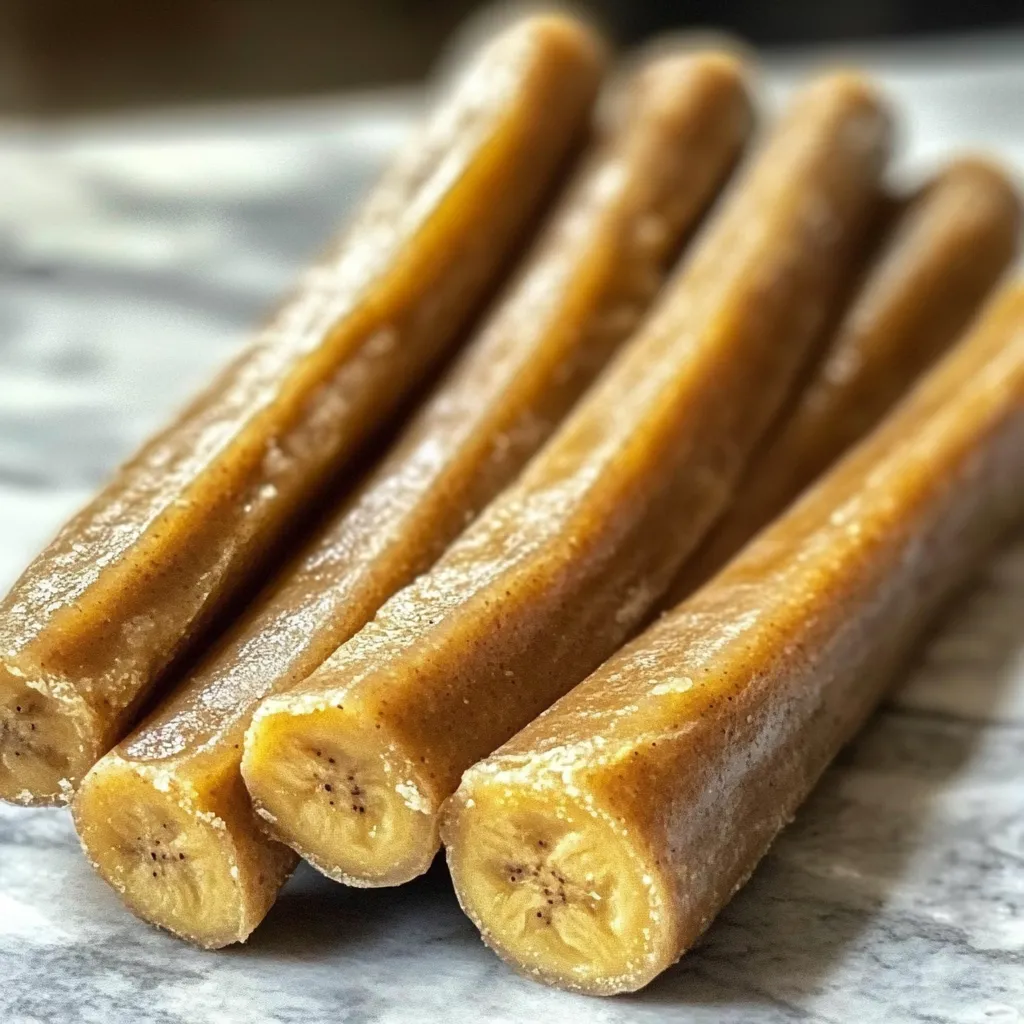
Now comes the fun part! Roll the dough into little logs or twist them into playful, rope-like shapes. If you’ve got kids around, they’ll love helping out here. Just keep the chew sticks similar in size so they bake evenly.
Step 6: Bake
Arrange your chew sticks neatly on your prepared baking sheet. Bake them in the preheated oven for about 25-30 minutes. You’ll know they’re ready when they turn a beautiful golden-brown color and feel firm to the touch.
Step 7: Cool Completely
This final step is important! Once baked, transfer your treats to a wire cooling rack. Letting them cool completely gives them the irresistible chewy texture dogs absolutely love.
Tips for Success
-
Check the Dough: Dough too sticky? Add a little extra flour. Too crumbly? A dash of water will fix it!
-
Rotate for Even Baking: Halfway through baking, rotate your baking sheet to ensure every chew stick bakes evenly and turns golden.
-
Patience Pays: Letting treats cool fully before serving ensures they’re perfectly chewy and safe for your pup.
Stay tuned! In the next section, we’ll cover the best ways to store these homemade treats and answer some common questions to keep your furry friend happy and healthy!
How to Store Banana and Peanut Butter Chew Sticks for Dogs
Proper storage makes sure your pup’s treats stay fresh, tasty, and ready whenever it’s snack time.
At Room Temperature
For short-term storage (up to a week), keep your homemade chew sticks in an airtight container or sealed jar. Leaving them on the countertop is totally fine as long as they’re tightly sealed to maintain freshness.
In the Refrigerator
If you want to extend their shelf-life a bit longer—around two weeks—pop them in the refrigerator. Just make sure they’re sealed up tight to avoid moisture.
Freezing Tips
For even longer storage, these chew sticks freeze beautifully. Store them in a freezer-safe container or bag for up to three months. Simply thaw at room temperature before treating your pup.
Frequently Asked Questions (FAQs)
Let’s clear up some common questions about homemade dog treats:
Can I use regular flour for dog treats?
While regular all-purpose flour isn’t harmful, whole wheat flour or oat flour provides extra fiber and nutrients beneficial for your dog. I highly recommend sticking to whole grain or grain-free options for the healthiest snack.
How long do homemade dog treats last?
Properly stored at room temperature, your homemade treats will stay fresh for about one week. In the fridge, expect about two weeks, and frozen, they’ll remain good for up to three months.
Are bananas safe for all dogs?
Bananas are generally safe and healthy for most dogs, providing beneficial fiber and potassium. However, moderation is key. Introduce bananas gradually, watching to ensure your pup tolerates them well.
Can dogs eat cinnamon?
Yes! Cinnamon is safe and even beneficial in small amounts, as it has anti-inflammatory properties and can help freshen breath. Just keep it minimal to avoid upsetting your dog’s stomach.
Related Recipes
Conclusion
Homemade treats like these Banana and Peanut Butter Chew Sticks for Dogs aren’t just snacks—they’re a great way to show your pup some extra love with a nutritious bite you can feel good about. Give this recipe a try, and don’t hesitate to share your experience. Did your dog love them? I’d love to hear your story—leave a comment, share photos, or save this recipe for later!
Print
Banana and Peanut Butter Chew Sticks for Dogs Recipe
- Total Time: 35-40 minutes
- Yield: Approximately 20 chew sticks
Description
Treat your canine companion to these delightful homemade chew sticks combining the natural sweetness of ripe bananas with the rich flavor of peanut butter. These treats are not only delicious but also packed with nutrients beneficial for your dog’s health.
Ingredients
-
1 ripe banana, mashed
-
½ cup natural peanut butter (ensure it’s xylitol-free)
-
1 ½ cups whole wheat flour (or oat flour for a grain-free option)
-
1 teaspoon cinnamon (optional)
-
¼ cup water (as needed)
Instructions
-
Preheat the Oven: Set your oven to 325°F (163°C) and line a baking sheet with parchment paper.
-
Mix Ingredients: In a large bowl, combine the mashed banana and peanut butter until smooth.
-
Add Dry Ingredients: Gradually incorporate the flour and cinnamon (if using) into the mixture, stirring until a thick, slightly sticky dough forms.
-
Adjust Consistency: If the dough is too dry, add water one tablespoon at a time until workable.
-
Shape the Chew Sticks: Roll the dough into small logs or twist them into rope-like shapes for added texture.
-
Bake: Place the shaped dough on the prepared baking sheet and bake for 25-30 minutes, or until firm and golden brown.
-
Cool Completely: Allow the treats to cool on a wire rack before serving.
Notes
-
Storage: Store in an airtight container at room temperature for up to a week, or freeze for longer-lasting treats.
-
Flour Alternatives: For dogs with grain sensitivities, oat flour can be used as a substitute for whole wheat flour.
- Prep Time: 10 minutes
- Cook Time: 25-30 minutes
- Category: Dog Treats
- Method: Baking
- Cuisine: Pet-Friendly
Nutrition
- Calories: Approximately 81 kcal
- Fat: 4.29%
- Protein: 6.63%
")