Introduction to Turtle Cheesecake
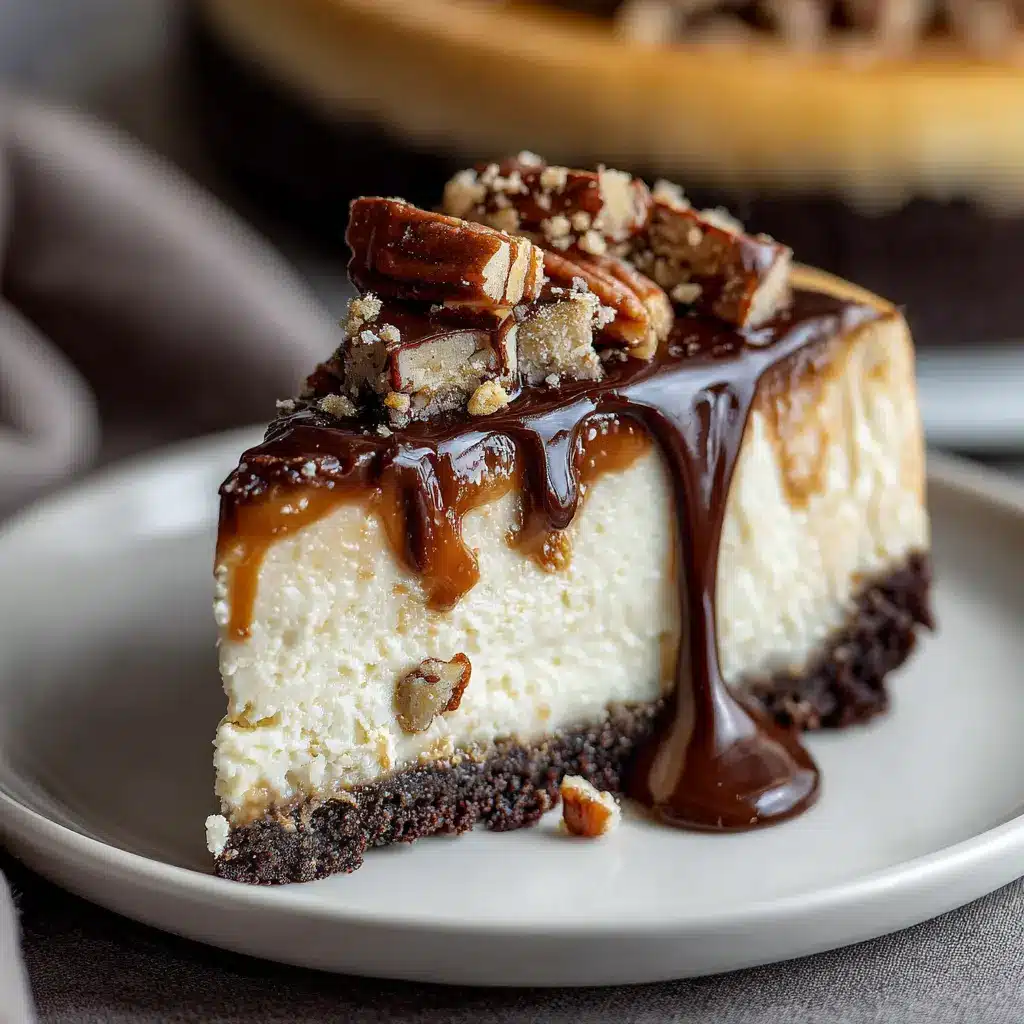
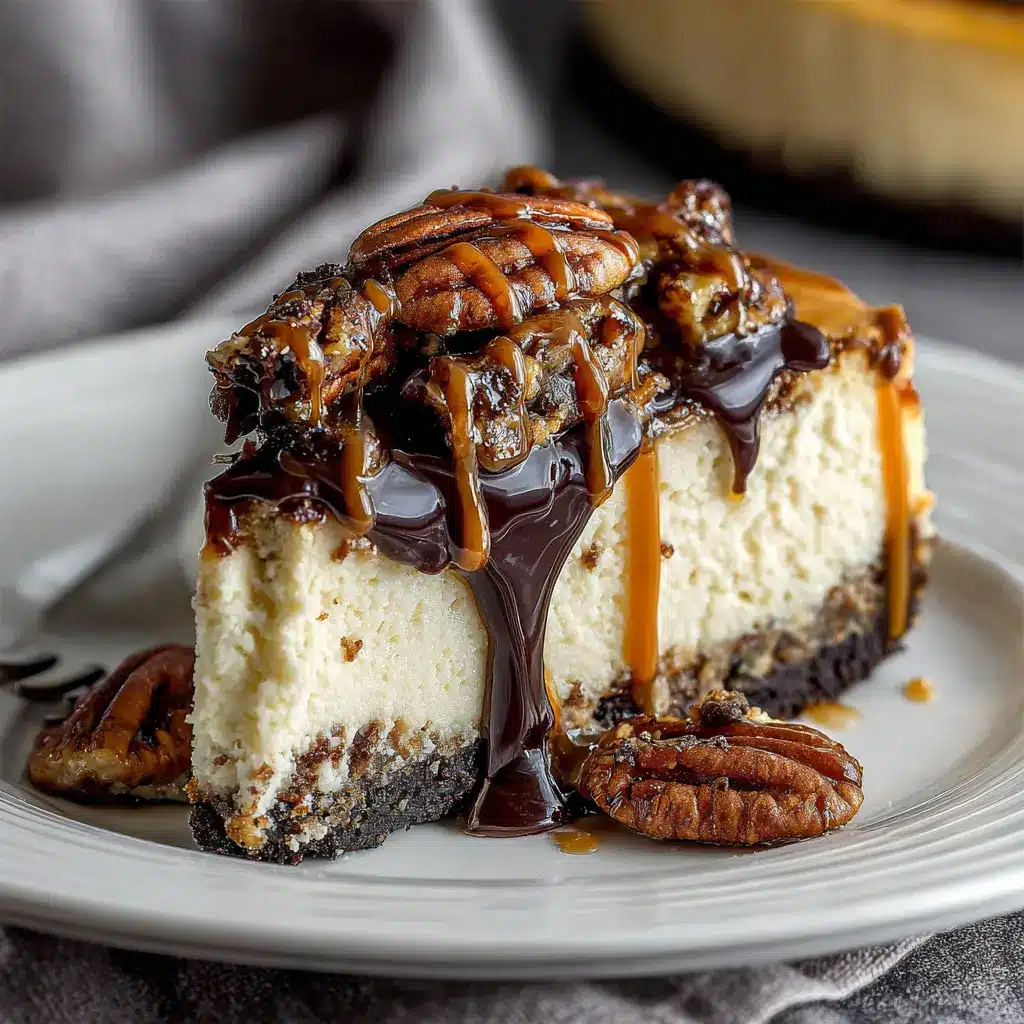
If you’re a busy young professional juggling career aspirations and a social life, finding the ultimate dessert to impress friends and satisfy your sweet tooth can feel overwhelming. Enter the beloved Turtle Cheesecake—a delectable blend of rich cream cheese, buttery caramel, and crunchy pecans that hits all the right notes. This dessert isn’t just a treat; it’s a conversation starter, a comfort food, and a perfect way to unwind after a hectic week.
Why Turtle Cheesecake is the Ultimate Dessert for Young Professionals
So why should you consider making Turtle Cheesecake your go-to dessert? Let’s face it—life as a young professional can be intense. You often find yourself navigating tight deadlines, networking events, and after-hours social gatherings. After a long day, a slice of this creamy indulgence is just the ticket to elevate your mood.
-
Effortless Preparation: Contrary to its rich flavor, Turtle Cheesecake is surprisingly easy to whip up. You can either opt for a quick no-bake version or take your time with a traditional baked cheesecake. Either way, the process is straightforward, and you won’t need to be a pastry chef to nail it.
-
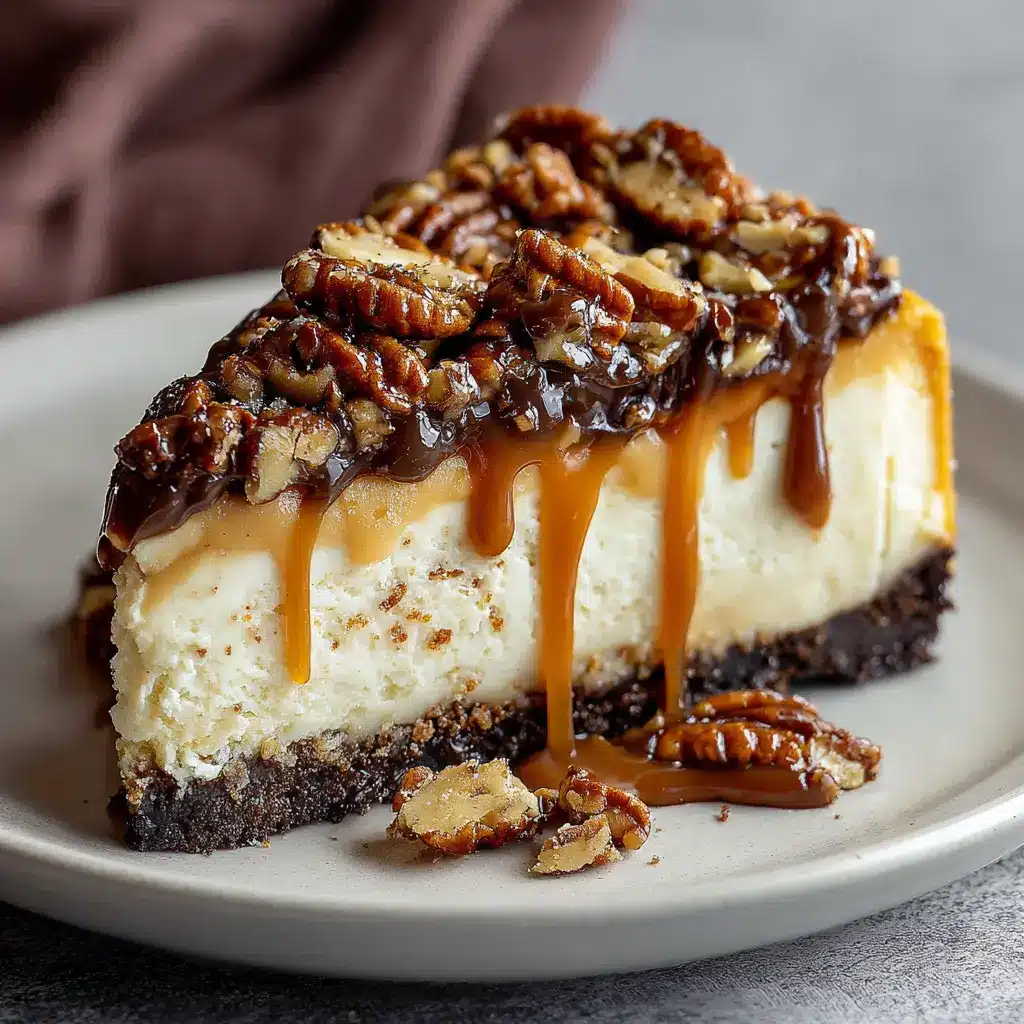
Impressive Presentation: With its luscious layers drizzled in chocolate and caramel, this cheesecake presents beautifully. Whether you’re hosting a small gathering or bringing a dish to a potluck, it’s guaranteed to be the star of the show, inviting compliments and inquiries about the recipe.
-
Versatile Flavor Combinations: Feel free to personalize your Turtle Cheesecake with different toppings or bases. Swap in Turkey Bacon for a hint of savory crunch, or play around with flavored crusts. The possibilities are endless!
In a world dominated by quick snacks and take-out, creating your own Turtle Cheesecake can be a rewarding experience. Plus, it’ll give you a little break from the everyday hustle, allowing you to enjoy the little moments. Check out resources like The Cheesecake Factory to find more inspiration and tips on perfecting your cheesecake game.
Your friends will be asking for the recipe before they even take their first bite!

Ingredients for Turtle Cheesecake
Creating a delightful Turtle Cheesecake is a treat for the senses, and the ingredient list is part of what makes it so special. Let’s break down what you’ll need to make this indulgent dessert!
What you’ll need for the Oreo crust
To kick things off, you’ll want to prepare a rich Oreo crust. For this, gather:
- 24 Oreo cookies, crushed
- ½ cup unsalted butter, melted
Crushing those Oreos releases their delicious chocolatey goodness, setting the perfect foundation for your cheesecake. If you’re a fan of a firmer crust, feel free to add a tablespoon or two of granulated sugar to the mix!
Essential cheesecake filling ingredients
The creamy filling is where Turtle Cheesecake really shines. You’ll need:
- 4 (8-ounce) packages of cream cheese, softened
- 1 cup granulated sugar
- 1 teaspoon vanilla extract
- 4 large eggs
These simple yet vital ingredients come together to create a velvety smooth texture that melts in your mouth.
Ingredients for the turtle topping
Finally, the crowning glory of your Turtle Cheesecake: the topping! For a decadent finish, collect:
- 1 cup chopped pecans or walnuts
- 1 cup caramel sauce
- ½ cup chocolate sauce
Make sure to toast the nuts beforehand to bring out their flavor. Drizzling both caramel and chocolate sauces will surely elevate your cheesecake!
For more cheesecake inspiration, check out sites like Food Network or Serious Eats for tips on variations and flavor combinations. Happy baking!
Step-by-step Preparation of Turtle Cheesecake
When you think of indulgent desserts, Turtle Cheesecake is often at the top of the list. It’s a divine combination of rich cheesecake, crunchy crust, and mouthwatering toppings. Let’s walk through the preparation of this tantalizing treat step-by-step.
Prepare the pan and preheat the oven
Before you dive into making your Turtle Cheesecake, it’s essential to set yourself up for success. Start by preheating your oven to 325°F (163°C). This is an important step, as it ensures your cheesecake bakes perfectly. While the oven is heating, grab a 9-inch springform pan and lightly grease the bottom and sides with butter or cooking spray. This will make it easier to remove your cheesecake later. Then, line the bottom with parchment paper for added peace of mind—nobody wants to leave their delicious creation stuck to the pan!
Make the Oreo crust
Now for the fun part: the crust! Grab about 24 Oreo cookies (or any chocolate cookie if you’re feeling adventurous) and crush them into fine crumbs. You can use a food processor for this, or if you prefer a more hands-on approach, place them in a zip-top bag and crush them with a rolling pin. It’s therapeutic! Mix the cookie crumbs with 4 tablespoons of melted butter in a bowl until combined.
Once mixed, pour the mixture into your prepared springform pan and press it firmly into the bottom to form a solid crust. You want it to be compact to hold the filling without crumbling. Bake the crust in the preheated oven for about 10 minutes. This will give it a nice, sturdy base once we add the cheesecake filling.
Create the creamy cheesecake filling
While your crust is cooling, it’s time to make that luscious cheesecake filling that will make your Turtle Cheesecake a showstopper. In a large bowl, beat 24 ounces of cream cheese until smooth and creamy. Add in 1 cup of granulated sugar and mix until combined, followed by 1 teaspoon of vanilla extract.
Next, beat in 3 large eggs, one at a time, ensuring you mix well after each addition. This helps incorporate air into the mixture, giving your cheesecake that delightful fluffiness. For a little extra flavor, consider folding in 1/2 cup of sour cream or Greek yogurt. It adds a nice tang that balances the sweetness.
Bake the cheesecake to perfection
Once your filling is ready, gently pour it into your cooled crust. Before baking, it’s wise to create a water bath to help your cheesecake bake evenly and avoid cracking. Wrap the bottom of the springform pan in aluminum foil to prevent water from seeping in. Place the pan in a larger baking dish and fill the outer dish with hot water until it reaches halfway up the sides of the springform pan.
Bake for about 60–70 minutes or until the edges are set but the center still has a slight jiggle. Turn off the oven and leave the cheesecake inside with the door ajar for an additional hour—this helps prevent sudden temperature changes that can cause cracks.
Cool the cheesecake and prepare for toppings
After your Turtle Cheesecake has beautifully baked, remove it from the oven and take it out of the water bath. Allow it to cool completely at room temperature before transferring it to the refrigerator for at least 4 hours, or overnight if possible. The chilling time helps the flavors meld and improves the texture.
Make the delicious turtle topping
As your cheesecake sets, let’s whip up the fantastic turtle topping! In a small saucepan over low heat, melt 1 cup of caramel sauce, and stir in 1 cup of chopped pecans or walnuts until they are well-coated. You can use store-bought caramel sauce for convenience or try making your own. Once mixed, set it aside to cool slightly.
Serve and enjoy your Turtle Cheesecake
After chilling your cheesecake, remove it from the springform pan and place it on a serving platter. Drizzle your caramel-nut mixture over the top, and if you’re feeling extra indulgent, add a drizzle of chocolate sauce as well. Slice it up, serve, and watch your friends and family devour every last bite.
Creating a Turtle Cheesecake is as rewarding as it is delicious. This dessert is perfect for gatherings or a well-deserved treat for yourself. Enjoy!
For more delicious dessert ideas, check out AllRecipes or Food Network. Happy baking!
Variations on Turtle Cheesecake
Turtle cheesecake is a deliciously rich dessert that lends itself well to creative variations. Let’s explore two delightful twists that can elevate your cheesecake game!
Turtle Cheesecake with a Graham Cracker Crust
The classic graham cracker crust is a timeless choice for any cheesecake, including our beloved turtle variation. To make this crust, simply crush graham crackers and mix them with melted butter and a touch of sugar. Press it into the bottom of your springform pan for a perfectly crunchy base. This crust not only adds texture but also highlights the sweetness of the chocolate and caramel toppings.
Tip: If you’re feeling adventurous, try adding chopped pecans or walnuts to the crust mixture for an extra nutty flavor. Want to read more about the benefits of using nuts in desserts? Check out this research on nuts and their health benefits!
Decadent Chocolate Turtle Cheesecake Variation
For chocoholics, the chocolate turtle cheesecake variation is a must-try! Start with a rich chocolate cheesecake batter by blending cream cheese, sugar, and melted dark chocolate. This variation layers in creamy chocolate goodness that pairs beautifully with gooey caramel and crunchy pecans on top.
Feeling adventurous? Consider drizzling additional chocolate sauce over your cheesecake for an even more indulgent experience. If you love chocolate, you might find inspiration from this article on chocolate’s history to appreciate this delightful ingredient even more.
Whether you’re opting for the classic graham cracker crust or the rich chocolate twist, these variations of turtle cheesecake will surely impress your friends and family at any gathering!
Cooking Tips and Notes for Turtle Cheesecake
Ensuring a Smooth Cheesecake Texture
Achieving a creamy texture for your Turtle Cheesecake is all about technique. Here are a few pointers to keep in mind:
-
Use Room Temperature Ingredients: Allow your cream cheese, eggs, and sour cream to come to room temperature. This helps them blend together smoothly, avoiding those pesky lumps that can ruin your cheesecake’s creamy consistency.
-
Mix Gently: Overmixing can incorporate too much air, leading to cracks in your cheesecake. Mix on low speed just until combined—this way, your cheesecake will rise beautifully without unsightly cracks.
Best Practices for Baking in a Water Bath
Baking your Turtle Cheesecake in a water bath (or bain-marie) can make a world of difference in both texture and even cooking. Here’s how to do it effectively:
-
Wrap the Pan: Before you pour in your batter, wrap the bottom of your springform pan tightly in aluminum foil to prevent water from leaking in. This is crucial for a well-structured cheesecake.
-
Use Boiling Water: Place your pan in a larger baking dish, and fill it with boiling water. This keeps the temperature consistent and adds moisture, which prevents cracking.
For more in-depth tips on making the perfect cheesecake, check out The Cheesecake Factory’s guide or Serious Eats. Happy baking!
Serving Suggestions for Turtle Cheesecake
When it comes to enjoying your Turtle Cheesecake, the right serving suggestions can truly enhance the experience. Here are some delightful ideas to elevate your dessert game.
Pairing with Homemade Whipped Cream
Nothing pairs quite like a dollop of homemade whipped cream alongside your Turtle Cheesecake. It adds a light, airy texture that perfectly balances the cheesecake’s rich flavors. To make it, simply whip heavy cream with a bit of sugar and vanilla until soft peaks form. You’ll be amazed at how this simple addition can take your dessert to the next level!
Ideas for Garnishing Your Cheesecake
Garnishing your Turtle Cheesecake can be an exciting creative outlet! Here are some fun ideas:
- Chocolate Sauce: Drizzle warm or room-temperature chocolate sauce over the top for an appealing finish.
- Chopped Nuts: Sprinkle crushed pecans or walnuts on top for an added crunch and nutty flavor.
- Caramel Sauce: A generous topping of caramel sauce adds sweetness and complements the cheesecake beautifully.
Trying different combinations can lead to your own signature presentation. Don’t shy away from sharing your creations on social media or exploring inspiration on sites like Food Network. Enjoy every delicious bite!
Time Breakdown for Turtle Cheesecake
Preparation time
Getting started on your Turtle Cheesecake is a breeze! You’ll need about 20 minutes to gather your ingredients and prep your crust. Don’t forget—your ingredients, like cream cheese and eggs, should be at room temperature for the best results.
Baking time
Once your crust is ready and your filling is mixed, it’s time to bake! This part will take about 50 minutes, allowing your cheesecake to set perfectly. Keep an eye on it to avoid any unexpected surprises.
Cooling time
After baking, the cooling process is crucial—patients pays off here. Let your cheesecake cool to room temperature for at least an hour before refrigerating it for at least four hours (or ideally overnight).
Total time
All in all, you’re looking at approximately 6 hours and 10 minutes from start to finish to enjoy this delicious Turtle Cheesecake, but most of that is just waiting time! It’s worth it for that first slice of creamy, chocolaty goodness.
For more detailed tips on cheesecake texture, check out Serious Eats for expert advice!
Nutritional Facts for Turtle Cheesecake
Calories per serving
Indulging in a slice of Turtle Cheesecake is a delicious treat, but how does it fit into your diet? Each serving typically contains around 350-400 calories. While it’s not exactly a low-calorie dessert, the enjoyment it brings might be worth the occasional splurge, especially for special celebrations or cozy nights in.
Breakdown of protein and sugar content
When it comes to nutritional content, a slice of Turtle Cheesecake offers a satisfying balance:
- Protein: Approximately 6-8 grams per serving, largely from the cream cheese and eggs.
- Sugar: Expect around 25-30 grams, thanks to the sweetened caramel and chocolate layers.
For those mindful of their sugar intake, consider exploring alternatives like sugar-free chocolate or natural sweeteners. Keep in mind, it’s all about balance. If you’re curious about healthier dessert options or more nutritional insights, websites like Healthline and NutritionData are great resources to consider! Enjoy your delicious journey into the world of Turtle Cheesecake!
FAQs about Turtle Cheesecake
Can I make Turtle Cheesecake in advance?
Absolutely! One of the best elements of Turtle Cheesecake is that it can be prepared ahead of time, making it perfect for busy schedules or special occasions. You can make it a day or two before you plan to serve it; just be sure to let it chill in the refrigerator for at least four hours, preferably overnight. This allows the flavors to meld beautifully, enhancing the overall taste. When you’re ready to serve, simply add your sauce and toppings for that extra touch!
What’s the best way to store leftover cheesecake?
If you have any leftovers (which is a big if, considering how delicious it is!), storing your Turtle Cheesecake properly will maintain its freshness. Wrap it tightly in plastic wrap or aluminum foil, or store it in an airtight container. It’s best kept in the fridge, where it can last for about 4 to 5 days. If you want to keep it longer, consider freezing slices; just make sure to wrap them well to prevent freezer burn. When you’re ready to enjoy it again, simply thaw it overnight in the fridge.
Can I use a different type of crust?
Certainly! While a classic graham cracker crust is a fan favorite, there are loads of alternatives to change things up. You could try an oreo crust for a rich chocolate flavor, or even a gluten-free option made with nuts. If you’re feeling adventurous, a cookie crust with chocolate or caramel cookies can complement the pecans and caramel beautifully. The key is to maintain the same measurements for the crust base to ensure that your Turtle Cheesecake has the perfect balance of flavors.
For more cheesecake tips and variations, check out resources from culinary experts at Serious Eats or Bon Appétit.
Conclusion on Turtle Cheesecake
Making your own Turtle Cheesecake is not just about impressing guests; it’s about the joy of creating something delicious from scratch. Why should you try it? For starters, the satisfaction of mastering a dessert can be incredibly rewarding. Plus, experimenting with flavors allows for creativity in the kitchen—add your twist with different toppings or crusts! Homemade desserts often taste better, too, giving you control over the ingredients.
If you’re curious for tips or variations, check out resources like Epicurious or Food Network for inspiration. So go ahead, don your apron, and create a Turtle Cheesecake that’s uniquely yours!
Print
Turtle Cheesecake Indulgence: A Home-Baked Delight for All
- Total Time: 5 hours 20 minutes
- Yield: 12 servings
- Diet: Vegetarian
Description
Turtle Cheesecake is a delicious dessert that combines rich chocolate, creamy cheesecake, and crunchy pecans.
Ingredients
- 1 ½ cups graham cracker crumbs
- ½ cup unsalted butter, melted
- 2 cups cream cheese, softened
- 1 cup granulated sugar
- 3 large eggs
- 1 teaspoon vanilla extract
- 1 cup semi-sweet chocolate chips
- 1 cup pecans, chopped
- 1 cup caramel sauce
Instructions
- Preheat the oven to 325°F (163°C).
- In a bowl, mix graham cracker crumbs and melted butter until combined. Press the mixture into the bottom of a 9-inch springform pan.
- In a large mixing bowl, beat the cream cheese and sugar until smooth and creamy.
- Add eggs one at a time, mixing well after each addition. Stir in the vanilla extract.
- Fold in chocolate chips and half of the chopped pecans.
- Pour the filling over the crust and smooth the top.
- Bake for 50-60 minutes or until the edges are set and the center is slightly jiggly.
- Let the cheesecake cool at room temperature, then refrigerate for at least 4 hours or overnight.
- Before serving, drizzle with caramel sauce and sprinkle the remaining pecans on top.
Notes
- For a richer flavor, use dark chocolate chips.
- Make sure the cream cheese is fully softened for the best texture.
- Prep Time: 20 minutes
- Cook Time: 1 hour
- Category: Dessert
- Method: Baking
- Cuisine: American
Nutrition
- Serving Size: 1 slice
- Calories: 400
- Sugar: 30g
- Sodium: 250mg
- Fat: 25g
- Saturated Fat: 15g
- Unsaturated Fat: 8g
- Trans Fat: 0g
- Carbohydrates: 45g
- Fiber: 2g
- Protein: 6g
- Cholesterol: 100mg
")