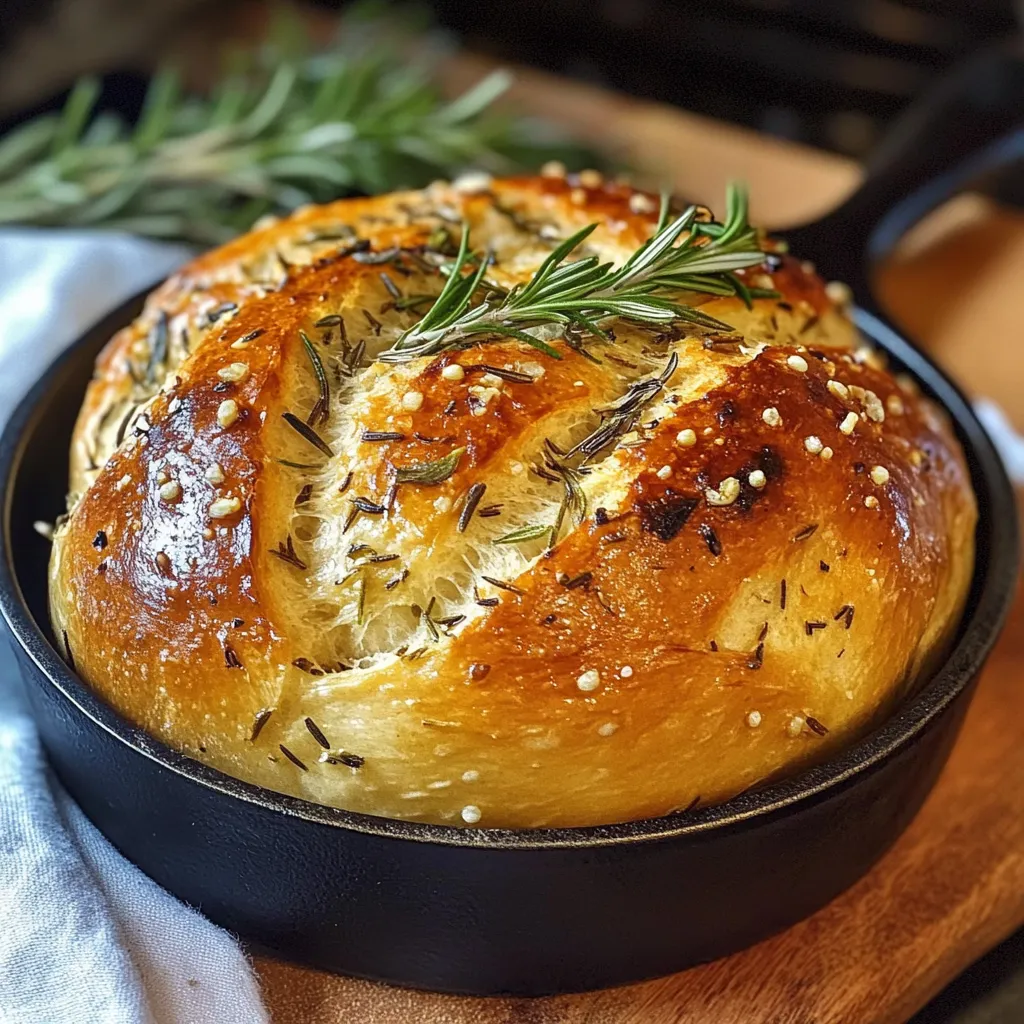
There’s something special about the aroma of freshly baked bread filling your kitchen. The warmth, the crisp crust, and the soft, airy interior—it’s comfort in its purest form. But what if you could achieve that bakery-quality bread without the hassle of kneading? That’s exactly what this Rustic No-Knead Rosemary Garlic Bread offers.
This recipe is perfect for both beginners and seasoned bakers. No kneading, no fancy techniques, just simple ingredients and time doing the work for you. The combination of fresh rosemary and garlic infuses every bite with a deep, savory flavor, while the slow fermentation process creates a light, airy texture with a crisp, golden crust.
The best part? You don’t need a stand mixer, a bread machine, or hours of hands-on effort. Just mix everything together, let it rest overnight, and bake it in a Dutch oven for that beautiful, artisan-style crust. The result is a bread so good, you’ll want to make it again and again.
This bread pairs beautifully with hearty soups, creamy stews, or even as a simple snack with butter or olive oil. Whether you’re serving it at a dinner party or enjoying a warm slice straight from the oven, this rustic bread will quickly become a household favorite.
Let’s dive in and make this easy, no-knead artisan bread at home!
The Benefits of This No-Knead Bread
No Kneading, No Fuss
If you’ve ever been intimidated by homemade bread, this recipe is for you. There’s no need for a stand mixer or hours of kneading. Instead, time does all the work. A simple mix of flour, yeast, salt, water, rosemary, and garlic comes together in minutes, and then the magic happens while the dough rests overnight. By the next day, you’ll have a beautifully risen dough that’s ready to bake—no kneading required.
Minimal Ingredients, Maximum Flavor
Some of the best recipes rely on just a few high-quality ingredients, and this bread is no exception. Flour, yeast, and water form the foundation, while olive oil, fresh rosemary, and garlic add deep, savory notes. The result? A beautifully aromatic bread that’s full of flavor with every bite.
Perfect Crust, Soft Interior
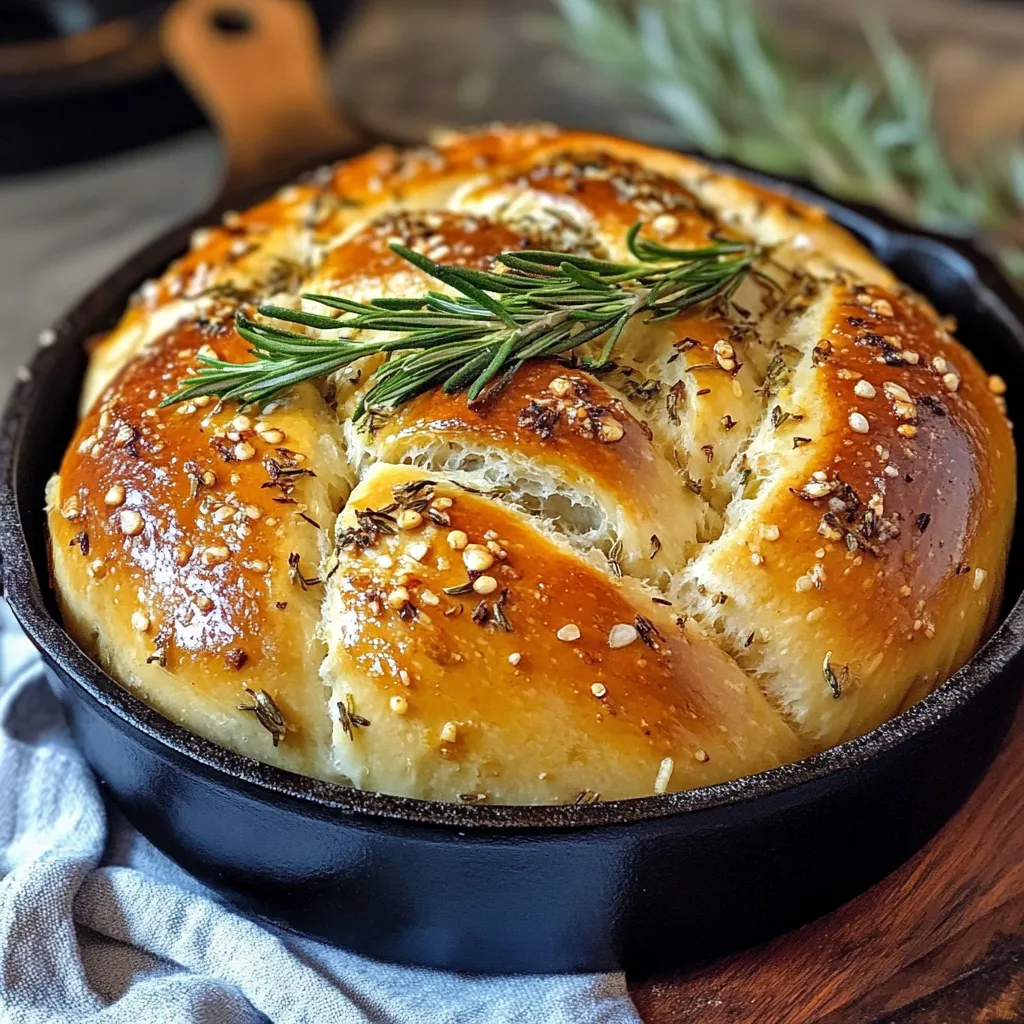
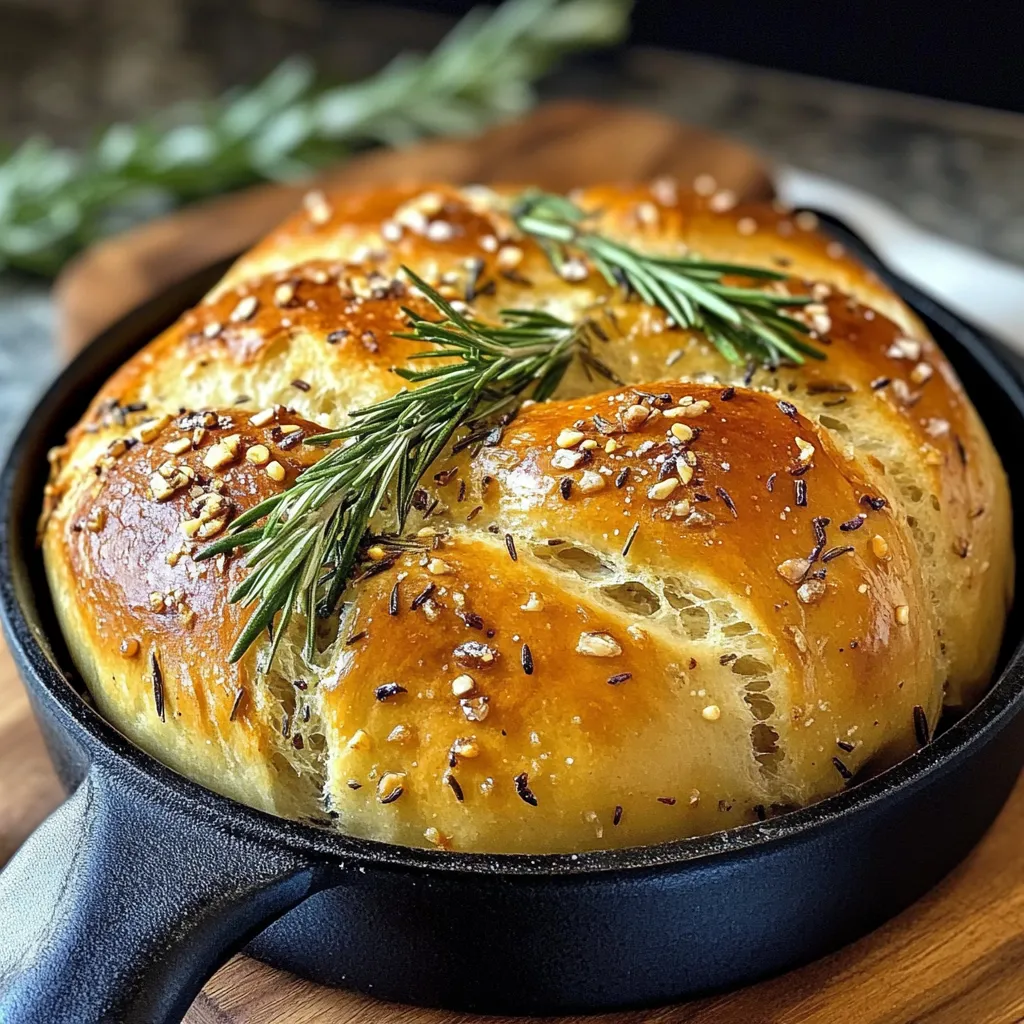
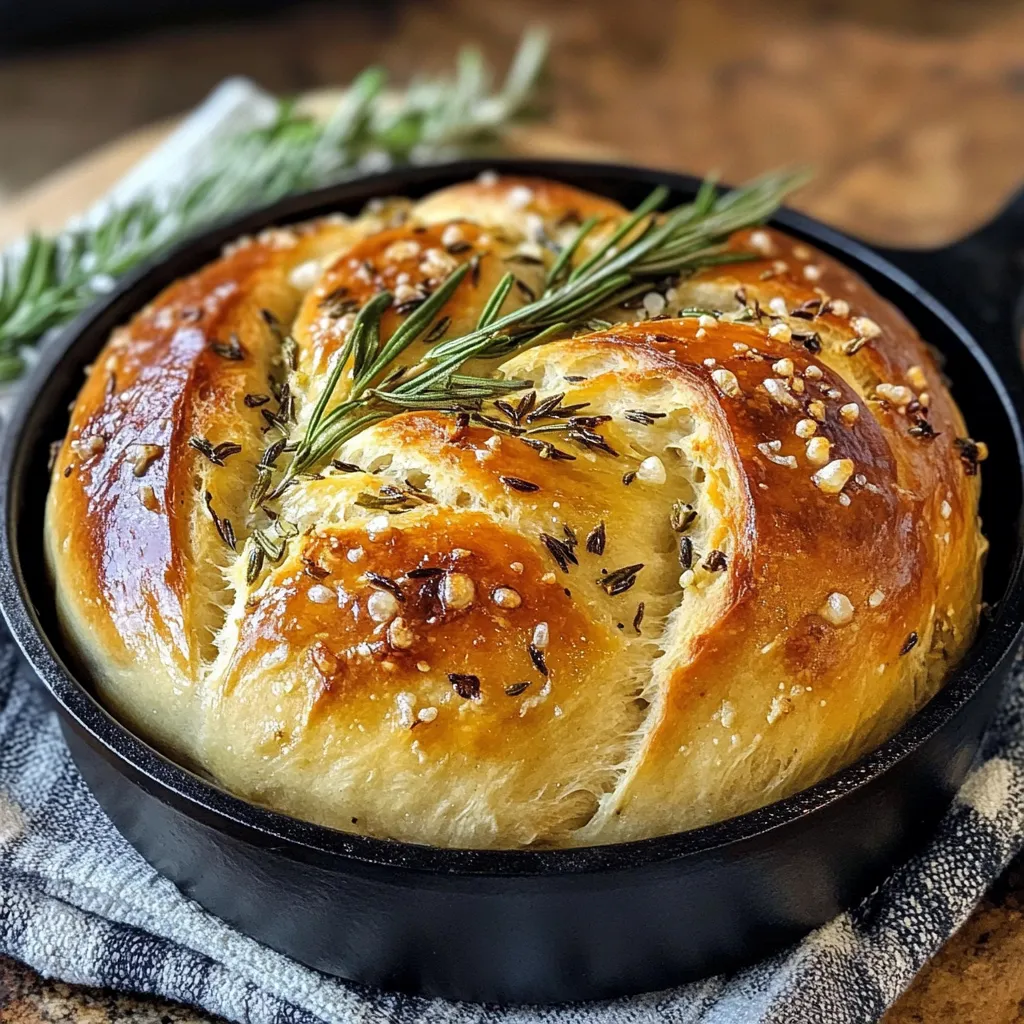
One of the biggest challenges with homemade bread is getting that perfect crispy crust without sacrificing a light, airy texture inside. This recipe solves that problem by baking the bread inside a preheated Dutch oven, which traps steam and creates an environment just like a professional bread oven. The end result is a golden, crackly crust with a soft and chewy interior—exactly what you’d expect from an artisan loaf.
Versatile and Crowd-Pleasing
This bread is perfect for any occasion. Serve it warm with butter, pair it with a hearty soup, or use it to soak up sauces from your favorite dishes. It’s great for everyday meals, but it also makes a stunning addition to a holiday spread or dinner party. Plus, since it keeps well for a few days, you can enjoy leftovers toasted with olive oil and sea salt or use it to make the best garlic bread you’ve ever had.
Who This Recipe Is For
Beginners and Busy Bakers
If you’re new to bread baking, this is the perfect recipe to start with. There are no complicated techniques, and you don’t need to worry about over-kneading or shaping. Just mix, let it rise, and bake—it’s as simple as that. And if you have a busy schedule, the overnight rise means you can prepare the dough ahead of time and bake it whenever it’s convenient for you.
Flavor Lovers
If you love the earthy, aromatic flavors of rosemary and garlic, this bread will become a staple in your kitchen. The slow fermentation enhances the flavors, giving you a rich, complex taste that’s better than anything you’d find in a store.
Home Cooks Who Want Bakery-Quality Bread
There’s nothing quite like pulling a fresh, golden loaf from the oven and slicing into that perfect, crackly crust. This bread looks and tastes like it came from an artisan bakery, but it’s made with ingredients you already have in your pantry.
Baking bread at home doesn’t have to be complicated. This Rustic No-Knead Rosemary Garlic Bread proves that with just a little patience and the right technique, anyone can create a loaf that’s bursting with flavor, texture, and warmth. Now that you know why this recipe is a must-try, let’s dive into the simple ingredients that make it so special.
Ingredients for the Perfect No-Knead Bread
Core Ingredients
- All-Purpose Flour (3 ½ cups) – The base of the bread. It provides structure while keeping the crumb light and soft. If you want a chewier texture, bread flour can be used instead.
- Salt (1 ½ teaspoons) – Essential for flavor and gluten development. Without it, the bread will taste flat.
- Instant Yeast (½ teaspoon) – This allows the dough to rise slowly, creating those airy pockets and a light texture. Instant yeast works best because it doesn’t require proofing, but active dry yeast can be used if activated in warm water first.
- Warm Water (1 ¾ cups, about 110°F) – The key to activating the yeast and forming a dough that hydrates properly over time. If the water is too hot, it can kill the yeast; if too cold, the dough won’t rise as expected.
- Fresh Rosemary (2 tablespoons, chopped) – Adds an earthy, aromatic flavor that complements the garlic beautifully. Dried rosemary can be used if fresh isn’t available, though fresh rosemary provides a more vibrant taste.
- Garlic (3 cloves, minced) – Brings deep, savory flavor to the bread. If you love garlic, you can even roast it first for a milder, slightly sweet taste.
- Olive Oil (2 tablespoons) – Enhances the texture, making the bread slightly more tender while also adding richness to the flavor.
- Black Pepper (½ teaspoon, optional) – A subtle touch of spice that enhances the rosemary and garlic flavors without overpowering them.
- Extra Flour (for dusting) – Prevents the dough from sticking to surfaces when shaping and transferring it.
Ingredient Substitutions and Adjustments
- Flour Options: If you want a slightly different texture, you can substitute up to 50% whole wheat flour for a nuttier taste. Keep in mind that whole wheat flour absorbs more liquid, so you may need to add a little extra water.
- Yeast Alternative: If using active dry yeast instead of instant yeast, dissolve it in ¼ cup warm water with a pinch of sugar before adding it to the dough.
- Herb Variations: Not a fan of rosemary? Try thyme, oregano, or a mix of Italian herbs for a different flavor profile.
- Garlic Adjustments: Roasted garlic will give the bread a milder, slightly sweet taste, while fresh minced garlic provides a more intense punch.
Kitchen Tools You’ll Need
Must-Have Tools
- Mixing Bowl – A large bowl is essential for mixing the dough and allowing it to rise properly.
- Dutch Oven (or Cast Iron Pot with Lid) – This is the secret to achieving that beautiful, crackly crust. A Dutch oven traps steam, mimicking the conditions of a professional bread oven.
- Parchment Paper – Prevents the dough from sticking to the Dutch oven and makes it easy to transfer.
- Measuring Cups and Spoons – Accurate measurements ensure your dough has the right balance of ingredients.
Nice-to-Have Tools
- Bench Scraper – Useful for handling the sticky dough and shaping it without making a mess.
- Bread Lame (or Sharp Knife) – Helps score the dough before baking, allowing it to expand properly while baking.
- Instant-Read Thermometer – If you want to check for doneness, the internal temperature of the bread should be around 200-210°F.
Now that you have everything you need, let’s walk through the simple steps to bring this rustic, no-knead bread to life.
How to Make Rustic No-Knead Rosemary Garlic Bread
Now that you have your ingredients and tools ready, it’s time to bring this simple yet flavorful bread to life. The process is straightforward, with minimal hands-on work, but the results will make you feel like a professional baker.
Step 1: Mixing the Dough
In a large mixing bowl, combine the flour, salt, yeast, rosemary, garlic, and black pepper if using. Stir to distribute the ingredients evenly.
Next, pour in the warm water and olive oil. Using a wooden spoon or a spatula, mix until the ingredients are fully combined. The dough will look shaggy and sticky—this is exactly what you want. There’s no need to knead it; just make sure there are no dry patches of flour.
Cover the bowl with plastic wrap or a clean kitchen towel and let it rest at room temperature for at least 12 to 18 hours. This long fermentation time is what gives the bread its airy texture and deep flavor. You’ll know it’s ready when the dough has doubled in size and is full of bubbles on the surface.
Step 2: Shaping the Dough
Once the dough has risen, lightly flour a work surface and your hands. Gently turn the dough out onto the surface. The dough will be soft and sticky, so handle it gently to avoid deflating the air pockets.
Using floured hands or a bench scraper, fold the edges of the dough towards the center, shaping it into a rough ball. Avoid over-handling—this isn’t like traditional bread dough that needs aggressive shaping.
Place the shaped dough on a piece of floured parchment paper. Cover it with a kitchen towel and let it rest for another 30 to 45 minutes while the oven preheats.
Step 3: Preheating the Oven and Dutch Oven
While the dough rests, preheat your oven to 450°F (230°C). Place your Dutch oven (or cast iron pot with a lid) inside and let it heat up for at least 30 minutes. This step is crucial because the hot Dutch oven creates the steam needed for a crusty, golden loaf.
Step 4: Baking the Bread
Carefully remove the hot Dutch oven from the oven. Using the parchment paper, transfer the dough into the pot. Be cautious—it’s extremely hot.
Cover with the lid and bake for 30 minutes. This enclosed baking method helps trap moisture, allowing the bread to rise properly and develop a chewy interior.
After 30 minutes, remove the lid and continue baking for another 10 to 15 minutes, or until the crust is deep golden brown and crisp.
To check if the bread is done, tap the bottom—it should sound hollow. If you’re using an instant-read thermometer, the internal temperature should be 200-210°F.
Step 5: Cooling and Enjoying
Once baked, carefully transfer the bread to a wire rack and let it cool for at least 15 minutes before slicing. This allows the interior to set properly, ensuring the best texture.
Slice and serve warm with butter, olive oil, or alongside your favorite soup or stew.
Expert Tips for Success
- Use the Right Flour – All-purpose flour gives a light texture, while bread flour creates a chewier bite.
- Hydration Matters – This is a high-hydration dough, meaning it will be sticky. Avoid adding extra flour, as that can result in a dense loaf.
- Don’t Skip the Overnight Rise – The long fermentation time is what develops the bread’s complex flavor and airy texture.
- Preheat the Dutch Oven – A hot baking vessel is key to getting that signature crisp crust.
- Let It Cool Before Slicing – Cutting too soon can result in a gummy texture.
How to Store and Reheat Rustic No-Knead Bread
At Room Temperature
Once completely cooled, store the bread in a bread box or wrapped in a kitchen towel. It will stay fresh for 2 to 3 days. Avoid plastic bags, as they trap moisture and soften the crust.
In the Refrigerator
Bread tends to dry out in the fridge, so this method isn’t recommended. If you must refrigerate, wrap it tightly in plastic wrap and warm it before serving.
Freezing and Reheating
To freeze, wrap the loaf in plastic wrap and aluminum foil, then store it in an airtight bag. It will keep for up to 3 months.
To reheat, place the frozen bread in a 350°F (175°C) oven for 10-15 minutes until warmed through. If reheating slices, a toaster works well.
Frequently Asked Questions
Why is my dough so sticky?
No-knead bread dough is naturally wetter than traditional dough. This moisture is what helps create the airy, open crumb. If it feels too sticky to handle, lightly flour your hands but avoid adding too much extra flour.
Can I use active dry yeast instead of instant yeast?
Yes. If using active dry yeast, dissolve it in ¼ cup warm water before mixing it into the dough. You may also need to extend the rising time slightly.
Why didn’t my bread rise properly?
Several factors can affect the rise. Check that your yeast is fresh, your water temperature isn’t too hot or cold, and that your dough is resting in a warm spot. If your kitchen is too cold, let the dough rise inside a turned-off oven with the light on.
Do I really need a Dutch oven?
A Dutch oven is the best way to create a steamy baking environment, which leads to the crisp crust and chewy interior. If you don’t have one, you can bake the bread on a baking sheet with a pan of hot water in the oven to help create steam.
Related Recipes to Try Next
If you loved this Rustic No-Knead Rosemary Garlic Bread, you might enjoy these other delicious recipes:
- Easy Garlic Butter Cheese Bombs – Soft, cheesy, and packed with garlic flavor, perfect for any meal.
- Cheese Bread Recipe – A rich, cheesy twist on classic homemade bread.
- Homemade Pizza Dough – The perfect base for a crispy, chewy pizza crust.
- Garlic Butter Spaghetti with Hearty Beef Bolognese – A flavorful, comforting pasta dish to pair with this bread.
Conclusion
Baking bread at home doesn’t have to be complicated. With minimal effort and a little patience, you can create a beautiful, bakery-quality loaf that’s packed with rosemary and garlic flavor. Whether you’re serving it fresh with dinner, toasting it the next morning, or sharing it with friends, this bread is sure to impress.
Now that you have the recipe, it’s time to give it a try. Once you do, you’ll see just how easy and rewarding homemade bread can be. Happy baking!
Print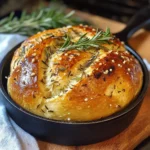
Rustic No-Knead Rosemary Garlic Bread
- Total Time: 40-45 minutes
- Yield: 13-19 hours
Description
This Rustic No-Knead Rosemary Garlic Bread is packed with flavor, featuring a crisp golden crust and a soft, airy interior. Made with minimal effort and no kneading, it’s perfect for beginners and seasoned bakers alike. The combination of fresh rosemary and garlic infuses every bite with a rich, savory aroma, making it ideal for pairing with soups, stews, or a simple spread of butter.
Ingredients
- 3 ½ cups all-purpose flour
- 1 ½ teaspoons salt
- ½ teaspoon instant yeast
- 1 ¾ cups warm water (about 110°F)
- 2 tablespoons fresh rosemary, chopped (or 1 tablespoon dried)
- 3 cloves garlic, minced
- 2 tablespoons olive oil
- ½ teaspoon black pepper (optional)
- Extra flour for dusting
Instructions
- Mix the Dough: In a large mixing bowl, combine flour, salt, yeast, rosemary, garlic, and black pepper. Add warm water and olive oil, stirring until a sticky dough forms.
- First Rise: Cover with plastic wrap and let sit at room temperature for 12-18 hours, until doubled in size and bubbly.
- Shape the Dough: Lightly flour a surface, turn out the dough, and gently shape it into a round loaf. Avoid over-handling.
- Second Rise: Place on floured parchment paper, cover, and let rest for 30-45 minutes while the oven preheats.
- Preheat Oven & Dutch Oven: Heat oven to 450°F (230°C), placing a Dutch oven inside for 30 minutes.
- Bake the Bread: Carefully transfer the dough (on parchment paper) into the hot Dutch oven. Cover and bake for 30 minutes.
- Uncover & Brown: Remove the lid and bake for 10-15 more minutes until golden brown.
- Cool & Enjoy: Let the bread cool on a wire rack for at least 15 minutes before slicing.
Notes
- If using active dry yeast, dissolve it in ¼ cup warm water before adding it to the flour.
- Substitute thyme or oregano if you don’t have rosemary.
- For a milder garlic flavor, use roasted garlic instead of raw.
- Prep Time: 10 minutes
- Cook Time: 12-18 hours
- Category: 1 loaf
- Method: Bread
- Cuisine: Baking
Nutrition
- Calories: 160
- Sodium: 200mg
- Fat: 3g
- Carbohydrates: 30g
- Fiber: 2g
- Protein: 5g
")