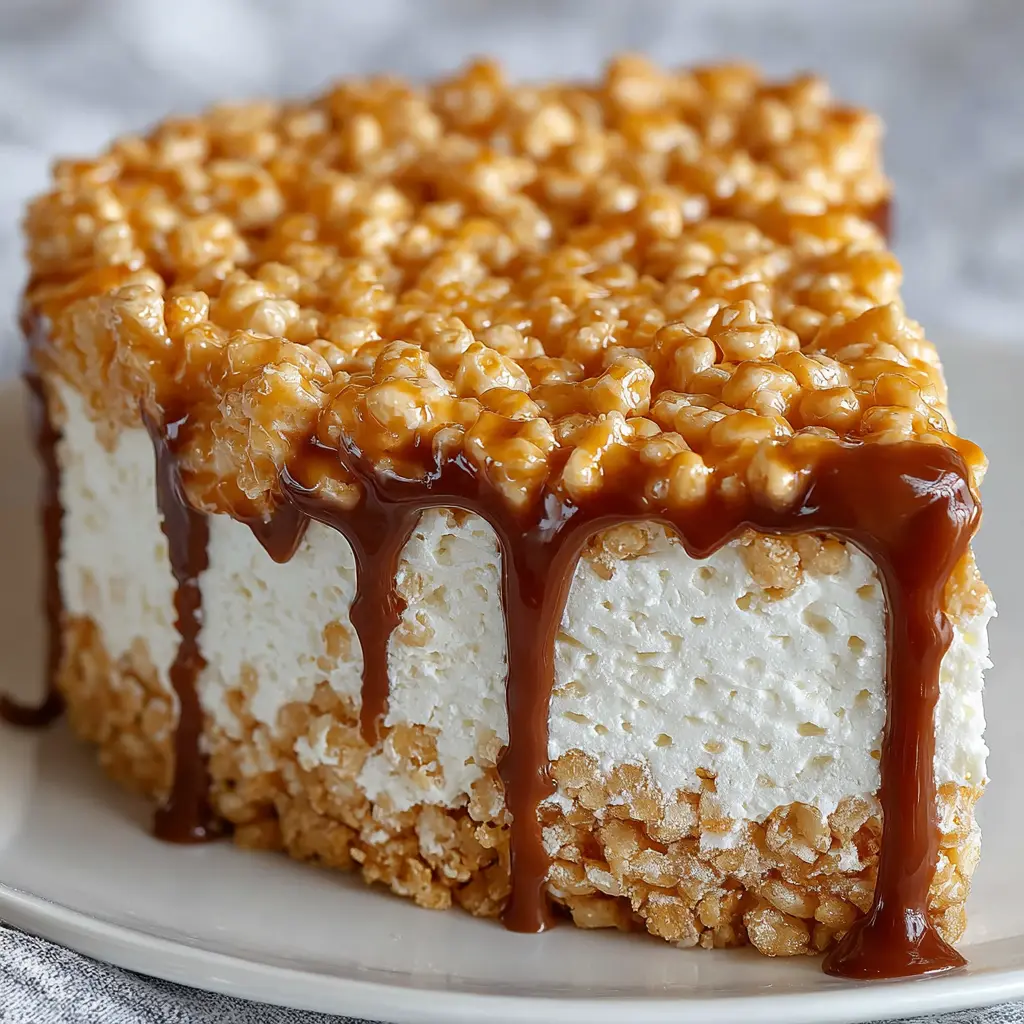
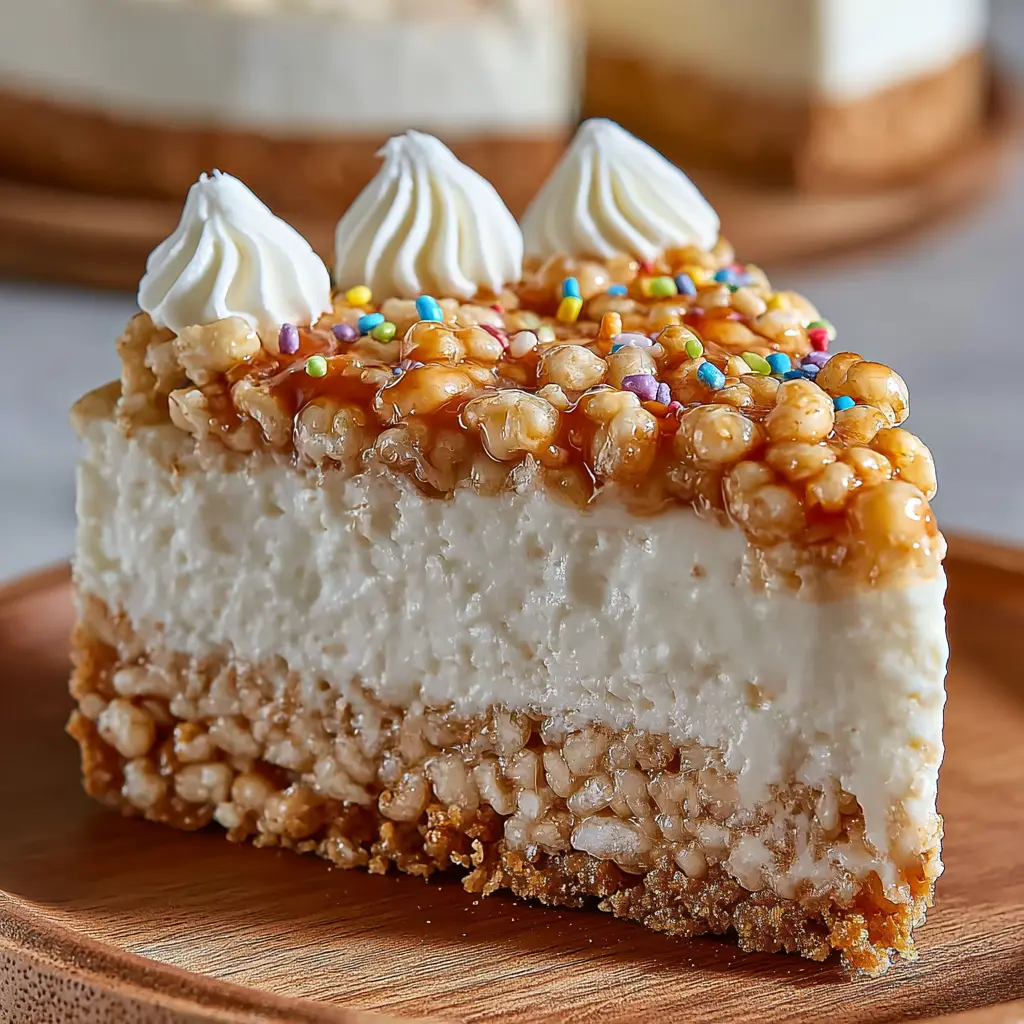
Introduction to Rice Krispie Treat No-Bake Cheesecake
If you’re a young professional navigating the bustling world of work-life balance, you know all too well that tasty yet quick dessert options are a must. Enter the Rice Krispie Treat No-Bake Cheesecake! This delightful dessert marries the nostalgia of childhood treats with the sophisticated taste of cheesecake, making it a fantastic option for those busy weeknights or last-minute gatherings.
Why No-Bake Cheesecake is Perfect for Young Professionals
Time is often at a premium for young professionals. Between long workdays, social commitments, and perhaps even a side hustle, who has the time to bake? The beauty of a no-bake cheesecake is that it eliminates the need for ovens and extensive baking time, allowing you to whip up something delightful in just a fraction of the time. Plus, who doesn’t love a dessert that can be made with minimal fuss?
Consider these benefits:
- Quick and Easy: Mix just a handful of ingredients, pour, and chill. The most time-consuming part is waiting for it to set!
- No Baking Required: You can avoid the hassle of monitoring an oven, making this a stress-free choice after a long day at the office.
- Versatile Flavor Combinations: This recipe invites creativity. You can add fruit, chocolate, or even different flavored extracts to tailor it to your taste buds.
Despite its simplicity, a Rice Krispie Treat No-Bake Cheesecake doesn’t compromise on flavor or presentation. Imagine serving it at your next brunch or as a sweet finish to a dinner with friends—everyone will be impressed! You can explore more about the art of no-bake desserts at Bon Appétit for inspiration.
So why not treat yourself to the perfect ending to a hectic day? This no-bake cheesecake will surely become a staple in your dessert repertoire, striking that beautiful balance between convenience and taste. Whether you’re looking to impress guests or simply satisfy your own sweet tooth, this delicious dessert is calling your name!
Ingredients for Rice Krispie Treat No-Bake Cheesecake
Essential ingredients for your no-bake cheesecake
Creating a delightful rice krispie treat no-bake cheesecake is easier than you might think! Here’s a quick rundown of the must-have ingredients:
- Rice Krispies: These create a crunchy base. You can also use similar cereals if you prefer.
- Marshmallows: The classic gooey ingredient that binds your base.
- Butter: Adds richness and helps with binding.
- Cream cheese: The star of your cheesecake—smooth and creamy for that perfect texture.
- Powdered sugar: Sweetens your cheesecake without the grit.
- Vanilla extract: A splash adds warmth and depth.
- Heavy cream: For that luscious filling that holds everything together.
Don’t forget to source your ingredients from reputable stores for the freshest flavors!
Optional toppings for a personal touch
Now, let’s talk about how to customize your rice krispie treat no-bake cheesecake:
- Fresh fruits: Berries or sliced bananas add a refreshing contrast.
- Chocolate drizzles: A little melted chocolate makes everything feel luxurious.
- Crushed nuts or cookie crumbs: Adds texture and additional flavor layers.
- Whipped cream: Light and airy, it complements the richness perfectly.
Feel free to mix and match and make this recipe truly your own! Want more inspiration? Explore variations on no-bake cheesecakes on sites like Taste of Home or Food Network for exciting ideas!
Preparing Rice Krispie Treat No-Bake Cheesecake
Making a Rice Krispie Treat No-Bake Cheesecake may sound complex, but it’s surprisingly simple and incredibly satisfying. Whether you’re celebrating a birthday, hosting a potluck, or just craving a sweet treat, this dessert offers the delight of both a classic Rice Krispie treat and creamy cheesecake without requiring an oven.
Prepare the Rice Krispie base
To get started, you need to create a sturdy yet delicious base for your cheesecake. Gather the following ingredients:
- 4 cups crispy rice cereal
- 1 bag (10 oz) marshmallows
- 3 tablespoons butter
In a large saucepan over low heat, melt the butter first. It’s important to keep the heat low—this ensures that your marshmallows melt evenly without burning. Stir in the marshmallows until completely melted and the mixture becomes smooth.
Melt the marshmallows and butter
Once the butter has melted, adding the marshmallows is the next step. Keep stirring until they’re fully incorporated and your mixture looks glossy. This is where the magic begins! For some added flavor, consider tossing in a pinch of salt or a splash of vanilla extract during this melting phase.
Mix in the Rice Krispies
Now, take your crispy rice cereal and gently fold it into the melted marshmallow mixture. Here’s a professional tip: do this slowly! You want each piece of cereal to be evenly coated without smashing them. You can also add a splash of food coloring for a fun twist—perfect if you’re making this for a themed party or holiday!
Press the mixture into the pan
Once mixed, transfer the Rice Krispie mixture into a greased 9-inch springform pan. Using a spatula, press it down evenly, ensuring the base is compact and ready to hold your cheesecake filling. Don’t worry if it feels a bit sticky; that’s perfectly normal!
Make the cheesecake filling
Now onto the best part—the cheesecake filling! For this, you’ll need:
- 8 oz cream cheese (softened)
- 1 cup powdered sugar
- 1 teaspoon vanilla extract
- 1 cup heavy whipping cream
In a bowl, mix the softened cream cheese, powdered sugar, and vanilla until creamy and smooth. You want this filling to be light and airy, so don’t skip any of the mixing!
Whip the cream to perfection
In a separate bowl, beat the heavy whipping cream until medium peaks form. This means when you lift your mixer, the cream will hold its shape without completely stiffening. If you’ve never whipped cream before, it’s like magic watching it transform from liquid to fluffy cloud-like substance!
Fold whipped cream into the cream cheese mixture
Gently fold the whipped cream into the cream cheese mixture. Be careful with your technique—over-mixing can deflate all that lovely air you just whipped into the cream. Aim for a light and fluffy filling that will delight every taste bud!
Assemble your cheesecake masterpiece
Take your Rice Krispie base, and pour the cheesecake filling over it. Use a spatula to spread it evenly, ensuring no gaps. Now, this is optional, but you can drizzle chocolate sauce or sprinkle crushed graham crackers on top for an additional layer of flavor.
Chill before serving
Finally, pop the cheesecake in the refrigerator for about 4-6 hours, or ideally, overnight. This chilling time allows the flavors to meld beautifully and gives the cheesecake a chance to set for easy slicing. Trust me, the wait will be worth it when you finally dig into this Rice Krispie Treat No-Bake Cheesecake!
In conclusion, preparing this cheesecake is a fun and rewarding process that even the busiest young professionals can manage. So, gather your ingredients, channel your inner chef, and impress your friends with this delightful no-bake dessert! For more inspiration on delicious dessert recipes, check out Serious Eats.
Variations on Rice Krispie Treat No-Bake Cheesecake
When it comes to dessert, the classic rice krispie treat no-bake cheesecake delivers both nostalgia and satisfaction. However, why stop at the original when you can explore delicious variations? Here are a couple of fun twists to consider that will impress your friends and family.
Chocolate Lover’s Twist
If you’re a chocolate fanatic, this variation is just for you! Simply incorporate cocoa powder into your cheesecake filling or mix crushed chocolate cookies into your Rice Krispie base. For an extra indulgent layer, consider drizzling melted chocolate on top before chilling. The fusion of creamy cheesecake and rich chocolate is truly irresistible!
A helpful tip: Use a high-quality chocolate like Ghirardelli or Valrhona for the best flavor. You can also add mini chocolate chips to the filling or even layer some inside for a delightful surprise with each bite!
Fruity Variations for a Fresh Taste
Looking for something a bit more refreshing? Try adding fresh fruit to your rice krispie treat no-bake cheesecake. You can blend fruit purees into the cheesecake mixture. For instance, strawberries or raspberries provide a lovely tartness that balances the sweetness.
Here’s how you can do it:
- Citrus Delight: Add lemon or lime zest to the filling for a zesty kick.
- Berry Medley: Top your cheesecake with an assortment of fresh berries for vibrant color and flavor.
For some handy tips, check out this guide on the best fruits to use in summer desserts here.
These variations not only elevate your rice krispie treat no-bake cheesecake game, but they also keep each bit exciting and aligned with various palates, making it the perfect crowd-pleaser for any gathering!
Cooking Tips and Notes for Rice Krispie Treat No-Bake Cheesecake
Tips for the Perfect Rice Krispie Base
To achieve a deliciously crispy and gooey Rice Krispie base for your no-bake cheesecake, it’s essential to strike the right balance between marshmallows and cereal. Here are some tried-and-true tips:
- Melt with care: Gently melt the marshmallows over low heat to prevent burning. Stir constantly for a smooth mixture.
- Ratio matters: Stick to about 5 cups of Rice Krispies for every 10 ounces of marshmallows. This helps keep the base solid yet soft enough to enjoy.
- Press firmly: After blending the Rice Krispies with the marshmallow mix, press it down firmly into your pan. It’ll hold its shape better when set.
Secrets to a Creamy Cheesecake Filling
The cheesecake filling is where the magic truly happens in your Rice Krispie Treat No-Bake Cheesecake. Keep these tips in mind:
- Room temperature ingredients: Make sure your cream cheese is softened to room temperature. This ensures a smooth and lump-free consistency.
- Whip those creams: For an airy texture, whip the heavy cream until soft peaks form before folding it into the cheesecake mixture.
- Chill it: Let the cheesecake sit in the fridge for at least 4 hours—overnight is even better! This helps all the flavors meld beautifully.
By following these guidelines, you can create a Rice Krispie Treat No-Bake Cheesecake that not only looks stunning but tastes amazing. For more tips on making no-bake desserts, check out resources from reliable kitchens like American Test Kitchen.
Serving Suggestions for Rice Krispie Treat No-Bake Cheesecake
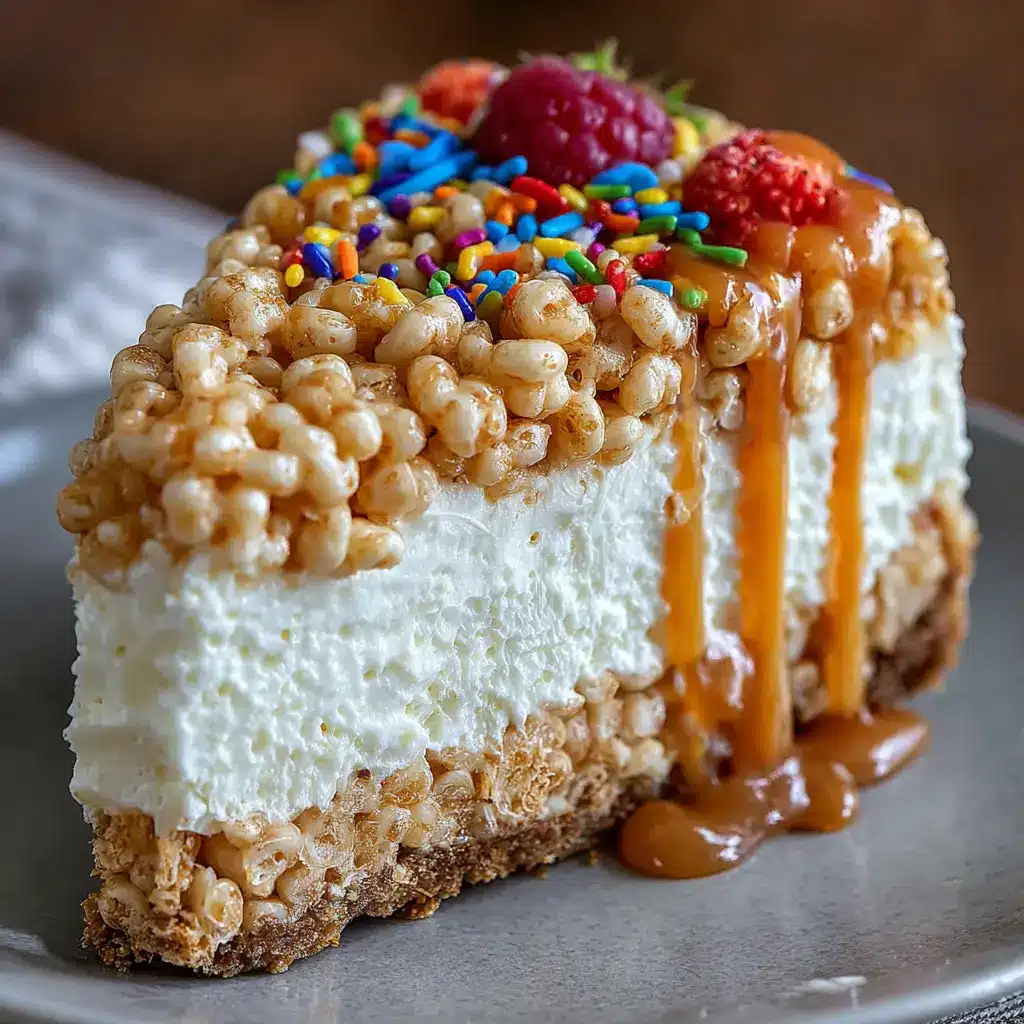
Creative garnishing ideas
Elevate your rice krispie treat no-bake cheesecake with fun and unique garnishes. Consider adding a drizzle of caramel or chocolate sauce on top for a deliciously rich finish. Fresh fruit, like strawberries or blueberries, not only adds a pop of color but enhances the flavor profile too. Want to go the extra mile? Try crushed nuts or even a sprinkle of edible glitter for a stunning presentation! A dollop of whipped cream can be the perfect creamy touch, making your cheesecake not just tasty but visually delightful as well.
Pairing suggestions for your cheesecake
Think beyond the traditional dessert pairings! This no-bake cheesecake pairs beautifully with a refreshing cup of herbal tea or a fruity iced tea, providing a lovely contrast to the sweet flavors. If you’re feeling adventurous, serve it alongside creamy yogurt for an unexpected twist that balances sweetness with tanginess. For a fun, casual vibe, why not complement it with a scoop of vanilla ice cream? It’ll take your dessert to a whole new level.
Feeling inspired? Check out The Spruce Eats for more creative dessert ideas!
Time Breakdown for Rice Krispie Treat No-Bake Cheesecake
When you’re whipping up a delicious rice krispie treat no-bake cheesecake, it’s handy to know how much time to set aside for each step.
Preparation Time
Getting started is a breeze! You’ll need approximately 20 minutes to gather your ingredients, mix your bases, and layer everything. This is the fun part where creativity shines, so don’t rush it!
Chilling Time
After assembly, the cheesecake needs a little TLC in the refrigerator. Plan for about 4 hours of chilling time. This lets the flavors meld beautifully and ensures a firm texture.
Total Time
In total, you’ll invest around 4 hours and 20 minutes from start to finish. Perfect timing for a sweet treat at your next gathering! Dive into this no-bake cheesecake adventure, and keep your skills sharp with various recipes. Check out America’s Test Kitchen for other creative dessert ideas!
Nutritional Facts for Rice Krispie Treat No-Bake Cheesecake
Approximate calories per serving
When indulging in a slice of Rice Krispie Treat No-Bake Cheesecake, you can expect each serving to clock in at around 250-300 calories. This delicious dessert, packed with sweet marshmallows and creamy cheesecake filling, is a delightful treat you can enjoy without going overboard on your calorie intake. It’s perfect for those casual get-togethers or a cozy night in.
Key nutrients to consider
While this cheesecake is primarily a treat, it does provide some key nutrients:
- Calcium: Thanks to the cream cheese and whipped topping, you’ll get a good dose of calcium, important for bone health.
- Carbohydrates: The Rice Krispies contribute to the carb content, giving you a quick energy boost.
- Protein: The cream cheese offers a nice amount of protein, helping to keep you fuller for longer.
Do keep in mind that balance is essential; consider pairing your dessert with fresh fruit for added fiber and vitamins. For more insights on healthy dessert options, check out this Nutritional Guidelines from the USDA.
So, next time you’re craving something sweet, remember that a little indulgence can be part of a balanced lifestyle!
FAQs about Rice Krispie Treat No-Bake Cheesecake
Can I make this cheesecake in advance?
Absolutely! Rice Krispie treat no-bake cheesecake is perfect for preparing ahead of time. You can assemble it a day or two in advance and store it in the refrigerator. This not only saves time but also allows the flavors to meld beautifully. Just make sure to cover it well with plastic wrap or store it in an airtight container to maintain freshness.
What are some topping ideas?
The beauty of rice krispie treat no-bake cheesecake lies in its versatility, especially when it comes to toppings. Here are some delightful ideas to jazz up your dessert:
- Fresh fruits: Strawberries, blueberries, or raspberries add a refreshing touch.
- Chocolate sauce: Drizzle some melted chocolate or chocolate syrup for a decadent flair.
- Crushed nuts: Chopped almonds or pecans add a lovely crunch.
- Whipped cream: A dollop on top elevates it to a café-level treat.
- Caramel drizzle: Sweet and salty never tasted so good!
Feel free to experiment—your creativity is the limit!
How do I store leftovers?
Storing leftovers from your rice krispie treat no-bake cheesecake is a breeze. Simply cover it with plastic wrap or transfer individual slices to airtight containers. Keep it in the refrigerator, where it will stay fresh for up to five days. For longer storage, consider freezing slices. Just make sure to wrap them tightly! When you’re ready to enjoy, let them thaw in the fridge for a few hours.
These tips should help ensure your delightful cheesecake is just as delicious later on! Looking for more dessert inspiration? Check out this article on no-bake desserts for tasty ideas.
Conclusion on Rice Krispie Treat No-Bake Cheesecake
Inviting friends over? It’s time to impress with your no-bake creation!
When you’re ready to show off your culinary flair, this Rice Krispie Treat No-Bake Cheesecake is the way to go. It combines the nostalgic crunch of Rice Krispies with a creamy, delightful cheesecake filling — all without the hassle of an oven. Your friends will love the unique twist, and it’s an easy way to spark conversation. Plus, it’s a fantastic dessert for any gathering or summer BBQ. For a special touch, consider pairing it with fresh fruit or a drizzle of chocolate sauce. Check out more fun dessert ideas at FoodNetwork for your next get-together!
Print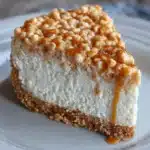
Rice Krispie Treat No-Bake Cheesecake: An Easy Indulgence at Home
- Total Time: 4 hours 30 minutes
- Yield: 8 servings
- Diet: Vegetarian
Description
Indulge in a creamy and crunchy delight with this easy no-bake cheesecake that features the classic flavors of Rice Krispie treats.
Ingredients
- 3 cups Rice Krispies
- 1 cup mini marshmallows
- 1/2 cup butter
- 8 oz cream cheese
- 1 cup powdered sugar
- 1 tsp vanilla extract
- 1 cup heavy whipping cream
Instructions
- In a saucepan, melt butter and marshmallows over low heat. Stir until smooth.
- Add Rice Krispies and mix until evenly coated.
- Press the mixture into the bottom of a greased springform pan and set aside.
- In a bowl, beat cream cheese until smooth. Gradually add powdered sugar and vanilla, mixing until combined.
- In another bowl, whip the heavy cream until stiff peaks form, then fold into the cream cheese mixture.
- Spread the cheesecake filling over the Rice Krispie crust.
- Chill in the refrigerator for at least 4 hours or until set.
- Slice and serve chilled.
Notes
- For an extra touch, top with melted chocolate or fruit.
- Make sure to chill the cheesecake for the full recommended time for best results.
- Prep Time: 20 minutes
- Cook Time: 10 minutes
- Category: Dessert
- Method: No-Bake
- Cuisine: American
Nutrition
- Serving Size: 1 slice
- Calories: 320
- Sugar: 15g
- Sodium: 150mg
- Fat: 20g
- Saturated Fat: 10g
- Unsaturated Fat: 8g
- Trans Fat: 0g
- Carbohydrates: 28g
- Fiber: 0g
- Protein: 3g
- Cholesterol: 35mg
")