Introduction
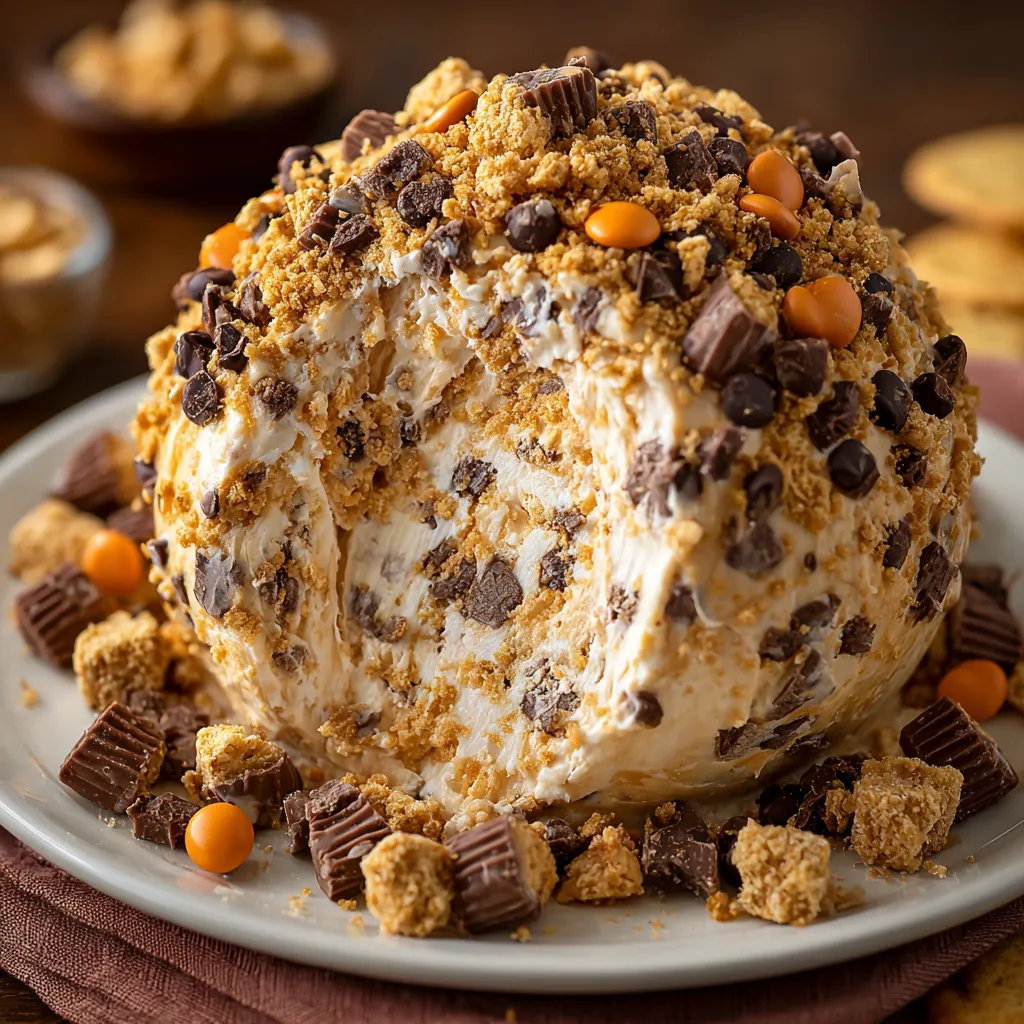
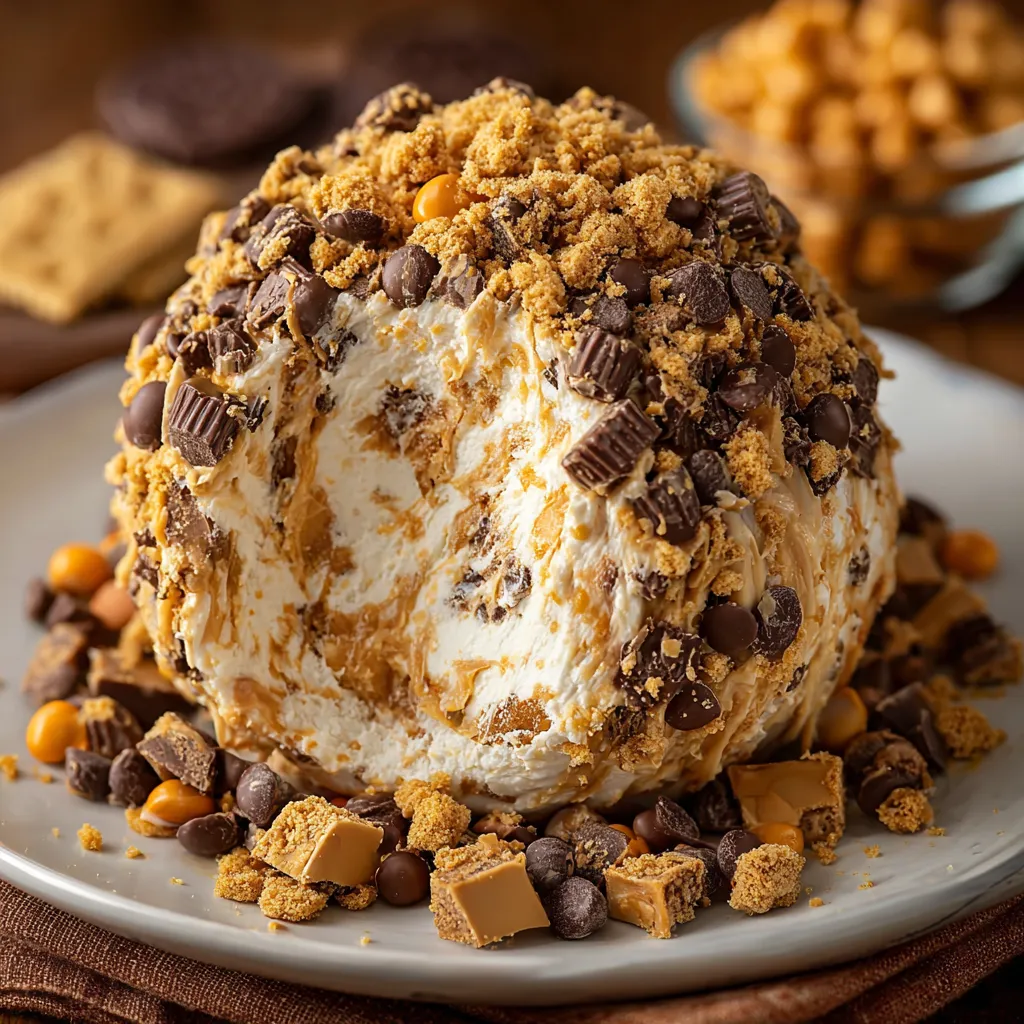
If you’re looking for a show-stopping dessert that’s as fun to make as it is to eat, this Reese’s Cheese Ball is about to become your new go-to treat. It’s a rich, creamy, chocolatey, peanut buttery delight that checks every box: no baking required, minimal prep, and maximum flavor. Perfect for holidays, game nights, or casual get-togethers, this dessert ball brings the best of candy and cheesecake into one incredibly indulgent bite.
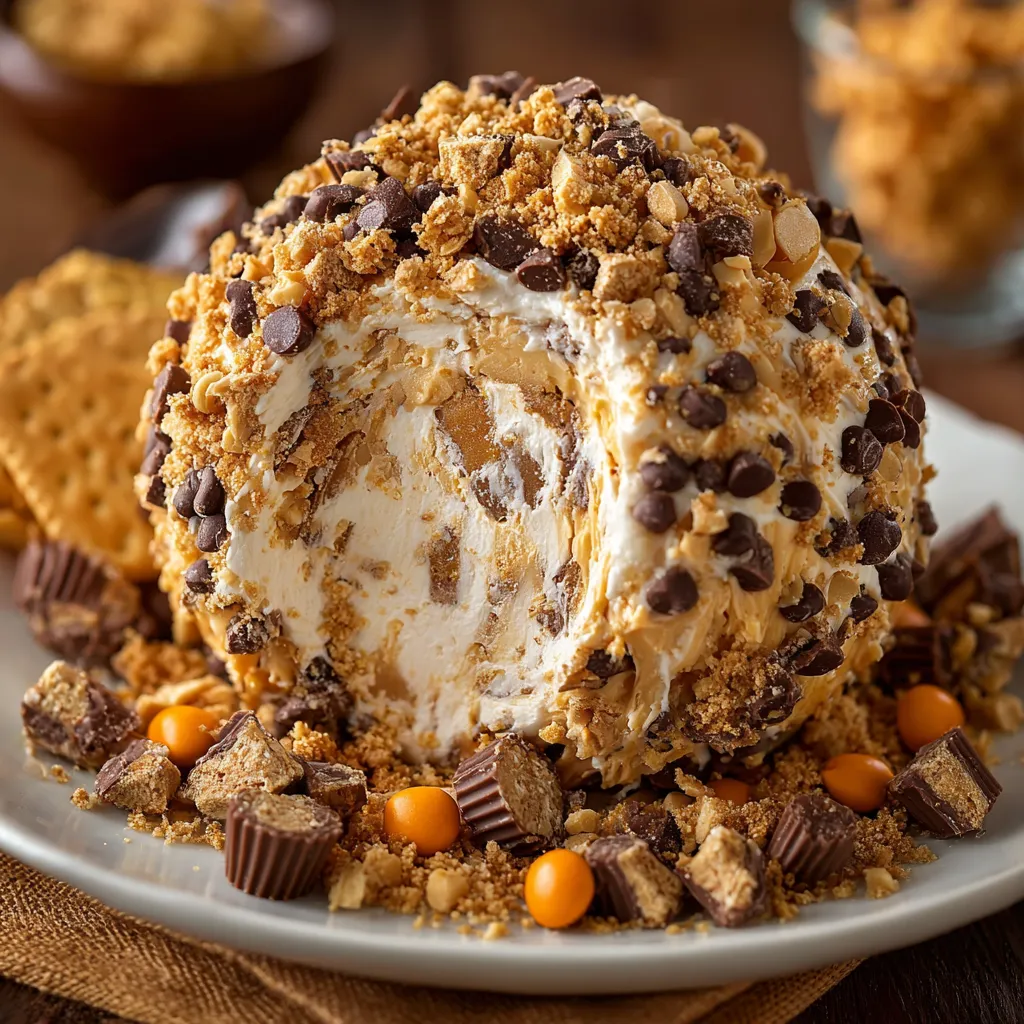
What makes this recipe truly special? It combines smooth cream cheese, sweet powdered sugar, and creamy peanut butter, all studded with chopped Reese’s mini cups. Then it’s wrapped in a silky chocolate coating and topped off with a playful crunch—talk about dessert bliss. Whether you’re a seasoned home baker or a dessert newbie, this recipe is designed to make you feel like a kitchen rock star.
Let’s dive in and see why you’ll fall in love with every bite.
Why You’ll Love This Reese’s Cheese Ball
Key Benefits
This dessert is simple enough for a weekday and festive enough for a party. One of the best parts? No oven needed—which means no waiting for preheating, no baking mishaps, and no stress. You just mix, chill, and dip.
The combination of peanut butter and cream cheese creates an ultra-smooth, tangy-sweet base that’s incredibly satisfying. Chopped Reese’s give you that nostalgic candy-bar crunch and flavor in every bite, while the chocolate coating adds just the right touch of decadence. It’s an ideal blend of textures: creamy inside, crisp outside, with optional crunchy toppings for an extra layer of fun.
This is also a make-ahead marvel. You can prep it the night before and pull it out right before serving—perfect for stress-free entertaining. And let’s be real: it’s hard to resist a dessert that doubles as a conversation piece.
Suitable For
This Reese’s Cheese Ball is perfect for:
-
Holiday tables: Think Thanksgiving, Christmas, or Easter dessert buffets
-
Birthday parties and potlucks: Easy to transport and a guaranteed hit
-
Kids and adults alike: The peanut butter-chocolate combo is universally loved
-
Beginner bakers: No baking skills? No problem—this recipe is practically foolproof
Ingredients for Reese’s Cheese Ball
Core Ingredients
Here’s what you’ll need to make this sweet and creamy dream come true:
-
8 oz cream cheese – softened for easy mixing
-
1 cup creamy peanut butter – smooth texture works best
-
1 cup powdered sugar – adds sweetness without grittiness
-
1 teaspoon vanilla extract – rounds out the flavor
-
1 ½ cups mini Reese’s Peanut Butter Cups, chopped – the star of the show
-
1 cup semi-sweet chocolate chips, melted – for a luscious coating
Optional: Crushed peanuts or extra mini Reese’s for rolling or topping.
Substitutions and Tips
-
Crunchy peanut butter works great if you want extra texture inside
-
Want it a little less sweet? Try using unsweetened peanut butter or reduce the powdered sugar slightly
-
No mini Reese’s? Chop up full-size ones or try peanut butter chips instead
-
For a nut-free version, sunflower seed butter is a decent swap, though the flavor will change
-
Use high-quality chocolate chips—this makes a difference in the coating’s shine and flavor
Best Peanut Butter for Reese’s Cheese Ball
Not all peanut butters are created equal, especially when it comes to dessert. For this recipe, creamy peanut butter like Jif or Skippy provides the best texture and mixability. These brands offer the right balance of sweetness and salt to complement the cream cheese and candy bits.
If you’re craving more crunch, feel free to use crunchy peanut butter, but keep in mind that the texture may be slightly more rustic. Natural peanut butters, while great for toast, aren’t ideal here—they tend to separate and can create a greasy or inconsistent filling.
Want to go gourmet? Try a flavored peanut butter (like honey-roasted or chocolate swirl), but test it first in a small batch. No matter which option you choose, make sure it’s fresh and not overly oily for best results.
Peanut butter is the heart of this dessert—choose one you’d be happy eating straight off a spoon.
Kitchen Tools You’ll Need
Must-Have Tools
-
Large mixing bowl – roomy enough to combine everything without spills
-
Electric hand mixer or stand mixer – gets everything smooth and fluffy in seconds
-
Plastic wrap – essential for shaping and chilling the cheese ball
-
Spatula – for scraping every last bit of peanut butter goodness
Nice-to-Have Tools
-
Fork or dipping tool – for handling the cheese ball when coating it in chocolate
-
Microwave-safe bowl – to melt the chocolate quickly and safely
-
Decorative serving plate or platter – because this dessert deserves a little spotlight presentation
No fancy gadgets required—just the basics to whip up something spectacular.
How to Make Reese’s Cheese Ball (Step-by-Step)
This is the kind of dessert that looks fancy but is secretly simple. Whether you’re making it for a potluck or prepping ahead for a cozy night in, every step of this Reese’s Cheese Ball is straightforward and totally doable—even if you’re not a frequent baker. Here’s exactly how to bring it all together.
Step 1: Mix the Filling
In a large mixing bowl, combine the softened cream cheese and creamy peanut butter. Use an electric hand mixer or stand mixer to beat until the mixture is completely smooth and uniform. You’re looking for a silky, fluffy texture—this is the heart of the cheese ball, so take a moment to make sure there are no lumps.
Next, add in the powdered sugar and vanilla extract. Mix again until everything is fully incorporated. At this point, the filling should be thick, creamy, and just sweet enough.
Fold in the chopped mini Reese’s. Don’t overmix here—you want those chocolate-peanut butter pieces to stay a little chunky for texture. A spatula works best for this part.
Tip: Chill the bowl for 10–15 minutes if the mixture feels too soft to shape.
Step 2: Shape the Cheese Ball
Scoop the mixture onto a large piece of plastic wrap. Using your hands through the plastic (less mess, more control), gently form it into a round ball shape. It doesn’t need to be perfect—just make sure it’s compact and even.
Wrap it tightly in the plastic wrap and place it in the refrigerator for at least 1 hour. This step helps the cheese ball firm up, making it much easier to coat in chocolate later. You can even chill it overnight if you’re prepping ahead.
Tip: Set the wrapped cheese ball in a small bowl while chilling—it helps maintain a nice round shape.
Step 3: Coat with Chocolate
Once your cheese ball has chilled and is firm to the touch, melt your chocolate chips. You can do this in the microwave in 20–30 second bursts (stirring in between), or use a double boiler if you prefer.
Unwrap your chilled cheese ball and set it on a fork or dipping tool. Gently lower it into the melted chocolate or spoon the chocolate over the top until it’s completely covered. Work quickly—warm chocolate can soften the cheese ball if it lingers too long.
Place it on a piece of parchment paper to set.
Tip: If the chocolate starts to harden mid-coating, just reheat it briefly to loosen it up again.
Step 4: Add Toppings
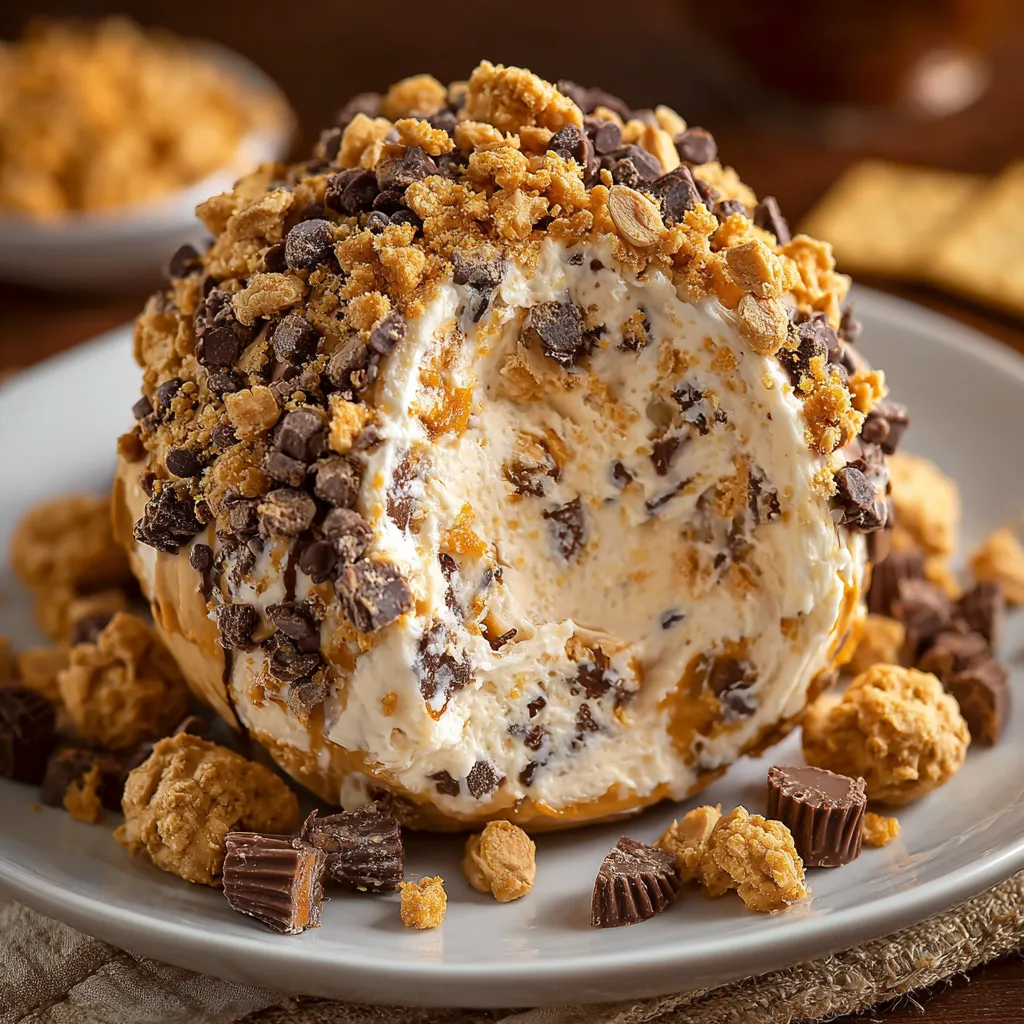
While the chocolate is still soft, sprinkle on your toppings. Crushed peanuts, extra chopped mini Reese’s, or even sprinkles can add color, crunch, and personality. This part is totally up to you—feel free to get creative.
Let the cheese ball rest at room temperature for a few minutes, then return it to the fridge for another 30 minutes so the chocolate coating can fully set.
Step 5: Chill and Serve
Once the chocolate is firm, your dessert is ready to go. Transfer it to a serving platter and surround it with dippers: graham crackers, pretzels, apple slices, vanilla wafers, or anything you love with peanut butter.
To serve, use a butter knife or small spreader. It should slice easily while holding its shape.
Tip: If you’re serving it at a party, keep it chilled until the last moment—especially on warmer days.
Tips for Success
Avoiding Common Mistakes
-
Too soft to shape? Chill the filling before forming the ball.
-
Chocolate won’t stick? Make sure the cheese ball is cold and dry before dipping.
-
Lumpy filling? Use softened cream cheese and mix thoroughly.
Ensuring Perfect Texture and Flavor
-
Use full-fat cream cheese for the creamiest results.
-
Balance sweetness by choosing semi-sweet chocolate rather than milk chocolate.
-
Don’t skip the vanilla—it subtly enhances all the other flavors.
Presentation Tips
-
Drizzle white chocolate over the top for contrast.
-
Serve on a wood board with a mix of sweet and salty sides.
-
Add a few whole Reese’s on the platter for visual appeal.
How to Store Reese’s Cheese Ball
At Room Temperature
This dessert is dairy-based, so don’t let it sit out longer than 2 hours. If it’s going to be out for longer (like at a party), set it on a chilled plate or use a cold pack underneath.
In the Refrigerator
Wrap tightly in plastic or store in an airtight container. It’ll stay fresh in the fridge for up to 5 days. The flavor actually improves slightly after the first day as everything melds together.
Freezing Tips
You can freeze it, but skip the chocolate coating if you plan to do so. Wrap the uncoated cheese ball in plastic wrap and then foil. Freeze for up to 1 month. When ready to use, thaw in the fridge overnight and coat in chocolate before serving.
Frequently Asked Questions (FAQs)
Can I make this ahead of time?
Yes! You can make the cheese ball up to two days in advance. Keep it wrapped and chilled. Add the chocolate coating the day of if you want that freshly-set look.
What can I serve it with?
Graham crackers, pretzels, apple slices, vanilla wafers, biscotti, or even chunks of pound cake work wonderfully. Go for a mix of sweet and salty.
Can I make this without the chocolate coating?
Absolutely. If you’re short on time or prefer it lighter, skip the chocolate and roll the cheese ball in crushed peanuts, graham crumbs, or cocoa powder instead.
Is there a nut-free version?
You can try sunflower seed butter in place of peanut butter, but the flavor and texture will change slightly. Also, be sure to skip the Reese’s cups and use nut-free chocolate candies or chopped seed-based alternatives.
Related Recipes You Might Love
If you loved this Reese’s Cheese Ball, you might also enjoy these sweet and creamy treats from RecipeSeasys:
-
Chocolate Peanut Butter Cake – A rich, layered dessert that brings all the peanut butter and chocolate goodness together.
-
Reese’s Peanut Butter Banana Bread – A moist loaf bursting with banana flavor and Reese’s cup pieces.
-
The Ultimate Reese’s Peanut Butter Fluff – A creamy, whipped dessert dip perfect for parties.
-
Sweetened Condensed Milk Snowballs – A bite-sized holiday candy alternative.
-
Peanut Butter Rice Krispie Treats with M&Ms – Crunchy, chewy, and festive fun in every bite.
Conclusion
There’s something irresistible about a dessert that brings people together—and this Reese’s Cheese Ball does exactly that. It’s the kind of sweet that makes everyone pause and say, “Wait, what is that?!” before diving in for seconds.
Whether you’re making it for a celebration or just a quiet weekend treat, it’s a recipe that feels indulgent but doesn’t demand perfection. You’ll love how easy it is to throw together, and how quickly it disappears once it hits the table.
Print
Reese’s Cheese Ball
- Total Time: 1 hour 45 minutes (including chill time)
- Yield: 1 cheese ball (serves 8–10)
- Diet: Vegetarian
Description
A creamy, chocolate-coated cheese ball filled with peanut butter and chopped Reese’s cups. No baking required – just mix, chill, and serve!
Ingredients
- 8 oz cream cheese, softened
- 1 cup creamy peanut butter
- 1 cup powdered sugar
- 1 tsp vanilla extract
- 1½ cups mini Reese’s Peanut Butter Cups, chopped
- 1 cup semi-sweet chocolate chips, melted
- Optional: crushed peanuts or mini Reese’s for rolling
Instructions
- Beat together softened cream cheese and peanut butter until smooth.
- Add powdered sugar and vanilla extract; mix until well combined.
- Fold in chopped mini Reese’s.
- Scoop mixture onto plastic wrap and shape into a ball. Chill for at least 1 hour.
- Dip chilled ball into melted chocolate to coat completely.
- Sprinkle with toppings while chocolate is still wet.
- Chill until chocolate is set (about 30 minutes) and serve with your favorite dippers.
Notes
- Use crunchy peanut butter for extra texture.
- Refrigerate up to 5 days.
- Freeze the uncoated cheese ball for up to 1 month.
- Prep Time: 15 minutes
- Cook Time: 0 minutes
- Category: Dessert
- Method: No-Bake
- Cuisine: American
Nutrition
- Serving Size: 1/10 cheese ball
- Calories: 340
- Sugar: 28g
- Sodium: 190mg
- Fat: 22g
- Saturated Fat: 9g
- Unsaturated Fat: 11g
- Trans Fat: 0g
- Carbohydrates: 31g
- Fiber: 2g
- Protein: 6g
- Cholesterol: 15mg
")