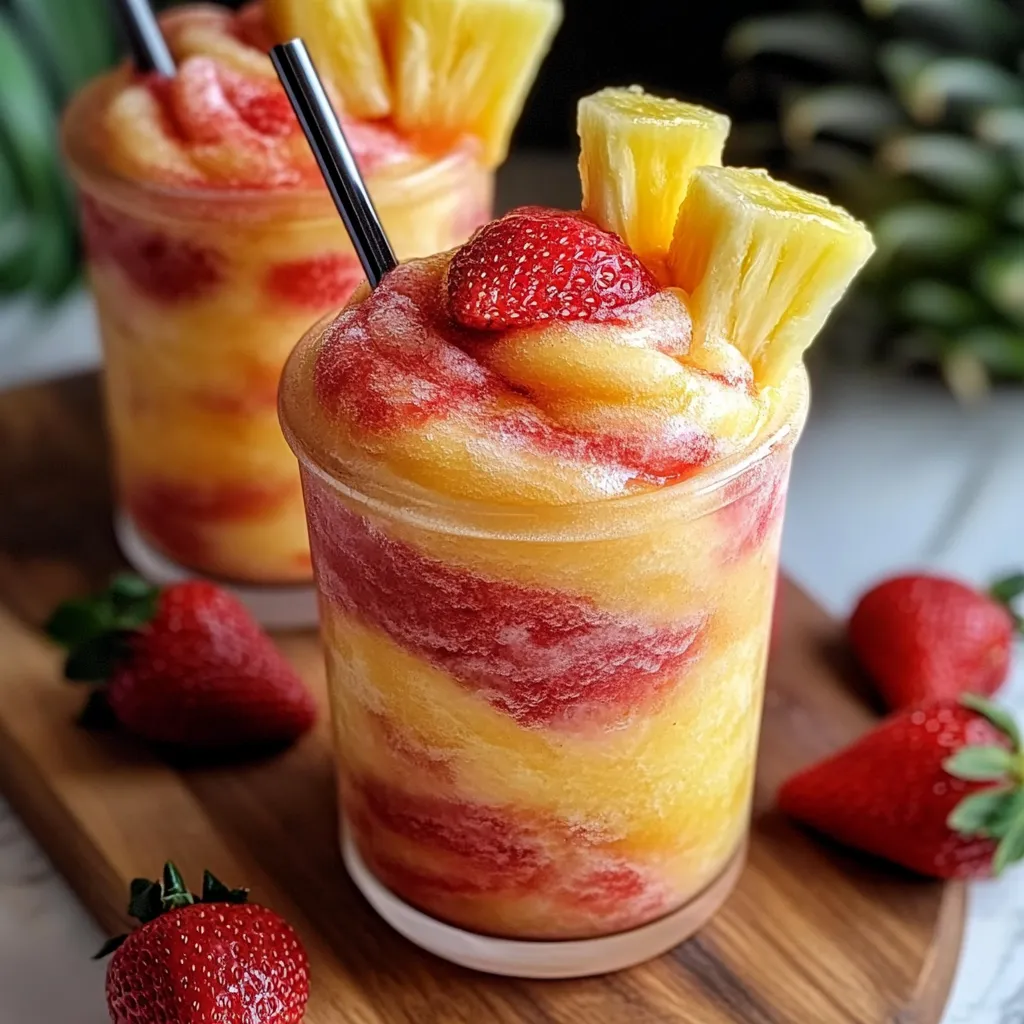
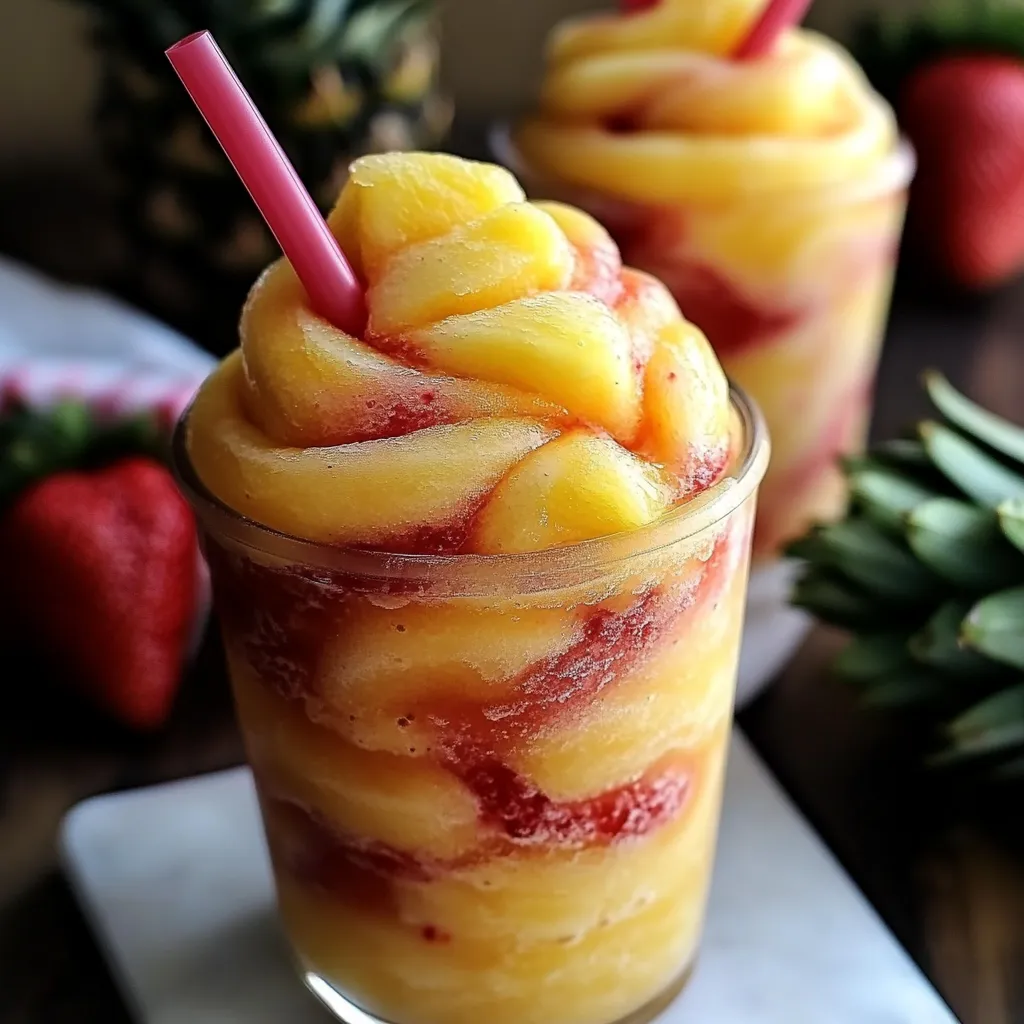
There’s something about a layered slushie that just feels like summer in a glass. This Pineapple Strawberry Swirled Slushie recipe is not only beautiful with its golden yellow and vibrant red swirls—it’s also bursting with tropical flavor, easy to make, and perfect for everyone in the family.
Whether you’re planning a backyard cookout, looking for a fun way to cool off after a hot afternoon, or just want something fruity and fun to sip on, this recipe checks all the boxes. It’s naturally sweetened (or can be adjusted to your taste), uses simple ingredients you probably already have in the freezer, and it comes together in just a few steps.
And the best part? You don’t need to be a pro to make it look impressive. Even your kids can help you layer and swirl the colors—hello, kitchen fun!
Why You’ll Love This Recipe
This isn’t just another frozen drink. It’s a treat that looks as good as it tastes—and you’re about to find out why it’s going to be your go-to all summer long.
Key Benefits
Naturally Sweetened, Totally Refreshing
You get to decide how sweet to make it. Love the fresh fruit flavor as is? Perfect. Want a little extra sweetness? A touch of honey or sugar does the trick.
Simple Ingredients, Big Flavor
With just frozen pineapple, frozen strawberries, and a splash of juice or water, you can whip this up in minutes. No hard-to-find stuff, no complicated prep.
That Gorgeous Swirl
The layered look isn’t just pretty for Instagram—it makes every sip a little different, with bursts of sweet strawberry and tart pineapple.
Kid-Friendly and Grown-Up-Ready
Serve it straight for a family-friendly slushie, or add a splash of rum or vodka for a fun adult twist at your next summer gathering.
Suitable For
Summer Parties and BBQs
This is the kind of drink that belongs next to the grill or by the pool. It’s colorful, cold, and easy to scale up for a crowd.
Vegan or Dairy-Free Lifestyles
No dairy here! Just fruit, juice, and optional sweetener—so it’s great for anyone avoiding milk or animal products.
Beginner Cooks and Kids
This recipe is just right for new home cooks or kids who want to help out in the kitchen. No baking, no boiling—just blend and swirl.
Ingredients for Pineapple Strawberry Swirled Slushies
Here’s everything you’ll need to bring this bright and fruity drink to life.
Core Ingredients
For the Pineapple Layer:
-
2 cups frozen pineapple chunks
-
½ cup pineapple juice (or water, if you want to keep it lighter)
-
1–2 tablespoons honey or sugar, optional
For the Strawberry Layer:
-
2 cups frozen strawberries
-
½ cup strawberry juice or water
-
1–2 tablespoons honey or sugar, optional
These measurements make about 2 large slushies or 4 smaller ones—perfect for sharing or saving the rest for later.
Substitutions and Tips
No frozen fruit?
No problem. You can use canned pineapple and strawberries packed in juice—just drain them well and add some ice cubes to recreate that frozen texture.
Need to make it creamier?
Toss in half a banana when blending each layer. It adds smoothness without overpowering the flavor.
Want to skip the sweetener?
Totally doable. If your fruit is ripe and flavorful, you might not need anything extra.
Trying to keep it low-sugar?
Use water instead of juice and stick with unsweetened fruit. The natural sweetness should still shine through.
Best Pineapple and Strawberries for the Perfect Slushie
When it comes to flavor and texture, the fruit you choose really does make a difference. Let’s talk about how to pick the best pineapple and strawberries to make your slushie not just good—but unforgettable.
Frozen Is Your Best Friend
For that icy, frosty consistency, frozen fruit is the way to go. It saves time on prep, keeps your drink refreshingly cold, and blends up beautifully without watering things down. Bonus? Frozen fruit is often picked at peak ripeness, so the flavor is locked in.
Choosing Sweet, Ripe Fruit
If you’re using fresh fruit, go for ripe and juicy. The sweeter your fruit, the less sweetener you’ll need to add later. Look for pineapples that smell fragrant and have a bit of give when you press the skin. Strawberries should be bright red and glossy with no white tops.
Want a Tart Kick?
If you love a bit of tang, go for slightly underripe strawberries or add a splash of lemon juice to the blend. It wakes up the flavors and balances out any extra sweetness from the juice.
Kitchen Tools You’ll Need
You don’t need anything fancy to pull this off, but a few tools can make the process smoother and way more fun.
Must-Have Tools
Blender
A decent blender is key here. You’ll need it to crush frozen fruit into that perfect slushie texture. A high-speed blender works best, but even a basic model will do the job if you give it a little extra time.
Measuring Cups
Simple but important—accurate measurements keep the layers balanced in texture and taste.
Spatula or Spoon
Handy for scraping down the sides of the blender or layering your slushie into the glass without mixing the colors too much.
Freezer-Safe Container
After blending the first layer, you’ll need a spot to keep it cold while you prep the second. Any freezer-safe bowl or jar will work.
Nice-to-Have Extras
Clear Glasses
Not just for looks—okay, mostly for looks—but seeing those bright swirls really makes this drink feel special.
Swirl Spoon or Cocktail Stirrer
Helps you create that beautiful marbled effect without fully blending the layers.
Ice Cube Trays (for leftovers)
If you end up with extra slushie, pour it into an ice cube tray. You can re-blend it later for a quick frozen treat.
How to Make Pineapple Strawberry Swirled Slushies
Now for the fun part—bringing it all together. This recipe comes together in just a few simple steps, and you’ll be sipping your fruity masterpiece in no time.
Step 1: Blend the Pineapple Layer
Start by adding the frozen pineapple chunks, pineapple juice (or water), and sweetener (if using) to your blender. Blend until the mixture is smooth and thick—think of a slushie that holds its shape on a spoon. You might need to pause and scrape the sides a couple of times to get everything moving.
Once blended, pour the pineapple mixture into a freezer-safe container and pop it in the freezer while you prep the next layer. Don’t skip this step—it helps keep your swirls clean and layered.
Step 2: Rinse and Repeat with the Strawberry Layer
Give your blender a quick rinse (unless you’re aiming for an orangey mix), then add your frozen strawberries, liquid, and sweetener. Blend until smooth and slushy, just like before.
Taste the strawberry blend—if it needs a little brightness, a squeeze of lemon juice can help sharpen the flavor without adding more sugar.
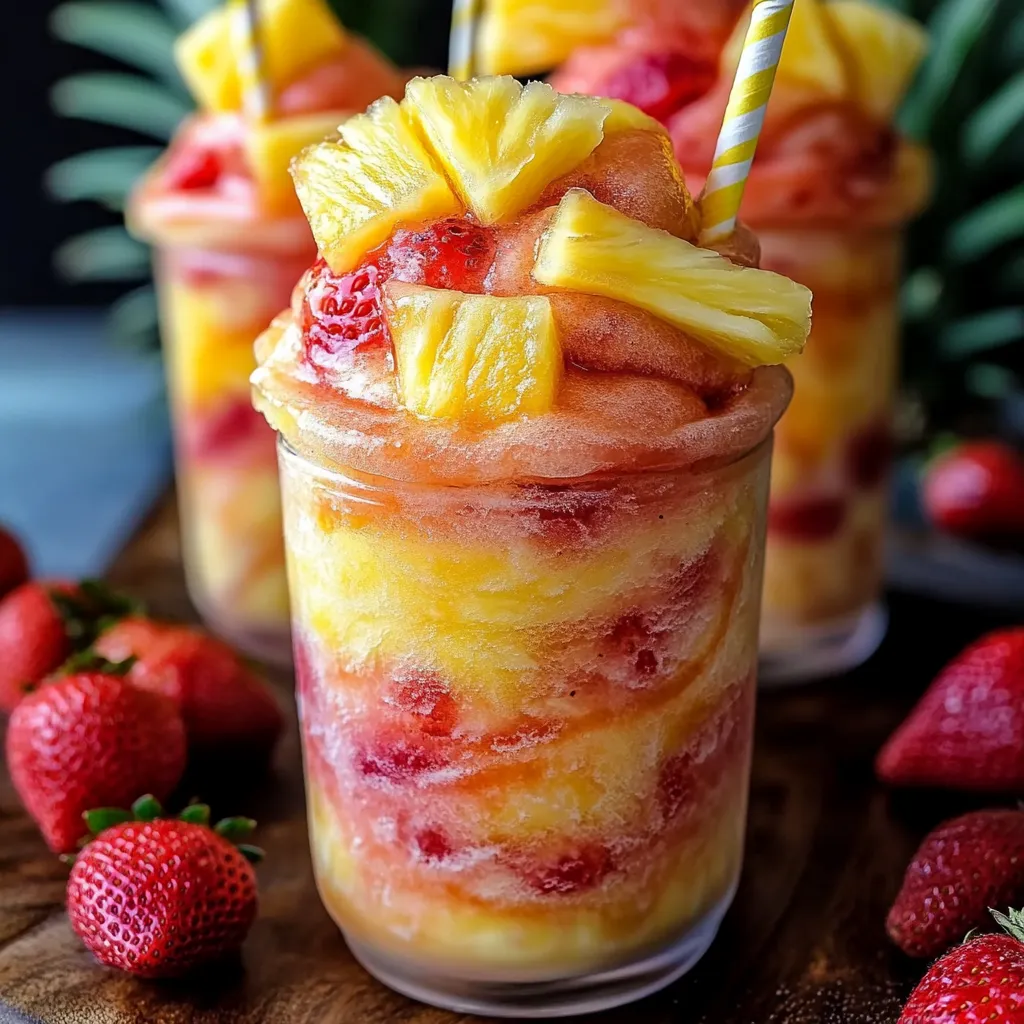
Step 3: Layer and Swirl
Now for the magic. Alternate spoonfuls (or gentle pours) of pineapple and strawberry slush into your clear glasses. The key here is to go slow and try not to mix too much.
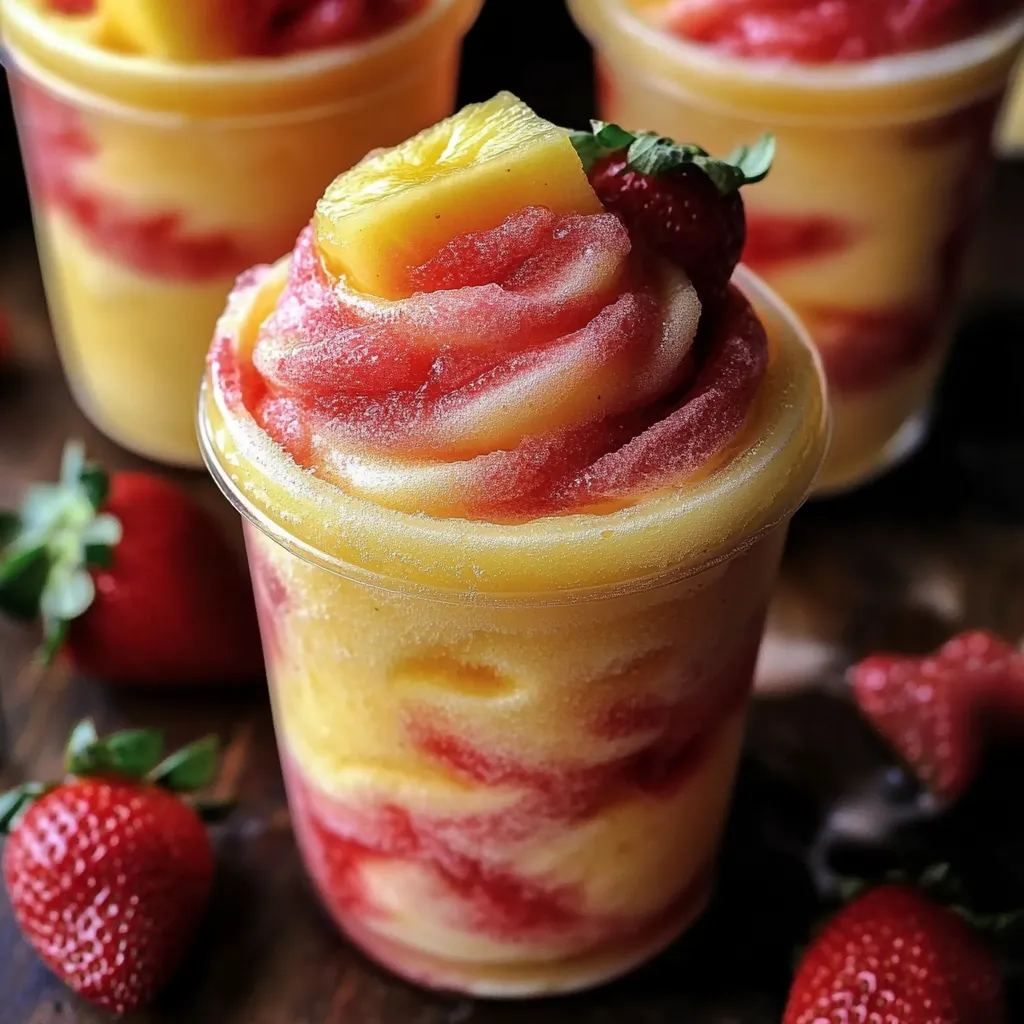
Once you’ve filled your glass, use the end of a spoon or a stir stick to gently swirl the layers into each other. Just a few twirls will give you that beautiful marbled look without turning it into a smoothie.
Garnish with a slice of fresh fruit, a sprig of mint, or keep it simple and serve as-is—it’s going to be a hit either way.
Tips for Success
Want to make your slushie game even stronger? These tips will help you nail it every time.
Use chilled juice or water.
Starting cold helps your slushie stay icy longer, especially in warm weather.
Don’t overblend.
It’s tempting to keep the blender running, but too much blending will turn your slushie into juice. Stop as soon as it looks thick and icy.
Chill your glasses.
Pop your serving glasses in the freezer for a few minutes before assembling. It keeps your drink colder longer and prevents fast melting.
Taste as you go.
Fruit sweetness can vary a lot, so don’t be afraid to tweak the sugar or honey to get it just right.
Keep the layers thick.
Thicker blends make it easier to stack and swirl without the colors bleeding into each other.
How to Store Pineapple Strawberry Swirled Slushies
These slushies are definitely best served fresh, right after blending and swirling. But if you do end up with leftovers—or want to prep ahead—we’ve got a few storage tricks that’ll help you keep the texture and flavor just right.
At Room Temperature
This one’s quick: don’t leave them out. Because the slushie texture depends on frozen fruit, it’ll melt fast in warm air and turn into a fruity drink rather than a layered icy treat. If you’re serving for a party, keep extra portions in the freezer and only bring them out when you’re ready to swirl and serve.
In the Refrigerator
Short-term, you can store slushies in the fridge for about 30–60 minutes. You’ll lose some of that thick, icy texture, but the flavors will still be great. If the layers blend a little, give it a stir and serve over ice. It won’t look quite as striking, but it’ll still taste delicious.
Freezing Tips
Here’s the best way to make this recipe ahead of time or save leftovers for later:
Pour any extra slushie mixture into an ice cube tray and freeze until solid. When you’re ready to enjoy again, toss the cubes into the blender with a splash of juice or water and blend it back to life. It’s just like making it fresh, and it’s a smart way to reduce waste too.
Frequently Asked Questions (FAQs)
Got questions? You’re not alone. Here are some of the most common things people ask when making these slushies.
Can I make these ahead of time?
You sure can. The best way is to freeze the blended mixtures in ice cube trays and store them in freezer bags. When it’s time to serve, just re-blend with a little juice. You’ll get that fresh slushie texture without having to start from scratch.
Do I need a high-powered blender?
Not necessarily. A high-speed blender will make the process quicker and give you a smoother blend, but a regular blender works fine too. Just be patient and blend in short bursts, scraping down the sides if needed.
Can I use fresh fruit instead of frozen?
Yes, but you’ll need to add ice to get that slushie texture. Frozen fruit gives the best result without watering things down, but if all you’ve got is fresh, just add about 1–1½ cups of ice per layer.
What other fruit combinations can I try?
This recipe is super flexible. Some fun swaps include:
-
Mango + Raspberry
-
Peach + Blueberry
-
Watermelon + Lime
-
Banana + Pineapple for a creamy tropical twist
Related Recipes You Might Like
If you loved this Pineapple Strawberry Swirled Slushie, you might enjoy these other fruity favorites:
-
Peach Banana Smoothie Recipe: A creamy and tropical blend of peach and banana that’s perfect for breakfast or a snack.
-
Strawberry Pineapple Mojito Recipe: A vibrant twist on a classic, packed with fresh fruit and mint.
-
Banana Blueberry and Strawberry Smoothie Recipe: A triple-berry powerhouse that’s bursting with color and nutrients.
-
Snowy Pineapple Punch: A festive pineapple-based drink perfect for parties and holiday gatherings.
Final Thoughts
There’s just something about these Pineapple Strawberry Swirled Slushies that makes them feel special. Maybe it’s the color, maybe it’s the fresh fruit, or maybe it’s the way they turn a simple moment into a little celebration.
They’re easy to make, endlessly customizable, and totally worth that extra swirl at the end. Whether you’re blending them up for your kids, serving them to guests, or sipping one solo in the sunshine—this is one of those recipes you’ll come back to again and again.
Print
Pineapple Strawberry Swirled Slushies
- Total Time: 10 minutes
- Yield: 2 to 4 servings
Description
A vibrant and refreshing Pineapple Strawberry Swirled Slushie made with frozen fruit and juice, perfect for summer sipping. Easy to make, naturally sweet, and family-friendly.
Ingredients
Pineapple Layer:
-
2 cups frozen pineapple chunks
-
½ cup pineapple juice or water
-
1–2 tablespoons honey or sugar (optional)
Strawberry Layer:
-
2 cups frozen strawberries
-
½ cup strawberry juice or water
-
1–2 tablespoons honey or sugar (optional)
Instructions
-
Blend the pineapple layer – Add frozen pineapple, juice, and sweetener (if using) to a blender. Blend until slushy and smooth. Place in freezer while prepping the second layer.
-
Blend the strawberry layer – Rinse the blender, add strawberries, liquid, and sweetener. Blend until smooth.
-
Layer and swirl – Alternate pineapple and strawberry slush into clear glasses. Use a spoon or straw to gently swirl for a marbled effect.
-
Serve immediately with optional garnishes like mint or fruit slices.
Notes
- Add half a banana to each layer for extra creaminess.
- Use water instead of juice for a lighter version.
- Freeze any leftovers in ice cube trays and re-blend later.
- Skip the sweetener if using very ripe fruit.
- Prep Time: 10 minutes
- Cook Time: 0 minutes
Nutrition
- Serving Size: 1 glass
- Calories: 120
- Sugar: 25g
- Sodium: 5mg
- Fat: 0g
- Saturated Fat: 0g
- Unsaturated Fat: 0g
- Trans Fat: 0g
- Carbohydrates: 30g
- Fiber: 3g
- Protein: 1g
- Cholesterol: 0mg
")