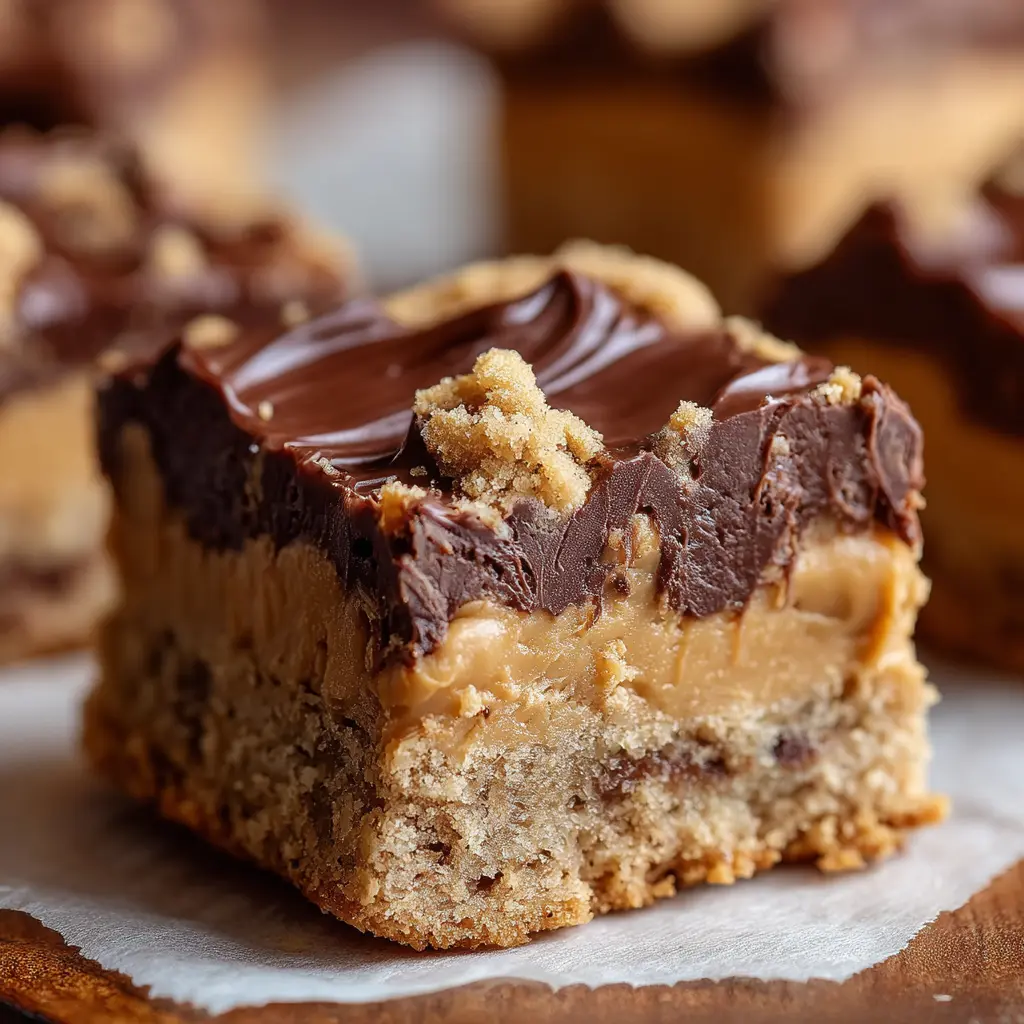
Introduction to Peanut Butter Lunch Lady Cookie Bars
When it comes to nostalgic treats that take us back to our school days, peanut butter lunch lady cookie bars definitely hold a cherished spot in our hearts. These delightful bars are not only quick to make but also pack in a rich, creamy flavor that can brighten up any day. Whether you’re reminiscing about lunchroom shenanigans or just craving something sweet, these cookie bars are a scrumptious way to satisfy that urge.
Why Peanut Butter Cookie Bars are a Classic Treat
You might wonder, why are peanut butter cookie bars considered a timeless classic? The answer lies in their irresistible combination of flavors and textures. Peanut butter brings an earthy richness, while the cookie base delivers a soft and chewy bite that few can resist. Plus, they’re easy to make in one pan, which means there’s less fuss and more fun!
These bars can be a fantastic treat for various occasions, from casual gatherings to special celebrations. According to a study by the National Peanut Board, peanut butter is not only delicious but also packed with proteins and healthy fats. This makes our beloved peanut butter lunch lady cookie bars an excellent choice for an afternoon snack or a post-workout pick-me-up that won’t leave you feeling guilty.
Imagine this: it’s a Saturday afternoon, and you’re chilling at home. The sweet aroma of freshly baked peanut butter cookie bars fills your kitchen. You cut a generous square, and as you take a bite, the buttery goodness melts in your mouth. Isn’t that a moment worth savoring?
Additionally, these bars are incredibly versatile. You can mix in chocolate chips, nuts, or even dried fruit to customize your batch. Hungry for more inspiration? Check out places like Food Network or Martha Stewart for more creative takes on this cherished treat.
So, gear up to dive into this easy, delightful recipe. You’ll find that making peanut butter lunch lady cookie bars not only fills your kitchen with delightful scents but also creates sweet memories to share with friends and family!
Ingredients for Peanut Butter Lunch Lady Cookie Bars
Essential Ingredients for the Cookie Base
Creating these delightful peanut butter lunch lady cookie bars starts with the perfect cookie base. You’ll want to gather the following ingredients:
- 1 cup creamy peanut butter: This is the star of the show, adding rich flavor and texture.
- 1 cup granulated sugar: For that sweet touch that balances the peanut butter.
- 2 large eggs: These help bind everything together and provide moisture.
- 1 teaspoon baking soda: This will give your bars that delightful puffiness.
- ½ teaspoon salt: Enhances the flavors beautifully, making the peanut butter shine.
- 2 cups rolled oats: Adding heartiness and a chewy texture.
Ingredients for the Frosting
To top off your peanut butter lunch lady cookie bars, you’ll need a luscious frosting that perfectly complements the cookie base:
- ½ cup unsalted butter, softened: This creates a creamy texture for the frosting.
- ½ cup creamy peanut butter: More peanut butter goodness here!
- 3 cups powdered sugar: For sweetness and that quintessential frosting texture.
- 2-3 tablespoons milk: Adjust according to your desired consistency.
- 1 teaspoon vanilla extract: A splash of flavor that ties everything together.
With these ingredients in hand, you’re well on your way to creating a nostalgic treat that will surely bring smiles to the table. For more kitchen tips or ingredient inspiration, check out Bon Appétit’s guide to baking essentials. Happy baking!
Step-by-Step Preparation of Peanut Butter Lunch Lady Cookie Bars
Baking peanut butter lunch lady cookie bars is a nostalgic trip down memory lane for many of us. These delicious, chewy treats are perfect for gatherings, or just to indulge yourself. Let’s dive into the process of creating these delightful bars.
Preheat Your Oven and Prepare Your Pan
First things first, preheating your oven is essential. Set it to 350°F (175°C). This ensures your peanut butter lunch lady cookie bars bake evenly and come out perfectly gooey. While that’s happening, get your baking pan ready — a 9×13-inch pan works great for these bars. Line it with parchment paper for easy removal or grease it lightly with butter to ensure nothing sticks.
Cream Together the Butters and Sugars
In a large mixing bowl, take your stand mixer (or a good old hand mixer) and combine unsalted butter and peanut butter (crunchy or creamy, your choice!). You’ll want to add both white granulated sugar and brown sugar to this mixture. The combination adds depth and moisture to the bars. Beat these ingredients together for about 2-3 minutes, until they’re nice and fluffy. Trust me; this step is crucial for the texture!
A little tip: Speak to the virtues of combining sugars! According to baking expert Rose Levy Beranbaum, using a mix of sugars gives baked goods a more complex flavor profile. Once your mixture is light and creamy, you’re ready to move on.
Incorporate the Eggs and Vanilla
Now, let’s take your delightful butter-sugar mixture to the next level. Crack in two large eggs — make sure they’re room temperature, as they blend more smoothly. Add in the vanilla extract as well; this is where the magic happens. Beat everything together until fully combined. The consistency should be smooth and luscious. If you’re like me and can’t resist a taste test, a little swipe of that batter is the ultimate indulgence!
Mix Dry Ingredients and Combine
In another bowl, whisk together your dry ingredients. This includes all-purpose flour, baking soda, and a pinch of salt. Don’t skip the salt, as it enhances the flavor of your peanut butter lunch lady cookie bars. Gradually add these dry ingredients to your wet mixture, and mix on low speed until just combined. The dough will be thick, and that’s exactly what you want!
For those curious about optimizing their baking, check out resources like King Arthur Baking for more guidance on ingredient ratios and techniques.
Spread the Dough and Bake
Now, it’s time to transfer your heavenly dough into the prepared pan. Use a spatula to spread it evenly into the corners. No need for perfection here — rustic is the way we want to go! Place the pan in your preheated oven and bake for about 25-30 minutes. The edges will be golden brown, while the center will look slightly underbaked — that’s the secret to keeping them soft and chewy.
Whip Up the Frosting While Bars Bake
While your bars are baking, let’s make the frosting! Combine powdered sugar, peanut butter, a splash of milk, and a hint of vanilla in a bowl. Whip it all together until you achieve a smooth and creamy frosting that you can’t resist sticking a finger into! Keeping the frosting versatile can come in handy; consider adding a little cocoa powder if you fancy chocolate!
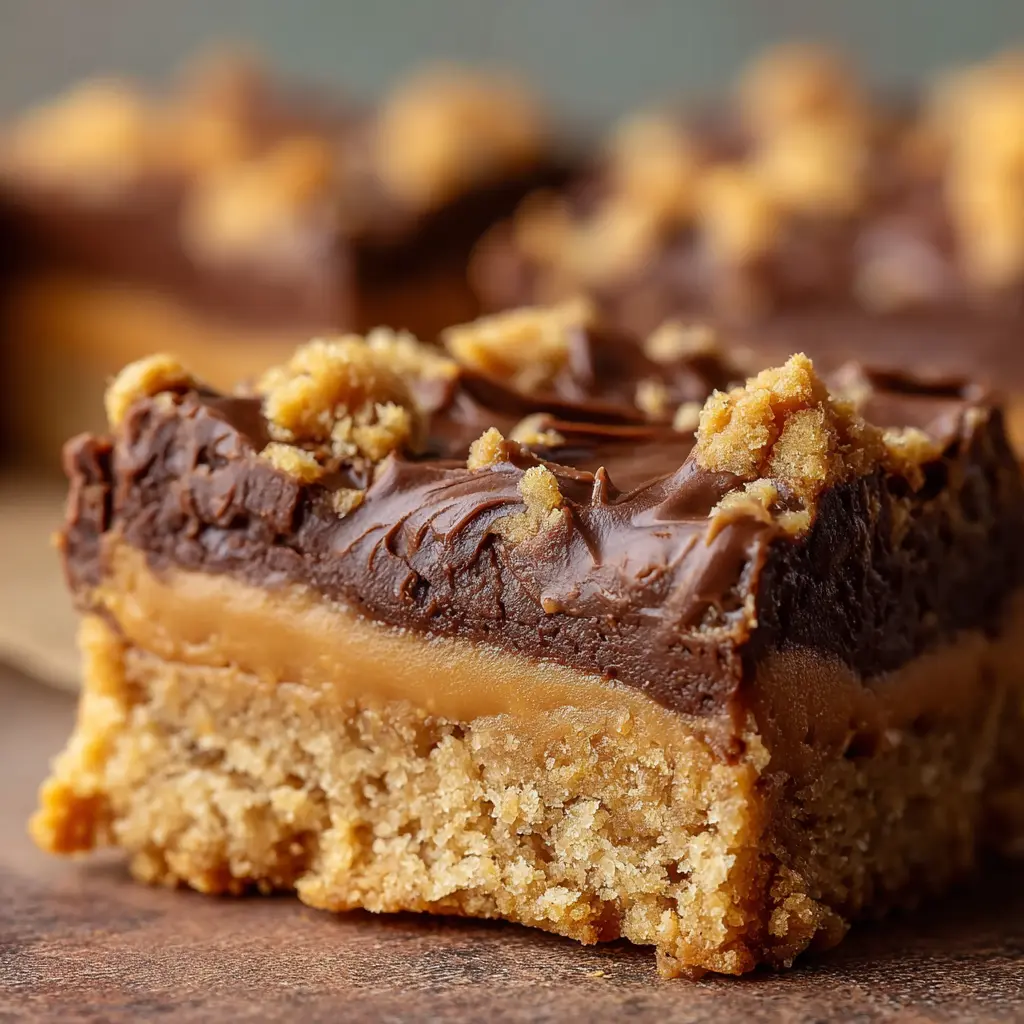
Frost the Bars and Let Cool
As soon as your cookie bars come out of the oven, let them cool in the pan for about 10 minutes. Then, remove them (using the parchment paper if you went that route) and let them chill on a wire rack for about 30 minutes more. Once they’re cool to the touch, spread that luscious frosting on top.
To avoid a messy serving experience, I recommend slicing them into squares while they’re still a bit warm. The bars will firm up as they cool down further, making them easier to handle.
And there you have it – the delightful process of preparing peanut butter lunch lady cookie bars that will surely become a family favorite! Enjoy sharing, or don’t! After all, sometimes it’s nice to keep them all to yourself.
Variations on Peanut Butter Lunch Lady Cookie Bars
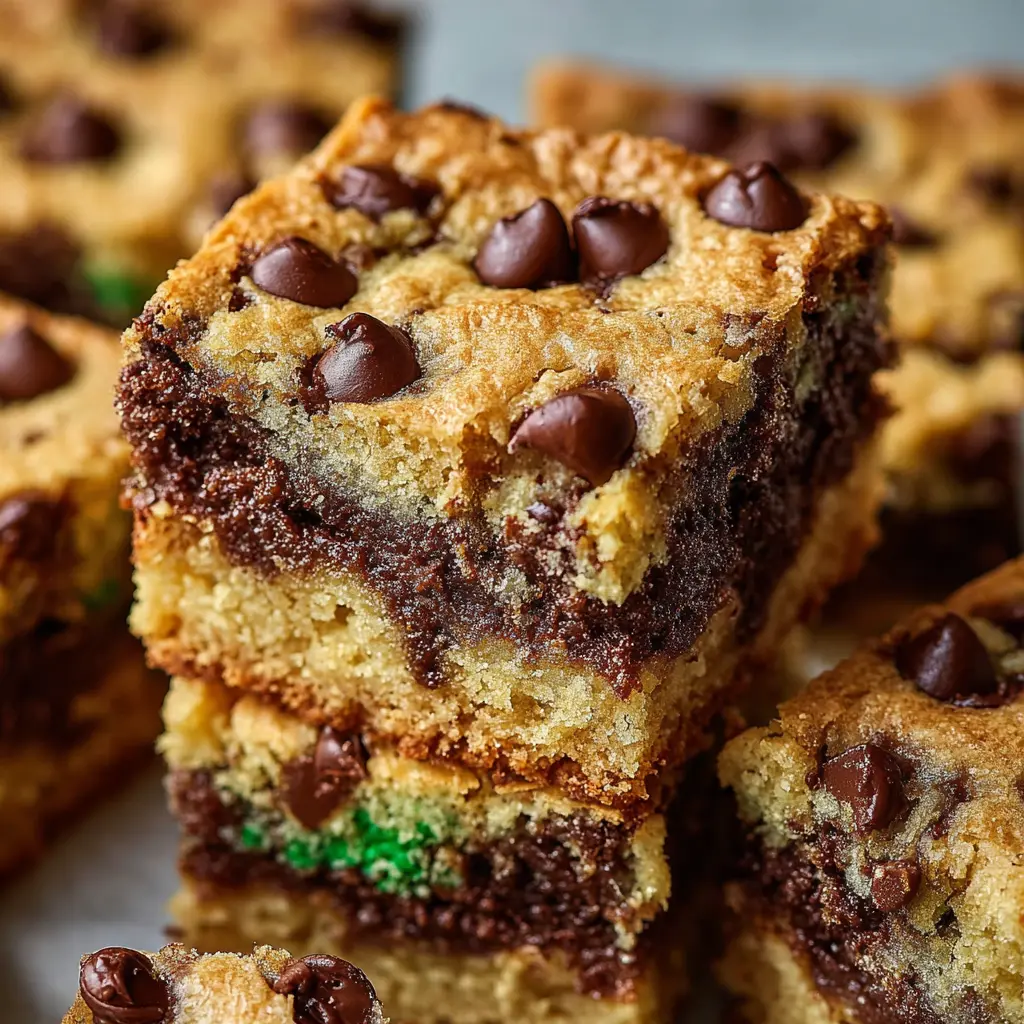
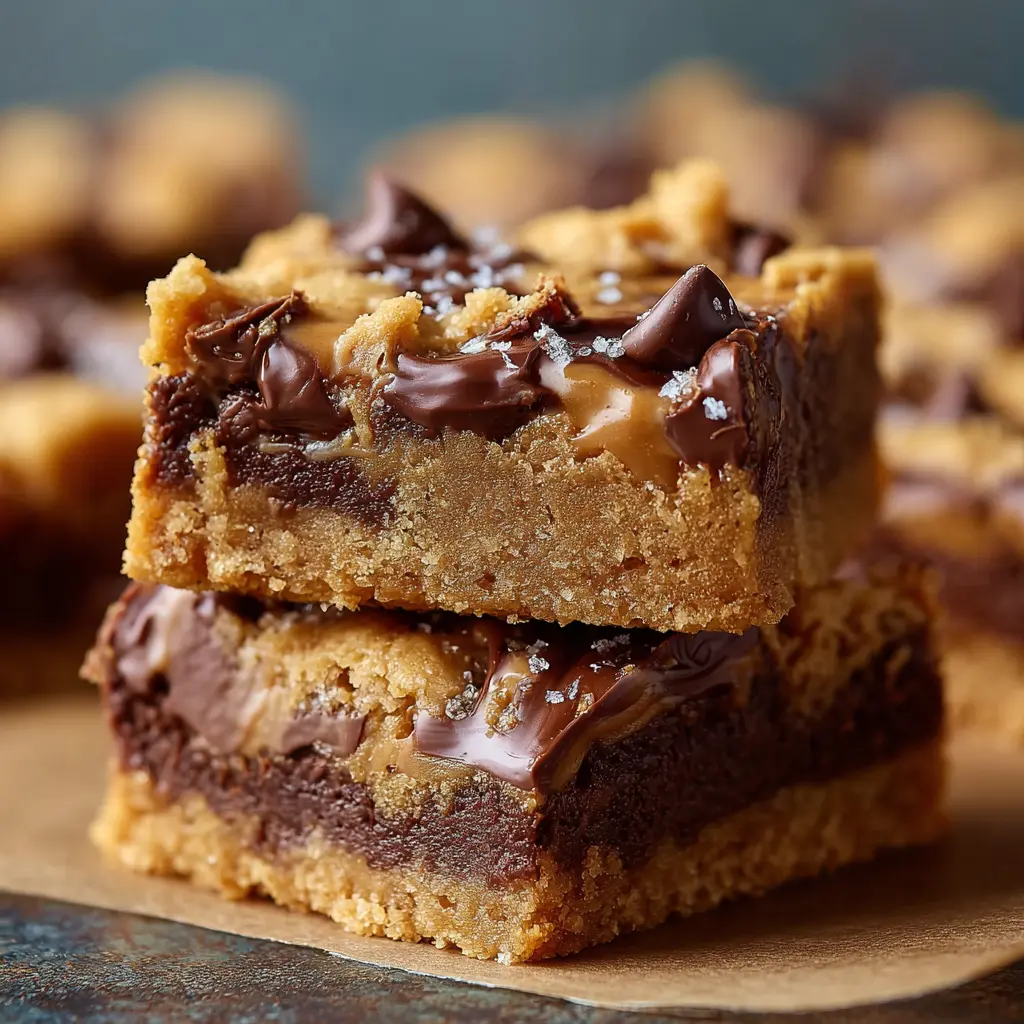
Adding Chocolate Chips for a Sweet Twist
If you’re looking to elevate your peanut butter lunch lady cookie bars, consider mixing in some chocolate chips. This little addition transforms each bar into a delightful blend of creamy peanut butter and rich chocolate, creating a taste that’s simply irresistible. You might opt for semi-sweet chocolate chips for a classic touch, or try dark chocolate for a more sophisticated flavor. According to a survey by the Chocolate Manufacturers Association, nearly 60% of Americans prefer chocolate combined with peanut butter—a match made in dessert heaven!
To include chocolate chips, simply fold in about a cup during the mixing process before spreading the batter into your prepared pan. Not only does this enhance the flavor, but you’ll also enjoy those melty pockets of chocolate in every bite!
Experimenting with Nut Butters
Don’t be afraid to get creative by swapping out plain peanut butter for alternative nut butters. Almond, cashew, or even sunflower seed butter can impart unique flavors while still providing that satisfying, nutty base. It’s a fun way to accommodate different dietary needs, especially for friends with peanut allergies.
Why not do a taste test? Each nut butter brings a different texture and flavor profile. Almond butter delivers a slightly sweeter taste, while sunflower seed butter offers a more robust flavor. Just make sure to adjust your ratios if you’re using a nut butter with less oil compared to traditional peanut butter.
The beauty of these peanut butter lunch lady cookie bars lies in their versatility—so go ahead, get creative, and make a batch that’s truly your own! For more inspiration, check out Food52 for innovative nut butter recipes.
Cooking Tips and Notes for Peanut Butter Lunch Lady Cookie Bars
Avoiding Overmixing for the Perfect Texture
When creating your peanut butter lunch lady cookie bars, it’s essential to mix your ingredients just until combined. Overmixing can lead to tough bars rather than the soft and chewy treat you’re aiming for. Remember, just like dough for a good sandwich, mixing should be minimal to maintain that tender texture.
Here are a couple of quick tips:
- Use a spatula or wooden spoon instead of an electric mixer for better control.
- Stop mixing as soon as you no longer see dry flour!
Tips for Achieving the Right Frosting Consistency
Getting your frosting right is just as crucial as the bars themselves. You want it to be spreadable but not overly runny. A common trick is to sift the powdered sugar to avoid lumps, ensuring a smooth finish.
To achieve the perfect consistency:
- Start with softened butter and gradually mix in the powdered sugar and milk.
- Add milk a little at a time; it’s easier to thicken than to thin out!
If you’re curious about more frosting techniques, you might enjoy this frosting guide.
In making your peanut butter lunch lady cookie bars, remember: baking is both an art and a science. Enjoy the process!
Serving Suggestions for Peanut Butter Lunch Lady Cookie Bars
Pairing with Ice Cream for an Indulgent Dessert
If you’re looking to elevate your peanut butter lunch lady cookie bars, consider serving them warm alongside a scoop of vanilla or chocolate ice cream. The creamy texture of the ice cream perfectly complements the chewy, peanut buttery goodness of the bars, creating a delightful contrast. Drizzle some hot fudge or a sprinkle of chopped nuts on top for extra flair. You can even try pairing them with flavored ice creams like honeycomb or salted caramel to bring out the flavor even more. It’s a surefire way to impress your friends at a dinner party!
Storing and Serving for Gatherings
When you’re hosting friends or family, the presentation can make all the difference. Cut your peanut butter lunch lady cookie bars into small squares and arrange them on a beautifully decorated platter. Consider garnishing with fresh fruit or a dusting of powdered sugar for a touch of elegance.
For storage, keep them in an airtight container in the refrigerator for up to a week. This not only preserves freshness but also makes them a quick grab-and-go treat. If you’re preparing for a larger crowd, these bars can easily be made ahead and frozen. Just thaw them a bit before serving, and you’ve got a delicious snack ready in no time!
Time Breakdown for Peanut Butter Lunch Lady Cookie Bars
When you’re craving an easy dessert that packs a delightful punch, peanut butter lunch lady cookie bars are the way to go! Understanding the time involved can help you plan better.
Preparation Time
Getting started with these cookie bars is simple. You’ll need about 10-15 minutes to gather your ingredients, mix the dough, and prepare your baking dish. It’s a quick process that leaves you feeling accomplished right from the get-go!
Cooking Time
Once your oven is preheated, you’ll bake these delicious bars for approximately 20-25 minutes. The delightful aroma of peanut butter wafting through your kitchen is undeniably tempting.
Total Time
All in all, you’ll invest roughly 30-40 minutes from start to finish. That’s hardly any time for a dessert that can impress anyone! For more recipe ideas or tips, check out sources like The Spruce Eats and Food Network. Enjoy your baking adventure!
Nutritional Facts for Peanut Butter Lunch Lady Cookie Bars
Calories Per Serving
When it comes to delicious indulgences like peanut butter lunch lady cookie bars, it’s important to know their nutritional value. Each serving typically contains around 200 calories, making them a delightful treat without going overboard. Perfect for satisfying mid-afternoon cravings, these bars balance taste with moderation.
Breakdown of Key Nutrients
So, what exactly are you getting in terms of nutrients? Here’s a quick look at the essential components:
- Protein: Approximately 5 grams
- Fat: Roughly 10 grams (mostly healthy fats from the peanut butter)
- Carbohydrates: About 25 grams, including some fiber for digestive health
These bars also offer a bit of calcium and iron, contributing to your daily intake. For a deeper dive into nutrition, check out sources like the USDA FoodData Central for more detailed information.
By knowing the nutritional facts of these bars, you can enjoy them guilt-free while feeling good about what you’re fueling your body with. After all, even treats can fit into a balanced diet!
FAQ about Peanut Butter Lunch Lady Cookie Bars
Can I use natural peanut butter?
Absolutely, you can use natural peanut butter in your peanut butter lunch lady cookie bars! However, keep in mind that natural peanut butter can be a bit runnier than conventional brands due to the lack of added stabilizers. This might subtly change the texture of your bars. If you go this route, ensure that you mix the peanut butter thoroughly before measuring to maintain consistency.
How do I store leftover cookie bars?
To keep your delicious peanut butter lunch lady cookie bars fresh, store them in an airtight container at room temperature. They should be good for up to a week, but if you’re like most of us, they probably won’t last that long! If your kitchen tends to be warm, you might want to consider refrigerating them, which can extend their life a bit longer. Just make sure to let them sit at room temperature for a few minutes before enjoying—they’re best slightly softened!
Can I freeze these bars for later?
Yes! Freezing is a fantastic option if you find yourself with extra cookie bars. Simply wrap each piece in plastic wrap and then place them in a freezer-safe container. When you’re in the mood for a sweet treat, just thaw them in the fridge or at room temperature. They can last for about three months in the freezer, so you always have a tasty snack on hand. For more freezing tips, you can check out resources like the USDA’s freezing guide.
Whether you’re prepping for a busy week or simply have a sweet tooth, these tips will ensure your peanut butter lunch lady cookie bars remain a delightful treat!
Conclusion on Peanut Butter Lunch Lady Cookie Bars
Final Thoughts
Peanut butter lunch lady cookie bars are a delightful treat that wraps up your baking endeavors with simplicity and satisfaction. If you haven’t baked these bars yet, I highly encourage you to give them a try! They’re not only super easy to whip up but also perfect for sharing with friends or family. Imagine serving a warm, gooey bar after dinner, making everyone feel a little nostalgic.
Whether you’re looking for a quick dessert or a fun baking project, these bars won’t disappoint. With just a few ingredients, you can create a delicious treat that brings smiles around the table. So, gather your ingredients, heat that oven, and get ready for a delightful baking experience! For more tips on enhancing your baking skills, you might find this resource helpful. Happy baking!
Print
Peanut Butter Lunch Lady Cookie Bars: The Best Treat for Every Occasion
- Total Time: 35 minutes
- Yield: 16 bars
- Diet: Vegetarian
Description
These Peanut Butter Lunch Lady Cookie Bars are a delicious and nostalgic treat that’s perfect for any occasion. Chewy, sweet, and packed with peanut butter flavor, they’re sure to be a hit!
Ingredients
- 1 cup peanut butter
- 1 cup granulated sugar
- 2 large eggs
- 1 teaspoon vanilla extract
- 1 cup all-purpose flour
- 1 teaspoon baking powder
- 1/2 teaspoon salt
Instructions
- Preheat the oven to 350°F (175°C) and grease a baking dish.
- In a large bowl, mix together the peanut butter and sugar until well combined.
- Beat in the eggs and vanilla extract.
- In a separate bowl, whisk together the flour, baking powder, and salt.
- Add the dry ingredients to the peanut butter mixture and stir until just combined.
- Spread the batter into the prepared baking dish.
- Bake for 20-25 minutes or until golden brown and a toothpick inserted comes out clean.
- Let cool before cutting into bars.
Notes
- For added sweetness, you can sprinkle some chocolate chips on top before baking.
- These bars can be enjoyed warm or at room temperature.
- Prep Time: 10 minutes
- Cook Time: 25 minutes
- Category: Dessert
- Method: Baking
- Cuisine: American
Nutrition
- Serving Size: 1 bar
- Calories: 200
- Sugar: 12g
- Sodium: 120mg
- Fat: 10g
- Saturated Fat: 2g
- Unsaturated Fat: 8g
- Trans Fat: 0g
- Carbohydrates: 24g
- Fiber: 1g
- Protein: 5g
- Cholesterol: 30mg
")