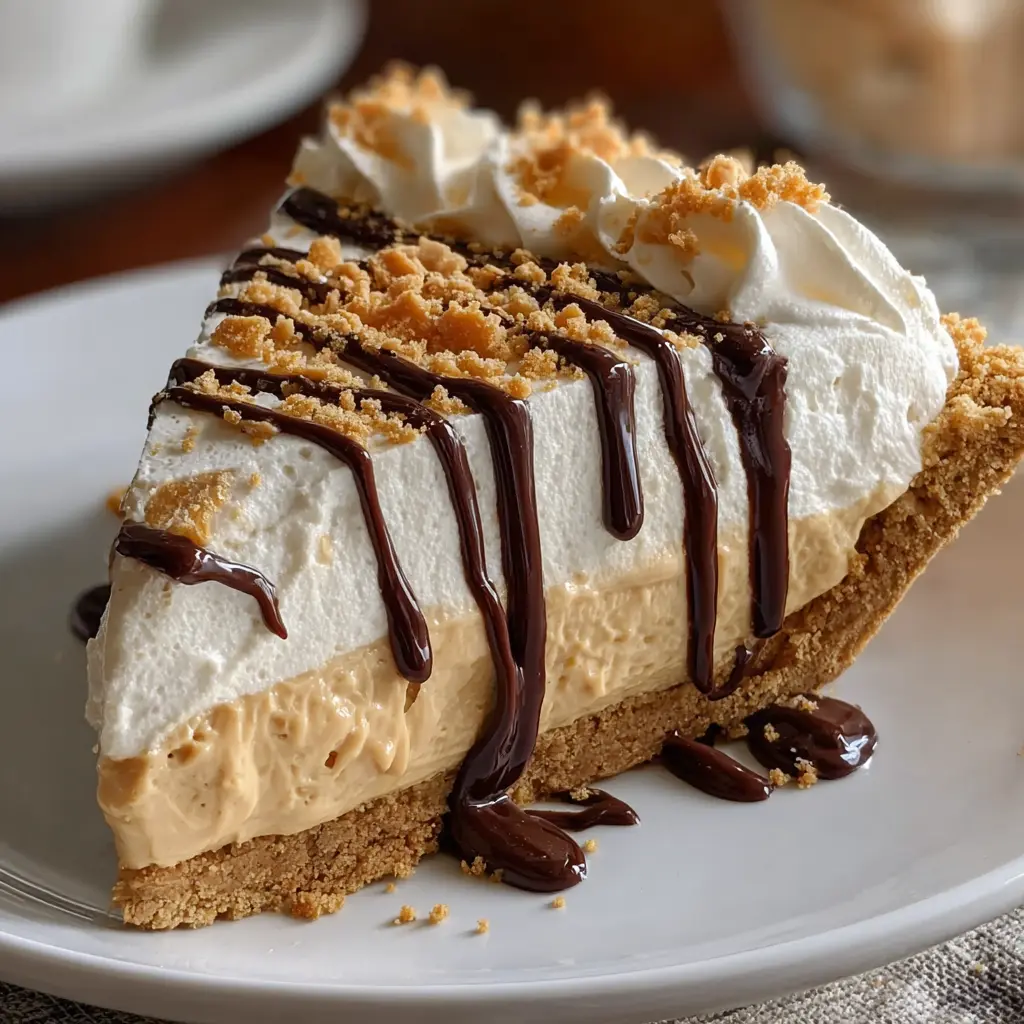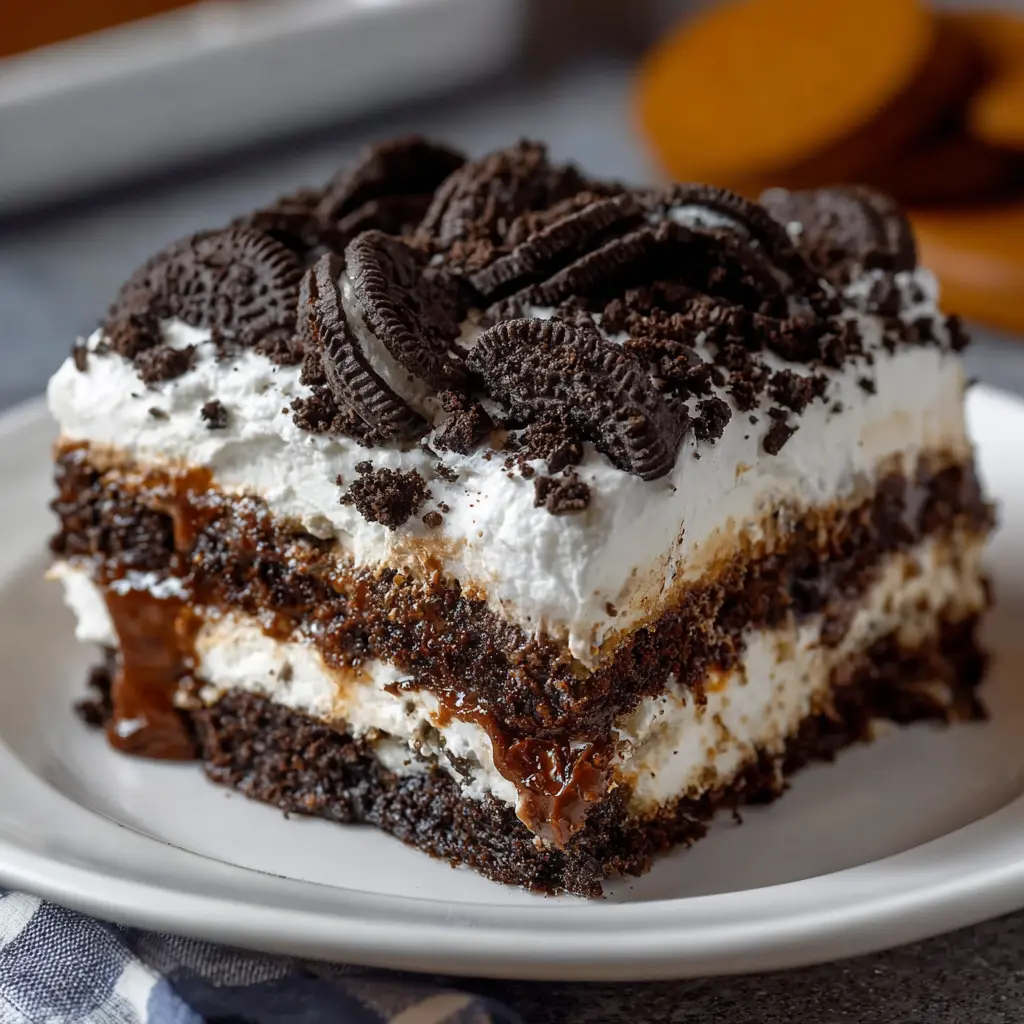
Introduction to Oreo Lasagna
When it comes to quick and delightful desserts, Oreo Lasagna stands out as a crowd-pleaser that’s both easy to make and incredibly satisfying. This no-bake treat offers layers of creamy goodness, delivering all the flavors you love about Oreos in one beautiful, stackable dish. Whether you’re preparing for a picnic, a family gathering, or just want to indulge, Oreo Lasagna is always a hit.
Why Oreo Lasagna is the Perfect No-Bake Dessert
What sets Oreo Lasagna apart from other desserts is its simplicity. You don’t need to turn on the oven, making it the ideal sweet fix for hot summer days or when you’d rather avoid kitchen heat. Just layer your ingredients, let them chill, and you’re good to go!
Here are some reasons why Oreo Lasagna is always a fantastic choice:
- Quick Preparation: No baking means no hassle. You can whip it up in under 30 minutes.
- Customizable Layers: Feel free to experiment! You can add fruit, different flavored cream cheeses, or even swap out Oreos for other cookies to give it a personal twist.
- Perfect for Groups: This dessert is easily scalable. Need to serve a crowd? Just double the recipe and use a larger dish.
- Visual Appeal: Its layered look makes for a stunning presentation. Guests will be snapping photos before they dig in!
If you’re looking for tips on how to create this no-bake dessert, check out some creative takes on no-bake desserts that will guide you through the process.
But what if you’re short on time or simply want to impress your friends with minimal effort? Oreo Lasagna takes the standard dessert game and elevates it. It’s perfect for anyone, whether you’re a novice baker or a seasoned pro. You will find that the blend of crushed Oreos, creamy filling, and a drizzle of chocolate sauce creates an explosion of flavor and texture that everyone will adore.
As you dive into making this treat, don’t hesitate to get creative! Your kitchen should be a place of experimentation and joy, after all. So grab those Oreos, and let’s start layering!
Ingredients for Oreo Lasagna
When it comes to creating a delightful Oreo Lasagna, you’ll want to gather a few key ingredients that are simple yet essential for that indulgent, layered goodness. Here’s a closer look at what you’ll need for this scrumptious no-bake dessert:
Key Ingredients You’ll Need
- Oreo Cookies: The star of the show! You can use regular Oreos or experiment with different flavors to add a surprising twist.
- Cream Cheese: Make sure to bring it to room temperature for easier blending. This adds a rich texture that balances the sweetness.
- Sugar: Granulated sugar will add just the right amount of sweetness to the cream cheese mixture.
- Whipped Topping: This adds a light and airy texture. You can use store-bought or make your own for a fresher taste.
- Milk: Use whole milk for creaminess or opt for a plant-based version if you’re dairy-free.
These ingredients come together to create a dessert that’s sure to impress. Interested in the full recipe? Check out this detailed guide to make your Oreo Lasagna dreams come true!
Preparing Oreo Lasagna
Let’s be honest: who doesn’t love a dessert that’s as whimsical as its name sounds? Oreo Lasagna might sound like a quirky creation, but it’s a delightful no-bake treat that packs layers of chocolatey goodness and creamy textures. Whether you’re hosting a dinner party or just indulging in a sweet night at home, this dessert is a cinch to whip up. Let’s dive into the steps!
Prepare the crust
The first layer, or the foundation of your delicious Oreo Lasagna, is the crust. It’s all about that buttery, crunchy goodness.
- Ingredients Needed:
- 24 Oreo cookies
- 1/4 cup melted butter
-
Crush Those Oreos: Place the Oreos in a food processor and pulse until they resemble fine crumbs. If you don’t have a food processor, you can also put them in a zip-top bag and crush them with a rolling pin—super satisfying and a great stress reliever!
-
Mix with Butter: Transfer the crushed Oreos to a bowl, drizzle in the melted butter, and mix until everything is well combined. It should have a consistency that holds together when pressed.
-
Forms the Base: Press this mixture firmly into the bottom of a 9×13 inch dish to form an even layer. This rich crust is your first taste of the indulgence to come.
Make the cream cheese layer
Next up is the creamy layer—rich, lush, and oh-so-delicious!
- Ingredients Needed:
- 8 oz cream cheese, softened
- 1/2 cup powdered sugar
- 1/2 cup whipped topping
-
Mix It Up: In a mixing bowl, beat the softened cream cheese until it’s smooth. Then, add the powdered sugar. Mix until well combined, and then fold in the whipped topping. This creates a fluffy, creamy texture that pairs perfectly with the crust.
-
Layer It Right: Spread the cream cheese mixture evenly over the Oreo crust. Don’t skimp here; this layer adds that delicious creaminess that makes every bite of your Oreo Lasagna so irresistible.
Prepare the chocolate pudding layer
Who can resist chocolate pudding? This layer is where the magic continues!
- Ingredients Needed:
- 2 cups cold milk
- 1 (3.9 oz) package instant chocolate pudding mix
-
Whip It Good: In a separate bowl, whisk together the milk and the instant pudding mix for about 2 minutes, or until it begins to thicken. Pro tip: using cold milk really enhances the richness of the pudding.
-
Spread the Love: Pour this luscious pudding over the cream cheese layer. You’ll want to smooth it out evenly to ensure every bite contains that beautiful chocolatey goodness.
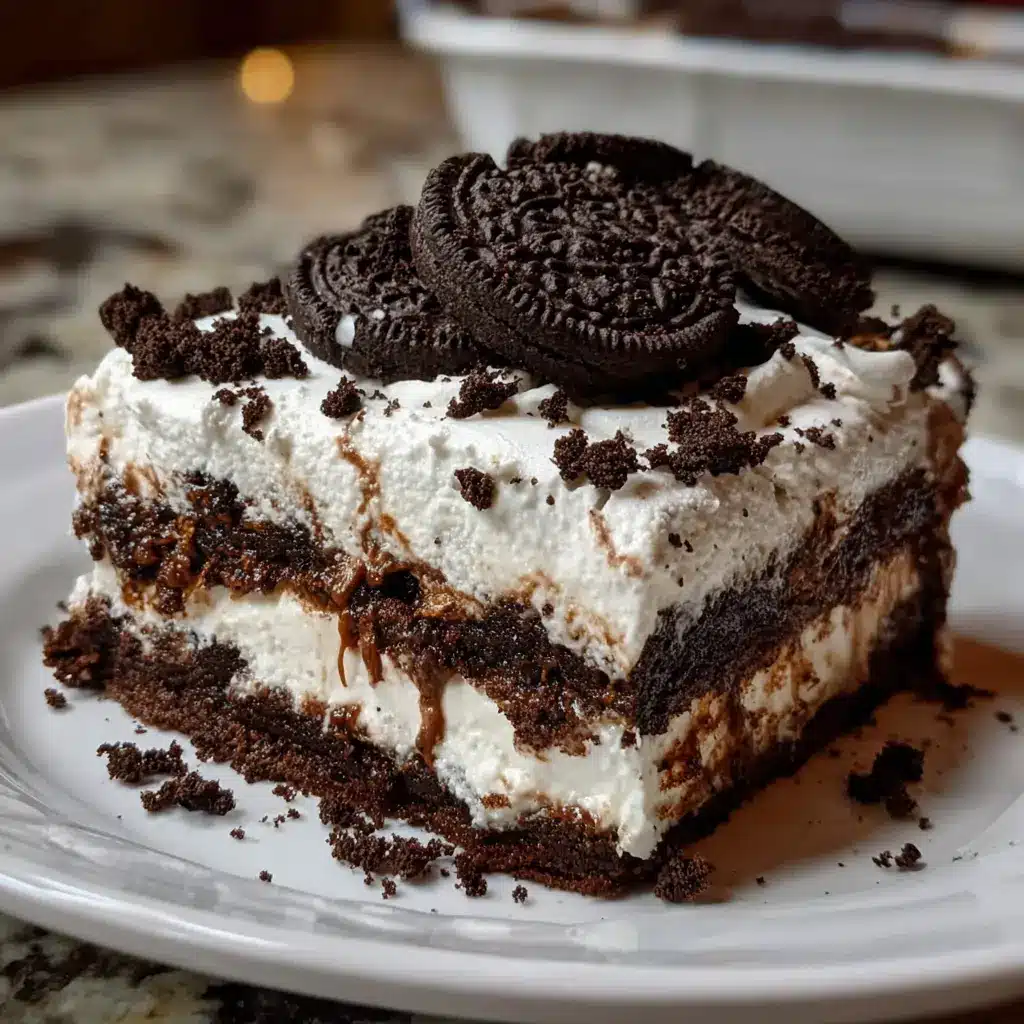
Assemble your Oreo Lasagna
Now it’s all about that layering action.
-
Top it Off: Once your pudding layer is in place, spread another layer of whipped topping over the pudding. Feel free to add more crushed Oreos on top for a crunchy finish. It not only looks great but also adds an extra layer of flavor.
-
Optional Garnishes: If you’re feeling fancy, drizzle some chocolate syrup over the top or sprinkle some mini chocolate chips for an added touch. Let your creativity shine; this is your dessert masterpiece!
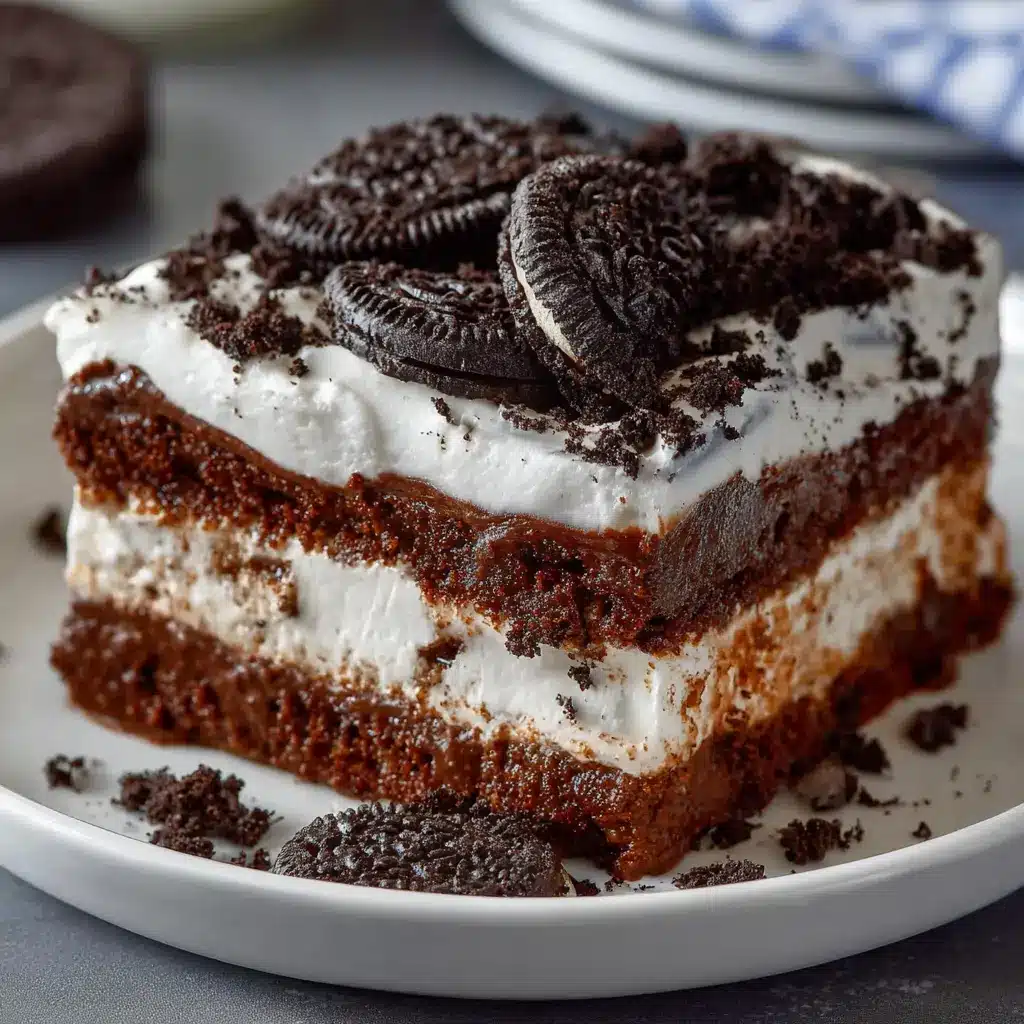
Chill and serve
The final step in making your Oreo Lasagna is to let it chill.
-
Refrigerate: Cover the dish with plastic wrap and place it in the refrigerator for at least 4-6 hours (or even overnight). This chilling time allows all those layers to meld together beautifully and sets the pudding layer for the perfect slice.
-
Slice and Enjoy: When you’re ready to serve, cut into squares and dish it out. Each slice should reveal those delightful layers. Pair it with a glass of cold milk or a warm cup of coffee for a perfect ending to your meal.
With these steps, you’ll have created a stunning Oreo Lasagna that is bound to be the star of any gathering. For more tips and variations, check out sites like Food Network for creative spins on dessert favorites! Enjoy your sweet adventure!

Variations on Oreo Lasagna
Oreo Lasagna with Peanut Butter
If you’re a peanut butter lover, this variation of Oreo Lasagna is bound to become your next favorite sweet treat. Just imagine the classic layers of creamy goodness interspersed with the rich, nutty flavor of peanut butter. To make this delightful version, simply incorporate peanut butter into the cream cheese layer. Here’s how:
- Mix together: Combine equal parts cream cheese and powdered sugar with some smooth peanut butter until you achieve a creamy consistency.
- Assemble: Layer the mixture as you would in the traditional Oreo Lasagna, replacing some of the cream cheese with your peanut butter blend.
- Add toppings: For an extra crunch, sprinkle some chopped peanuts over your final layer of whipped topping or drizzle with warm chocolate sauce.
Seasonal Oreo Lasagna Variations
One of the joys of making Oreo Lasagna is that it’s incredibly versatile! You can tailor it to suit different seasons and celebrations. Here are a couple of festive ideas:
- Pumpkin Spice Oreo Lasagna: During the fall, add pumpkin puree and pumpkin spice to the cream cheese layer. It transforms your lasagna into a delightful autumn dessert.
- Peppermint Oreo Lasagna: For winter gatherings, use peppermint-flavored Oreos and add crushed candy canes on top for a refreshing twist.
These variations not only elevate your dessert game but also cater to the seasonal cravings we all experience. Whether you’re gushing over a slice at Thanksgiving or bringing it to a holiday party, it’s sure to impress your friends and family. Why not explore more creative ideas for desserts at this link? Your culinary adventure awaits!
Cooking Tips and Notes for Oreo Lasagna
Tips for Achieving the Best Texture
When making Oreo Lasagna, texture is key. Here are some tips to ensure yours turns out perfectly creamy and delicious:
- Chill Your Layers: After assembling, let your Oreo Lasagna set in the fridge for at least 4 hours or overnight. This helps the layers meld together beautifully.
- Use Room Temperature Cream Cheese: For a smooth filling, make sure your cream cheese is soft. This prevents lumps and helps achieve that velvety texture.
- Crush Oreos Properly: Either use a food processor or place Oreos in a ziplock bag and crush them with a rolling pin. Just avoid making them too fine; you want some texture for that crunch!
Common Mistakes to Avoid
Even seasoned cooks can slip up. Here are pitfalls to sidestep:
- Overmixing Filling: Once you incorporate the whipped cream, fold gently to maintain lightness. Overmixing can lead to a denser filling.
- Skipping the Chill Time: Don’t be tempted to skip chilling! It’s crucial for solid structure. If you dive into it too soon, you might end up with a gooey mess.
- Not Using Fresh Ingredients: Always check expiration dates on your ingredients, especially the cream cheese and whipped topping. Freshness matters!
If you’re interested in learning more about perfecting no-bake desserts, check out Serious Eats for great resources!
Serving suggestions for Oreo Lasagna
Ideal accompaniments for your dessert
When serving your delicious Oreo Lasagna, consider adding a few delightful accompaniments that complement its rich chocolatey layers. A scoop of homemade vanilla ice cream brings a creamy contrast, while a dollop of whipped cream adds lightness. A side of fresh berries can also provide a refreshing balance, enhancing both flavor and presentation. For something unique, drizzle a bit of chocolate sauce and sprinkle crushed Oreos on top—who could resist that?
Creative serving styles
Presentation matters, especially with a dessert as fun as Oreo Lasagna. Try slicing it into squares and serving on colorful plates for that vibrant touch. Alternatively, use clear cups to create individual portions, layering the Oreo Lasagna with more whipped cream and crushed Oreos—this not only looks impressive but is also perfect for gatherings. If you’re feeling adventurous, you could even pair it with a rich cup of gourmet coffee or a refreshing iced tea.
For more dessert ideas that pair well, check out this Food Network article for some inspiration!
Time Breakdown for Oreo Lasagna
Preparation time
To whip up your Oreo Lasagna, set aside about 15 minutes for preparation. This includes gathering your ingredients, crushing those delectable Oreos, and mixing your creamy layers. It’s quick and easy, so you’ll be diving into this delicious treat in no time!
Chilling time
The Oreo Lasagna needs some time to chill in the fridge—plan for at least 4 hours. This resting period allows all those flavors to meld beautifully and for the dessert to firm up.
Total time
In total, you’re looking at roughly 4 hours and 15 minutes from start to finish. For a no-bake dessert, that’s a win! Perfect for impressing friends or indulging on a cozy night in. Ready to make some? Let’s go!
For more inspiration, check out this guide on No-Bake Desserts for additional ideas.
Nutritional Facts for Oreo Lasagna
Approximate calories per serving
When you’re indulging in a delightful Oreo Lasagna, you might be curious about its nutritional profile. Each serving contains approximately 350 calories, making it a sweet treat that’s best enjoyed in moderation. It’s perfect for special occasions but can also be a fun addition to a cozy night in with friends.
Breakdown of key nutrients
This layered dessert is not just about taste—it’s also filled with essential nutrients. Here’s a quick rundown of what you’ll find in your Oreo Lasagna:
- Fat: About 20g, with most coming from the cream cheese and whipped topping.
- Carbohydrates: Roughly 40g, primarily from the Oreo cookies and pudding mix.
- Protein: Approximately 4g, mainly from the cream cheese.
While it’s not a health food, enjoying it as an occasional treat can fit into a balanced diet. For more in-depth nutritional insights, you can check out resources like the USDA FoodData Central for comprehensive data on the ingredients you’re using.
FAQs about Oreo Lasagna
How do you store leftover Oreo lasagna?
Storing your leftover Oreo lasagna is super simple! Just cover it tightly with plastic wrap or aluminum foil, or transfer it to an airtight container. It will keep well in the refrigerator for about 3-5 days. Just remember, the longer it sits, the softer the layers may become as the cream and cookies meld together. But honestly? It still tastes delicious, so feel free to enjoy it a bit longer!
Can I make Oreo lasagna ahead of time?
Absolutely! Making Oreo lasagna ahead of time can actually enhance its flavor. Prepare it a day or two in advance, and let it chill in the fridge to set. This gives the flavors a chance to develop, making each bite even more delectable. Just ensure you cover it properly to keep out any fridge odors.
For those last-minute gatherings, consider making it the morning of your event. It takes only a few hours to chill enough for serving, so you won’t be stuck in the kitchen for long.
What can I substitute for the whipped topping?
If you’re looking for an alternative to whipped topping, don’t worry — you have options! You can use homemade whipped cream, which offers a fresh flavor. Simply whip heavy cream with some sugar until soft peaks form. Greek yogurt is another excellent substitute for a tangy twist; just mix it with a bit of powdered sugar to sweeten it up.
Personalize your Oreo lasagna experience! If you’re curious about more customization ideas, check out resources like The Spruce Eats for additional inspiration.
If you have any more questions about this delicious dish, feel free to ask!
Conclusion on Oreo Lasagna
Creating an Oreo Lasagna is not just about following a recipe; it’s an opportunity to bring something special to the table. The joy of layering creamy filling with crunchy Oreo cookies is truly unparalleled. Whether it’s for a gathering with friends or a simple treat for yourself, this no-bake dessert is sure to impress everyone.
Imagine the smiles as you serve this delectable dish—it’s the perfect combination of nostalgia and indulgence. So why not add a little sweetness to your day and give this delightful recipe a try? You can find more inspiration in dessert blogs like Sally’s Baking Addiction for a wider variety of tasty treats.
Print
Oreo Lasagna: Easy No-Bake Recipe for a Chocolate Delight
- Total Time: 4 hours 20 minutes
- Yield: 8 servings
- Diet: Vegetarian
Description
Indulge in a delightful dessert with this easy no-bake Oreo Lasagna recipe. Perfect for chocolate lovers!
Ingredients
- 1 package Oreo cookies
- 8 ounces cream cheese
- 1 cup powdered sugar
- 1 cup whipped topping
- 2 cups chocolate pudding
- 2 cups milk
- 1/2 cup chocolate chips
Instructions
- Crush the Oreo cookies and layer half in the bottom of a dish.
- In a bowl, mix cream cheese and powdered sugar until smooth, then fold in whipped topping.
- Spread the cream cheese mixture over the cookie layer.
- Prepare the chocolate pudding by whisking it with milk until thick.
- Spread the pudding over the cream cheese layer.
- Add the remaining crushed Oreos on top, and sprinkle with chocolate chips.
- Chill in the refrigerator for at least 4 hours before serving.
Notes
- For added flavor, consider adding a layer of peanut butter.
- Use a variety of toppings such as crushed nuts or additional whipped cream.
- Prep Time: 20 minutes
- Category: Dessert
- Method: No-Bake
- Cuisine: American
Nutrition
- Serving Size: 1 piece
- Calories: 350
- Sugar: 25g
- Sodium: 150mg
- Fat: 20g
- Saturated Fat: 10g
- Unsaturated Fat: 5g
- Trans Fat: 0g
- Carbohydrates: 40g
- Fiber: 1g
- Protein: 5g
- Cholesterol: 30mg
")