Introduction to Old-Fashioned Chocolate Fudge
What is Old-Fashioned Chocolate Fudge?
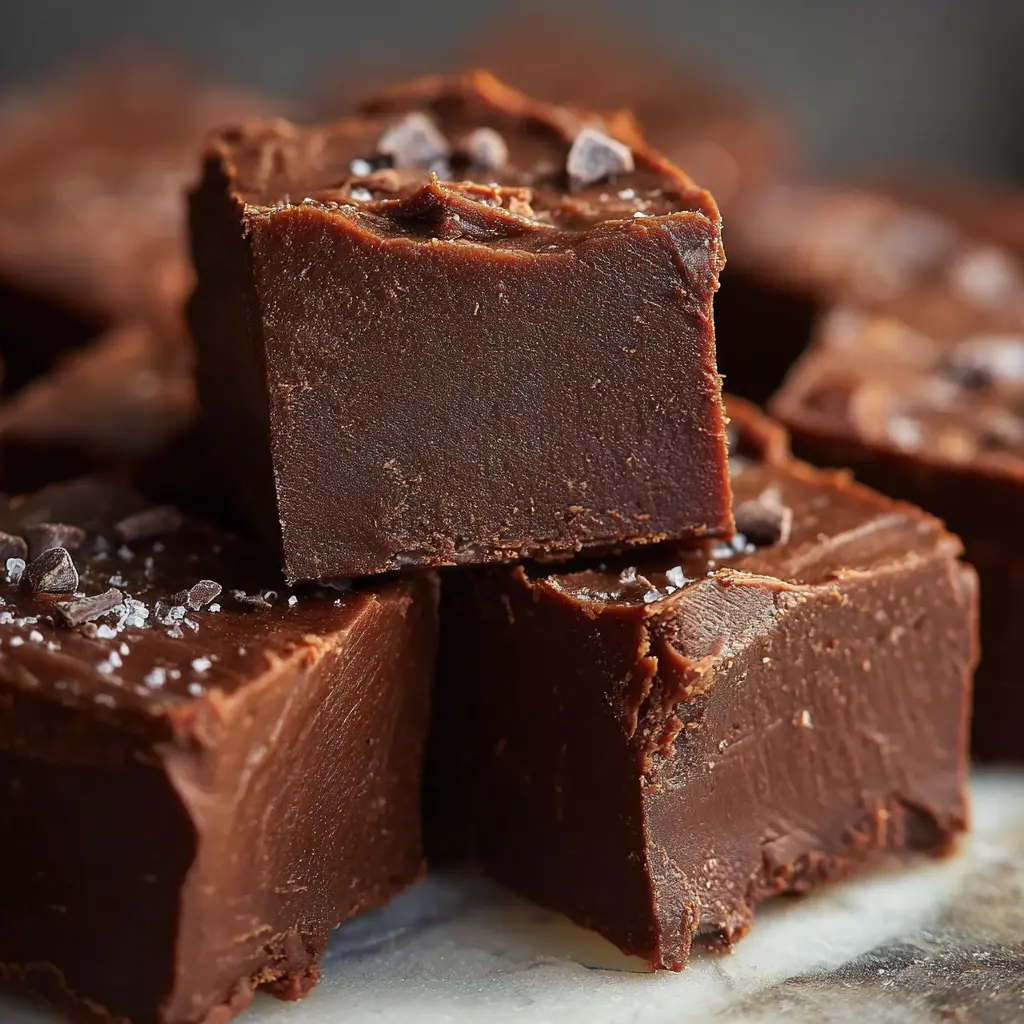
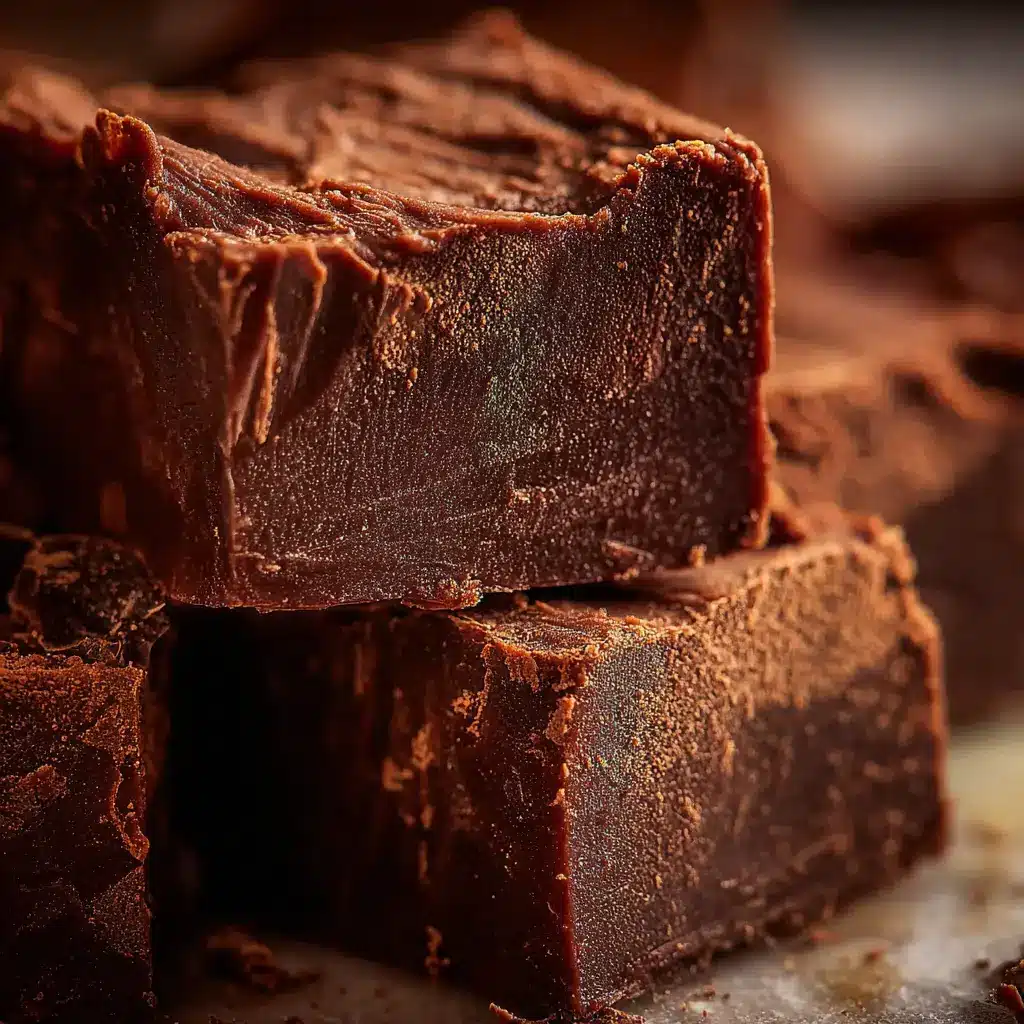
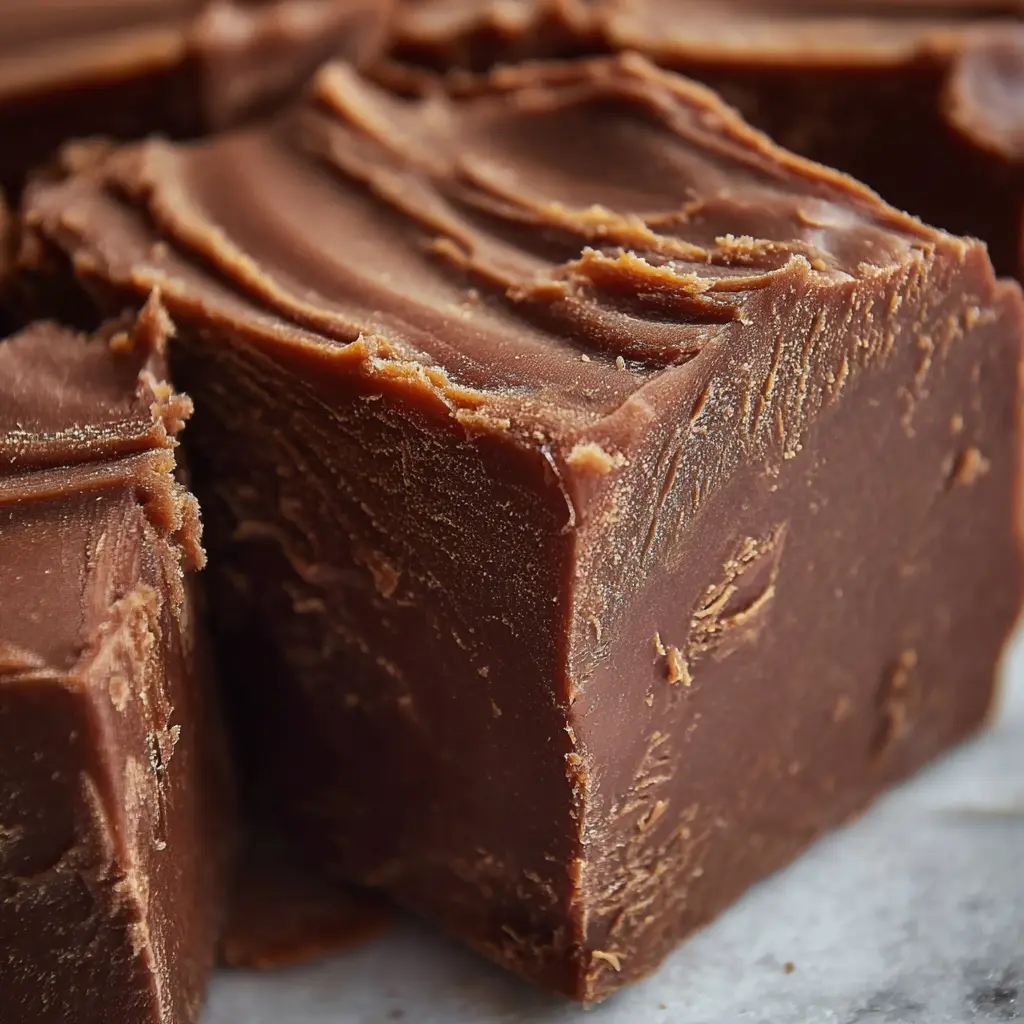
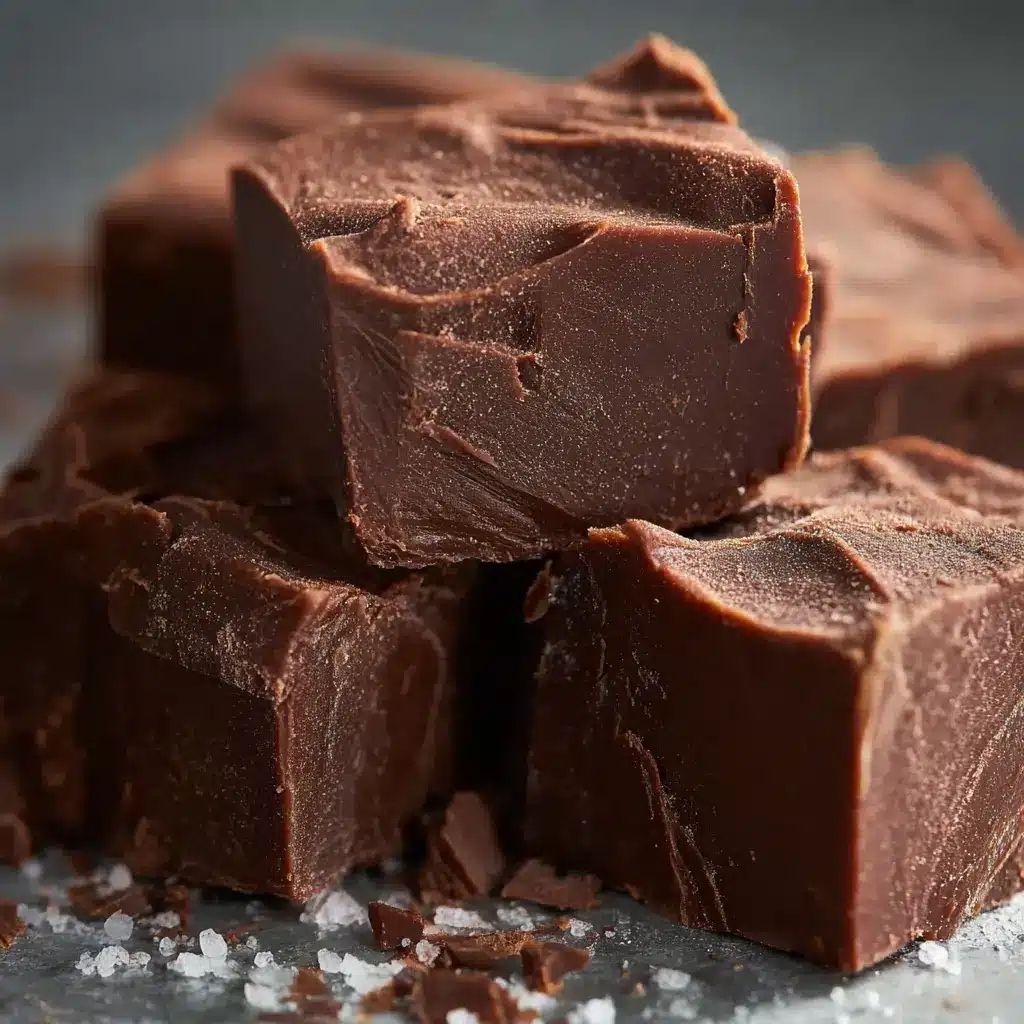
Old-fashioned chocolate fudge is a delightful treat that transports you back to simpler times. It’s the sort of dessert that conjures up memories of cozy kitchens, warm smiles, and the irresistible aroma of chocolate wafting through the air. This decadent confection is made by cooking together sugar, butter, and milk, then adding rich cocoa, and swirling it all together to create that quintessential creamy texture.
The beauty of old-fashioned chocolate fudge lies in its simplicity. With just a handful of ingredients, you can whip up a batch that would make your grandmother proud. And let’s face it, nothing beats the satisfaction of creating something from scratch, especially when it’s a crowd-pleaser! According to a study by the National Confectioners Association, chocolate remains one of the most cherished indulgences in America, with fudge holding a special place in the hearts of many.
Why Make It at Home?
Why venture into the world of homemade fudge, you ask? Well, for starters, store-bought options can be packed with artificial flavors and preservatives that take away from the real experience. By making old-fashioned chocolate fudge at home, you can control the quality of the ingredients. Plus, it’s a great way to put your skills to the test—after all, who wouldn’t want to show off their culinary prowess?
Imagine gifting your friends and family a box of homemade fudge, wrapped in a beautiful ribbon. The appreciation won’t just be for the taste; they’ll cherish the effort and sentiment behind it. Not to mention, it’s an ideal creative outlet! Check out resources like Bon Appétit for tips on how to personalize your fudge with unique add-ins like nuts, dried fruit, or marshmallows.
Tips for Success
To master the art of old-fashioned chocolate fudge, keep these key points in mind:
- Use a candy thermometer for an accurate temperature reading.
- Stir consistently to ensure the mixture cooks evenly and avoids burning.
- Allow it plenty of time to cool before cutting, as this will help achieve the perfect texture.
With a little patience and practice, you’ll have a delicious homemade treat that everyone will love. So grab your apron and get ready to create some wonderful memories in the kitchen!
Ingredients for Old-Fashioned Chocolate Fudge
Essential ingredients for the classic fudge
Creating old-fashioned chocolate fudge is surprisingly simple, and it only requires a few basic ingredients. Here’s what you’ll need:
- Granulated Sugar: This is the backbone of your fudge and provides sweetness.
- Butter: Use unsalted for better control over the flavor.
- Evaporated Milk: Offers a creamy texture that is essential for that melt-in-your-mouth experience.
- Semi-sweet Chocolate Chips: The star of the show, providing rich chocolate flavor.
- Vanilla Extract: Just a splash for enhanced aroma and taste.
- Pinch of Salt: Balances the sweetness and elevates the chocolate flavor.
These ingredients come together to form a luscious base that is sure to impress at any gathering.
Optional ingredients for added texture
While the classic recipe stands strong on its own, consider these optional ingredients to elevate your old-fashioned chocolate fudge:
- Chopped Nuts: Pecans or walnuts add a delightful crunch.
- Marshmallows: For a fluffy twist that kids will love.
- Dried Fruits: Raisins or cranberries can introduce a touch of tanginess.
Feel free to experiment! Adding these elements can give your fudge a unique personality and make it even more enjoyable. Did you know that adding a hint of espresso powder can also deepen the chocolate flavor? It’s all about what makes your taste buds happy!
For more fudge inspiration, check out this chocolate recipe from Food Network for variations that can spark your creativity in the kitchen.
Preparing Old-Fashioned Chocolate Fudge
One of the best things about making old-fashioned chocolate fudge is the nostalgia it brings. The process itself can feel a bit like a time capsule, transporting you to a simpler time when treats were made from scratch. Let’s dive into this delicious endeavor, step by step.
Step 1: Prepare the Pan
Start by greasing an 8-inch square pan or lining it with parchment paper for easy removal. This little step makes a big difference in presentation! This is where the magic will happen, so make sure your pan is ready. You can use a non-stick spray or a bit of butter—either works beautifully. If you plan to make a larger batch to share, just scale up the ingredients and use a larger pan.
Step 2: Mix the Base Ingredients
In a medium saucepan over low heat, combine:
- 2 cups of granulated sugar
- 1 cup of whole milk
- ½ cup of unsweetened cocoa powder
- 1 pinch of salt
Stir these ingredients together until they’re well combined. Using a whisk can help break up cocoa clumps, ensuring a smoother texture that your taste buds will thank you for later.
Step 3: Cook the Mixture
Once your base is mixed, turn up the heat to medium. As the mixture heats, keep stirring continuously to prevent it from scorching. You don’t want old-fashioned chocolate fudge that tastes burnt!
Step 4: Boil to the Right Stage
Bring the mixture to a rolling boil and let it bubble for about 5 minutes. It’s essential to reach the correct candy stage, known as the soft-ball stage (around 235°F to 240°F). A candy thermometer can be a real game-changer here! If you don’t have one, drop a small amount of the mixture in cold water—a soft ball should form, and when you remove it, it should hold its shape.
Step 5: Add Butter and Vanilla
Once at the desired temperature, remove your saucepan from the heat. Now, it’s time to add:
- 2 tablespoons of butter
- 1 teaspoon of pure vanilla extract
Stir gently until the butter melts and everything is incorporated. Your kitchen will smell heavenly at this point!
Step 6: Beat the Fudge
This is where the elbow grease comes into play! Using a wooden spoon or a mixer on low speed, start beating the fudge for about 5-10 minutes. When it starts to lose its sheen and thickens, you’ll know you’re close.
Step 7: Add Nuts (Optional)
If you love a little crunch in your fudge, now’s the time to fold in 1 cup of chopped nuts. Pecans and walnuts are classic choices, but feel free to get creative! The nuts add an additional layer of flavor and texture, making your old-fashioned chocolate fudge even more memorable.
Step 8: Pour into the Pan
Once your fudge has reached the desired consistency, pour it into your prepared pan. Use a spatula to spread it evenly, ensuring it fills the corners.
Step 9: Cool and Slice
Let the fudge cool at room temperature for about 2 hours—or until it’s set. Once it’s firm, you can lift it out of the pan using the parchment paper, slice it into squares, and enjoy!
Making old-fashioned chocolate fudge isn’t just a culinary task; it’s an experience filled with joy and anticipation. What will you add to yours, and who will you share it with? Check out some more great tips for candy-making here! Your journey into the world of fudge has just begun—happy cooking!
Variations on Old-Fashioned Chocolate Fudge
When it comes to old-fashioned chocolate fudge, the classic recipe is timeless, but why stop there? There are endless ways to put a unique spin on this delicious treat. Here are a few variations that will not only create delightful flavors but also cater to different taste preferences.
Mint Chocolate Fudge
If you’re a fan of refreshing flavors, mint chocolate fudge is a must-try. Simply add a few drops of peppermint extract to your fudge mixture. The key here is balance—too much mint can overpower the chocolate! Consider folding in some crushed peppermint candies or chocolate chips for added texture. This variation is perfect for holiday gifting or just satisfying a sweet tooth.
Peanut Butter Chocolate Fudge
For those who can’t resist the combination of chocolate and peanut butter, this variation will quickly become a favorite. Mix creamy peanut butter directly into your old-fashioned chocolate fudge recipe while it’s still warm. This will create a smooth, rich swirl that’s both indulgent and satisfying. For a fun twist, you can also sprinkle crushed peanuts on top before it sets!
Salted Caramel Fudge
Imagine the delightful sensation of sweet and salty in each bite. To make salted caramel fudge, drizzle warm caramel over your fudge mixture before it sets. Once set, sprinkle a touch of sea salt on top to enhance all those rich flavors. This variation is perfect for impressing guests or enjoying on a cozy night in. For extra guidance, check out this caramel making tutorial.
Each of these old-fashioned chocolate fudge variations adds a unique twist, allowing you to enjoy the classic while also exploring new flavors. So, gather your ingredients and get started—you won’t regret it!
Cooking Tips and Notes for Old-Fashioned Chocolate Fudge
Common Pitfalls to Avoid
Making old-fashioned chocolate fudge can be a delightful experience, but a few common mistakes might trip you up. One of the biggest pitfalls is failing to use a candy thermometer. You’ll want to cook the mixture to the right temperature, ideally around 234°F to 240°F, for that perfect fudge consistency. Also, don’t rush the cooling process; impatience can lead to grainy fudge. Allow it to set undisturbed for several hours for the best texture.
How to Troubleshoot Texture Issues
If your old-fashioned chocolate fudge doesn’t come out as expected, don’t worry! Here’s how to fix common texture issues:
- Fudge is too soft: This usually means it hasn’t reached the right temperature. You can try reheating the batch and allowing it to simmer longer, then cool it again.
- Fudge is too hard: This might happen if you’ve overcooked the mixture. Adding a splash of milk or cream during the reheating process can help soften it up.
For more expert advice, check out Serious Eats for insights into perfecting candy-making techniques. Happy fudge-making!
Serving suggestions for Old-Fashioned Chocolate Fudge
Best ways to present the fudge
Bringing old-fashioned chocolate fudge to the table is all about the presentation! Start by cutting your fudge into neat squares and placing them on a decorative plate. You might consider adding a sprinkle of sea salt on top for a gourmet touch. For a touch of whimsy, stack the fudge pieces in a glass jar with a ribbon around it—perfect for gifting or just showing off at a party. To elevate your presentation further, place the jar or plate on a wooden or marble board, which adds texture and warmth.
Pairing with beverages
When it comes to beverages, think outside the box! Rich old-fashioned chocolate fudge pairs beautifully with a cup of robust coffee or a creamy hot chocolate. If you prefer something colder, try it alongside an icy milkshake or some refreshing iced tea. The contrast in flavors can really enhance the taste experience. Feeling adventurous? A glass of almond or oat milk adds a lovely nutty undertone that complements the fudge perfectly.
Want more inspiration? Check out this guide on pairing chocolate with beverages.
Time Breakdown for Old-Fashioned Chocolate Fudge
Making old-fashioned chocolate fudge doesn’t take too long, making it the perfect treat for those craving something sweet without a huge time commitment. Here’s a quick breakdown of the time you’ll need to whip up this delightful dessert.
Preparation Time
The preparation time for your fudge is approximately 15 minutes. This includes gathering your ingredients—like cocoa powder, sugar, and butter—and any equipment, such as a saucepan and mixing bowl. It’s the perfect time to put on some music and get into a cooking groove!
Cooking Time
Once prepped, you’ll spend about 30 minutes cooking the fudge. This warming process allows all those delicious flavors to meld together wonderfully. Be sure to keep an eye on the stove as it cooks!
Total Time
In total, from start to finish, you’re looking at roughly 45 minutes. This quick timeframe makes making old-fashioned chocolate fudge an enjoyable experience, whether you’re surprising a loved one or indulging yourself. For more tips on timing and technique, check out this article on making classic desserts. Happy fudging!
Nutritional Facts for Old-Fashioned Chocolate Fudge
When indulging in old-fashioned chocolate fudge, it’s important to know what you’re treating yourself to. Here’s a quick breakdown of its nutritional value, so you can enjoy every bite guilt-free!
Calories per Piece
One small piece of homemade old-fashioned chocolate fudge typically contains about 120 calories. Keep an eye on portion sizes, as it’s easy to enjoy a little more than you planned!
Sugar Content
The allure of fudge lies in its sweetness, and you’ll find that each piece can have around 18 grams of sugar. While this contributes to the delicious flavor, be mindful of your daily sugar intake.
Fat Content
Rich and creamy, this fudge is also high in fat—approximately 6 grams per piece. Most of this is derived from butter and chocolate, which contribute to its velvety texture.
For more in-depth nutritional information and tips on satisfying your sweet tooth, check out the Nutritional Guidelines from the USDA and consider making adjustments to manage your dietary needs. Enjoy your fudge adventure!
FAQ about Old-Fashioned Chocolate Fudge
Can I use substitutions for sugar?
Absolutely! If you’re looking to swap out traditional sugar in your old-fashioned chocolate fudge, alternatives like coconut sugar or agave syrup can work wonders. However, keep in mind that the texture and sweetness level might vary. Opt for granulated sweeteners when possible, as they provide the best consistency. For more tips, check out this detailed guide on sugar substitutes on Healthline.
How should I store leftover fudge?
To keep your old-fashioned chocolate fudge fresh, store it in an airtight container at room temperature. If your kitchen tends to be warm, refrigeration is a better option. Make sure to separate layers with parchment paper to avoid sticking. If you’re planning to keep it for a longer time, consider wrapping individual pieces in plastic wrap and placing them in the freezer for up to three months.
How long does homemade fudge last?
When properly stored, homemade fudge typically lasts about one to two weeks at room temperature. In the refrigerator, it can extend its lifespan to about three weeks. If frozen, it can be enjoyed for up to three months. For more insights on food storage, the USDA offers valuable resources on food safety and storage that can enhance your culinary adventures.
Creating old-fashioned chocolate fudge is not just about satisfying your sweet tooth; it’s about crafting delightful moments. So go ahead, experiment, and savor the results!
Conclusion on Old-Fashioned Chocolate Fudge
Recap the joy of homemade fudge
Making old-fashioned chocolate fudge is not just about pulling ingredients together; it’s about the experience and joy that comes with each step. Whether you’re stirring the rich, melted chocolate or pouring it into a pan, you’re creating a delightful treat that evokes fond memories and warms the heart. This simple recipe is perfect for sharing with friends or indulging in solo with a steaming cup of coffee.
Homemade fudge also opens the door to creativity—try adding nuts, dried fruits, or even a pinch of sea salt to elevate your creation. You can find more tips for variations and serving ideas at Serious Eats. So, gather your ingredients and make a batch—your taste buds will thank you, and you’ll discover the sweet satisfaction of homemade goodness.
Print
Old-Fashioned Chocolate Fudge: The Indulgent Treat You’ll Love
- Total Time: 25 minutes
- Yield: 25 squares
- Diet: Vegetarian
Description
Indulge in the rich and creamy taste of old-fashioned chocolate fudge, a delightful treat that brings back memories of simpler times.
Ingredients
- 2 cups granulated sugar
- 1/2 cup unsweetened cocoa powder
- 1/2 cup butter
- 1 cup whole milk
- 1 teaspoon vanilla extract
- 1 cup chopped nuts (optional)
Instructions
- In a large saucepan, combine the sugar, cocoa powder, butter, and milk.
- Cook over medium heat, stirring constantly, until the mixture comes to a boil.
- Continue boiling without stirring for 5 minutes.
- Remove from heat and stir in the vanilla extract and nuts if using.
- Pour the mixture into a greased 9×9 inch pan and let it cool completely before cutting into squares.
Notes
- For a creamier fudge, add a splash of cream to the mixture just before pouring into the pan.
- Store the fudge in an airtight container for up to two weeks.
- Prep Time: 10 minutes
- Cook Time: 15 minutes
- Category: Dessert
- Method: Stovetop
- Cuisine: American
Nutrition
- Serving Size: 1 square
- Calories: 150
- Sugar: 20g
- Sodium: 10mg
- Fat: 7g
- Saturated Fat: 4g
- Unsaturated Fat: 2g
- Trans Fat: 0g
- Carbohydrates: 20g
- Fiber: 1g
- Protein: 2g
- Cholesterol: 15mg
")