Introduction to Old-Fashioned Apple Crisp
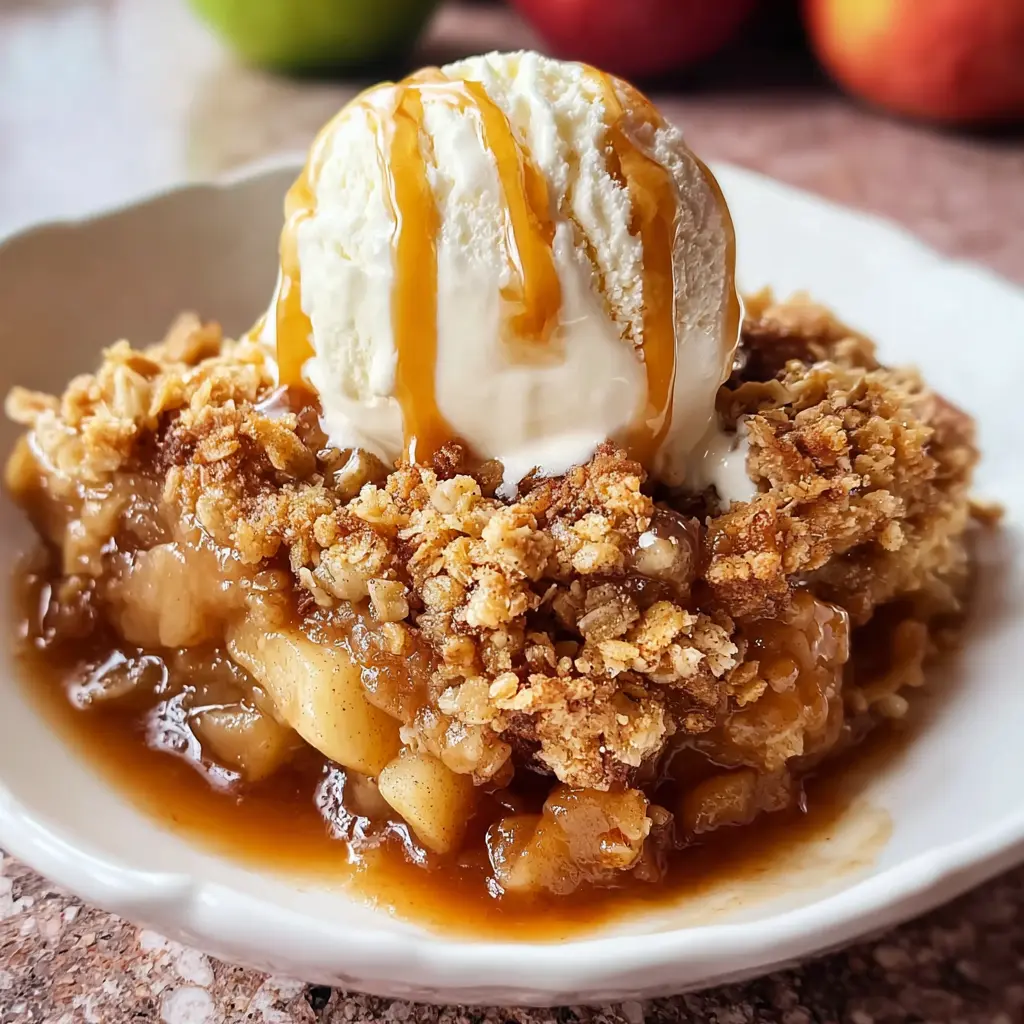
There’s something about a warm old-fashioned apple crisp that evokes feelings of comfort and nostalgia. This delightful dessert has been a staple in homes for generations, and for good reason. It’s not just about the flavors; it’s about the memories associated with baking it and sharing it with loved ones.
Why is Old-Fashioned Apple Crisp a Beloved Classic?
One of the main reasons that old-fashioned apple crisp holds a cherished place in our hearts is its simplicity. Made with straightforward ingredients, typically including tart apples, oats, brown sugar, and butter, it allows the natural flavors of the apples to shine. You can find recipes that date back to the 19th century, showcasing its enduring appeal. The joy of pulling a bubbling dish from the oven, the aroma wafting through the air—it’s a scene that many of us have experienced during family gatherings or cozy autumn afternoons.
Moreover, this dessert is incredibly versatile. Are you a fan of Granny Smith, Honeycrisp, or perhaps the ever-popular Fuji apple? Each variety brings its unique flavor profile and texture, making it easy to customize your crisp according to personal preferences or seasonal availability. You can even mix and match apples to create a delightful blend of sweetness and tartness.
Don’t just take my word for it! The Old-Fashioned Apple Crisp was named one of the top 10 comfort foods by Taste of Home, proving that this dish resonates with many.
A Recipe That Encourages Togetherness
Baking an old-fashioned apple crisp often turns into a cozy affair. Whether you’re cooking alone with your favorite playlist in the background or inviting friends over for a fun baking session, the process itself is enjoyable. Plus, it’s a great opportunity to connect with others and share your culinary creations.
As the seasons change and the apples reach their peak ripeness, there’s no better time to indulge in this timeless classic. Whether enjoyed a la mode or simply dusted with cinnamon—this dessert is guaranteed to warm your heart and satisfy your sweet tooth. So, roll up your sleeves, preheat that oven, and let’s dive into the delightful world of old-fashioned apple crisp!
Ingredients for Old-Fashioned Apple Crisp
Essential ingredients for the apple filling
Creating a delicious old-fashioned apple crisp begins with selecting the right apples. To achieve that perfect balance of tart and sweet, consider using a mix of Granny Smith and Honeycrisp apples. Here’s what you’ll need for the filling:
- 6 cups apples, peeled, cored, and sliced
- ¾ cup granulated sugar (or adjust depending on your apple sweetness)
- 1 tablespoon lemon juice for a little zing
- 1 teaspoon ground cinnamon to warm things up
- ¼ teaspoon salt to enhance the flavors
These ingredients come together to create a luscious fruit filling that’s both comforting and satisfying.
Ingredients for the crisp topping
Now for the star of the show—the crisp topping! This layer is what makes an old-fashioned apple crisp truly irresistible. Here’s your shopping list:
- 1 cup rolled oats for a hearty texture
- 1 cup all-purpose flour to bind it all together
- 1 cup packed brown sugar for that rich sweetness
- ½ teaspoon baking powder to help it rise a bit
- ½ cup unsalted butter, melted
- ¼ teaspoon salt to balance the sweetness
Mix these together until you achieve that perfect crumbly texture. This topping, when baked, creates a glorious golden crust that pairs beautifully with the warm apple filling.
By using quality ingredients like fresh apples and real butter, your old-fashioned apple crisp will shine at your next gathering! Curious about apple varieties? Check out this guide from the U.S. Apple Association for more insights. Happy baking!
Preparing Old-Fashioned Apple Crisp
Making an old-fashioned apple crisp is like giving your kitchen a warm hug. This beloved dessert brings back childhood memories of autumn days and family gatherings. Let’s dive into how you can whip up this delightful treat in just a few easy steps.
Preheat the Oven
Before you even think about mixing those apples, it’s essential to preheat your oven to 350°F (175°C). This ensures that your old-fashioned apple crisp bakes evenly. A hot oven is crucial for achieving that golden, crispy topping we all love. While it’s warming up, you can gather your ingredients!
Prepare the Apple Filling
Now, let’s focus on the apples—after all, they’re the star of the show! You’ll need about 6 to 8 medium apples, preferably a mix of tart and sweet varieties like Granny Smith and Honeycrisp.
- Peel and core the apples, then slice them into uniform pieces.
- In a large bowl, toss the apple slices with:
- 1/2 cup of granulated sugar
- 1 tablespoon of lemon juice (this enhances flavor and prevents browning)
- 1 teaspoon of ground cinnamon (or more if you love that warm spice!)
This mixture not only softens the apples but also gives them a sweet and zesty kick. If you’re looking for a contemporary twist, consider adding a pinch of nutmeg or allspice.
Transfer the Apple Mixture to the Baking Dish
Once your apples are nicely coated, it’s time to transfer them to a baking dish. A 9×13 inch dish works perfectly for this recipe. Ensure that the apples are evenly distributed for consistent cooking. This step is so simple yet crucial; a well-prepared base sets the stage for a perfect old-fashioned apple crisp.
Prepare the Crisp Topping
Now, onto the crisp topping that makes this dessert truly irresistible! You’ll need:
- 1 cup of rolled oats
- 1 cup of all-purpose flour
- 1 cup of packed brown sugar
- 1/2 cup of melted butter (unsalted is best)
- 1/2 teaspoon of salt
In a medium bowl, combine these ingredients until crumbly. The mixing can get a bit messy, but the joy that comes from a perfectly crunchy topping is so worth it. The butter is what brings everything together, creating that delightful texture we crave.
Assemble the Apple Crisp
With both components ready, it’s assembly time! Evenly sprinkle the crisp topping over the apple mixture—make sure to cover all visible apple slices. This not only makes for a beautiful presentation but also guarantees that each bite is packed with flavor.
Bake the Apple Crisp
Once it’s all put together, pop your baking dish into the preheated oven. Bake for about 40-45 minutes, or until the topping is golden brown and the apples are bubbling. This is when your kitchen will start to smell like a cozy café! If you prefer a deeper golden color, you can broil the crisp for an additional minute or two, keeping a close eye to avoid burning.
Cool and Serve
After baking, let your old-fashioned apple crisp cool for about 10-15 minutes. This rest time helps the filling thicken up a bit—trust me, it’s worth it! Serve your crisp warm, paired with vanilla ice cream or whipped cream for an extra special touch.
Final Thoughts
Baking an old-fashioned apple crisp is not just about the ingredients; it’s about filling your home with the comforting aroma of baked apples and cinnamon. Whether you’re preparing it for family, friends, or simply for yourself, it’s a delightful dessert that never disappoints. For more tips and recipes, check out America’s Test Kitchen for inspiration that’ll enhance your baking skills. Happy baking!
Variations on Old-Fashioned Apple Crisp
Gluten-Free Apple Crisp Options
If you’re looking to enjoy old-fashioned apple crisp without gluten, you’re in luck! Simply swap out traditional flour for gluten-free alternatives such as almond flour or oat flour. They not only provide a similar texture but also add a nutty flavor that elevates the dish. You can also use certified gluten-free oats in your topping for that same classic crunch without any gluten worries.
Adding Nuts or Extra Spices
For those who love a bit of crunch, consider adding chopped nuts—like walnuts, pecans, or almonds—to your crisp topping. Not only does this add wonderful texture, but it also packs in healthy fats and protein. If you want to enhance the flavor even more, sprinkle in some cinnamon, nutmeg, or even a hint of cardamom. It’s amazing how just a dash of extra spice can transform your old-fashioned apple crisp into something extraordinary!
Serving with Different Toppings
Serving your old-fashioned apple crisp with different toppings can make it even more delightful. Try pairing it with a scoop of vanilla ice cream for that classic à la mode experience. If you’re feeling adventurous, opt for whipped cream or a dollop of Greek yogurt to add creaminess. Want to take it up another notch? Drizzle with caramel sauce or a sprinkle of sea salt for a sweet-savory contrast that will undoubtedly impress your guests.
For more ideas on variations and serving suggestions, check out this great resource on apple desserts. Enjoy the process and make it your own!
Cooking tips and notes for Old-Fashioned Apple Crisp
Use of Different Apple Varieties
When making your old-fashioned apple crisp, consider mixing apple varieties for a delightful flavor and texture. Tart apples, like Granny Smith or Jonathan, balance beautifully with sweeter ones like Honeycrisp or Fuji. This combination not only enhances taste but also gives your crisp a satisfying bite. If you’re curious about the best apple varieties for baking, check out this helpful guide from The Spruce Eats.
Storing Leftover Apple Crisp
If you find yourself with leftover old-fashioned apple crisp, you’re in luck! Proper storage can keep it delicious for days. Simply cover it tightly with plastic wrap or transfer it to an airtight container. When stored correctly in the fridge, it can last up to 4 days—perfect for those sweet late-night cravings. You can also reheat it in the oven or microwave for a warm treat that feels freshly baked. Just remember, the crisp topping may soften a bit, but the flavor will still be spot on! Want to elevate your leftovers? A scoop of vanilla ice cream on top never hurts!
Serving suggestions for Old-Fashioned Apple Crisp
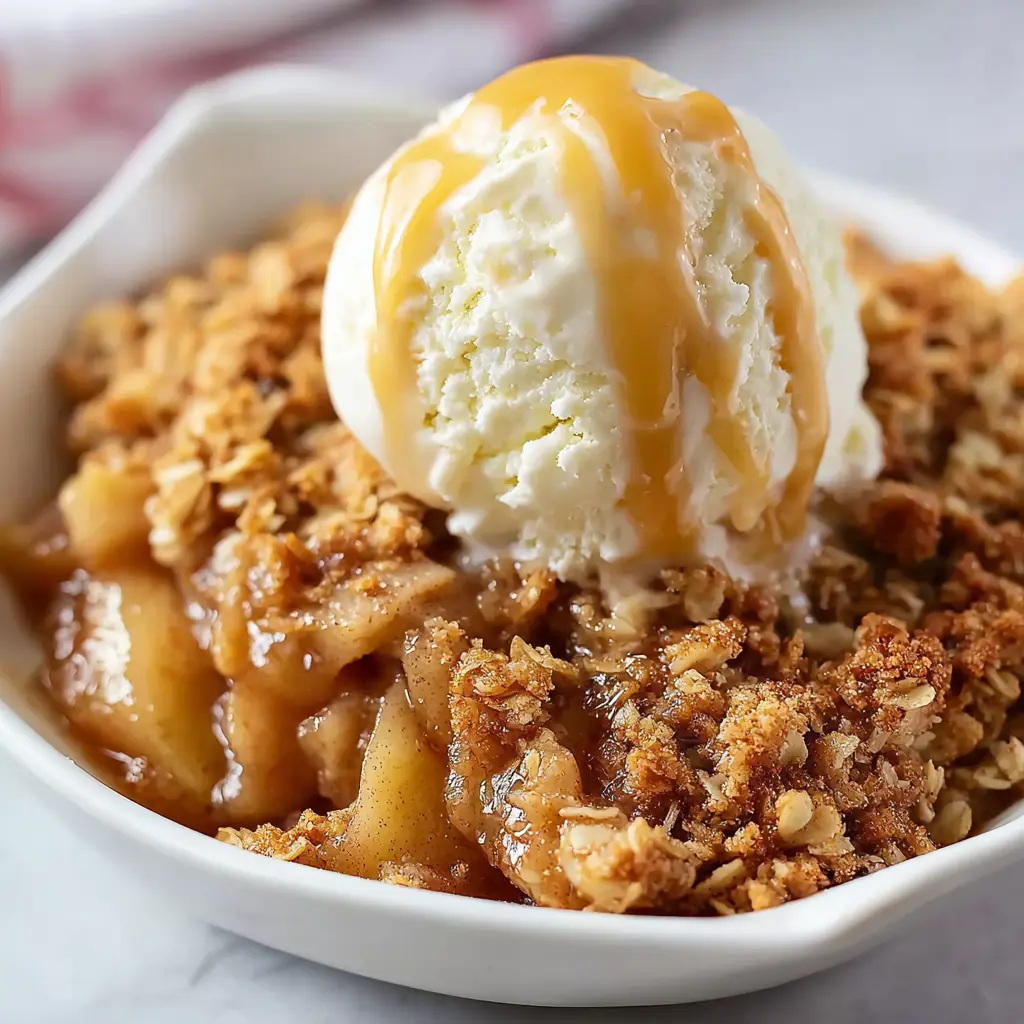
Pairing with ice cream
There’s nothing quite like the warm, cinnamon-kissed goodness of old-fashioned apple crisp paired with a scoop of creamy ice cream. Vanilla is a classic choice, but don’t hesitate to explore flavors like caramel or even maple pecan for a fun twist.
Serving suggestions:
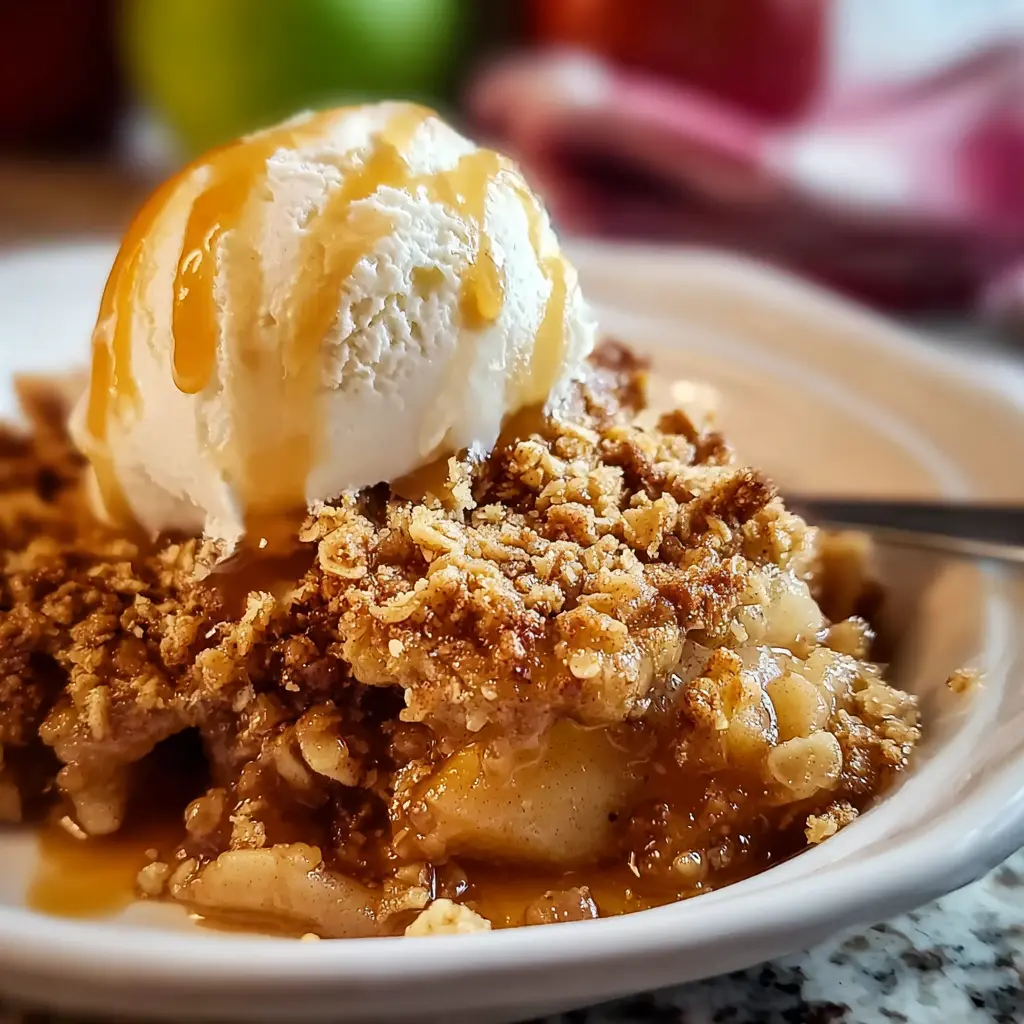
- Warm Crisp: Heat it up slightly in the microwave before adding the ice cream for that delightful contrast of temperatures.
- Drizzle: Top it off with a drizzle of caramel sauce for extra sweetness.
Imagine scooping a warm spoonful of apple crisp topped with melting ice cream—a dessert that brings comfort and satisfaction.
Serving with whipped cream
If ice cream isn’t your style, consider a generous dollop of whipped cream instead. This adds a light, airy contrast to the rich, buttery components of your old-fashioned apple crisp.
Tips for serving:
- Homemade Whipped Cream: Whip it up with a hint of vanilla for an extra flavor boost.
- Presentation: Use a piping bag to create beautiful swirls on top for a café-like presentation.
Both options elevate your dessert experience, making your old-fashioned apple crisp the highlight of any gathering. Ready to impress your friends? Try some of these suggestions and watch the smiles unfold!
Time Breakdown for Old-Fashioned Apple Crisp
Preparation Time
Getting started is half the fun! For your old-fashioned apple crisp, prepare to invest about 15 to 20 minutes in slicing apples and mixing the crumbly topping. It’s a perfect time for a bit of music or a podcast—perhaps something about fall recipes?
Cooking Time
Once everything is assembled, pop your crispy creation in the oven. Expect a cooking time of approximately 35 to 40 minutes. The aroma will fill your kitchen, tempting everyone who passes by!
Total Time
Add it all up, and you’re looking at around 55 to 60 minutes from prep to dessert bliss. Perfect for a cozy night in or a gathering with friends! Want to learn more about the art of baking? Check out this resource for absolute beginner tips and techniques!
Nutritional Facts for Old-Fashioned Apple Crisp
When you indulge in old-fashioned apple crisp, it’s good to have an idea of its nutritional profile. Here’s what you need to know:
Calories
A typical serving of old-fashioned apple crisp contains approximately 200-250 calories. This makes it a delightful treat that can fit into a balanced diet without derailing your goals.
Carbohydrates
You can expect around 35-40 grams of carbohydrates per serving. This is largely from the apples and oats, providing a quick energy boost perfect for a busy day.
Sugars
The sugar content usually hovers around 15-20 grams. Most of this sugar comes naturally from the apples, with some added sweetness from brown sugar or maple syrup. If you want to reduce sugar intake, consider using less sweetener or opting for a sugar substitute.
If you want to dive deeper into the nutritional benefits of apples and their role in a healthy diet, check out resources like Healthline or WebMD. Staying informed can enhance your cooking experience and enjoyment of this classic dessert!
FAQ about Old-Fashioned Apple Crisp
Can I make apple crisp ahead of time?
Absolutely! Preparing your old-fashioned apple crisp ahead of time can save a lot of hassle. You can assemble it a day in advance and refrigerate it until you’re ready to bake. Just remember to bake it fresh for the best texture and flavor. If you are planning a gathering, this can be a game changer—allowing you to focus on other dishes or simply relax with your guests.
What’s the best way to store apple crisp?
To keep your old-fashioned apple crisp fresh, store it in an airtight container in the refrigerator, where it will last for about 3 to 4 days. If you want to enjoy it later, consider freezing it. Make sure it’s completely cooled before wrapping it tightly or putting it in a freezer-safe container. When you’re ready to eat it again, there’s no need to thaw it overnight; you can just pop it in the oven straight from the freezer!
Can I use frozen apples for the recipe?
Definitely! Frozen apples can be a convenient alternative, especially when fresh apples are out of season. Just ensure you let the apples thaw completely and drain any excess liquid before mixing them with the other ingredients. Some sources recommend that using frozen apples can work beautifully in recipes like this one, maintaining that comforting old-fashioned apple crisp flavor.
For more tips on maintaining the best flavor in your apple crisp, check out Food Network or Serious Eats. Feel free to experiment and make this classic dessert your own!
Conclusion on Old-Fashioned Apple Crisp
Bringing back the nostalgia of homemade desserts
There’s something undeniably heartwarming about an old-fashioned apple crisp. It takes you back to simpler times, often evoking memories of family gatherings or cozy evenings at home. The aroma of cinnamon and baked apples fills the air, making it impossible not to smile.
Making this delightful dessert is more than just following a recipe; it’s about engaging your senses and creating lasting memories. Whether you opt for a classic version or experiment with unique toppings, the warmth of a homemade apple crisp brings comfort on chilly days.
So, why not bookmark this recipe for your next gathering? Share it with friends or savor it solo! To explore more delightful apple dessert recipes, check out Serious Eats or dive into some seasonal ideas at Food Network. Your kitchen will thank you!
Print
Old-Fashioned Apple Crisp: A Heartwarming, Easy Dessert Delight
- Total Time: 1 hour 5 minutes
- Yield: 8 servings
Description
Enjoy a warm, homemade apple crisp that brings the classic flavors of cinnamon and baked apples together in an easy dessert.
Ingredients
- 6 cups sliced apples
- 1 cup granulated sugar
- 1 teaspoon ground cinnamon
- 1 cup all-purpose flour
- 1 cup rolled oats
- 1 cup brown sugar
- 1/2 cup unsalted butter, melted
Instructions
- Preheat your oven to 350°F (175°C).
- In a large bowl, mix sliced apples with granulated sugar and cinnamon. Place in a greased baking dish.
- In another bowl, combine flour, oats, brown sugar, and melted butter. Mix until crumbly.
- Spread the crumble mixture over the apples evenly.
- Bake in the preheated oven for 45 minutes or until the top is golden brown.
Notes
- Let the crisp cool for a few minutes before serving.
- Great served with vanilla ice cream!
- Prep Time: 20 minutes
- Cook Time: 45 minutes
- Category: Dessert
- Method: Baking
- Cuisine: American
Nutrition
- Serving Size: 1 serving
- Calories: 250
- Sugar: 22g
- Sodium: 150mg
- Fat: 10g
- Saturated Fat: 6g
- Unsaturated Fat: 3g
- Trans Fat: 0g
- Carbohydrates: 36g
- Fiber: 3g
- Protein: 2g
- Cholesterol: 20mg
")