Introduction to No-Bake Weekend Treat
Why Homemade Treats?
In a world bustling with scheduled commitments and endless to-do lists, taking a moment to savor a homemade treat can be delightfully calming. But why should we craft our own goodies when ready-made options are just a store visit away? The answer is simple: control and creativity. By whipping up your own dessert, you decide the ingredients, allowing for healthier swaps and personalization that store-bought goods often lack. Plus, it’s a fantastic opportunity to impress friends or to enjoy a cozy weekend at home.
Beyond taste, there’s something inherently satisfying about creating something from scratch. An article from The Spruce Eats highlights that cooking at home not only helps boost your mood but can also enhance your culinary skills. So, when you’re looking for that perfect no-bake weekend treat, remember: homemade means it’s made with love!
Benefits of No-Bake Desserts
Now, let’s dive into why no-bake desserts are a game-changer. Imagine a sweet craving overtaking you on a Saturday afternoon. Instead of preheating the oven, you can simply combine ingredients, mold, and chill — no fuss, no mess! Here are some compelling benefits:
- Quick and Easy: With minimal preparation required, you can whip up a delicious treat in under 30 minutes.
- No Oven Required: This is a huge plus during the warmer months or in smaller kitchens, where oven space might be scarce.
- Versatile Ingredient Options: From nuts and fruits to dairy alternatives, the possibilities are endless. You can easily cater to various dietary preferences, whether it’s vegan, gluten-free, or just a healthier option!
Additionally, energy-efficient no-bake recipes can help you save on electricity bills. And who doesn’t love that? By skipping the heat, you are also keeping your kitchen cooler, making these treats even more appealing during hot weather.
Your no-bake weekend treat journey awaits! Whether you’re indulging alone with a book or sharing with friends, these treats are perfect for any occasion and will surely become a delightful staple in your weekend routine. For more inspiration, feel free to check out BBC Good Food’s no-bake recipe collection and discover your next delicious adventure!
Ingredients for No-Bake Weekend Treat
Creating a delicious no-bake weekend treat is simple and rewarding. Here’s what you’ll need to whip up a delightful dessert without breaking a sweat.
Base Ingredients
- Graham crackers: About 2 cups, crushed into fine crumbs to create a delectable crust.
- Butter: ½ cup, melted for binding the crust together and enhancing flavor.
Sweet Layer
- Cream cheese: 8 ounces, softened to add a creamy, luscious texture.
- Sugar: ½ cup, to sweeten the mixture perfectly—you can use a sugar substitute if preferred.
- Vanilla extract: 1 teaspoon, for a delightful aroma and taste.
Toppings and Flavor Boosters
- Mini chocolate chips: ½ cup, because who doesn’t love chocolate?
- Fresh fruits or berries: For a refreshing twist—think strawberries or blueberries.
- Whipped cream: Optional, for an extra fluffy touch!
Mix and match according to your tastes! Interested in exploring different flavor profiles? Check out this guide on flavor combinations to inspire your creativity.
Getting together with friends or family for a fun night? A no-bake weekend treat is sure to impress without all the fuss!
Preparing Your No-Bake Weekend Treat
Preparing a no-bake weekend treat is not only a breeze, but it’s also an opportunity to whip up something delicious without all the fuss of an oven. Whether you’re lounging on the couch or hosting friends, this delightful recipe requires minimal effort and delivers maximum reward. Let’s dive into the steps that will turn your weekend into a sweet escape!
Gather Your Ingredients
The first step to success in the kitchen (even if it’s the no-bake variety) is organization. Take a moment to gather the following ingredients before you start:
- Graham crackers: About 1.5 cups crushed (or you can buy pre-crushed)
- Unsalted butter: ½ cup, melted
- Peanut butter: 1 cup (feel free to use creamy or crunchy based on your preference)
- Powdered sugar: 1 cup, sifted
- Chocolate chips: 1 cup (dark or semi-sweet, your choice)
- Heavy cream: ½ cup (for that silky smooth chocolate topping)
With everything in one place, you can move swiftly through the process. This is also a great moment to enjoy some music or a podcast to set the mood.
Create the Graham Cracker Crust
Now that your ingredients are ready, it’s time to bring the graham cracker crust to life:
- Crush those crackers: If you haven’t bought pre-crushed graham crackers, place them in a zip-lock bag and crush them using a rolling pin until they resemble fine crumbs.
- Mix with melted butter: In a large mixing bowl, combine the crushed graham crackers with melted butter. Stir until the mixture has the consistency of wet sand.
- Form the crust: Press this mixture firmly into the bottom of a greased 9-inch springform pan. Make sure to pack it tightly for a sturdy base. This step is crucial because it locks in all those delicious no-bake layers to come.
Spread the Creamy Peanut Butter Layer
Here’s where it gets delightfully indulgent!
- In a medium bowl, combine the peanut butter and powdered sugar until smooth and creamy.
- Once mixed, gently spread this peanut butter layer evenly over your graham cracker crust. An offset spatula works wonderfully for this, ensuring an even layer that’s both delicious and visually appealing.
If you’re a fan of peanut butter, you might want to double that layer—trust me, your taste buds will thank you!
Whip Up the Chocolate Topping
Let’s elevate your no-bake weekend treat with a luscious chocolate topping:
- Melt the chocolate: Place your chocolate chips in a microwave-safe bowl and heat them in 30-second intervals, stirring between each, until fully melted.
- Add in heavy cream: Once the chocolate is melted, pour in the heavy cream and stir until the mixture is silky smooth and glossy. This will create a ganache-like topping that sets beautifully.
Assemble and Refrigerate
It’s almost time to indulge in your creation!
- Pour the chocolate topping: Gently spread the melted chocolate over the peanut butter layer, ensuring it covers it completely.
- Chill out: Place the assembled treat in the refrigerator and allow it to chill for at least 4 hours, or until set. Overnight is even better if you can wait!
When you’re ready to enjoy your no-bake weekend treat, simply slice it into pieces and delight in the perfect balance of graham, peanut butter, and chocolate.
This weekend treat isn’t just delicious; it’s also perfect for sharing with friends or enjoying all to yourself during a cozy evening in. Why not sprinkle some sea salt on top before serving for that extra something? Happy indulging!
Variations on No-Bake Weekend Treat
Peanut Butter Chocolate Variations
When it comes to a delicious no-bake weekend treat, peanut butter and chocolate are a match made in heaven. For those craving something a little different, why not explore these delectable variations?
- Nutty Delight: Swap out plain peanut butter for crunchy style. The added texture takes your treat to a whole new level.
- Chocolate Overload: Use dark chocolate chips instead of semi-sweet for a richer taste. Dark chocolate is known to have health benefits, including antioxidants that can boost your mood.
- Flavor Fusion: Add a pinch of sea salt and a swirl of maple syrup for a sweet and savory twist that will tantalize your taste buds.
Add-ins and Toppings
The beauty of a no-bake weekend treat lies in its versatility. Customize your concoction with various add-ins and toppings to make it uniquely yours:
- Nut Butters: Try almond or cashew butter if you’re looking for a different nutty flavor.
- Grains: Add rolled oats or crushed graham crackers into the mixture for extra crunch. Oats are a great source of fiber and can help keep you feeling full longer.
- Seeds and Fruit: Incorporate chia seeds or dried fruits like cranberries for added nutrition and a pop of color.
- Toppings: Drizzle chocolate ganache or a sprinkle of shredded coconut on top to elevate the visual appeal. Coconut adds a tropical flair!
Remember, the goal is to experiment and find combinations that speak to your palate. For more inspiration, check out resources like The Spruce Eats for additional hints and delicious ideas! Your no-bake weekend treat adventure awaits!
Cooking Tips and Notes for Your No-Bake Weekend Treat
Creating a delightful no-bake weekend treat doesn’t have to be complicated. Here are some friendly tips to ensure your experience is enjoyable and successful:
Use High-Quality Ingredients
The taste of your treat hinges on the quality of the ingredients. Opt for fresh fruits, rich chocolates, and natural sweeteners. Organic options can enhance flavor and are often healthier!
Experiment with Textures
Textures can make or break your dessert. Consider adding crunchy elements like nuts or granola. They can provide a delightful contrast to the creaminess of a cheesecake layer, for example.
Chill Thoroughly
Allow your no-bake weekend treat to chill adequately before serving. This helps flavors meld together beautifully. Remember, patience is key! Ten minutes to five hours can make a difference in texture.
Make It Your Own
Feel free to customize your recipe. Add a dash of your favorite spices—cinnamon or nutmeg can elevate the flavor profile. Check out resources like Epicurious for more inspiration.
By incorporating these tips, you’ll impress friends and family with your no-bake delights! Enjoy the process and happy cooking!
Serving Suggestions for No-Bake Weekend Treat
When it comes to enjoying your no-bake weekend treat, presentation and pairings can elevate the experience. Here are some delightful suggestions to make that sweet indulgence even better.
Perfect Pairings
Complement your treat with a variety of accompaniments:
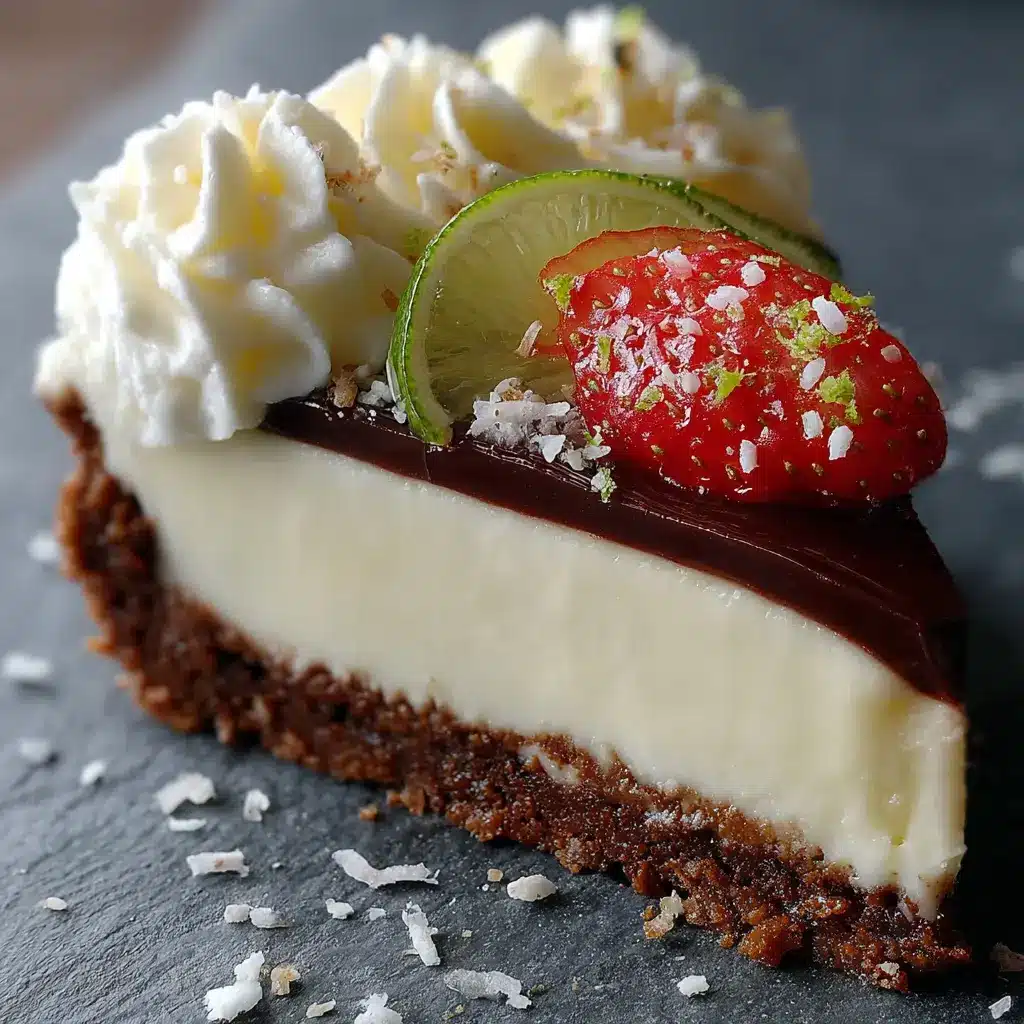
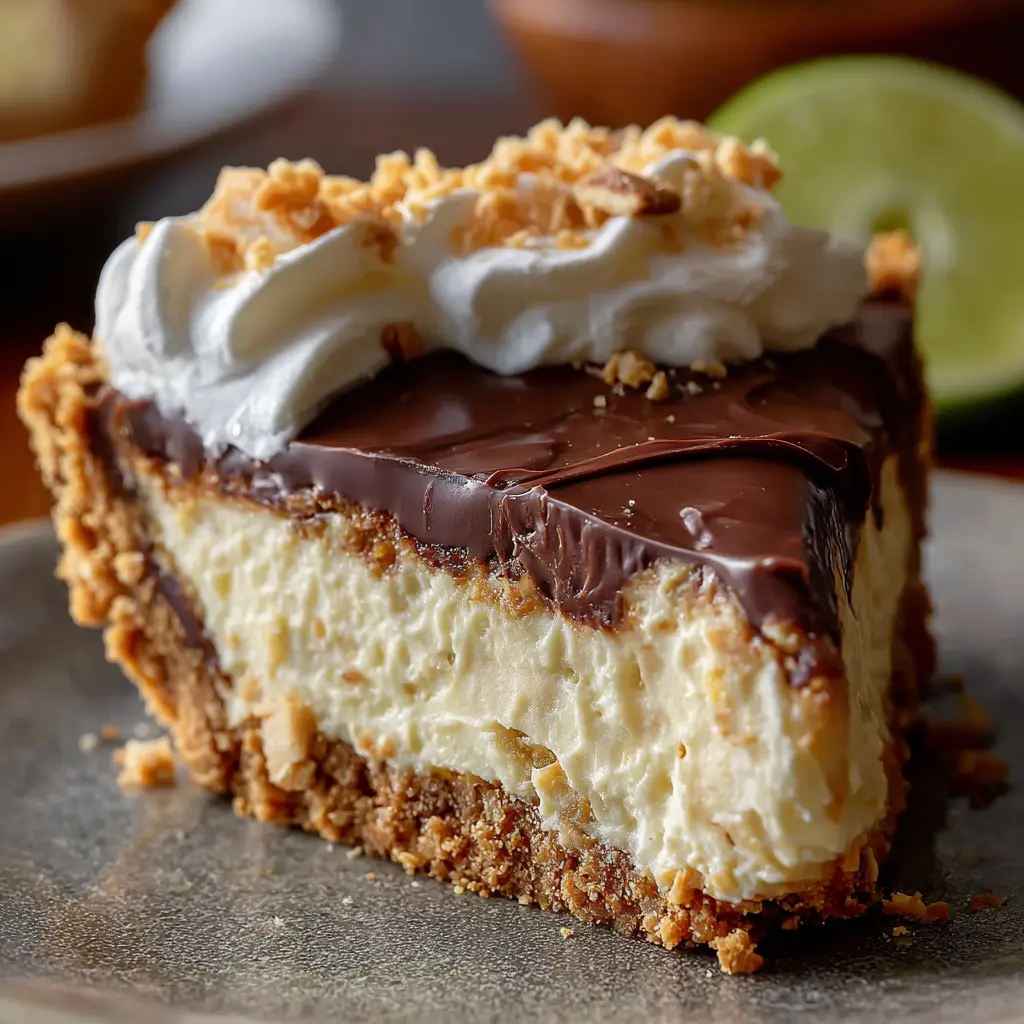
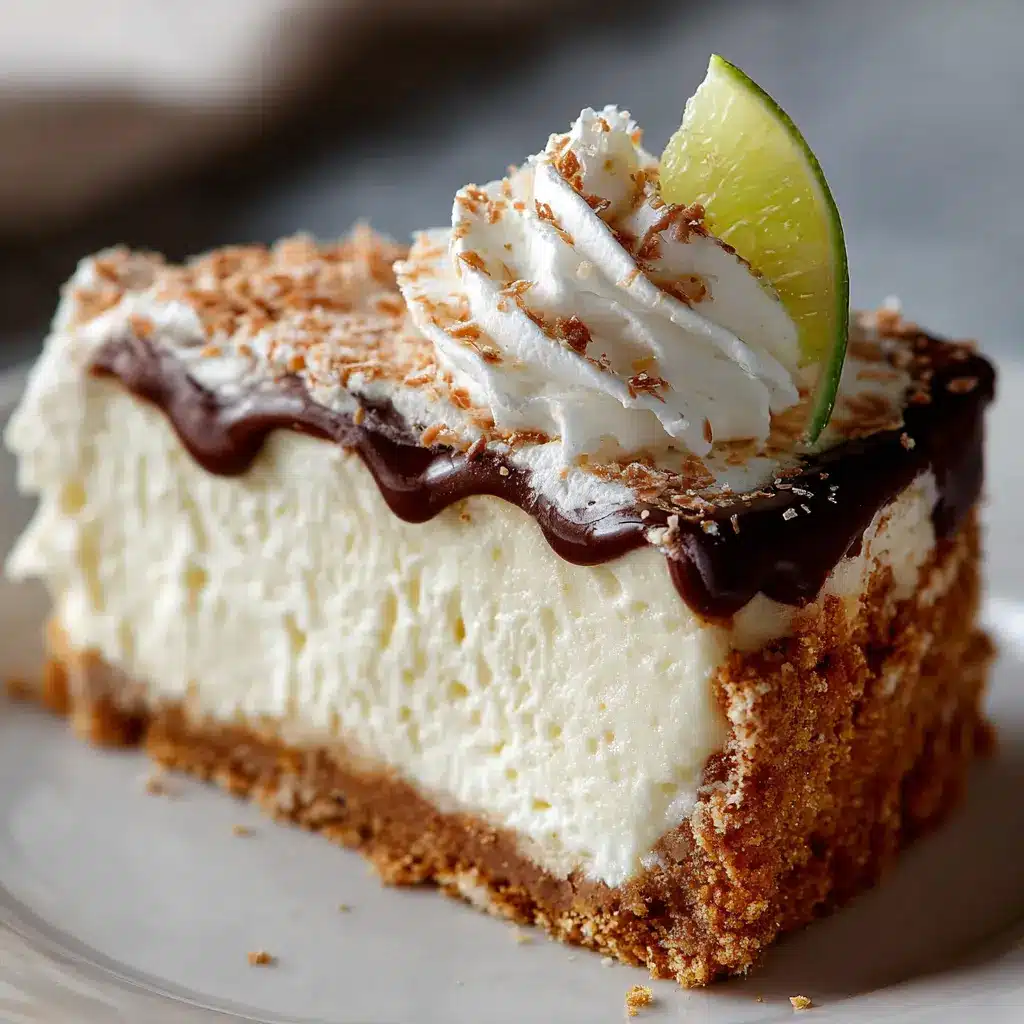
- Fresh Fruits: Think berries, bananas, or even a sprinkle of citrus zest for a refreshing contrast.
- Whipped Topping: A light dollop of whipped cream or coconut cream brings an airy texture that perfectly balances sweetness.
- Nutty Crunch: Try adding chopped nuts or granola for a delightful crunch that enhances both flavor and texture.
Beverage Options
Instead of wine, consider these refreshing beverages that perfectly complement your no-bake weekend treat:
- Iced Herbal Tea: A fruity blend of hibiscus or berry-infused tea chills down your dessert’s sweetness.
- Sparkling Water: A splash of citrus-flavored sparkling water will cleanse your palate beautifully.
Portion Control
Serve your no-bake weekend treat in small cups or jars for an attractive presentation and portion control. This not only looks appealing but also invites guests to indulge without feeling guilty.
For more creative serving ideas and inspiration, check out this fruit pairing guide!
Whether hosting friends or enjoying a quiet night in, these tips will make your no-bake weekend treat truly unforgettable.
Time Breakdown for No-Bake Weekend Treat
Prep Time
Creating your no-bake weekend treat is a breeze! You’ll need about 15-20 minutes to prepare all the ingredients. Gather your essentials, and you’ll be on your way to dessert bliss in no time. Enjoying the process can make it even quicker.
Refrigeration Time
After prepping, it’s crucial to let your treat chill. Refrigerate for at least 2 hours to allow the flavors to meld perfectly. This step ensures that the texture is just right and that every bite is delightful.
Total Time
In total, you’re looking at about 2 hours and 20 minutes from start to finish. With minimal active time and a little patience during refrigeration, this no-bake weekend treat can be a simple addition to your weekend plans. Why not whip it up during your next cozy Saturday at home? For more tips on quick desserts, check out resources like Food Network or Taste of Home for inspiration!
Nutritional facts for No-Bake Weekend Treat
Calories per serving
When you indulge in this delightful no-bake weekend treat, you’ll be pleased to know it packs a reasonable calorie count! Each serving contains approximately 200 calories, making it a guilt-free pleasure for your weekend relaxation. Perfect for enjoying while unwinding!
Nutrients to note
This treat isn’t just a tasty dessert; it also brings some notable nutritional benefits:
- Healthy fats: Thanks to ingredients such as nuts and nut butters, you’ll get a dose of heart-healthy fats.
- Protein: With options like Turkey Bacon or yogurt, you’re not just treating your sweet tooth; you’re also giving your muscles a little love.
- Fiber: Whole grains or oats in the recipe can help keep you feeling full and satisfied.
For more detailed nutritional information or tips on making your treats healthier, check out Healthline and Nutrition.gov. Happy snacking!
FAQs about No-Bake Weekend Treat
Can I use different nut butters?
Absolutely! One of the best things about this no-bake weekend treat is its versatility. You can swap out the nut butter for your favorite type—whether it’s almond, cashew, or even sunflower seed butter for a nut-free version. Each nut butter brings its own unique flavor and texture. Plus, different butters can adjust the treat’s sweetness or creaminess, so don’t hesitate to experiment!
How long will these treats last in the fridge?
When stored properly in an airtight container, your no-bake weekend treat can last up to one week in the fridge. However, I recommend consuming them within the first few days for the best taste and texture. If you plan to make these in advance, consider freezing some portions. They can hold up to a month in the freezer—just thaw them in the fridge overnight before indulging!
Are there gluten-free options for this treat?
Definitely! Many of the ingredients typically used in a no-bake weekend treat can easily be found in gluten-free versions. Just ensure that your oats, if using them, are certified gluten-free. This way, everyone can enjoy these delightful bites without worry. Check out resources like Celiac Disease Foundation for more information on gluten-free ingredients and recipes.
If you have any more questions or need additional tips, feel free to reach out in the comments below or share your own variations! Happy snacking!
Conclusion on No-Bake Weekend Treat
Creating an easy and delicious no-bake weekend treat can turn any ordinary weekend into a delightful experience. Not only are these recipes quick to whip up, but they also remove the stress of baking—perfect for the busy young professional. Imagine inviting friends over, serving these scrumptious bites, and sharing laughter and good vibes.
If you’re looking for creative variations, consider incorporating seasonal fruits or swapping in turkey bacon for an added savory kick. Don’t hesitate to explore this guide for more inspiration on no-bake treats. Remember, the joy of these recipes lies in their flexibility and the smiles they bring. Happy indulging!
Print
No-Bake Weekend Treat: Indulgent Turkey Bacon Bliss Bars
- Total Time: 2 hours 15 minutes
- Yield: 12 bars
- Diet: Gluten-Free
Description
Indulge in these delicious No-Bake Turkey Bacon Bliss Bars, a perfect weekend treat for anyone craving something sweet and savory.
Ingredients
- 1 cup crushed graham crackers
- 1/2 cup melted butter
- 1/2 cup brown sugar
- 1 cup chocolate chips
- 1/2 cup crispy turkey bacon, chopped
- 1/4 cup peanut butter
- 1 teaspoon vanilla extract
Instructions
- In a mixing bowl, combine crushed graham crackers, melted butter, and brown sugar.
- Press the mixture into a lined baking dish.
- Melt chocolate chips and mix in peanut butter and vanilla.
- Pour the chocolate mixture over the crust and sprinkle chopped turkey bacon on top.
- Refrigerate for at least two hours before slicing into bars.
Notes
- Allow the bars to chill overnight for best results.
- These bars can be customized with different types of nuts or candy.
- Prep Time: 15 minutes
- Cook Time: 0 minutes
- Category: Dessert
- Method: No-Bake
- Cuisine: American
Nutrition
- Serving Size: 1 bar
- Calories: 200
- Sugar: 15g
- Sodium: 150mg
- Fat: 10g
- Saturated Fat: 5g
- Unsaturated Fat: 3g
- Trans Fat: 0g
- Carbohydrates: 25g
- Fiber: 1g
- Protein: 3g
- Cholesterol: 15mg
")