Introduction to Mini Cheesecakes
Mini cheesecakes are not just desserts; they are a delightful, bite-sized treat that fit perfectly into the busy lifestyles of young professionals. Whether you’re navigating the fast-paced world of work or enjoying some downtime with friends, these little creamy morsels offer a taste of indulgence without the guilt. They’re portable, shareable, and incredibly versatile. Imagine whipping up a batch for a casual gathering, or perhaps taking some to a potluck—everyone will be asking for your recipe! For more inspiration on easy treats, check out sites like Bon Appétit or Allrecipes.
Why Mini Cheesecakes Are the Perfect Treat for Young Professionals
Let’s face it; modern young professionals often have a jam-packed schedule. Juggling work, social events, and personal interests can be both exciting and overwhelming. Here’s where mini cheesecakes come in:
-
Convenience: Their small size makes them easy to munch on during a busy workday or while catching up with friends. They require no forks, plates, or elaborate setup—just grab and enjoy!
-
Customizable Options: Mini cheesecakes can be tailored to suit any taste. Whether you prefer classic vanilla, decadent chocolate, or fruity flavors like raspberry or lemon, the options are endless. Tailor them to satisfy any craving or dietary restriction, from gluten-free crusts to vegan alternatives.
-
Easily Shared: Have coworkers over for a meeting or a friends’ night in? Mini cheesecakes make fantastic conversation starters and are perfect for sharing. Who wouldn’t love to sink their teeth into a delicious assortment?
-
Sweet Satisfaction: Despite their small stature, these cheesecakes are bursting with flavor and creamy goodness. They offer a delightful balance of sweet and tangy, giving you that satisfying treat without overindulging.
While preparing these tasty delights might seem daunting, fear not! Making mini cheesecakes can be a fun and engaging process. With the right recipes and tips, you’ll discover just how simple they can be to whip up in your own kitchen. Plus, they’re a wonderful way to impress friends and family—one bite, and they’ll be hooked!
So, why not step into the world of mini cheesecakes? It might just become your new favorite baking project!
Ingredients for Mini Cheesecakes
What you’ll need for delicious mini cheesecakes
Creating these delightful mini cheesecakes is simpler than you might think! To get started, make sure you gather the following ingredients:
- Cream Cheese: 16 ounces of softened cream cheese provides that rich, velvety texture that makes cheesecakes so appealing. Make sure it’s at room temperature for easier mixing.
- Sugar: Use 3/4 cup of granulated sugar to sweeten the cream cheese. You can adjust this based on your preference or use alternatives like coconut sugar for a different flavor profile.
- Sour Cream: 1/2 cup enhances the creaminess and adds a slight tang. If you’re keen on healthy options, Greek yogurt can also work.
- Vanilla Extract: 1 teaspoon for a warm flavor boost. Real vanilla extract is always best!
- Eggs: 2 large eggs help bind everything together. Consider using room-temperature eggs for smoother blending.
- Graham Cracker Crumbs: For the crust, you’ll want about 1 1/2 cups. Mixing them with melted butter creates that delicious base.
These ingredients will come together to delight your taste buds, ensuring your mini cheesecakes are a hit at any gathering! Want some tips on customizing flavors? Check out this guide to cheesecake variations for some creative inspiration. Isn’t it exciting to think about all the delicious possibilities?
Preparing Mini Cheesecakes
When it comes to making scrumptious mini cheesecakes, the process can be incredibly rewarding and, dare I say, quite fun! Picture yourself indulging in those creamy bites—perfect for gatherings or just treating yourself. So, let’s roll up our sleeves and dive into this delightful treat step-by-step.
Gather Your Materials
First things first, let’s make sure you have everything you need to whip up your mini cheesecakes. Here’s a quick checklist of ingredients and tools to gather:
-
For the crust:
-
1 ½ cups graham cracker crumbs
-
1/3 cup granulated sugar
-
1/2 cup unsalted butter, melted
-
For the filling:
-
16 oz cream cheese, softened
-
1 cup granulated sugar
-
1 teaspoon vanilla extract
-
3 large eggs
-
1 cup sour cream
-
Tools:
-
Muffin tin
-
Paper liners (optional)
-
Electric mixer
-
Mixing bowls
-
Rubber spatula
Having everything ready not only speeds up the process but also makes it way more enjoyable. You won’t have to rush around the kitchen looking for that elusive graham cracker!
Create the Graham Cracker Crust
The graham cracker crust is the foundation of your mini cheesecakes and it’s as simple as it gets. In a large bowl, mix the graham cracker crumbs, sugar, and melted butter until everything is well combined and resembles wet sand.
- Tip: Press the mixture firmly into the bottom of your muffin tin cups (either greased or lined) to ensure it holds together during baking. If you like a thicker crust, don’t be shy to pat down an extra layer!
Once that’s done, pop the crusts in the oven at 350°F (175°C) for about 8–10 minutes, until lightly golden. This step enhances the flavor of your crust and gives it a nice crunch.
Make the Creamy Cheesecake Filling
Now, let’s move on to the star of the show—the filling! In a mixing bowl, combine the softened cream cheese with the sugar and vanilla extract. Beat well using an electric mixer until it’s smooth and creamy. This is where that delicious texture comes into play.
Next, add in the eggs one at a time, mixing on low speed after each addition until just combined. Finally, fold in the sour cream gently. This adds an incredible richness that you simply can’t resist. Remember, overmixing can lead to cracks, so be gentle!
Assemble the Mini Cheesecakes
With the crust and filling ready, the fun part comes next—assembly! Divide the cheesecake batter evenly among the crusts, filling each cup about 3/4 full. A handy tip is to use an ice cream scoop to keep portions consistent—plus, it makes the process easier!
Bake and Cool the Cheesecakes
Now, it’s time for baking! Place your muffin tin in the preheated oven and bake for 18–20 minutes or until the centers are somewhat set but still slightly jiggly. They will continue to firm up as they cool, ensuring that perfect, creamy texture.
After baking, let the mini cheesecakes cool in the tin for about 10 minutes. Then, carefully transfer them to a wire rack to cool completely. If you’re looking to serve them chilled (which is always delightful!), refrigerate them for at least 2 hours before indulging.
With these steps, you’re all set to enjoy mouthwatering mini cheesecakes that are sure to impress! Can’t wait to hear how yours turn out! Consider checking out other delicious dessert recipes on popular cooking sites for more inspiration as you explore your baking skills.
Variations on Mini Cheesecakes
Mini cheesecakes aren’t just delightful treats; they’re a canvas for endless creativity! Whether you’re in the mood for something fruity or decadent, let’s dive into some delicious variations that can take your mini cheesecakes to the next level.
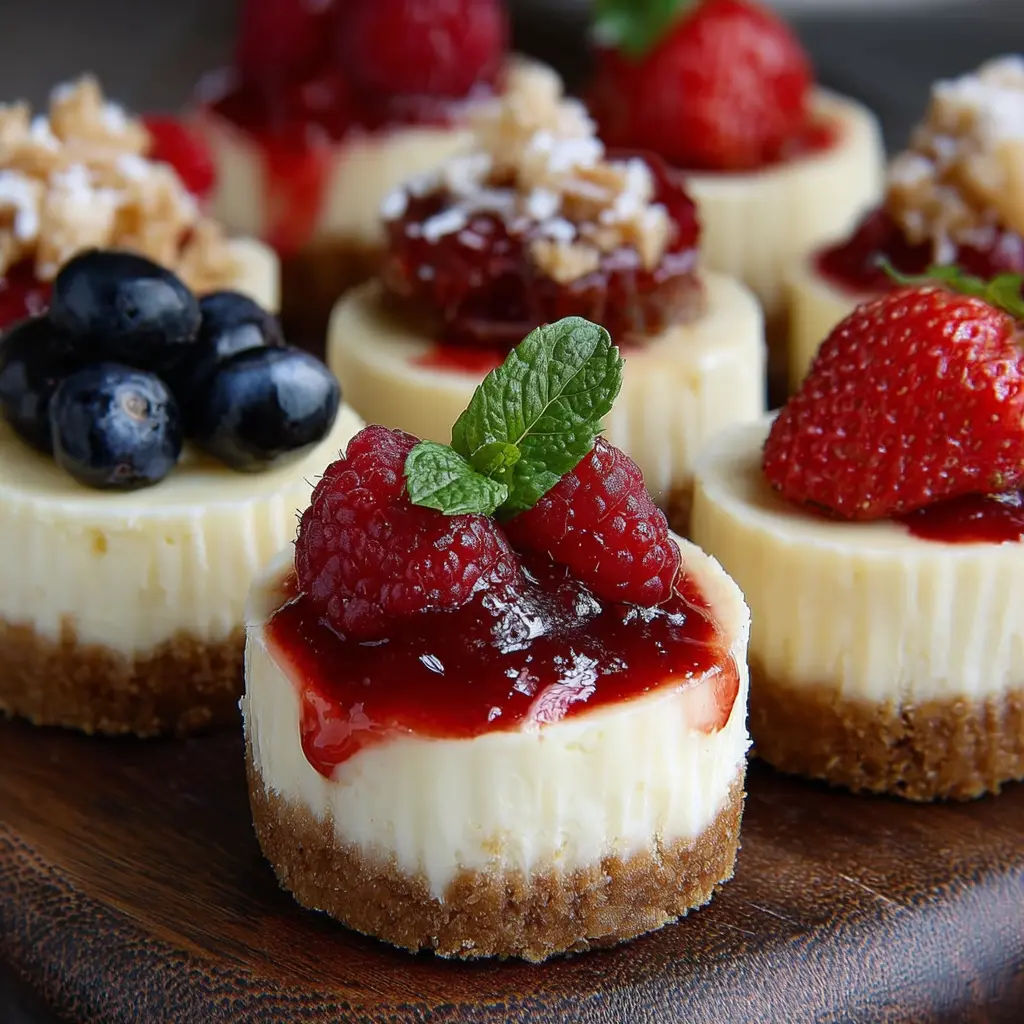
Fruity Delights: Topping Options
When it comes to toppings, the possibilities are truly endless. Think about how you can elevate your mini cheesecakes with fresh fruit enhances their flavor profile beautifully. Here are some ideas to get your creativity flowing:
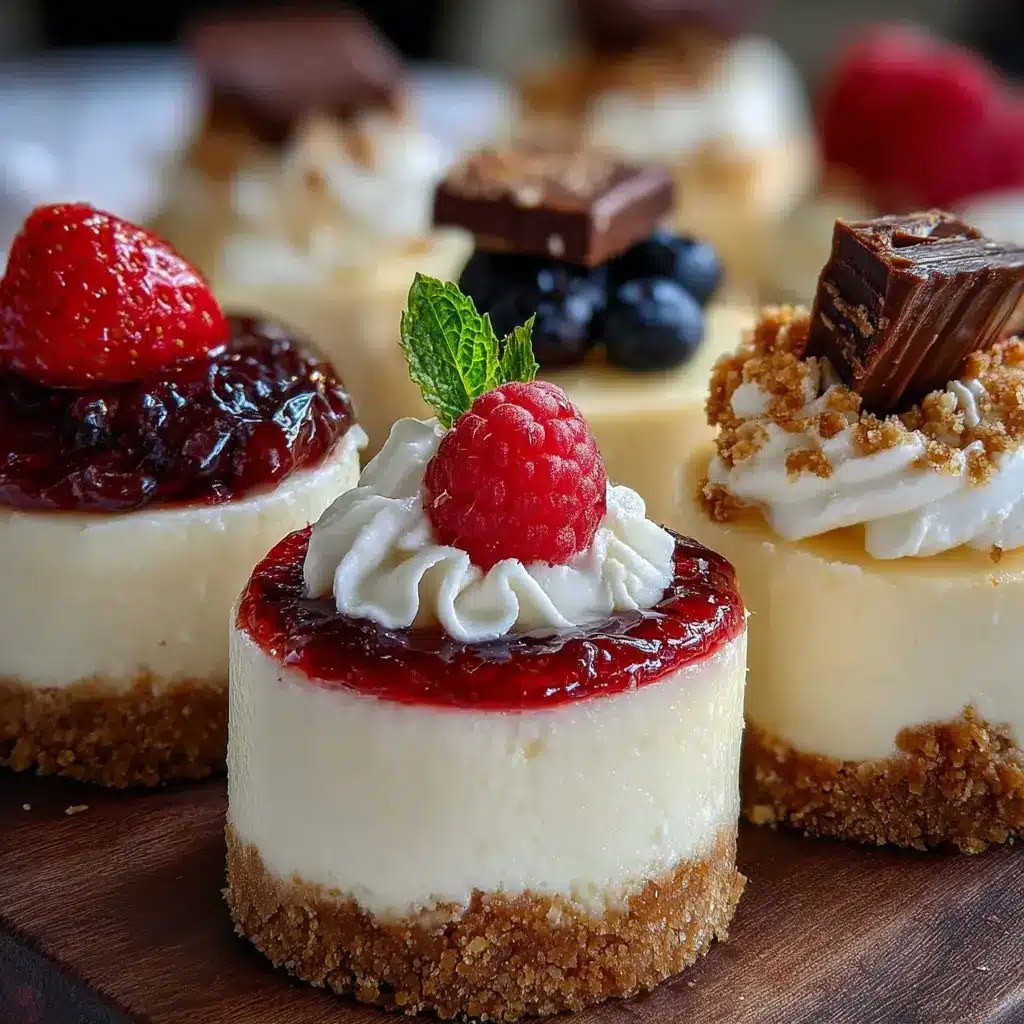
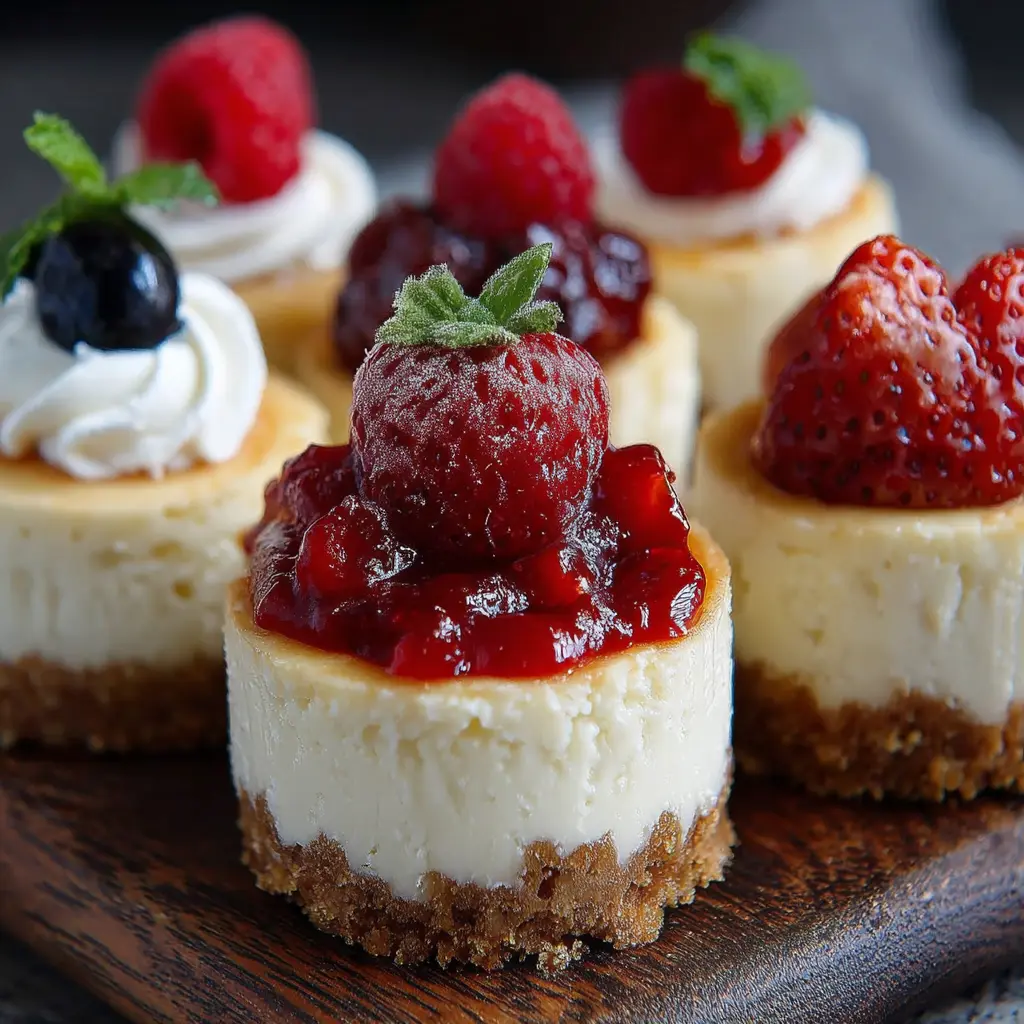
- Berry Medley: Top with sliced strawberries, blueberries, and raspberries. Their tartness balances the creaminess of the cheesecake perfectly.
- Mango Passion: A mango puree drizzled over the cheesecake gives a tropical feel, perfect for summer gatherings.
- Citrus Burst: A citrus compote—think lemon or orange—can add a refreshing zing that’s hard to resist.
For even more fruity inspiration, check out this great resource from Fresh Fruit Recipes.
Decadent Chocolate Mini Cheesecakes
If chocolate is your love language, you won’t want to miss out on decadent chocolate mini cheesecakes. Here are a couple of ways to infuse that rich, velvety goodness:
- Chocolate Ganache: Pour a silky chocolate ganache over the top for a luxurious finish that’s sure to impress.
- Raspberry Swirl: Incorporate fresh raspberries into your cheesecake batter for a marbled effect, adding both sweetness and a beautiful presentation.
These variations not only enhance flavor but also create a visual feast. Remember, the best part of making mini cheesecakes is experimenting with flavors and finding what delights your palate. Happy baking!
Cooking Tips and Notes for Mini Cheesecakes
Common Pitfalls to Avoid
When crafting your mini cheesecakes, a few common missteps can keep you from achieving that perfect creamy texture. Here are some helpful pointers:
-
Overmixing: It might be tempting to whip the batter vigorously, but this can incorporate too much air and lead to cracks during baking. Mix just until combined for a smooth consistency.
-
Using Cold Ingredients: Start with room temperature cream cheese and eggs. Cold ingredients can create lumps, leading to an uneven texture. A quick 30 minutes on the counter usually does the trick.
-
Skipping the Water Bath: Although it seems extra, a water bath helps regulate baking temperature, preventing overcooking. This method can lead to perfectly set, silky cheesecakes.
-
Chilling Time: Patience is your friend here. Allow your mini cheesecakes to chill completely; this enhances flavors and ensures they firm up.
For more insights on cheesecake baking, check out this guide. Happy baking!
Serving suggestions for Mini Cheesecakes
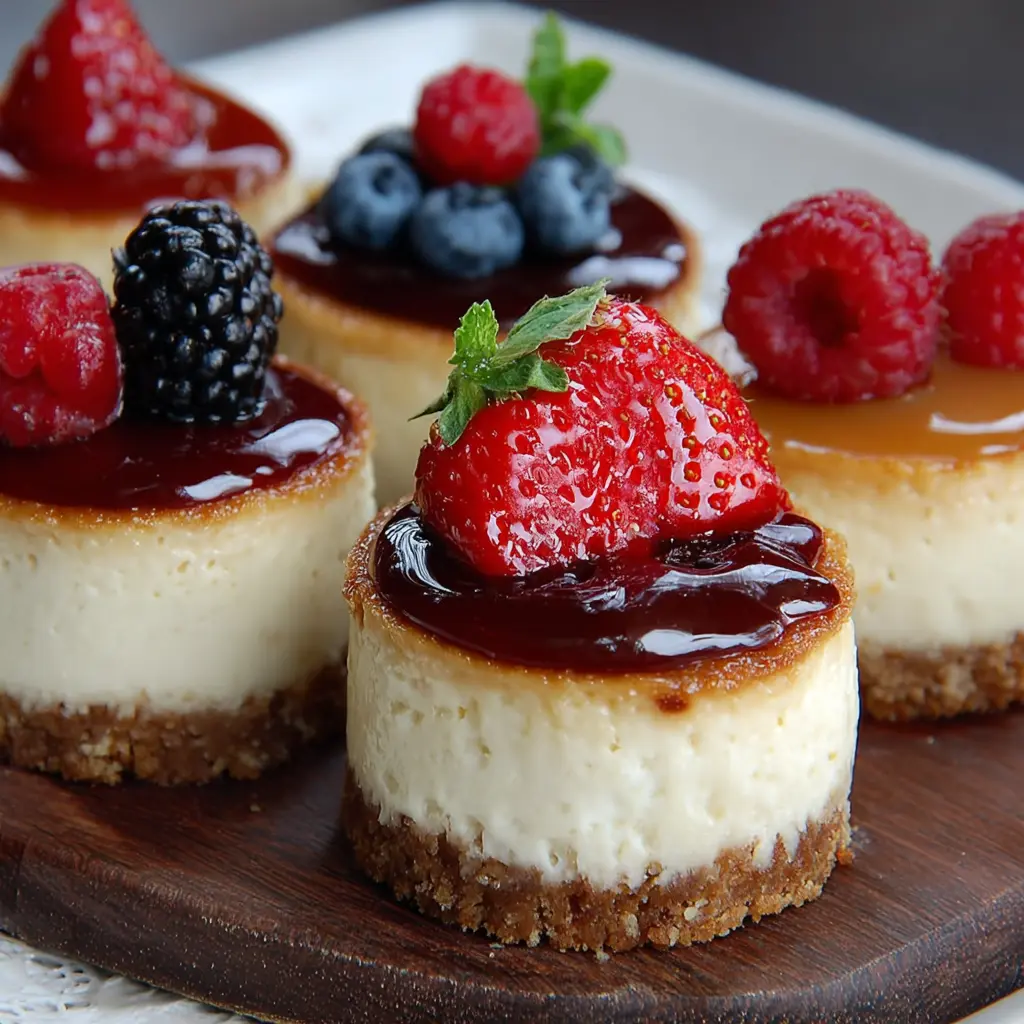
Creative ways to present your mini cheesecakes
Elevating your mini cheesecakes can transform them from delightful desserts into stunning centerpieces. Here are a few engaging ideas to make your presentation pop:
-
Individual Cups: Serve each mini cheesecake in clear dessert cups, layering the crust and filling beautifully for an enticing view. This also makes them super portable for gatherings.
-
Garnish with Fresh Fruit: Top with seasonal fruits like strawberries, blueberries, or kiwi. Not only does this add color, but the freshness complements the creamy flavor beautifully. For a stunning touch, consider arrangements inspired by sites like The Spruce Eats.
-
Chocolate Drizzle: A simple drizzle of melted chocolate or caramel sauce can enhance the flavor and create visual appeal. Just think about the last time you saw a dessert photographed with a glossy sheen; it definitely draws attention!
-
Serving Platter: Present your mini cheesecakes on a decorative platter, adding sprigs of mint or edible flowers around them. It’s an excellent way to impress guests at parties, and who doesn’t love a gorgeous display?
Remember, the beauty of these treats lies in their versatility; feel free to mix and match ideas! How will you present your next batch?
Time breakdown for Mini Cheesecakes
When it comes to making delightful mini cheesecakes, understanding the timing can help streamline your kitchen experience. Here’s a simple breakdown to make your baking session smoother.
Preparation time
You’ll need about 15 minutes to gather your ingredients and mix everything together. It’s a quick process, especially if you’re an organized cook! Lay out your crust and filling ingredients to avoid any mid-recipe scrambling.
Cooking time
Once your mini cheesecakes are in the oven, expect around 20 to 25 minutes of baking. Keep an eye on them; every oven is a little different, and you want that perfect creamy texture.
Total time
All in all, you’re looking at approximately 40 minutes from start to finish—quick enough for an impromptu gathering or a cozy night in. For some extra tips on timing, check out this handy baking guide. Enjoy sweet success with these mini cheesecakes!
Nutritional Facts for Mini Cheesecakes
When you indulge in mini cheesecakes, it’s good to know what you’re treating yourself to. Let’s break down the essential nutritional facts to give you a clearer picture of these delightful bites.
Calories
Each mini cheesecake typically contains around 250-300 calories. Not too shabby for a dessert, right? Just remember, moderation is key!
Sugar Content
Depending on your recipe, the sugar content per cheesecake can vary. On average, expect about 15-20 grams of sugar. To reduce this, consider using naturally sweet alternatives or reducing the amount of sugar in your mix.
Protein
One of the sweet perks of enjoying mini cheesecakes is their protein content. You can find about 5-7 grams of protein in each serving, thanks to the cream cheese and any added ingredients like Greek yogurt. For a richer protein punch, explore using Greek yogurt as a substitute.
Overall, these tasty treats can fit into a balanced diet when enjoyed occasionally. Looking for more insights? Check out Healthline for detailed nutritional information.
FAQs about Mini Cheesecakes
Can I make mini cheesecakes ahead of time?
Absolutely! Mini cheesecakes are perfect for prepping in advance. You can whip them up a day or even two before your event. Just make sure to allow them to cool completely, then cover them tightly with plastic wrap and store them in the refrigerator. Letting them sit enhances their flavors, contributing to a richer taste that you and your guests will love. Plus, this way, you can focus on other aspects of your gathering without worrying about dessert on the day of.
What are some gluten-free crust options for mini cheesecakes?
If you’re looking for gluten-free options, you’re in luck! Here are a few tasty alternatives for your mini cheesecakes:
- Almond flour crust: Combining almond flour with a bit of melted butter offers a nutty, crunchy base.
- Coconut flour crust: Sweetened coconut flakes mixed with butter create a tropical twist that pairs beautifully with cheesecake.
- Oreo thins: Using gluten-free Oreo thins can create a delightful chocolatey crust for your mini cheesecakes that everyone will enjoy.
If you’re curious about more gluten-free baking tips, check out Gluten-Free Baking.
How do I store leftovers?
Storing leftover mini cheesecakes is simple! Just place them in an airtight container and store them in the fridge. They’ll stay fresh for about 3-5 days, allowing you to savor every last bite. If you want to freeze your leftovers, wrap each cheesecake individually and place them in a freezer-safe container. They can last up to three months! Simply thaw them in the fridge overnight when you’re ready to indulge again.
By keeping these tips in mind, you’ll ensure your mini cheesecakes are not only delicious but also convenient for any occasion!
Conclusion on Mini Cheesecakes
Why these mini cheesecakes will become your go-to dessert
If you haven’t tried making mini cheesecakes yet, you are in for a treat! These delightful little bites are perfect for any occasion — from cozy nights in to lively gatherings with friends. Their gorgeous presentation, combined with customizable flavors, makes them a standout dessert that’s sure to impress.
Mini cheesecakes offer an ideal balance of creaminess and sweetness without overwhelming your palate. Plus, they’re easy to prepare and can be made ahead, making them a practical choice for busy young professionals like yourself. Don’t just take my word for it—it’s been noted by the experts that portion-controlled desserts can help with moderation and enjoyment (source: American Journal of Lifestyle Medicine). So, whether you’re treating yourself or hosting a dinner party, these are bound to become your favorite sweet indulgence.
Print
Mini Cheesecakes: Easy and Indulgent Treats for Any Occasion
- Total Time: 4 hours 40 minutes
- Yield: 12 mini cheesecakes
- Diet: Vegetarian
Description
Mini cheesecakes are the perfect dessert for any gathering or celebration. They are easy to make and incredibly indulgent!
Ingredients
- 1 cup graham cracker crumbs
- 1/4 cup unsalted butter, melted
- 2 cups cream cheese, softened
- 3/4 cup granulated sugar
- 1 teaspoon vanilla extract
- 2 large eggs
- 1 cup sour cream
- 1/4 cup powdered sugar
Instructions
- Preheat the oven to 325°F (160°C).
- In a bowl, mix the graham cracker crumbs and melted butter until combined.
- Press the mixture into the bottom of a muffin tin lined with cupcake liners.
- In a separate bowl, beat the cream cheese until smooth.
- Add the granulated sugar and vanilla extract, mixing until well combined.
- Mix in the eggs one at a time, followed by the sour cream.
- Pour the cheesecake batter into the prepared crusts.
- Bake for 18-20 minutes until set and slightly jiggly in the center.
- Allow to cool, then refrigerate for at least 4 hours before serving.
Notes
- For a flavored cheesecake, consider adding chocolate chips or fruit puree.
- Top with fresh fruit or whipped cream before serving.
- Prep Time: 20 minutes
- Cook Time: 20 minutes
- Category: Dessert
- Method: Baking
- Cuisine: American
Nutrition
- Serving Size: 1 mini cheesecake
- Calories: 250
- Sugar: 12g
- Sodium: 150mg
- Fat: 18g
- Saturated Fat: 10g
- Unsaturated Fat: 7g
- Trans Fat: 0g
- Carbohydrates: 21g
- Fiber: 1g
- Protein: 3g
- Cholesterol: 60mg
")