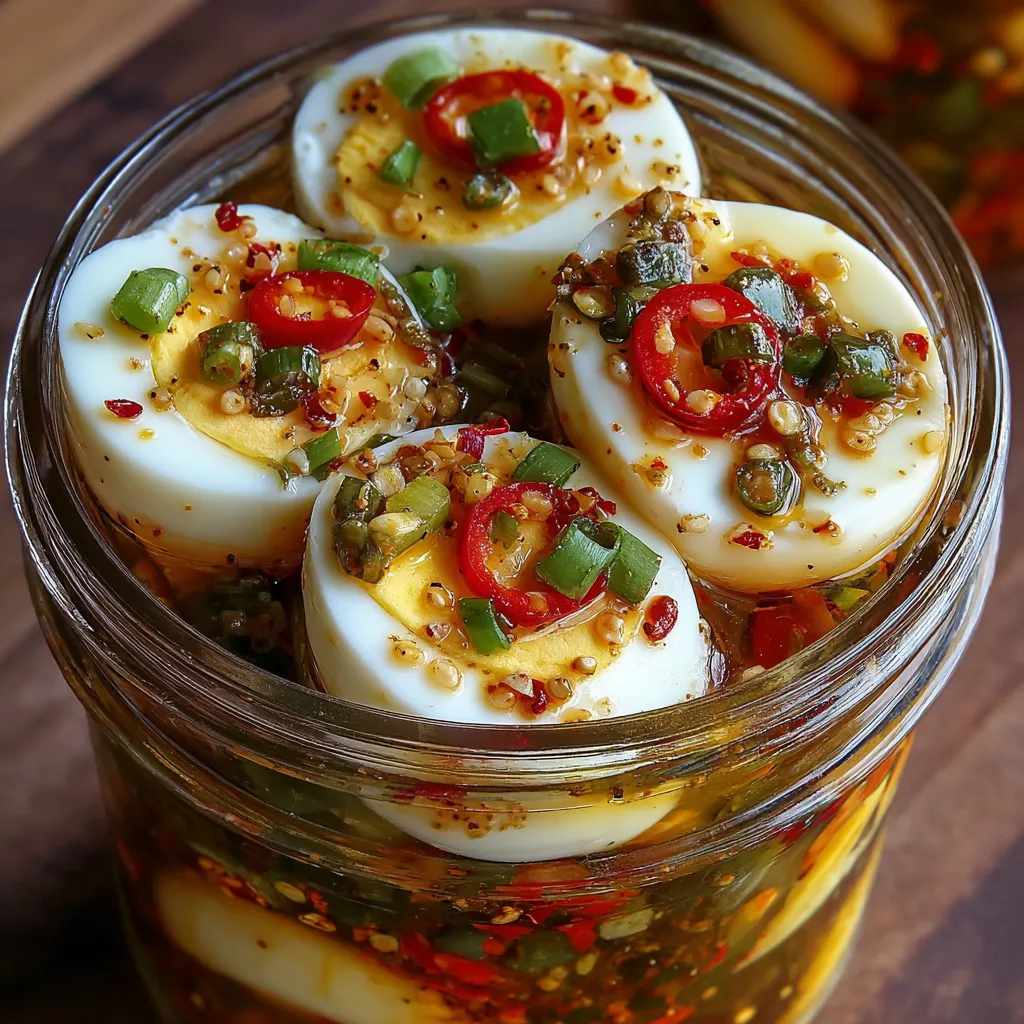
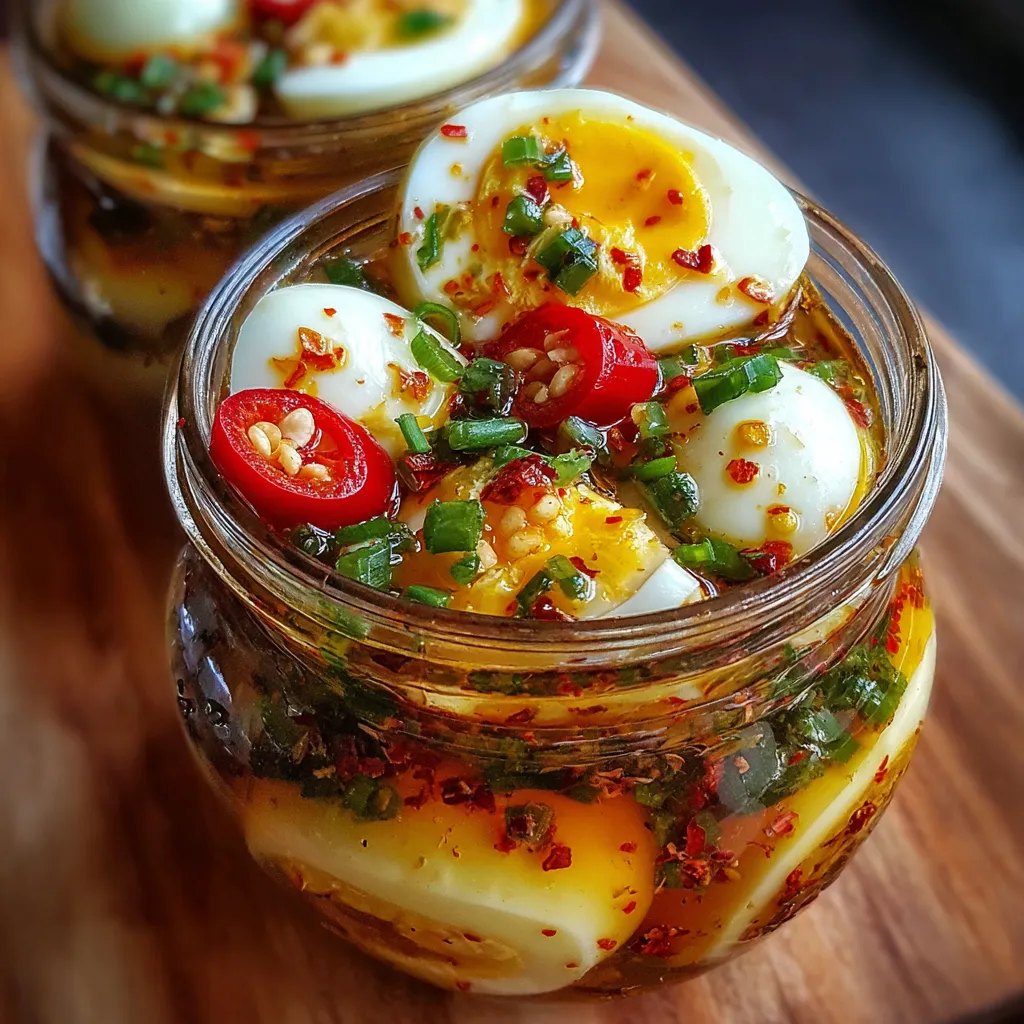
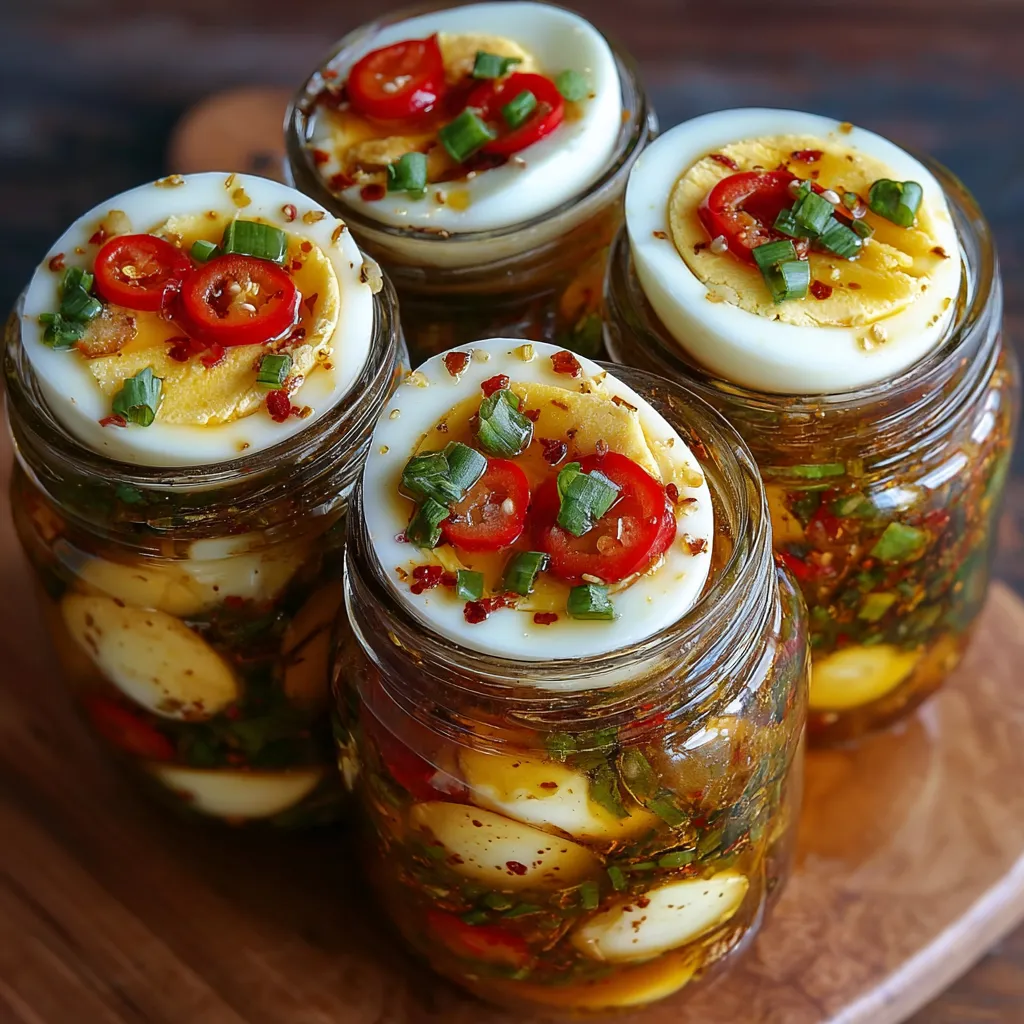
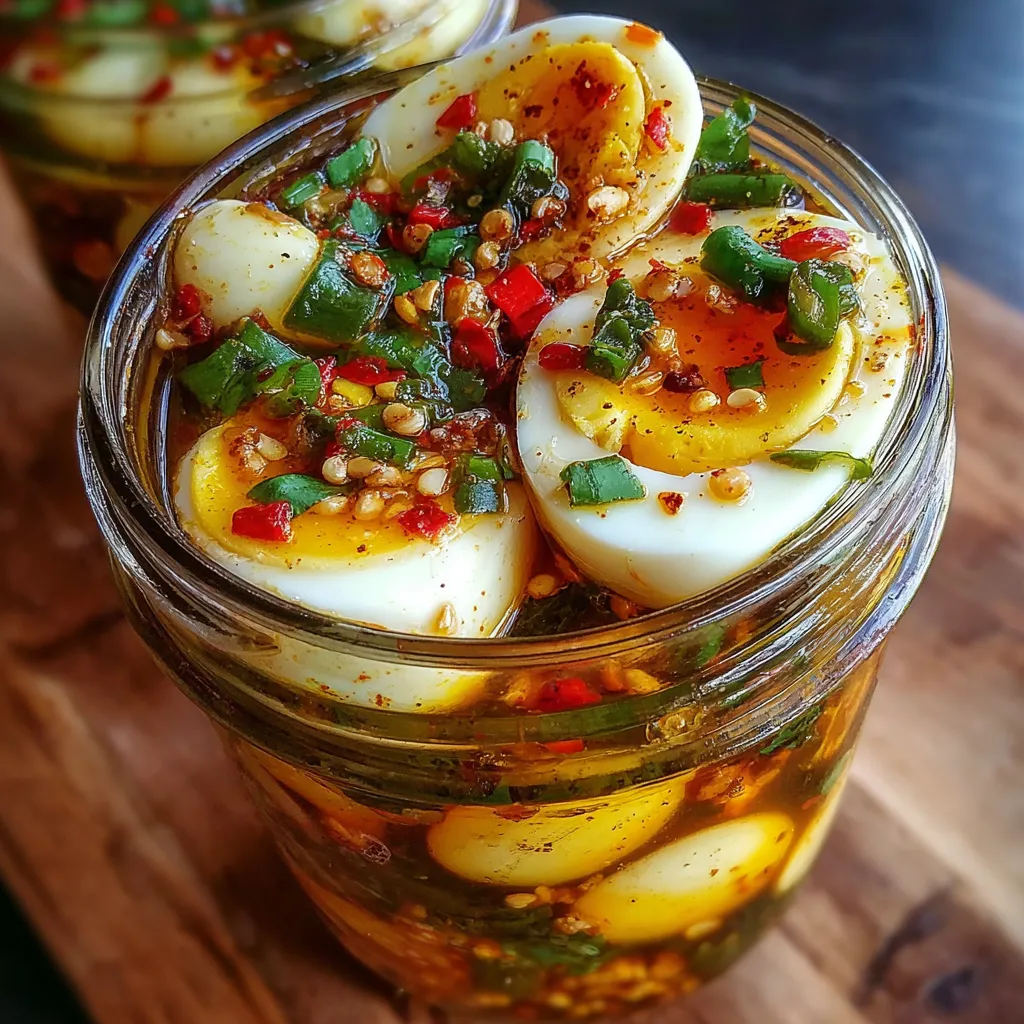
If you’re the kind of person who lights up at the thought of spicy, savory snacks with just the right tangy kick—you’re in the right place. These Hot & Spicy Garlic Pickled Eggs are anything but ordinary. We’re talking about creamy duck and chicken eggs, infused with layers of bold garlic, jalapeños, and red pepper flakes, all bathed in a punchy vinegar brine. They’re fiery, flavorful, and surprisingly easy to make right in your own kitchen.
This recipe is more than just a snack—it’s a fridge staple. Whether you’re prepping high-protein bites for the week, looking for a bar-style treat, or showing off your homemade pickling skills to friends, these eggs deliver. What makes them special? It’s the combination of two types of eggs for richness, the heat from chilies, and the slow transformation that happens as they sit and soak up every bit of spice.
Stick with me—I’ll walk you through everything step by step, from ingredients to tools to tips that guarantee success. Let’s dive in.
Why You’ll Love This Recipe
Key Benefits
These pickled eggs are:
-
Easy to prepare – Minimal steps, maximum flavor.
-
Make-ahead friendly – In fact, they get better with time.
-
High in protein – Great for snackers and meal preppers alike.
-
Totally customizable – Like it hotter? Add more jalapeños. Prefer milder? Dial it back.
They’re the kind of snack that keeps you coming back for one more bite.
Suitable For
This recipe fits beautifully into a variety of diets and occasions:
-
Keto and low-carb diets – Eggs, vinegar, and spices are naturally low-carb.
-
Spicy snack lovers – If you love heat, this one’s for you.
-
Entertaining – Serve these at a barbecue, game night, or holiday platter.
-
Beginner-friendly – Even if you’ve never pickled anything before, you’ve got this.
Ingredients for Hot & Spicy Garlic Pickled Eggs
Let’s break down exactly what you’ll need and why each ingredient matters.
Core Ingredients
-
12 duck eggs + 8 chicken eggs – Duck eggs are richer and creamier, while chicken eggs offer a familiar base. Mixing both adds texture variety.
-
3–4 garlic cloves (smashed) – This is where the deep, savory bite comes from.
-
1–2 tablespoons crushed red pepper flakes – Controls the fire level. Start small, taste later.
-
2–3 fresh jalapeños (sliced) – Adds heat and a green, peppery flavor that really shines.
-
1 sweet red pepper (chopped) – Balances the spice with a hint of sweetness and beautiful color.
-
2 cups white vinegar + 2 cups water – The backbone of the brine. Vinegar preserves and adds that signature tang, while water softens the acidity.
-
2 tablespoons sugar + 1 tablespoon salt – Just enough to balance the sharpness of the vinegar.
-
Optional: 1 teaspoon black peppercorns – Adds mild heat and a subtle depth.
-
Optional: Fresh dill or thyme – For those who love herbal twists.
Substitutions and Tips
-
Vinegar swap – Apple cider vinegar gives a slightly sweeter, fruitier brine. Great if you like a gentler bite.
-
Pepper options – Want to turn up the heat? Toss in a serrano or even a habanero.
-
Sugar adjustments – Feel free to lower the sugar if you want a sharper finish.
-
Eggs – All duck or all chicken eggs work just fine. Just boil duck eggs a bit longer (closer to 12 minutes) for best results.
The beauty of this recipe is how flexible it is. You can tailor it to your taste without losing that perfect pickled texture.
Best Eggs for Pickled Eggs
Not all eggs are created equal when it comes to pickling, so here’s what you need to know.
Duck eggs have a slightly larger yolk and richer flavor, which makes them extra satisfying once they’ve absorbed the brine. They also hold their shape well, so they’re less likely to get mushy over time. Chicken eggs, on the other hand, are more widely available and familiar in taste.
Here are a few tips:
-
Use older eggs – They’re much easier to peel cleanly after boiling.
-
Boil carefully – Overcooking can lead to that unpleasant green ring around the yolk.
-
Cool in ice water – This helps stop the cooking and makes peeling a breeze.
You can absolutely go with all chicken eggs if duck eggs aren’t available—just know that the combo adds a little extra wow factor.
Kitchen Tools You’ll Need
You don’t need fancy equipment to make these spicy garlic pickled eggs, but a few basics (and a few extras) will make the process smoother.
Must-Have Tools
-
Large pot – For boiling your eggs evenly.
-
Mason jars or glass pickling jars – Choose ones with a tight seal. Glass is essential since vinegar reacts with metal or plastic.
-
Slotted spoon or tongs – Makes transferring hot eggs easy and safe.
Nice-to-Have Tools
-
Egg piercer – Helps prevent cracked shells during boiling and makes peeling simpler.
-
Canning funnel – Great for pouring brine without spills.
-
Fine-mesh strainer – If you want a clear brine without floating spice bits.
Even if all you have is a pot, a jar, and some determination, you can make this recipe work. The extra tools just add polish.
How to Make Hot & Spicy Garlic Pickled Eggs
This is the part where all the flavor comes together—and trust me, it’s easier than it sounds. With just a few simple steps, you’ll have a batch of spicy, garlicky pickled eggs waiting in the fridge to surprise you with how much better they taste every day.
Let’s take it one step at a time.
Step 1: Boil the Eggs
Start by placing your duck and chicken eggs in a large pot. Cover them with cold water—enough to have at least an inch over the eggs.
Set the pot over medium-high heat and bring it to a gentle boil. Once the water starts bubbling, lower the heat and let them simmer:
-
Duck eggs: simmer for 12 minutes
-
Chicken eggs: 9 to 10 minutes is perfect
Once they’re done, immediately transfer the eggs to a bowl of ice water. This stops the cooking process and makes peeling a whole lot easier. Let them cool completely—about 10–15 minutes—then peel carefully and set aside.
Tip: Gently tap the eggs on a hard surface and roll them lightly to loosen the shell. Older eggs will peel more easily.
Step 2: Prepare the Brine
In a saucepan, combine the following:
-
2 cups white vinegar
-
2 cups water
-
2 tablespoons sugar
-
1 tablespoon salt
-
Optional: 1 teaspoon black peppercorns
Bring this mixture to a boil over medium heat, stirring to make sure the sugar and salt fully dissolve. Once boiling, turn off the heat and let the brine cool for about 10 minutes.
Don’t skip the cooling step. Pouring boiling liquid directly over eggs can make them rubbery and dull the flavors of your aromatics.
Step 3: Layer the Flavors
Now, let’s build the flavor base in your jars. In each clean glass jar, add:
-
A few smashed garlic cloves
-
A pinch (or two) of crushed red pepper flakes
-
Sliced jalapeños
-
Chopped sweet red pepper
Spread these evenly across the jars so each one gets a good hit of everything.
Optional: Add a sprig of fresh dill or thyme to each jar for a subtle herbal touch.
Step 4: Add the Eggs
Once peeled, gently place the eggs into the jars, stacking them carefully. Try not to overcrowd—use multiple jars if needed. The goal is to keep the eggs intact while still fitting snugly.
Use a spoon or tongs to lower the eggs into the jars. The less you handle them with your hands, the better the texture and presentation.
Step 5: Pour the Brine
Carefully pour the warm brine over the eggs and peppers in the jars. Use a canning funnel if you have one—it helps avoid spills.
Make sure the eggs are fully submerged. If a few float, gently press them down with a spoon or add a clean piece of boiled veggie (like a carrot slice) to help weigh them down.
Seal the jars tightly with lids.
Step 6: Refrigerate
Now for the hardest part: waiting.
Place the sealed jars in the refrigerator and let them sit for at least 3 days. One full week is even better—the longer they soak, the more intense the flavor becomes.
Check for taste after day three. If you want more heat, you can always toss in a few extra pepper slices and let them sit a bit longer.
Tips for Success
Let’s make sure your pickled eggs turn out just right. Here are a few things to keep in mind:
-
Use glass jars only. Vinegar can react with plastic or metal and alter the taste.
-
Always refrigerate – this is not a shelf-stable canning recipe.
-
Don’t skip the ice bath – it stops the cooking process and makes peeling easier.
-
Avoid overcooking the eggs. Overdone yolks turn chalky and can develop a greenish ring.
Bonus tip: Want clearer brine? Strain it through a fine-mesh sieve before pouring it into the jars.
How to Store Hot & Spicy Garlic Pickled Eggs
At Room Temperature
These should never be stored at room temperature. The acidity isn’t strong enough to safely preserve the eggs without refrigeration.
Always play it safe—keep your jars in the fridge.
In the Refrigerator
Store the eggs in sealed jars in the refrigerator for up to 4 weeks. The flavor gets deeper and spicier the longer they sit.
Make sure the eggs remain completely submerged in brine at all times to prevent spoilage. If the liquid level drops, top it off with a mixture of vinegar and water (1:1 ratio).
Freezing Tips
Unfortunately, eggs don’t freeze well once pickled. The texture becomes rubbery and unpleasant.
However, if you made extra brine, that can be frozen separately and reused later. Just bring it to a boil again before using it for another batch.
Frequently Asked Questions (FAQs)
How long do pickled eggs last?
Properly stored in the fridge, they’ll last up to 4 weeks. After that, the texture can become too soft, and flavor may fade.
Can I use just chicken eggs?
Absolutely. Chicken eggs work perfectly. Duck eggs just add an extra creamy richness, but if you don’t have them, don’t worry—this recipe still rocks.
How do I make it less spicy?
You can scale back the crushed red pepper and jalapeños, or remove the seeds and membranes from the peppers. A sweet red bell pepper can also mellow the heat.
Can I make these shelf-stable?
No, this is a refrigerator-only recipe. It’s not designed for long-term pantry storage or traditional canning.
Related Recipes
If you loved these Hot & Spicy Garlic Pickled Eggs, try these flavorful and tangy creations:
-
Pickled Cherry Tomatoes, Red Onions, and Cucumbers Recipe – Crisp, colorful, and bursting with brine.
-
The Best Cheesy Pickle Bombs Recipe – A bold and cheesy twist for pickle lovers.
-
The Best Dill Pickle Dip Recipe – Creamy, herby, and great for parties.
-
Easy Marinated Cheese Appetizer with Salami & Pickles – A perfect companion to your spicy eggs.
-
Zesty Mediterranean Pickled Veggies with Feta and Oregano – A vibrant, savory side for any pickled plate.
Conclusion
Hot & Spicy Garlic Pickled Eggs are a game-changer for your snack routine. They’re bold, flavorful, and get better with every day in the fridge. Whether you’re into spicy snacks, high-protein bites, or just love experimenting in the kitchen, this recipe is for you.
Now it’s your turn. Give them a try, share your results, and make them your own. Don’t be afraid to play with the heat level or toss in your favorite herbs. And if you end up loving them (you will), share the recipe with someone else who’d appreciate a good spicy snack.
Print
Hot & Spicy Garlic Pickled Eggs Recipe
- Total Time: 32 minutes + chilling
- Yield: 20 eggs
Description
Bold, garlicky, and perfectly spicy, these Hot & Spicy Garlic Pickled Eggs are a high-protein snack made with simple pantry ingredients.
Ingredients
- 12 duck eggs
- 8 chicken eggs
- 3-4 garlic cloves, smashed
- 1-2 tbsp crushed red pepper flakes
- 2-3 fresh jalapeños, sliced
- 1 sweet red pepper, chopped
- 2 cups white vinegar
- 2 cups water
- 2 tbsp sugar
- 1 tbsp salt
- Optional: 1 tsp black peppercorns
- Optional: fresh herbs (dill or thyme)
Instructions
- Boil duck and chicken eggs until hard-cooked (9–12 minutes). Transfer to ice bath, peel when cooled.
- Prepare brine by combining vinegar, water, sugar, salt, and peppercorns in saucepan. Bring to boil, dissolve, and cool slightly.
- Place garlic, pepper flakes, jalapeños, and red pepper into clean jars.
- Gently add peeled eggs to jars.
- Pour warm brine into jars to submerge eggs fully.
- Seal jars and refrigerate for at least 3 days before eating. Best after 1 week.
Notes
- Adjust heat by increasing or decreasing peppers.
- Use older eggs for easier peeling.
- Only refrigerate—do not shelf store.
- Great for keto and low-carb diets.
- Prep Time: 20 minutes
- Cook Time: 12 minutes
Nutrition
- Serving Size: 1 egg
- Calories: 70
- Sugar: 0.5g
- Sodium: 130mg
- Fat: 5g
- Saturated Fat: 1.5g
- Unsaturated Fat: 3.5g
- Trans Fat: 0g
- Carbohydrates: 1g
- Fiber: 0g
- Protein: 6g
- Cholesterol: 185mg
")