Imagine the aroma of freshly baked pizza wafting through your kitchen—a crispy, golden crust topped with all your favorite flavors. Homemade pizza dough is the secret ingredient that transforms your pizza nights into something truly special. Unlike store-bought options, making dough from scratch lets you control every element, from the texture of the crust to the level of seasoning. Plus, it’s surprisingly simple and oh-so-satisfying to create your own.
In this guide, I’ll walk you through the step-by-step process, share tips to ensure success, and answer common questions so you can master the art of homemade pizza dough. With a handful of basic ingredients and a little patience, you’ll have the perfect canvas for your next pizza masterpiece.
Why You’ll Love This Recipe
Key Benefits
Homemade pizza dough is a game-changer for so many reasons:
- Beginner-Friendly: Even if you’ve never baked before, this recipe is straightforward and forgiving.
- Simple Ingredients: Everything you need is probably already in your pantry.
- Versatility: Whether you prefer a thin crust or a fluffy one, this dough adapts beautifully to your preferences.
- Customizable: Add herbs, garlic, or even cheese to the dough for an extra flavor boost.
There’s nothing quite like biting into a crust you made from scratch—it’s fresh, flavorful, and uniquely yours.
Suitable For
This recipe fits seamlessly into any occasion:
- Perfect for family dinners where everyone can add their favorite toppings.
- A hit at parties when served as mini pizzas or a make-your-own pizza bar.
- Great for all skill levels—whether you’re a seasoned cook or just starting out, this dough is foolproof.
Ingredients for Homemade Pizza Dough
Core Ingredients
To make the perfect pizza dough, you’ll need just six simple ingredients:
- Olive Oil: Adds richness and keeps the dough tender.
- Salt: Enhances flavor.
- Sugar: Feeds the yeast and helps the dough rise beautifully.
- Active Dry Yeast: The magic behind that airy, chewy crust.
- Warm Water: Activates the yeast and brings the dough together.
- All-Purpose Flour: The foundation of the dough—choose a high-quality brand for the best results.
Fresh, quality ingredients make all the difference. For instance, opt for extra-virgin olive oil and check the expiration date on your yeast to ensure a proper rise.
Substitutions and Tips
Need to tweak the recipe? No problem:
- Flour Alternatives: Swap all-purpose flour with whole wheat or gluten-free flour if needed. Just note that textures may vary.
- Sweeteners: Honey works as a great substitute for sugar, adding a subtle sweetness.
- Oil Options: If you don’t have olive oil, avocado oil or vegetable oil can be used in a pinch.
Remember, pizza dough is forgiving—experiment to find your perfect blend of ingredients.
Best Flour for Homemade Pizza Dough
Choosing the right flour can elevate your pizza dough from good to outstanding:
- All-Purpose Flour: A classic choice for soft, chewy dough with a slight crispness.
- Bread Flour: Ideal for those who love a chewier, more structured crust thanks to its higher protein content.
- 00 Flour: The gold standard for traditional Italian pizza. This superfine flour creates a delicate, tender crust perfect for Neapolitan-style pizzas.
If you’re new to pizza-making, start with all-purpose flour—it’s versatile and easy to work with. As you gain confidence, experiment with bread or 00 flour for a more gourmet experience.
Kitchen Tools You’ll Need
Must-Have Tools
You don’t need fancy equipment to make homemade pizza dough. Here’s what you’ll need:
- A large mixing bowl for combining ingredients.
- Measuring cups and spoons for precise measurements.
- A rolling pin to shape the dough.
Nice-to-Have Tools
While not essential, these tools can make the process even smoother:
- A dough scraper for easy handling and cleanup.
- A pizza stone for achieving a crispy, professional-grade crust.
- A stand mixer with a dough hook for effortless kneading.
Investing in a few of these tools is worth it if you plan to make pizza regularly—they’ll save time and make the experience even more enjoyable.
How to Make Homemade Pizza Dough
Making homemade pizza dough is much simpler than it sounds, and I promise, the payoff is worth it. Follow these steps, and you’ll have a perfectly soft, chewy, and golden crust ready to become the base of your favorite pizza.
Step 1: Activate the Yeast
Activating the yeast is the very first step, and it’s crucial to get it right. Start by combining 1 ½ cups of warm water (about 110°F), 1 teaspoon of sugar, and 2 ¼ teaspoons of active dry yeast in a small bowl. Stir gently to dissolve the yeast, then let it sit for 5–10 minutes.
Here’s what you’re looking for: a frothy, bubbly layer on top. That’s proof that your yeast is alive and ready to work its magic. If nothing happens, don’t panic—it might mean your water was too hot (which can kill yeast) or too cold (which won’t activate it). Simply start again with fresh yeast and carefully check the temperature of your water.
Step 2: Combine Ingredients
In a large mixing bowl, combine 3 ½ cups of all-purpose flour and 1 teaspoon of salt. Make a well in the center of the dry ingredients and pour in the activated yeast mixture, along with 2 tablespoons of olive oil.
Stir everything together with a wooden spoon until it starts to come together into a shaggy dough. It’ll be sticky at first, but that’s a good sign—it means the dough will stay moist, making for a tender crust. Resist the urge to add too much flour at this stage. You’ll adjust as needed during kneading.
Step 3: Knead the Dough
Now comes the fun part—kneading! Transfer the dough to a lightly floured surface and knead it for about 8–10 minutes. This is when the dough transforms from sticky to smooth and elastic.
To knead by hand, press the dough forward with the heels of your hands, fold it in half, then give it a quarter turn. Repeat this motion rhythmically, adding a tablespoon of flour at a time if the dough is sticking too much.
If you have a stand mixer, use the dough hook attachment and let it knead on low speed for about 6 minutes. Whether you’re using your hands or a machine, the dough is ready when it’s soft, stretchy, and springs back when poked.
Step 4: Let the Dough Rise
After kneading, it’s time to let the dough rest and rise. Lightly grease a large bowl with olive oil, place the dough inside, and cover it with a damp cloth or plastic wrap. Set the bowl in a warm, draft-free spot, like inside a turned-off oven with the light on or on top of the refrigerator.
Let the dough rise for 1–2 hours until it doubles in size. If your kitchen is chilly, the rise may take longer—don’t rush it. This step is what gives your pizza dough that airy, pillowy texture.
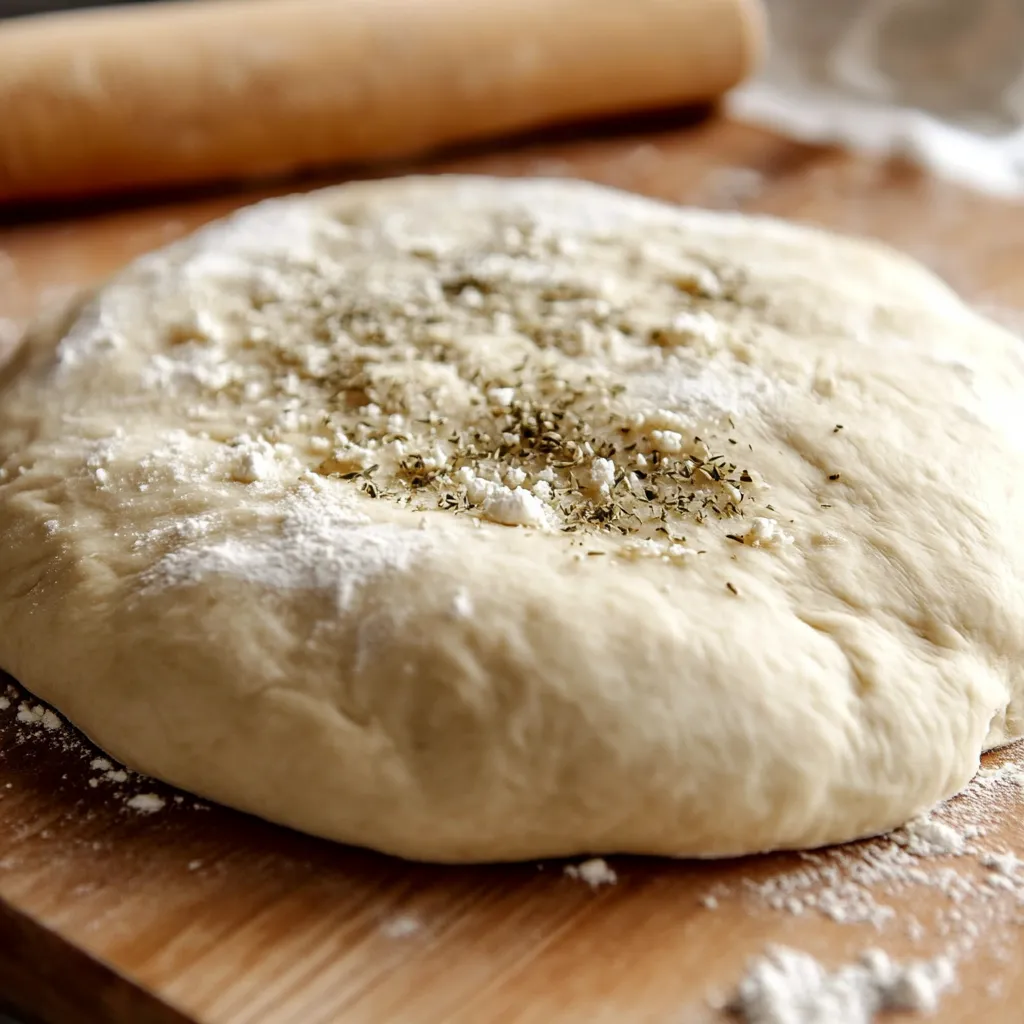
Step 5: Shape the Dough
Once your dough has risen, punch it down gently to release any air bubbles, then transfer it to a floured surface. Divide it into two portions if you’re making two medium pizzas, or leave it whole for one large pizza.
To shape, roll the dough out with a rolling pin or stretch it by hand. If you prefer a thin crust, roll it out to about ¼ inch thick. For a fluffier crust, leave it a little thicker. Don’t stress about getting a perfect circle—rustic shapes have their own charm!
If you’re using a pizza stone, transfer the dough to a sheet of parchment paper to make moving it easier.
Tips for Success
Even the best recipes can be improved with a few extra tips and tricks:
- Prevent Sticky Dough: Always flour your surface and hands lightly. Add small amounts of flour during kneading until the dough is workable but not dry.
- Perfect Texture: For a chewy crust, use bread flour instead of all-purpose flour. If you want an ultra-tender crust, mix in a tablespoon of olive oil during kneading.
- Baking Times: Adjust baking time depending on the thickness of your dough. A thin crust cooks faster (around 10 minutes), while a thicker crust may take 12–15 minutes.
Lastly, remember to preheat your oven thoroughly, especially if you’re using a pizza stone—this ensures a crispy, golden crust every time.
How to Store Homemade Pizza Dough
Once you’ve gone through the effort of making homemade pizza dough, it’s good to know how to store it properly so you can enjoy fresh pizza anytime. Whether you’re planning to use it later the same day or save it for next week, these simple storage tips will keep your dough in top shape.
At Room Temperature
If you’re planning to use your dough within a few hours, room temperature storage works perfectly. After kneading and allowing the dough to rise, you can leave it on the counter for up to 4 hours. To keep it from drying out, cover it loosely with a damp kitchen towel or plastic wrap.
Make sure the dough is kept in a warm but not hot spot. If it’s too cold, the rising process will slow down, and if it’s too warm, the yeast might overproof the dough, leaving it flat and lifeless.
In the Refrigerator
For longer storage, the refrigerator is your best friend. After the first rise, punch the dough down and transfer it to a lightly greased bowl. Cover it tightly with plastic wrap or a lid, and store it in the fridge for up to 3 days.
When you’re ready to use it, let the dough sit at room temperature for about 30 minutes to warm up slightly before shaping. This helps it become more pliable and easier to work with. Storing dough in the fridge also enhances its flavor, as the slower fermentation process deepens the taste.
Freezing Tips
Want to make a big batch and save some for later? Freezing pizza dough is a game-changer. Once the dough has completed its first rise, divide it into portions (for individual pizzas) and lightly coat each ball with olive oil. Place the dough in airtight freezer bags or wrap it tightly in plastic wrap and freeze for up to 3 months.
When you’re ready to use it, transfer the frozen dough to the refrigerator the night before to thaw slowly. Then let it sit at room temperature for about 30–60 minutes before shaping. Freezing doesn’t impact the quality of your dough, so it’s a fantastic option for meal prepping.
Frequently Asked Questions (FAQs)
How long does it take to make pizza dough?
From start to finish, making pizza dough takes about 2 to 3 hours, depending on how long you let it rise. The hands-on portion is only about 15 minutes, with the rest of the time spent letting the dough rest and rise. It’s a great recipe to tackle while doing other things around the house—just check on the dough occasionally.
Can I make this dough gluten-free?
Yes! While traditional pizza dough relies on gluten for elasticity and chewiness, you can make a gluten-free version using a 1:1 gluten-free flour blend. Look for blends that contain xanthan gum, as it helps mimic the stretchiness of gluten. Be aware that gluten-free dough will have a slightly different texture and may require less kneading.
How do I fix dough that’s too sticky?
Sticky dough is common and easy to fix. Sprinkle a little extra flour—just a tablespoon at a time—onto the dough while kneading. Be careful not to add too much, as over-flouring can make the crust dense and dry. Remember, a slightly sticky dough is normal and often leads to a softer, more tender crust.
What’s the best way to bake pizza for a crispy crust?
For a crispy crust, preheat your oven to 475°F (245°C) and place a pizza stone or baking sheet inside while it heats. This creates a super-hot surface that cooks the crust evenly and quickly. If using a pizza stone, slide your dough (with toppings) onto the stone using parchment paper or a pizza peel. Bake for 10–15 minutes, keeping an eye on the edges to ensure they don’t over-brown.
Related Recipes
If you loved this homemade pizza dough recipe, you might enjoy these other delicious recipes:
- Easy Garlic Butter Cheese Bombs: A gooey, cheesy side to pair with your pizza.
- Scalloped Potatoes and Ham: A hearty and comforting dish.
- Kentucky Butter Cake: A moist and rich dessert to follow your pizza night.
These recipes complement the pizza dough, adding variety and excitement to your meal plans!
Conclusion
Making homemade pizza dough isn’t just about the end result—it’s about the joy of creating something from scratch. This recipe is simple, versatile, and packed with flavor, making it the perfect base for all your pizza adventures.
Whether you’re hosting a pizza night for friends, experimenting with unique toppings, or just craving a cozy dinner at home, this dough will not disappoint. Plus, knowing you can store it for later means you’re always just a step away from fresh, homemade pizza.
So, roll up your sleeves, get your hands a little floury, and give this recipe a try. You’ll never look at takeout pizza the same way again!
Print
Homemade Pizza Dough Recipe
- Total Time: 2 hours 15 minutes (includes rising)
- Yield: 1 large or 2 medium pizzas
Description
Homemade pizza dough is easier than you think! With just six basic ingredients and a few simple steps, you’ll create the perfect crust for any pizza. This dough is versatile, beginner-friendly, and customizable for your favorite toppings.
Ingredients
- 2 tablespoons olive oil
- 1 teaspoon salt
- 1 teaspoon sugar
- 2 ¼ teaspoons (1 packet) active dry yeast
- 1 ½ cups warm water (110°F)
- 3 ½ cups all-purpose flour (plus extra for kneading)
Instructions
- Combine warm water, sugar, and yeast. Let it sit until bubbly.
- Mix flour and salt in a large bowl. Add the yeast mixture and olive oil.
- Knead the dough on a floured surface for 8–10 minutes until smooth.
- Place dough in a greased bowl, cover, and let rise for 1–2 hours.
- Punch down, divide, and shape the dough to your preferred thickness.
Notes
- Use bread flour for a chewier crust.
- Add herbs or garlic to the dough for extra flavor.
- Prep Time: 15 minutes
- Cook Time: 10–15 minutes
Nutrition
- Calories: 220
- Sodium: 240mg
- Fat: 4g
- Carbohydrates: 40g
- Fiber: 2g
- Protein: 6g
")