Introduction to Disneyland Peanut Butter Squares
A sweet trip down memory lane: Disneyland treats at home
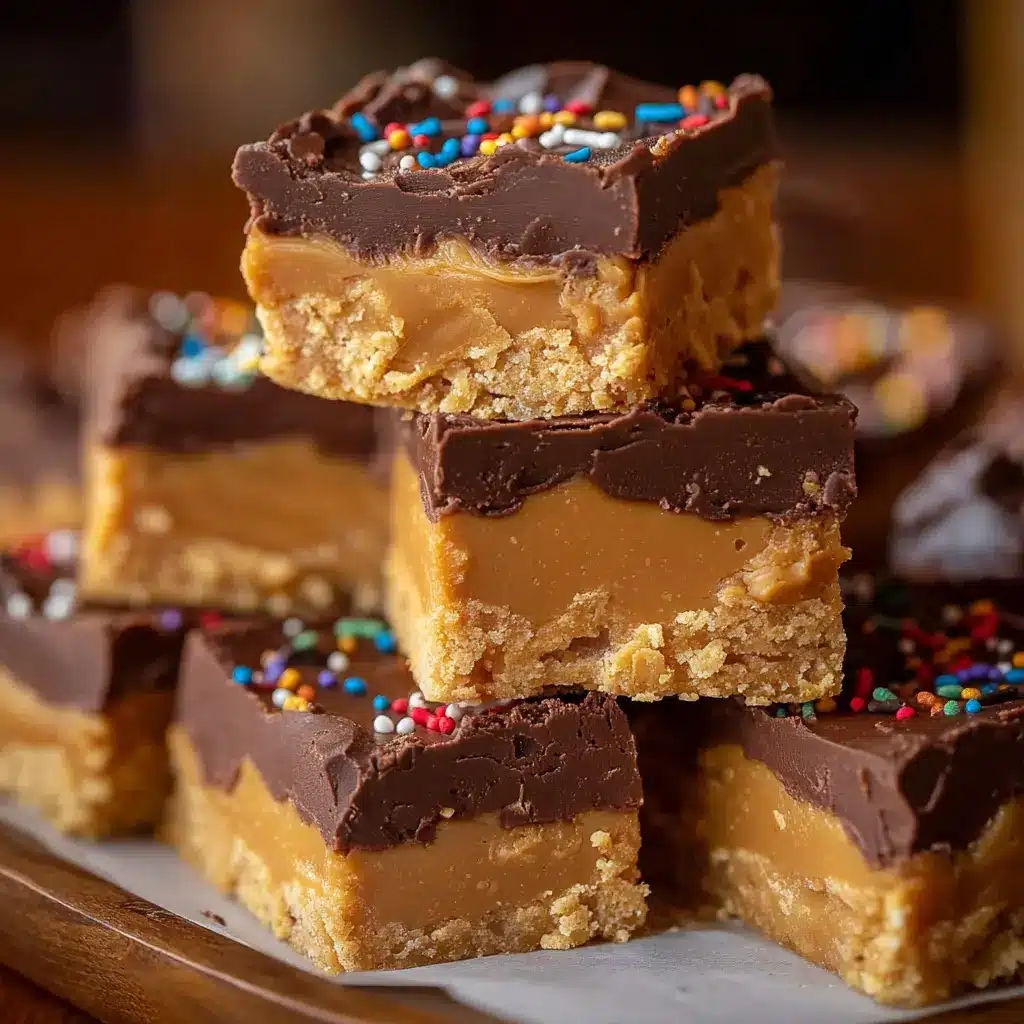
If you’ve ever strolled through Disneyland, you know that the park isn’t just a feast for your eyes but also a playground for your taste buds. One delightful treat that often brings back cherished memories is the iconic Disneyland Peanut Butter Squares. These chewy, sweet snacks are as nostalgic as they are delicious, and making them at home is the perfect way to recapture that magic.
Imagine walking down Main Street, U.S.A., with the scent of fresh popcorn wafting through the air. You pause at a cart and pick up a square, its peanut butter richness making your taste buds tingle. Now, wouldn’t it be amazing to recreate that experience right in your kitchen? Not only is it a fun cooking project, but it also allows you to share the joy with friends and family.
Making these squares is a straightforward process that brings the spirit of Disneyland into your home. The blend of creamy peanut butter, crispy rice cereal, and a hint of chocolate creates a taste sensation that’s hard to beat. Plus, they make for incredible snacks during movie nights or as a lunchbox surprise. You can even customize the recipe with spices or add-ins like nuts or dried fruits.
For those who love baking, this treat can serve as an ideal introduction to no-bake desserts, sparking your creativity in the kitchen. It’s also an opportunity to connect with others who share your passion for Disney and baking. Who knows? You may spark a new tradition of cooking Disney-inspired recipes together. Here’s a unique tidbit: according to a study by the National Confectioners Association, more people are indulging in sweet treats at home, making now the perfect time to dive into fun recipes like these.
So, if you’re ready to embark on this delicious journey, grab your apron and let’s dive into the magical world of Disney-inspired baking with these delightful Disneyland Peanut Butter Squares. You’ll not only create a treat that’s loved by many but also a lasting memory that you can savor any time!
Ingredients for Disneyland Peanut Butter Squares
When it comes to recreating that whimsical flavor of Disneyland Peanut Butter Squares at home, having the right ingredients is key. The joy of these delightful squares lies in their perfect balance of sweetness and creamy texture. Let’s dive into what you’ll need!
Essential Ingredients
- 1 cup creamy peanut butter: This is the star of the show! Choose a good-quality brand for a smooth, rich flavor.
- ½ cup unsalted butter: Make sure it’s softened, as this helps with mixing.
- ¾ cup granulated sugar: For that delightful sweetness.
- ⅓ cup brown sugar: Adds depth and moisture to the texture.
- 2 cups graham cracker crumbs: They create a satisfying base while adding a nice crunch.
- 1 cup powdered sugar: This will help to bind the ingredients and give your squares that lovely sweetness.
- 1 cup chocolate chips: Use semisweet or milk chocolate, depending on your preference.
With these simple yet essential ingredients, you’re all set to whip up your own version of Disneyland Peanut Butter Squares. Not only do these squares taste amazing, but they also evoke the nostalgia of those magical days spent at the park. Ready to get started? Your tastebuds are in for a treat!
For more culinary inspiration, check out sites like Food Network or Serious Eats for tips and tricks on perfecting your dessert recipes.
Step-by-step Preparation of Disneyland Peanut Butter Squares
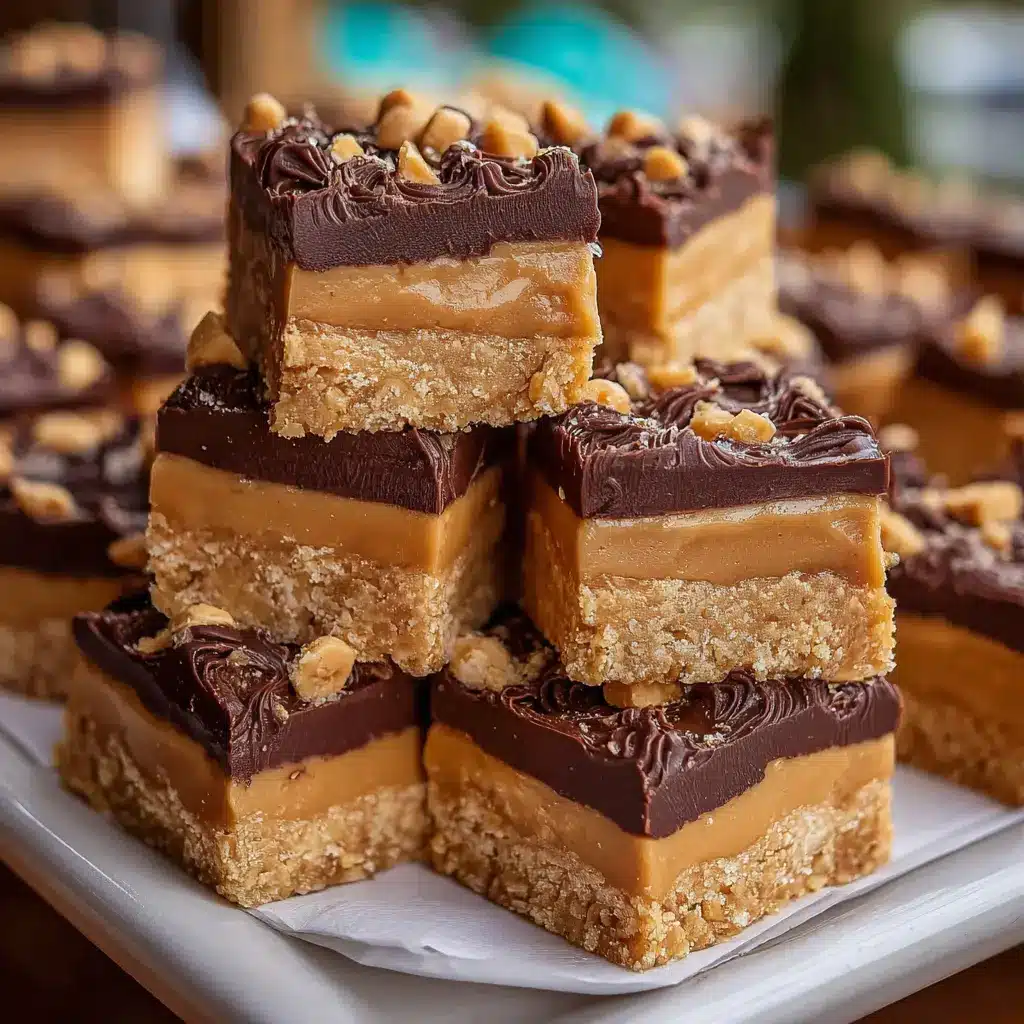
Creating Disney-inspired treats at home can feel like magic, and these Disneyland Peanut Butter Squares are no exception. With their creamy peanut butter filling and velvety chocolate topping, they are sure to take you back to the happiest place on Earth, all from the comfort of your kitchen. Get ready to impress your friends and family with this delightful dessert!
Gather your ingredients
Before diving into the fun part, let’s make sure you have everything you need. Here’s your shopping list for those luscious Disneyland Peanut Butter Squares:
- 1 cup of unsalted butter (melted)
- 1 cup creamy peanut butter
- 4 cups powdered sugar
- 1 teaspoon vanilla extract
- 2 cups semi-sweet chocolate chips
Take a moment to gather all these ingredients. Believe me, having everything within reach makes the process smoother and more enjoyable!
Melting the butter
In a medium microwave-safe bowl, start by melting the butter. Heat it in the microwave for about 30 seconds on high. Keep an eye on it to avoid any boil-overs. It doesn’t have to be bubbling; just ensure it’s melted and warm. This buttery goodness will be the base of your peanut butter layer, giving it that rich taste we love!
Mixing in the peanut butter
Next, take your melted butter and add in that heavenly peanut butter. Stir gently until the mixture is smooth and well-combined. The key here is to ensure that the butter and peanut butter marry beautifully, creating a luscious texture. You might find yourself asking, “How can something so simple taste so good?” But trust me, it will!
Incorporating the powdered sugar
Now comes the fun part—adding the sweetness! Gradually incorporate the powdered sugar into your buttery peanut butter mix. A good tip is to sift the powdered sugar beforehand to avoid any lumps. Mix it in well until you achieve a thick, fudge-like consistency. If you find it too thick, a splash of milk can help loosen it up.
Spreading the peanut butter mixture in the pan
Once your filling is perfectly mixed, grab an 8×8-inch baking pan (or similar if you prefer a different shape). Lightly grease it or line it with parchment paper for easy removal later. Using a spatula, spread the peanut butter mixture evenly across the bottom of the pan. It should be about an inch thick. Now, try not to sneak too many tastes at this stage—though I can’t blame you if you do!
Melting the chocolate chips
While your peanut butter layer is setting, it’s time to tackle the chocolate topping. In a separate microwave-safe bowl, add the semi-sweet chocolate chips. Heat them in 30-second intervals, stirring in between until they’re completely melted and smooth. This step is crucial for a glossy finish on your squares. You want that chocolate to be dripping and dreamy!
Topping the peanut butter layer with chocolate
Now that your chocolate is ready, pour it over the peanut butter layer. Use a spatula to spread it evenly to the edges—aim for a glossy, even coating. If you’re feeling adventurous, try adding crushed nuts or sprinkles for an extra crunch. This is the point where your Disneyland Peanut Butter Squares begin to look as magical as they taste!
Refrigerating for the perfect set
Lastly, it’s time to let your creation set. Cover the pan with plastic wrap or a lid and pop it into the refrigerator for at least 2-3 hours or until the chocolate feels firm. Patience is key here! After setting, you can cut them into squares, and trust me, they’re worth the wait.
And there you have it! With these easy steps, you’re all set to enjoy homemade Disneyland Peanut Butter Squares. Feel free to share your baking journey, and maybe even snap a picture of your creation. Who knows? You might inspire someone else to bring a taste of Disneyland into their home!
Variations on Disneyland Peanut Butter Squares
When it comes to whipping up your own Disneyland Peanut Butter Squares, there’s plenty of room for creativity. Let’s explore how you can take this delectable treat to new heights!
Adding Different Toppings
Toppings can truly elevate your Disneyland Peanut Butter Squares from delightful to extraordinary! Here are some fun ideas to mix and match:
- Chocolate Drizzle: A classic option, chocolate adds both richness and sweetness. Melt dark, milk, or white chocolate for a perfect finish.
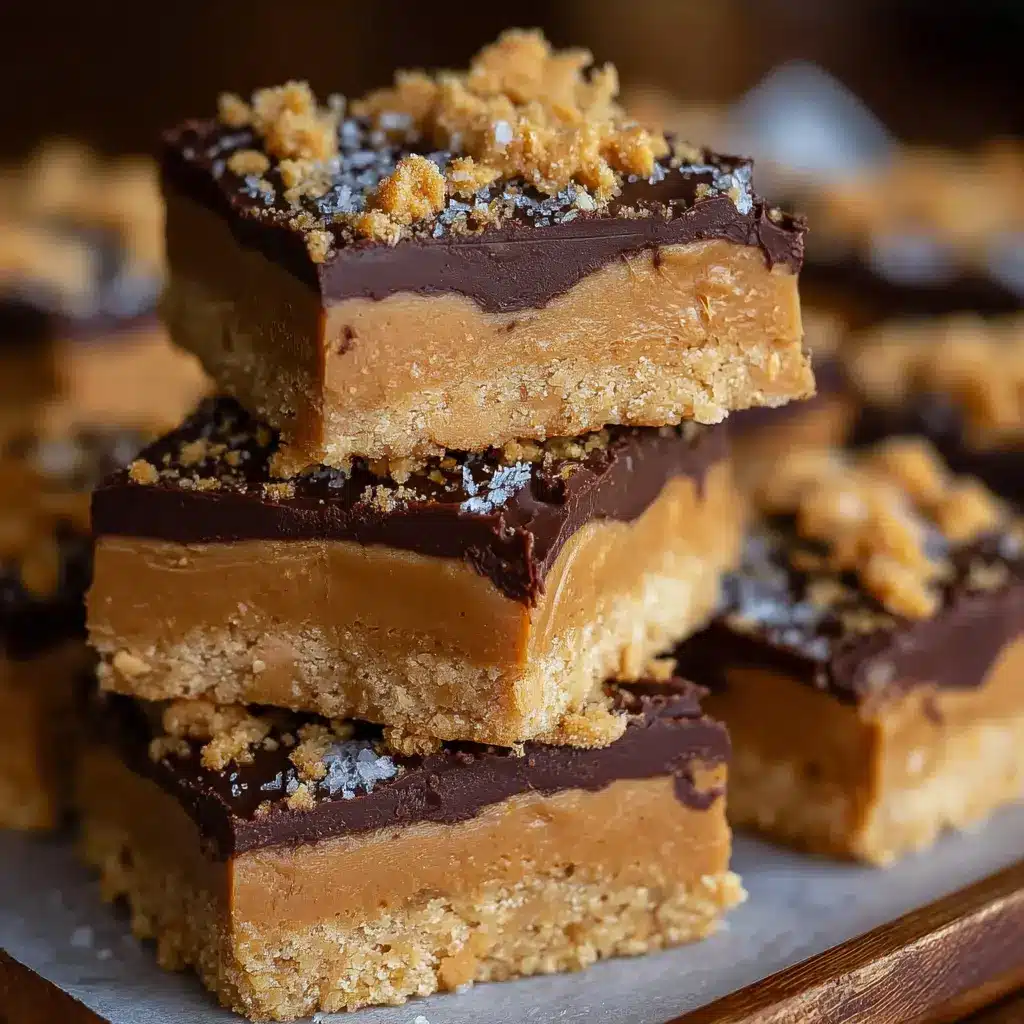
- Nuts: Consider adding chopped walnuts, almonds, or peanuts for a crunchy contrast. Not only do they add texture, but they also bring a nutty flavor that complements the peanut butter.
- Dried Fruits: A sprinkle of raisins or cranberries can enhance the sweetness and add a chewy component. Fun fact: dried fruits pack nutrients, giving your squares a healthy boost!
- Sprinkles: For a whimsical touch, colorful sprinkles always appeal to the inner child. Perfect for parties or special occasions!
Using Crunchy versus Creamy Peanut Butter
Choosing between crunchy and creamy peanut butter can significantly alter the texture and taste of your Disneyland Peanut Butter Squares. Do you prefer the smooth, velvety consistency of creamy peanut butter? It creates a more uniform, rich flavor profile that melts in your mouth.
On the other hand, crunchy peanut butter provides delightful bits of peanuts that enhance the squares’ texture, giving each bite a satisfying crunch. Plus, studies show that varied textures can make desserts more enjoyable!
So, which will your palate choose? Whether you’re a crunchy or creamy fan, your Disneyland Peanut Butter Squares will be a hit, each bite packed with peanuty bliss. Don’t forget to share your favorite variations on social media, and tag us to let us see your creative spins!
Cooking Tips and Notes for Disneyland Peanut Butter Squares
Creating Disneyland Peanut Butter Squares at home is a delightful culinary adventure! Here are some helpful tips to ensure your squares turn out just right.
Choosing Your Peanut Butter Wisely
The type of peanut butter you use can greatly affect the texture of your squares. For a creamier consistency, opt for a smooth peanut butter. If you prefer a chunkier bite, choose one with bits of peanuts. Brands like Jif or Skippy work well, but feel free to experiment with natural options too!
Achieving the Perfect Texture
When mixing your ingredients, be patient and avoid overmixing. A good tip is to use a spatula instead of an electric mixer for the final blend. This keeps your squares decadent and not too dense.
Letting Them Chill
After spreading your mixture into the pan, let it chill in the fridge. This waiting period helps firm up the squares, making them easier to cut. Plus, a chill session allows the flavors to meld together beautifully.
Inspiring Your Creativity
Feeling adventurous? Try adding a swirl of melted chocolate or some crispy rice cereal for extra crunch. The Disneyland experience often includes a twist on classics, so don’t hold back!
Storage Tips
Store your Disneyland Peanut Butter Squares in an airtight container at room temperature for up to a week or in the refrigerator for longer freshness. They make fantastic snacks or sweet treats for gatherings!
For more lovely peanut butter recipes, check out Peanut Butter & Co. for additional inspiration. Happy cooking!
Serving Suggestions for Disneyland Peanut Butter Squares
When it comes to enjoying your Disneyland Peanut Butter Squares, the right beverage can elevate the experience. Imagine sinking your teeth into those creamy, nutty squares while sipping on a perfectly paired drink!
Perfect Pairings with Beverages
-
Milk: You can’t go wrong with the classic duo of peanut butter and milk. The creaminess balances the richness of the squares, making each bite even more delightful. For a twist, consider flavored milks like chocolate or almond for added depth.
-
Iced Coffee: A chilled brew complements the sweetness of the Disneyland Peanut Butter Squares beautifully. Try a splash of vanilla or hazelnut syrup to enhance the flavors. The caffeine kick also gives you that extra boost to tackle your day!
-
Herbal Tea: For a lighter option, serve your squares with a refreshing herbal tea. Camomile or peppermint can cleanse the palate while allowing the rich taste of the peanut butter to shine.
-
Smoothies: Whip up a fruit smoothie and enjoy a nutritious contrast. Banana or berry blends pair wonderfully and add a burst of freshness.
Ready to enjoy your squares? Don’t underestimate how well thoughtful pairings can enhance this sweet treat! For more pairing inspiration, check out Food Pairing Basics to make your dessert experience even more memorable.
Time Breakdown for Disneyland Peanut Butter Squares
Preparation time
Making Disneyland Peanut Butter Squares is a delightful experience that starts with about 15 minutes of preparation. Gather all your ingredients like creamy peanut butter, confectioners’ sugar, and graham cracker crumbs. Pro tip: Having everything measured out and ready will make the process even smoother!
Cooking time
Once you’ve mixed your ingredients, it’s just a quick 5 minutes to cook in the microwave, ensuring that the peanut butter and chocolate blend perfectly. Remember, you want those delectable squares, so keep an eye on the mixture to avoid overcooking.
Total time
All in all, you’ll spend about 20 minutes from start to finish enjoying these delicious Disneyland Peanut Butter Squares. Just enough time to whip up a treat that’ll remind you of your happiest trips to the park! If you’re curious about more recipes or kitchen tips, check out resources like Bon Appétit for inspiration.
Nutritional Facts for Disneyland Peanut Butter Squares
When indulging in Disneyland Peanut Butter Squares, it’s helpful to know what you’re treating yourself to. Let’s break down the essentials so you can enjoy these delightful squares with a bit of knowledge in your back pocket.
Calories
A serving of Disneyland Peanut Butter Squares typically contains about 250 calories. This makes it a satisfying snack that fits well into your day without going overboard. If you’re watching your calorie intake, you might consider sharing one with a friend—or saving half for later!
Protein
These scrumptious delights pack in approximately 6 grams of protein per serving. That’s a nice boost, especially after a long day of exploring the park or tackling your work responsibilities. Protein is crucial for satiety, making this treat a smart option when you need that extra fuel.
Sugar
While pure bliss can come with some sugar, Disneyland Peanut Butter Squares have around 18 grams. It’s important to be mindful of your sugar consumption, but this treat is perfect for those occasional splurges. For a more balanced approach, pair it with a protein-rich snack or a piece of fruit.
With all this in mind, enjoying Disneyland Peanut Butter Squares can be part of a balanced lifestyle. Want to dive deeper into dietary choices? Check out Nutrition.gov for more information on various food groups and healthy eating tips.
FAQs about Disneyland Peanut Butter Squares
Can I use natural peanut butter?
Absolutely! Using natural peanut butter in your Disneyland Peanut Butter Squares can add a delicious, wholesome twist. Natural peanut butter tends to have a runnier texture, but this can enhance the creamy consistency of your treats. Just be sure to stir it well before using, and keep in mind that it may have a slightly different flavor profile—more earthy and less sweet compared to conventional brands.
How should these squares be stored?
To keep your Disneyland Peanut Butter Squares fresh and delectable, store them in an airtight container. They can last up to a week at room temperature, but if you want to extend their shelf life, consider refrigerating them, where they can maintain their taste and texture for up to two weeks. Just remember to bring them to room temperature before indulging for the best experience!
What is the best way to cut the squares?
cutting your Disneyland Peanut Butter Squares can be a breeze with the right technique. Here’s a quick guide:
- Chill before cutting: Place the squares in the fridge for at least an hour after they set. This will firm them up and make slicing easier.
- Use a sharp knife: A clean, sharp knife helps ensure smooth cuts. If the knife gets sticky, wipe it clean and continue cutting.
- Divide into even portions: Depending on how large you want your squares, aim for consistent sizes. This helps with presentation and ensures everyone gets their fair share of the treat!
If you’re looking for more delightful recipes or tips, check out resources from Food Network or Serious Eats for inspiration!
Conclusion on Disneyland Peanut Butter Squares
Bringing the magic of Disneyland home
Creating your own Disneyland Peanut Butter Squares is a delightful way to bring a sprinkle of magic right into your kitchen. These treats not only satisfy your craving for something sweet, but they also connect you to the joyful memories of your Disneyland adventures. The combination of rich peanut butter and creamy chocolate is irresistible, making it the perfect snack for gatherings or cozy nights in.
So, why not whip up a batch this weekend? It’s a fun project that could become a beloved family tradition. For more Disney-inspired recipes, check out Disney Family or Taste of Home. Enjoy your culinary adventure!
Print
Disneyland Peanut Butter Squares: Indulgent Treats to Make at Home
- Total Time: 2 hours 25 minutes
- Yield: 16 squares
- Diet: Vegetarian
Description
Experience the rich and indulgent flavors of Disneyland Peanut Butter Squares with this easy-to-follow recipe that brings the magic of the park right to your kitchen.
Ingredients
- 1 cup peanut butter
- 1 cup powdered sugar
- 1 cup graham cracker crumbs
- 1 cup chocolate chips
- 2 tablespoons butter
Instructions
- In a mixing bowl, combine the peanut butter, powdered sugar, and graham cracker crumbs until well mixed.
- Press the mixture into an even layer in a greased 8×8 inch baking dish.
- In a small saucepan, melt the chocolate chips and butter over medium heat, stirring until smooth.
- Pour the melted chocolate over the peanut butter layer, spreading it evenly.
- Refrigerate for at least 2 hours until set, then cut into squares and serve.
Notes
- For added texture, you can sprinkle crushed peanuts on top of the chocolate layer.
- These squares can also be stored in the freezer for longer shelf life.
- Prep Time: 15 minutes
- Cook Time: 10 minutes
- Category: Dessert
- Method: No-Bake
- Cuisine: American
Nutrition
- Serving Size: 1 square
- Calories: 200
- Sugar: 15g
- Sodium: 120mg
- Fat: 10g
- Saturated Fat: 4g
- Unsaturated Fat: 5g
- Trans Fat: 0g
- Carbohydrates: 25g
- Fiber: 1g
- Protein: 4g
- Cholesterol: 10mg
")