Introduction and Recipe Overview
Introduction to Chocolate Peanut Butter Cake
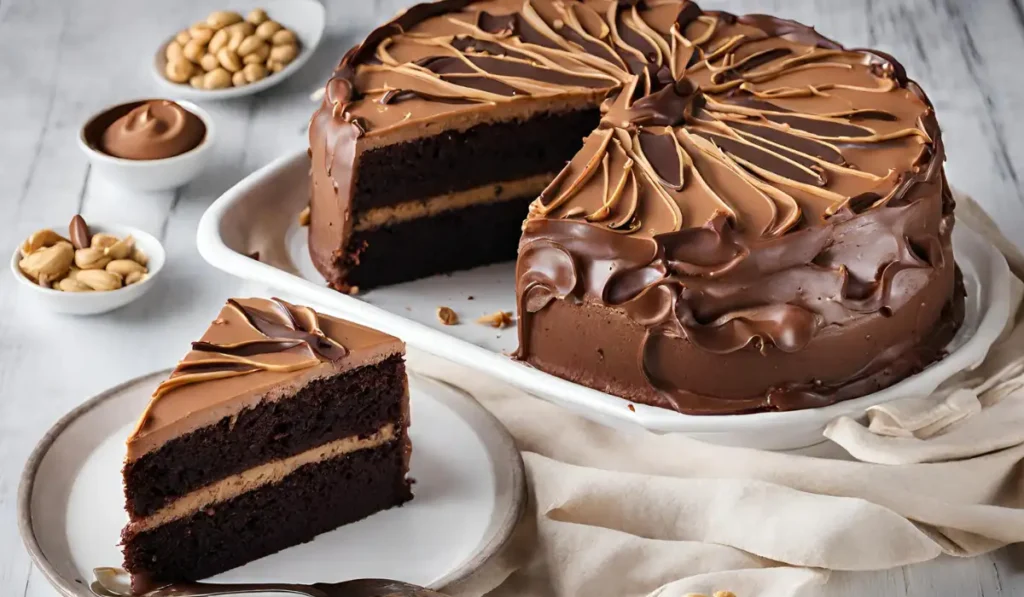
Chocolate Peanut Butter Cake combines the irresistible appeal of chocolate and peanut butter, two flavors beloved by many. This dessert has become a staple for celebrations and comfort treats, satisfying sweet tooths globally. The exact origin of this decadent cake is difficult to pinpoint, but it’s believed to have emerged from the American love affair with peanut butter and chocolate, popularized by famous confections such as Reese’s Peanut Butter Cups. Today, Chocolate Peanut Butter Cake represents the ultimate indulgence in the world of desserts, symbolizing a perfect blend of sweet and slightly salty flavors that cater to various palates.
Ingredients Breakdown
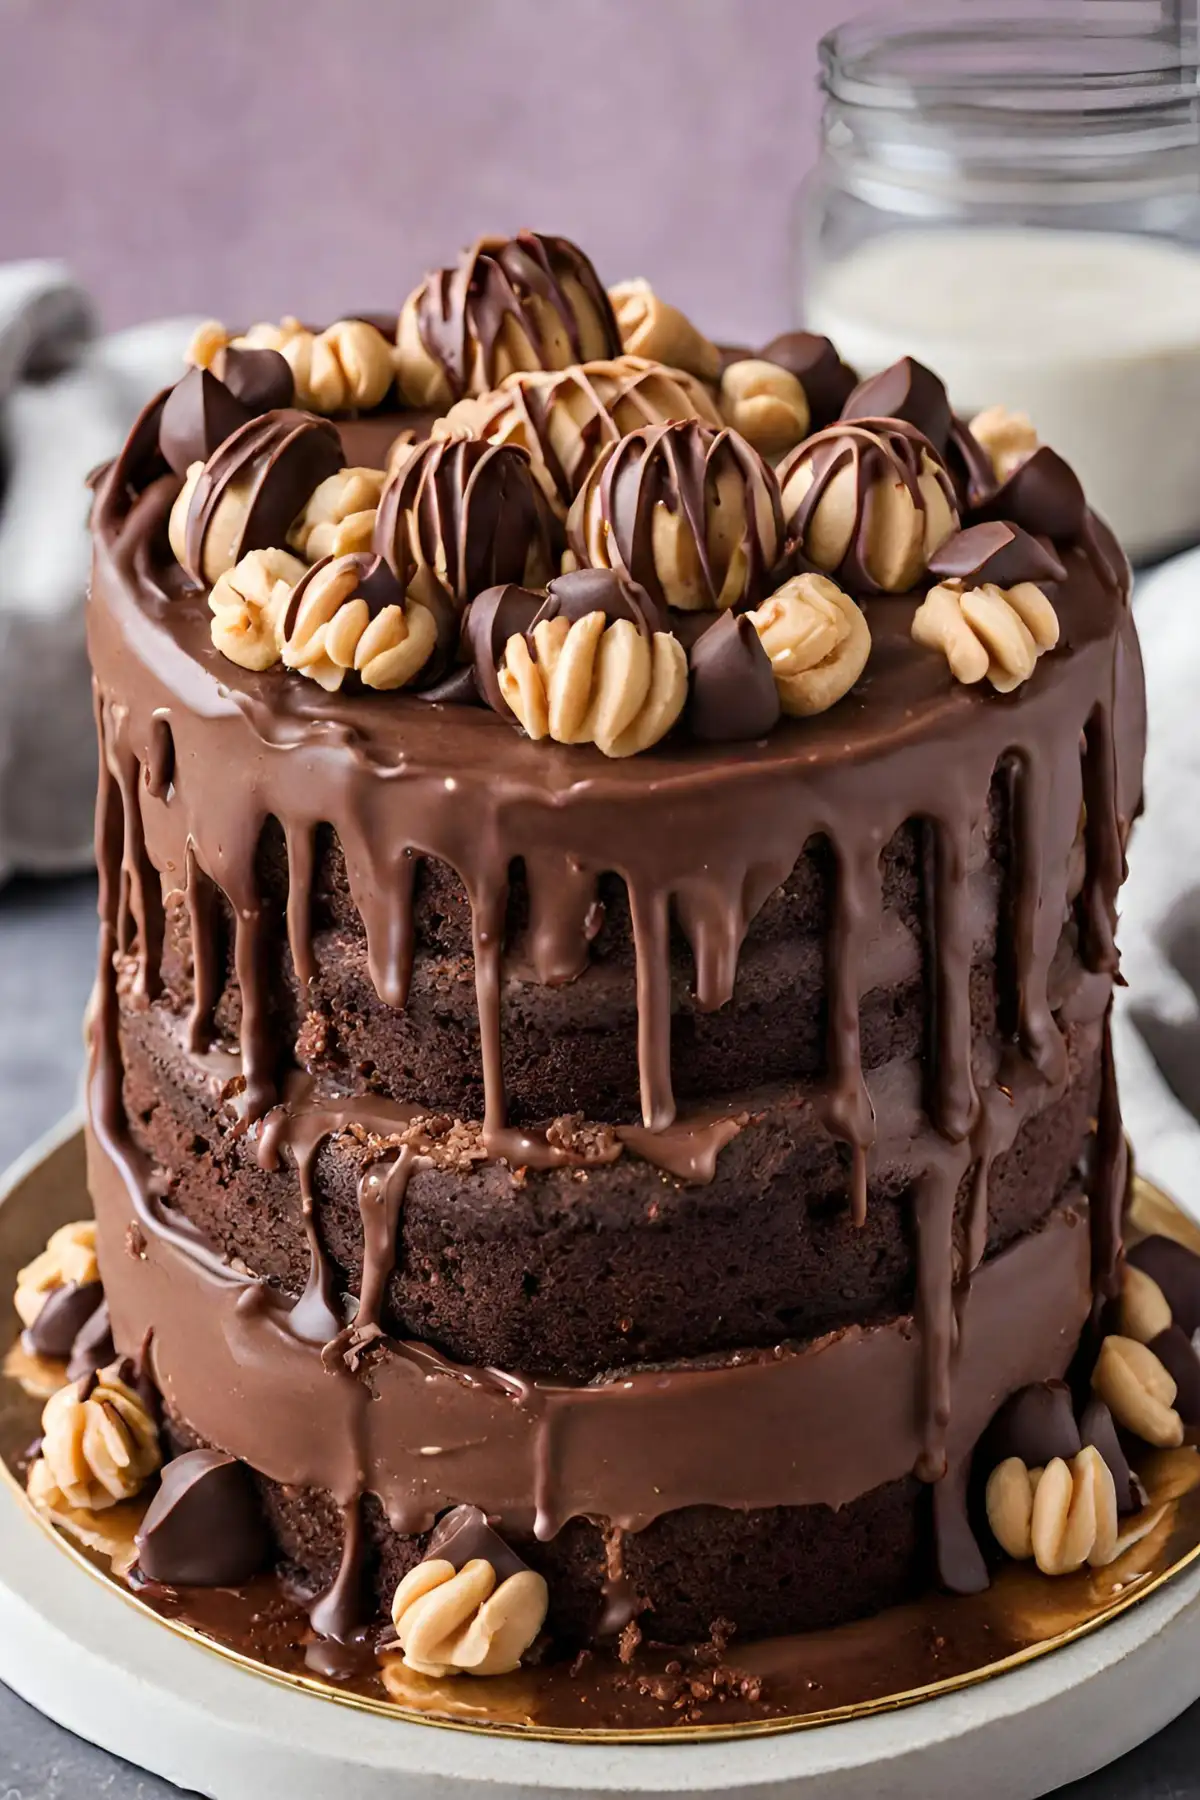
The creation of a Chocolate Peanut Butter Cake requires an assortment of ingredients, each contributing to the cake’s rich flavor and moist texture:
- Chocolate Cake Ingredients:
- All-purpose flour, sugar, and unsweetened cocoa powder form the base.
- Baking soda and salt for leavening and flavor enhancement.
- Wet ingredients include neutral vegetable oil, sour cream, water, distilled white vinegar, vanilla extract, and eggs to bind and moisten the batter.
- Peanut Butter Frosting Ingredients:
- A creamy blend of cream cheese, unsalted butter, and smooth peanut butter for the rich flavor.
- Confectioners’ sugar for sweetness and texture.
- Chocolate-Peanut Butter Glaze Ingredients:
- Semisweet chocolate and smooth peanut butter for the topping.
- Light corn syrup (or honey) and half-and-half to achieve a glossy finish.
For detailed instructions and measurements, explore resources like the Food Network’s Baking Basics, which offers comprehensive guidance on baking techniques and ingredients.
Equipment Needed
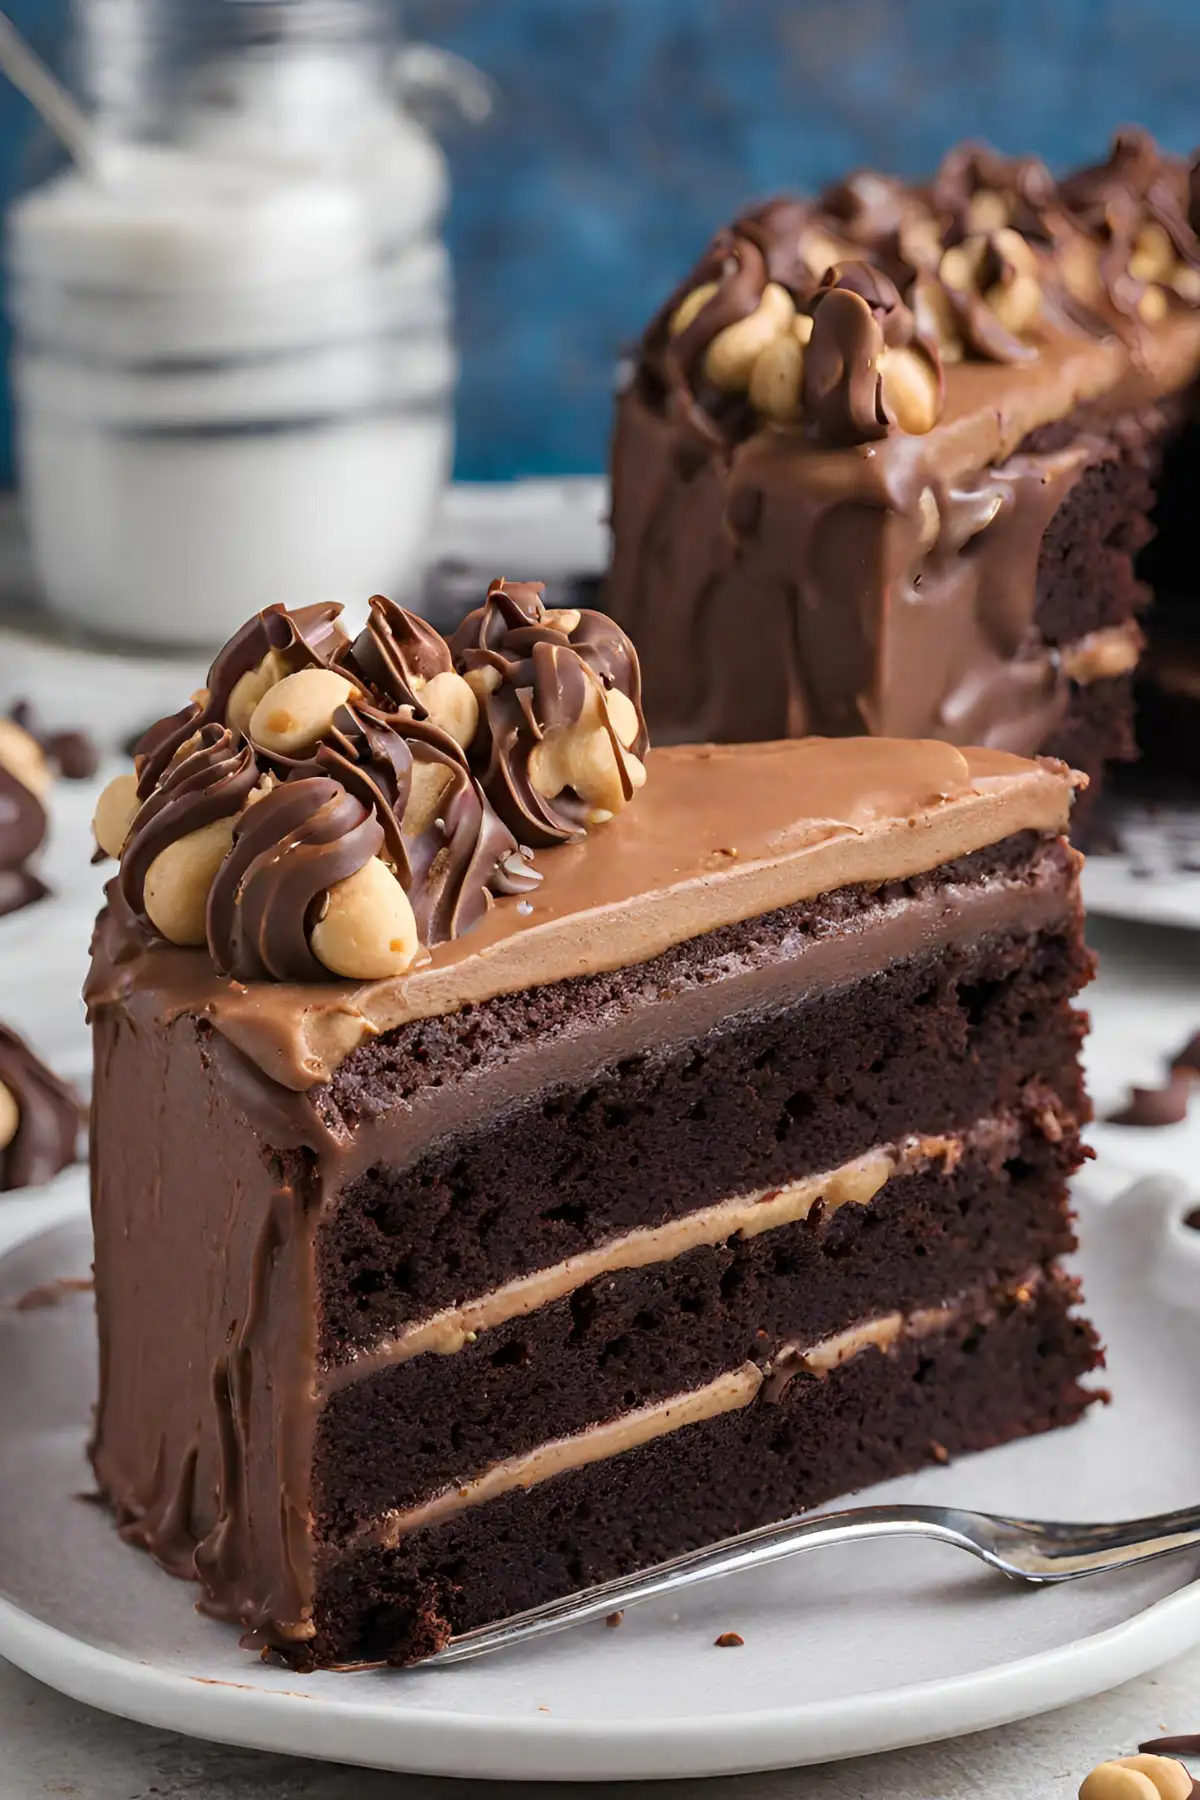
The right equipment can make the baking process smoother and more enjoyable:
- Standard baking tools include round cake pans, mixing bowls, and a whisk or electric mixer.
- Parchment paper, cake tester (or wooden toothpick), and wire racks for baking and cooling.
- For the frosting and glaze, you’ll need an offset spatula and a double boiler (or a heat-safe bowl set over simmering water).
There are alternatives for many of these tools, ensuring you can still enjoy baking this cake even without specialized equipment. For instance, a simple hand whisk can replace an electric mixer for the batter, and a homemade double boiler can be crafted using a pot and heat-safe bowl. For more baking tool alternatives, check out Epicurious Guide to Frosting, which also provides additional tips on creating perfect cake frostings.
Step-by-Step Baking Process
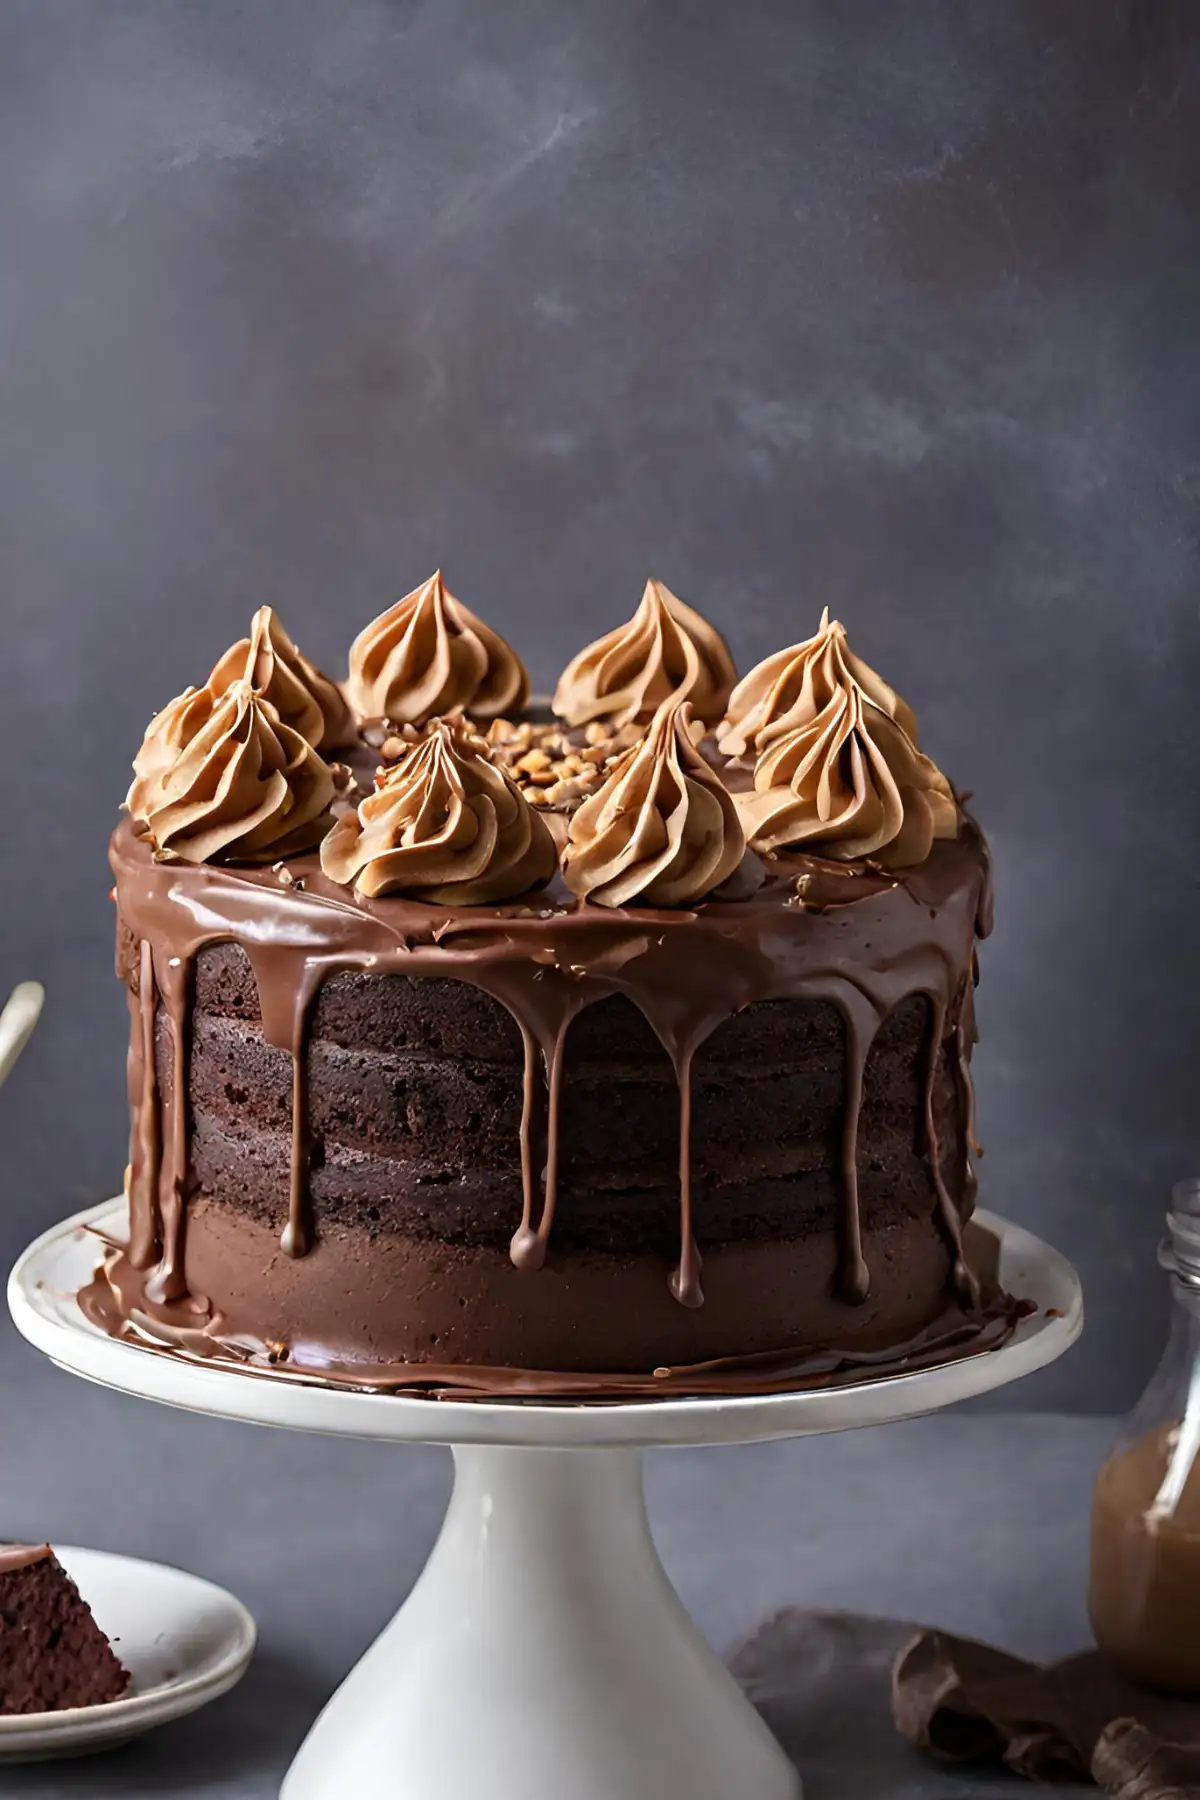
Preparing the batter:
- Begin by sifting together the all-purpose flour, cocoa powder, and baking soda into a large mixing bowl. This ensures there are no lumps and helps to aerate the ingredients, contributing to a lighter cake texture.
- In a separate bowl, whisk together the vegetable oil, sour cream, and sugar until well combined. The oil keeps the cake moist, while the sour cream adds a subtle tanginess that complements the rich chocolate flavor.
- Gradually mix the dry ingredients into the wet mixture, alternating with water, to create a smooth batter. It’s crucial to add the liquid slowly to prevent lumps and ensure that everything is evenly incorporated.
- Stir in the distilled white vinegar and vanilla extract, which enhance the chocolate flavor and ensure a tender crumb. Finally, beat in the eggs one at a time, making sure each is fully integrated before adding the next.
Baking the cake layers:
- Pour the batter evenly into three greased and floured cake pans. Use an ice cream scoop or measuring cup for consistent amounts, promoting even baking.
- Bake in a preheated oven at 350°F (175°C) for 30 to 35 minutes. Check for doneness with a toothpick inserted into the center; it should come out with a few moist crumbs attached.
- Allow the cakes to cool in their pans for about 20 minutes before transferring them to a wire rack. This cooling period helps the cakes to set and makes them easier to remove from the pans.
Assembling the layers with frosting:
- When the cakes have completely cooled, start the assembly by placing one layer on your serving plate. Spread a generous amount of peanut butter frosting evenly over the top.
- Add the second layer and repeat with the frosting. Then, top with the third cake layer.
- Use the remaining frosting to cover the top and sides of the cake. For a smooth finish, apply a thin crumb coat first, then chill the cake for about 30 minutes before applying the final layer of frosting.
Tips and Tricks for the Perfect Cake
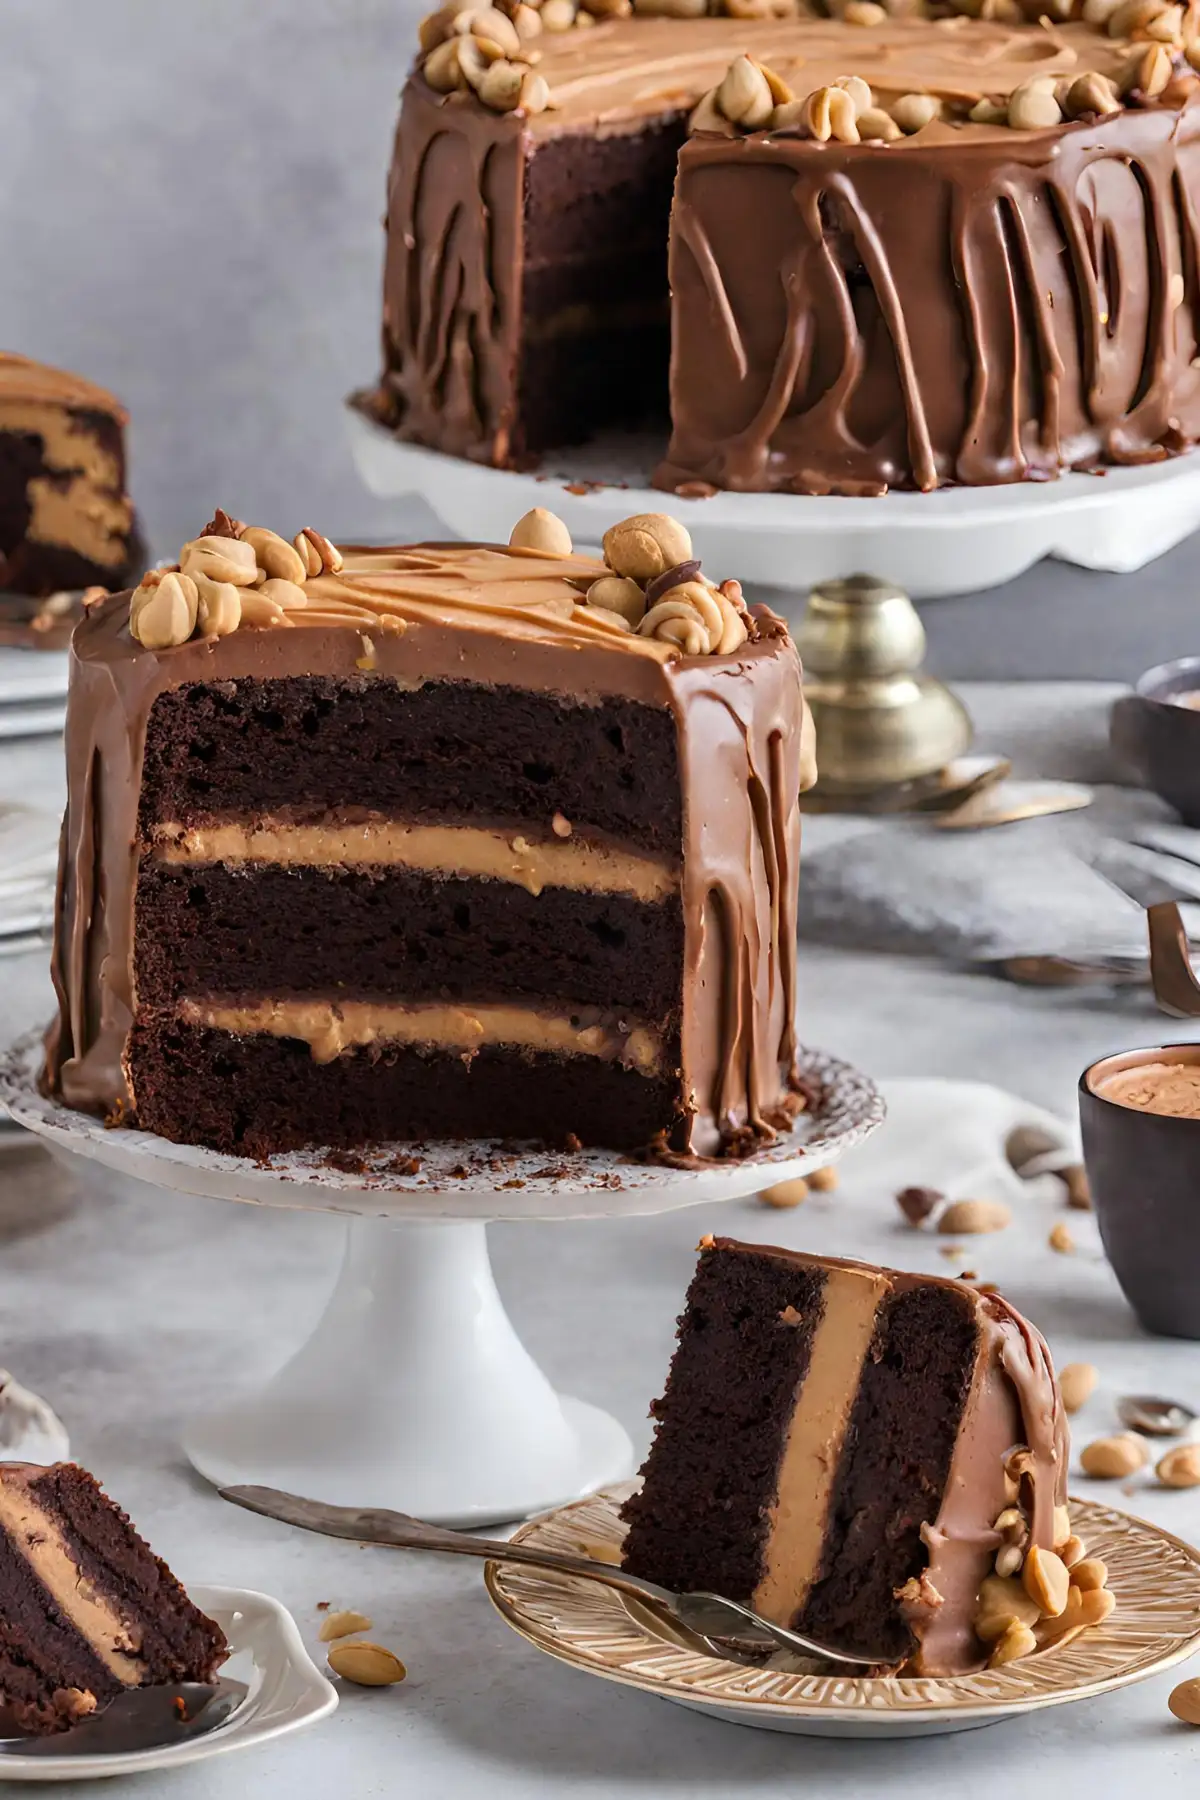
-
Cake Baking Tips:
- Ensure all ingredients are at room temperature before starting. This aids in better mixing and a more consistent cake texture.
- Do not overmix the batter; mix just until the ingredients are combined. Overmixing can lead to a tough cake.
- Use bake-even strips or wet towel strips around the pans to promote even baking and flat layers.
-
Frosting Application Advice:
- Before frosting, trim the tops of the cakes if they have domed during baking, creating flat surfaces for better layering.
- Apply a thin layer of frosting between each layer to act as glue and provide an even distribution of flavor.
- Keep the frosting bowl covered with a damp cloth when not in use to prevent it from drying out.
By following these detailed steps and tips, you can create a Chocolate Peanut Butter Cake that is both delicious and visually appealing. For additional guidance, check out Food Network’s Baking Basics and Epicurious Guide to Frosting for more professional advice on baking and frosting techniques.
Decorating Your Cake
Applying the glaze:
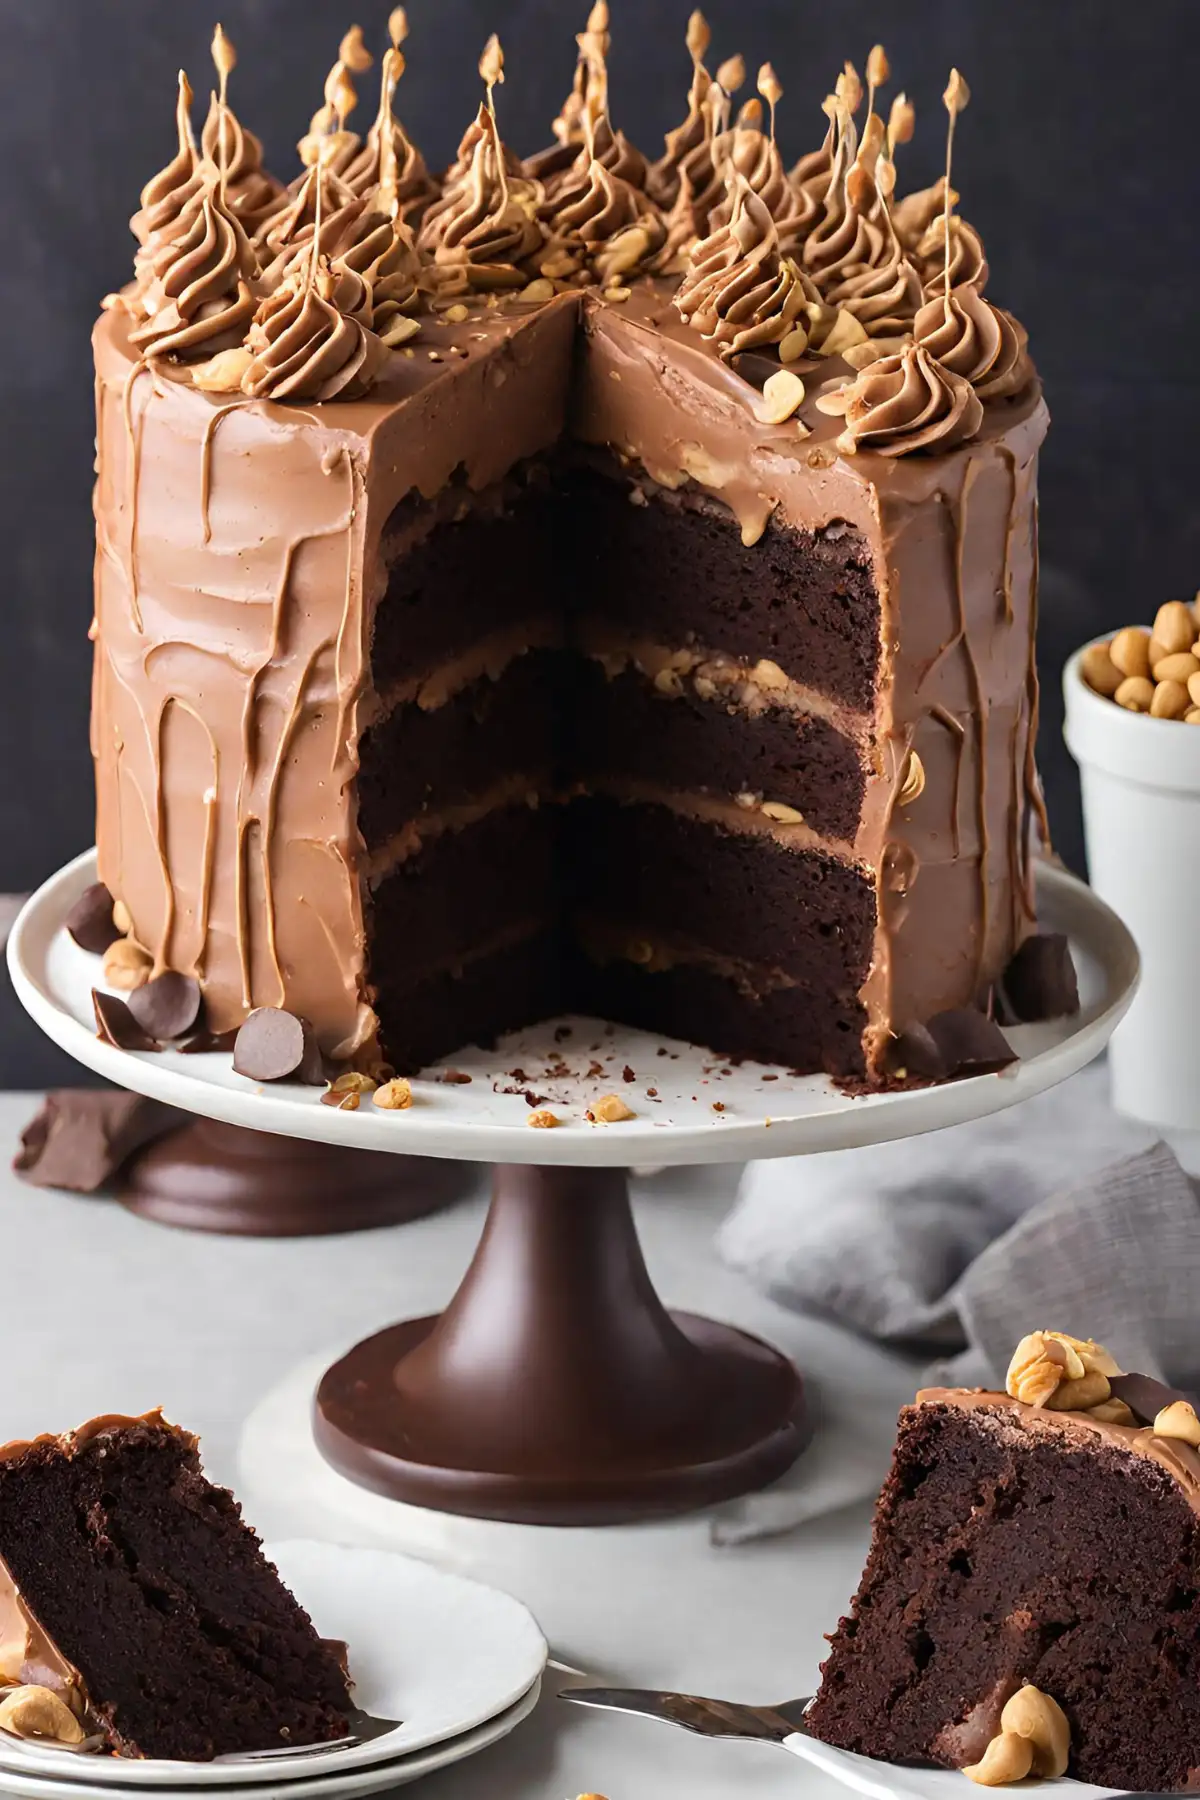
- Once your Chocolate Peanut Butter Cake is frosted, prepare the chocolate-peanut butter glaze. Ensure it is smooth and fluid for easy application.
- Pour the glaze over the center of the cake, letting it flow naturally down the sides. Use an offset spatula to gently guide the glaze where needed, ensuring an even coat.
- The glaze should set slightly at room temperature, creating a glossy and professional finish.
Decorative toppings suggestions:
- For an added touch, sprinkle the top with chopped peanut brittle, crushed peanuts, or chocolate shavings. These not only add texture but also enhance the cake’s visual appeal.
- Edible gold leaf or edible flowers can also be elegant decorations for more formal occasions.
- Remember, the decorations should complement the flavors of the cake, so choose toppings that echo its chocolate and peanut butter elements.
How to Serve and Store
Cutting and serving:
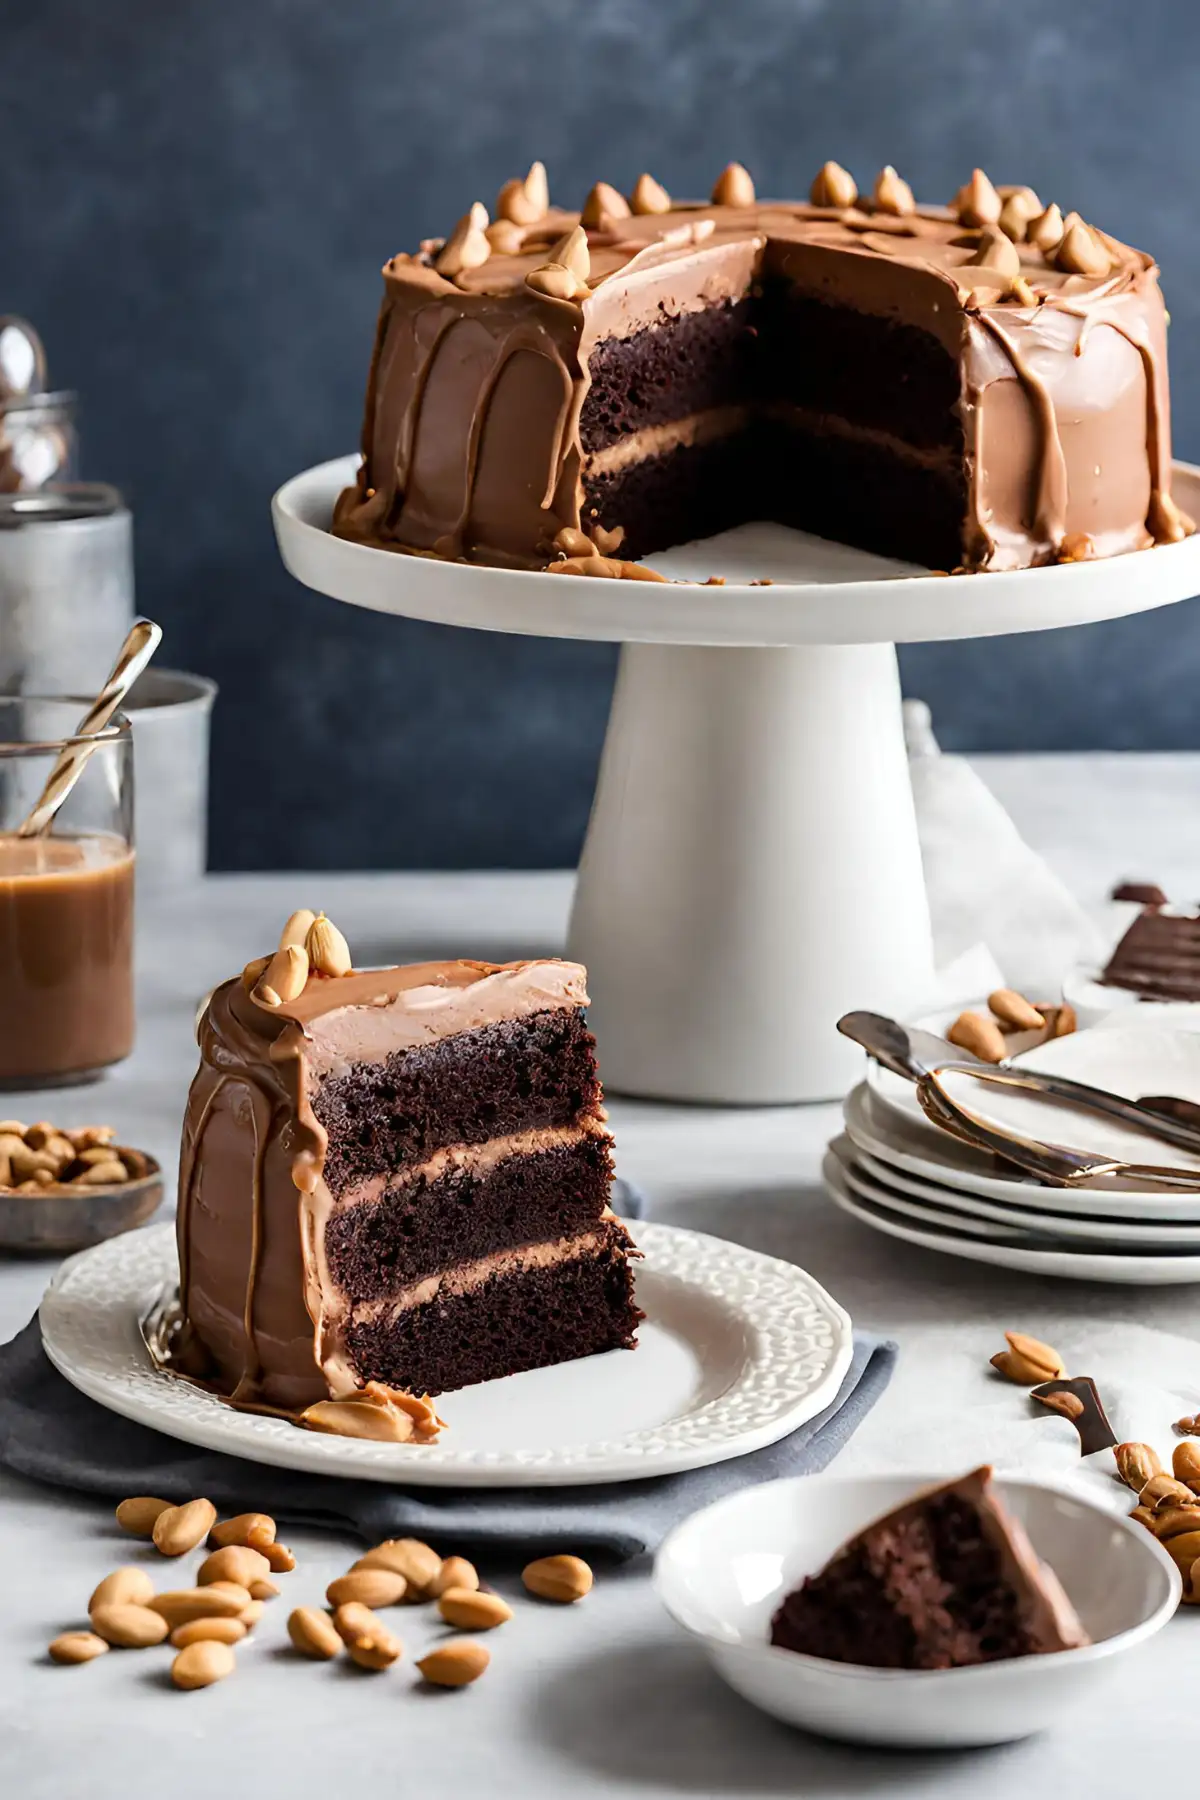
- Use a sharp, thin-bladed knife to cut the cake, dipping the knife in hot water and wiping it dry between each slice. This method ensures clean cuts without dragging the frosting.
- Serve the cake at room temperature to best enjoy its flavors and textures. Pair with a glass of milk or a cup of coffee to balance the sweetness.
Storage recommendations:
- Leftover cake should be covered with plastic wrap or stored in an airtight container to keep it from drying out.
- You can store the cake in the refrigerator for up to five days. However, allow it to sit at room temperature for about an hour before serving to ensure the frosting softens and flavors meld perfectly.
- For longer storage, freeze individual slices on a baking sheet before transferring them to a freezer-safe bag or container. Thaw overnight in the refrigerator before enjoying.
For more detailed tips on cake decoration and storage, consider visiting Healthline’s Dietary Substitution Guide to learn about keeping your desserts fresh and delicious without compromising taste.
FAQs
Can I make this cake gluten-free?
- Absolutely! Substitute the all-purpose flour with a gluten-free flour blend. Ensure the blend includes xanthan gum if your blend does not already contain it, as it helps the cake maintain its structure.
Can the cake be made in advance?
- Yes, you can prepare the Chocolate Peanut Butter Cake in advance. Bake the layers, let them cool, wrap them tightly in plastic wrap, and refrigerate for up to three days or freeze for up to a month. Frost and assemble the cake when ready to serve.
How to ensure the frosting is smooth and spreadable?
- Ensure all ingredients are at room temperature before mixing. If the frosting is too thick, gradually add a small amount of cream or milk until the desired consistency is reached. Beat the frosting well to eliminate any lumps.
Substitutions for dietary restrictions:
- For a dairy-free version, use dairy-free butter and cream cheese alternatives. If you’re avoiding sugar, consider natural sweeteners like stevia or monk fruit, but be mindful of conversion rates as they differ from sugar.
Conclusion
The Chocolate Peanut Butter Cake is a decadent dessert that caters to various tastes and dietary needs. With options for gluten-free and dairy-free variations, it’s a versatile recipe that promises to delight. Whether for a special occasion or a casual gathering, this cake is sure to impress. So, gather your ingredients, embrace the baking process, and prepare for a sweet reward. Don’t hesitate to explore substitutions and make the recipe your own. Happy baking!
Print
Chocolate Peanut Butter Cake
- Total Time: 1 hour 5 minutes (plus cooling)
- Yield: Serves 12-16
Description
Indulge in the irresistible blend of rich chocolate and creamy peanut butter with this mouth-watering Chocolate Peanut Butter Cake. Perfect for celebrations or a comforting treat.
Ingredients
- For the Cake: All-purpose flour, unsweetened cocoa powder, baking soda, salt, vegetable oil, sour cream, sugar, eggs, water, and vanilla extract.
- For the Frosting: Cream cheese, butter, confectioners’ sugar, smooth peanut butter.
- For the Glaze: Semisweet chocolate, peanut butter, light corn syrup, half-and-half.
Instructions
- Preheat oven and prepare cake pans.
- Sift and mix dry ingredients. Blend in wet ingredients to form batter.
- Bake until done, let cool.
- Mix frosting ingredients until smooth, apply between layers and outside.
- Prepare and apply glaze. Decorate as desired.
Notes
- Ensure all ingredients are at room temperature for smoother mixing.
- Cake layers can be made ahead and frozen for convenience.
- Adjust sugar in frosting to taste.
- Prep Time: 30 minutes
- Cook Time: 35 minutes
Nutrition
- Serving Size: per serving
- Calories: 540
- Sugar: 48g
- Sodium: 320mg
- Fat: 28g
- Carbohydrates: 68g
- Protein: 8g

