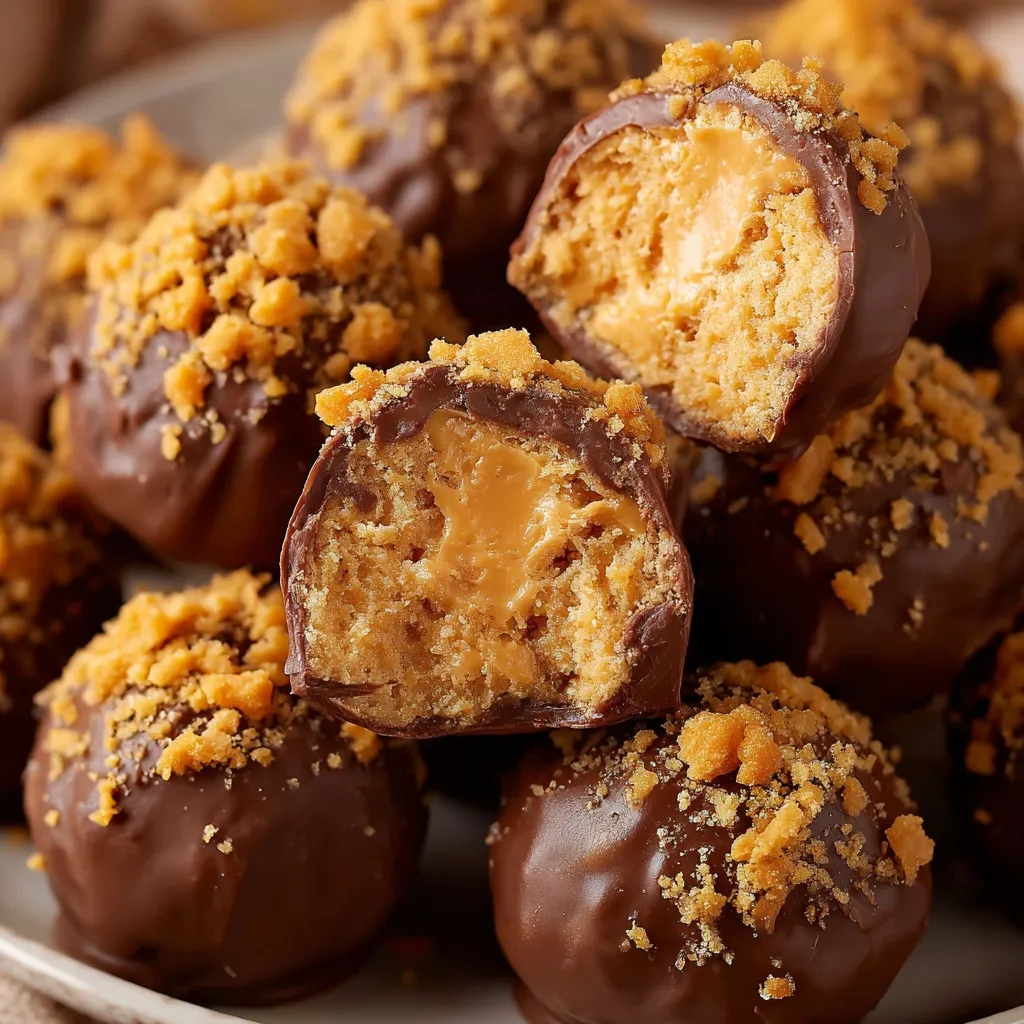
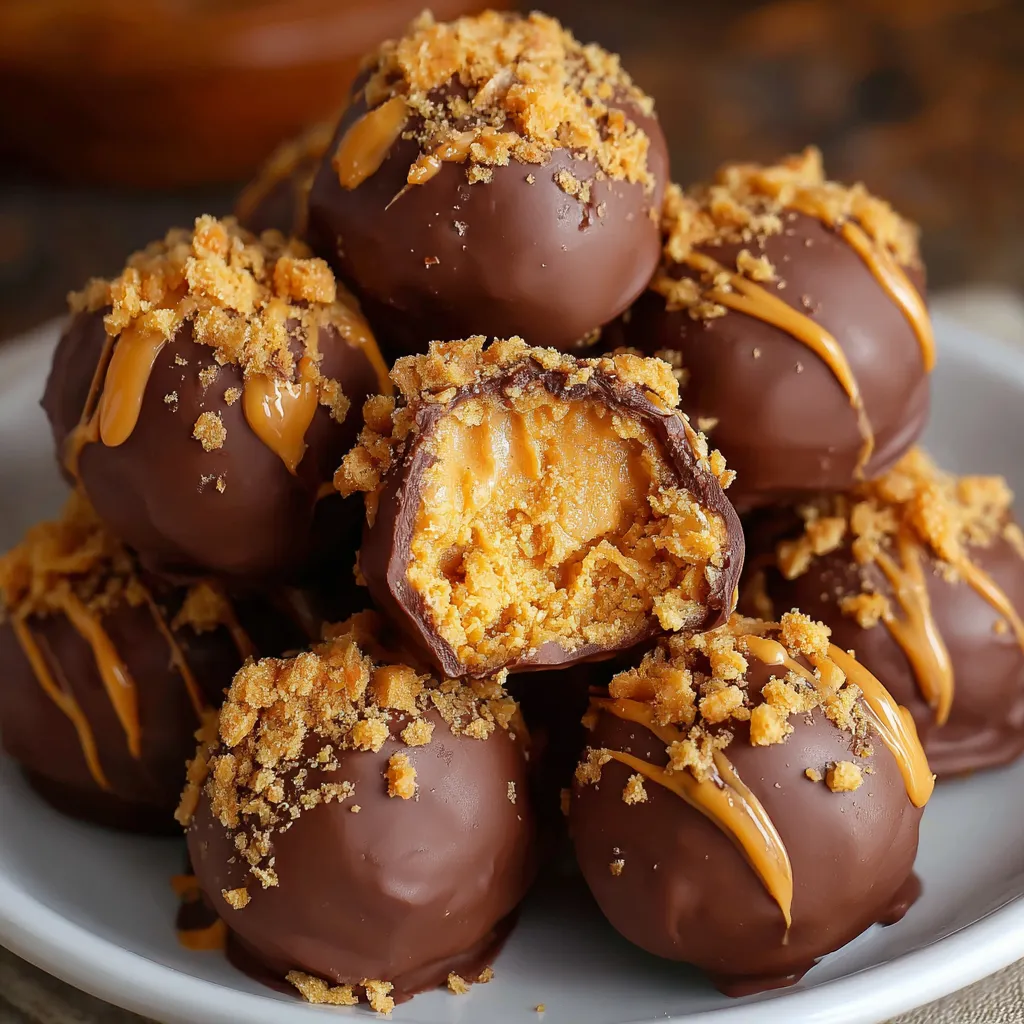
If you’ve ever needed a treat that checks all the boxes—easy to make, crowd-pleasing, no baking required, and downright addictive—then you’ve found it. These Butterfinger Balls are that dessert everyone remembers at a party but can never quite replicate… unless they have this recipe.
Imagine creamy peanut butter blended with powdered sugar and crushed Butterfingers, rolled into perfect little bites, and dipped in smooth chocolate. It’s the kind of treat that disappears within minutes, and yes, you will wish you made a double batch.
Whether you’re prepping for a holiday gathering, looking for something fun to make with the kids, or just want a sweet treat that stores well in the freezer, these are a must-try. Let’s dig into what makes them so special.
Why You’ll Love This Recipe
These Butterfinger Balls aren’t just good—they’re dangerously good. You’ll find yourself sneaking one after another, and chances are, so will everyone else.
Key Benefits
-
No-bake, no stress. You don’t need an oven or any fancy kitchen equipment. Just mix, roll, dip, and chill.
-
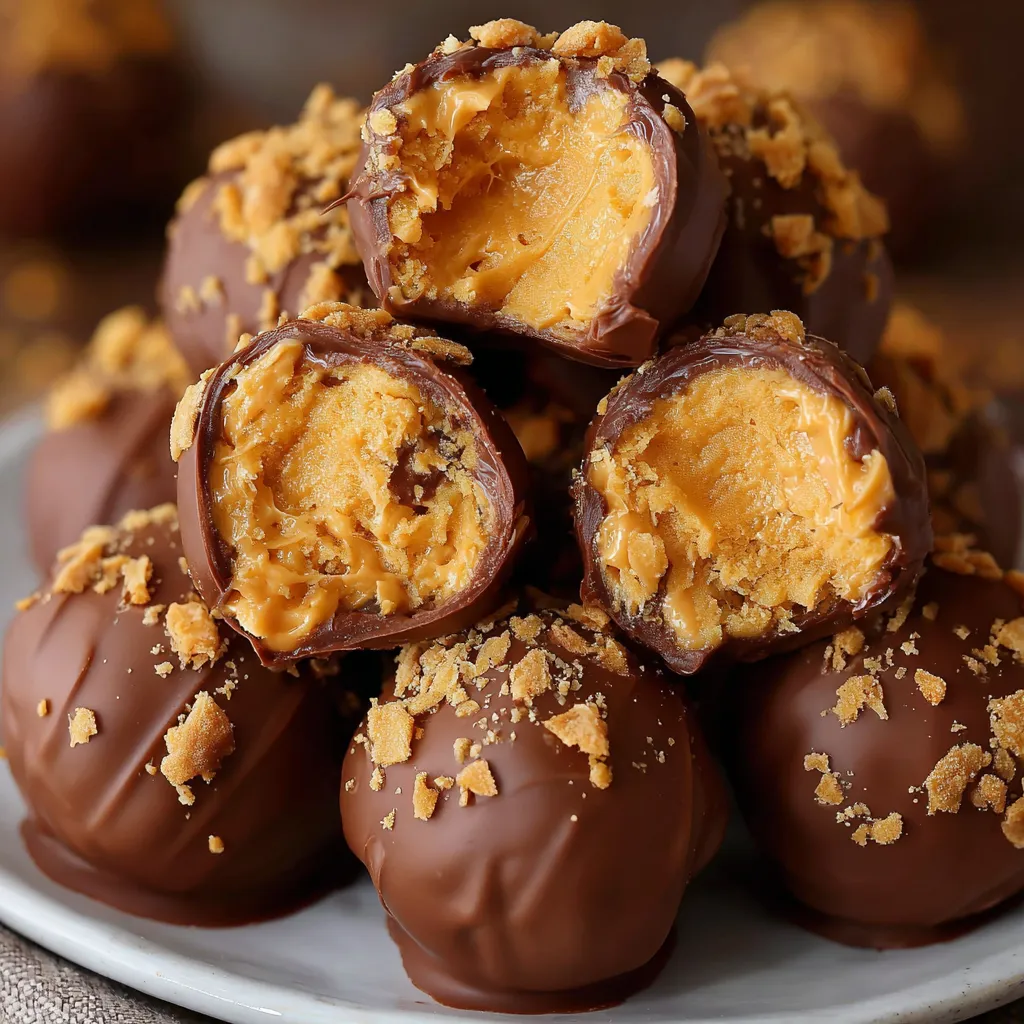
Perfect blend of textures. Creamy peanut butter, crunchy candy pieces, and smooth chocolate coating—it’s got it all.
-
Easy to prep ahead. These freeze beautifully, so they’re ideal for make-ahead holiday treats or last-minute dessert emergencies.
-
Highly customizable. Want more crunch? Add cereal. Prefer dark chocolate? Go for it. This recipe is super flexible.
Suitable For
-
Beginner bakers. If you’ve never made candy before, this is a great place to start.
-
Busy parents. The whole process takes under an hour, and kids love helping with the dipping.
-
Holiday dessert trays. These are festive, easy to dress up with sprinkles or drizzle, and they travel well.
-
Anyone who loves peanut butter and chocolate. Basically, everyone.
Ingredients for Butterfinger Balls
You’ll only need a handful of ingredients, and most of them you probably already have in your kitchen. This is one of those recipes that proves simple is often best.
Core Ingredients
-
Peanut Butter (16 oz)
Go for creamy for a smooth texture. If you want a bit more crunch, you can use chunky—but creamy blends more evenly with the sugar and candy. -
Powdered Sugar (16 oz box)
This gives structure to the filling and adds sweetness. Be sure to sift if it’s clumpy. -
Unsalted Butter (1 stick, softened)
Adds richness and helps everything blend smoothly. Make sure it’s softened to room temperature so it incorporates easily. -
Crushed Butterfinger Candy Bars (3 cups total)
About 12 fun-size bars or 4 regular ones. The candy gives the balls that signature crunch and flavor. You’ll mix some into the dough and save the rest for topping. -
Chocolate Candy Coating (16 oz)
Almond bark, melting wafers, or chocolate chips with a bit of shortening all work great. Go with your favorite chocolate—milk, dark, or even white.
Substitutions and Tips
-
No Butterfingers? Try Heath bars, Reese’s Pieces, or chopped toffee bits.
-
No chocolate coating? You can use chocolate chips melted with 1 tablespoon of shortening for a glossy finish.
-
Add a pinch of salt if using natural peanut butter—it balances out the sweetness.
-
Want extra crunch? Stir in a handful of Rice Krispies or crushed pretzels into the peanut butter mixture before rolling.
-
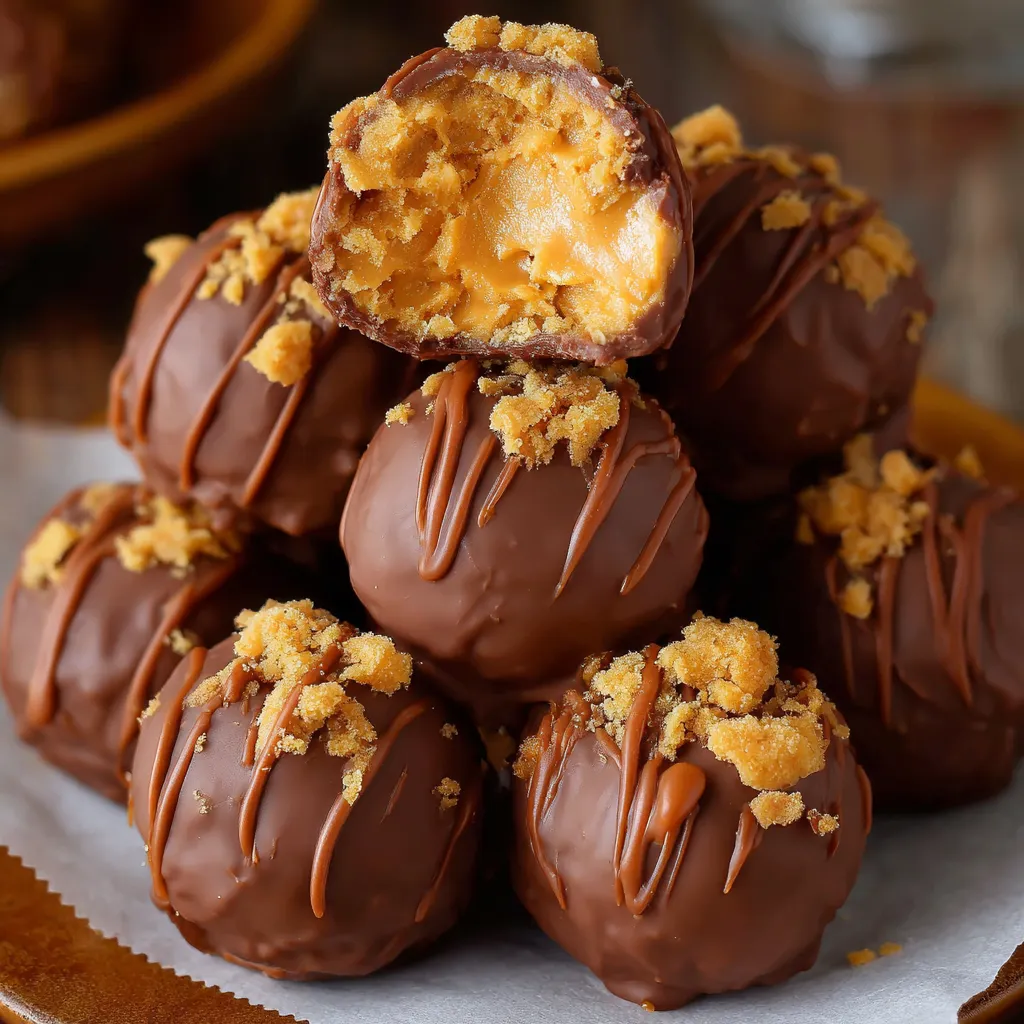
Want to get festive? Top the balls with holiday sprinkles or drizzle with colored chocolate before the coating sets.
Best Chocolate Coating for Butterfinger Balls
When it comes to dipping candy, not all chocolate is created equal. The good news? You’ve got options.
-
Almond bark is easy to use and melts smoothly. It’s also more stable at room temperature, which is great for parties or gifting.
-
Melting wafers (like Ghirardelli or Wilton) come in convenient discs and are made for candy-making.
-
Chocolate chips + shortening is the DIY option. Melt 16 oz of chips with 1 tablespoon of shortening or coconut oil for a shiny finish and smooth dipping.
Tips for Melting Chocolate Smoothly:
-
Use a microwave-safe bowl.
-
Heat in 30-second bursts, stirring well in between.
-
Don’t overheat—chocolate burns easily and becomes grainy.
Kitchen Tools You’ll Need
This is one of those recipes that doesn’t require anything fancy. But having the right tools makes the process even smoother.
Must-Have Tools
-
Mixing bowl – Large enough to hold all your ingredients without spillage.
-
Hand mixer or stand mixer – Helps blend the filling quickly and evenly.
-
Baking sheet – For setting the balls before and after dipping.
-
Parchment or wax paper – Keeps the balls from sticking and makes cleanup easy.
-
Microwave-safe bowl – For melting your chocolate coating safely and evenly.
Nice-to-Have Tools
-
Cookie scoop – Ensures your balls are all the same size, which helps with even chilling and coating.
-
Cooling rack – Optional, but useful if you want chocolate to drip off evenly.
-
Mini cupcake liners – Perfect for gifting or serving in a dessert box.
-
Disposable gloves – Keeps your hands clean when rolling and dipping, especially if making large batches.
How to Make Butterfinger Balls
Ready to dive in? Making Butterfinger Balls is as fun as it is rewarding. You don’t need to be a professional baker—just follow these step-by-step instructions, and you’ll have a tray full of chocolate-dipped goodness in no time. Whether you’re prepping them for a party or just treating yourself, this recipe walks you through every step with confidence.
Step 1: Mix the Filling
In a large mixing bowl, beat together the softened unsalted butter and creamy peanut butter until the mixture is smooth and completely blended. You’re looking for a creamy consistency that spreads easily—kind of like thick frosting.
Next, gradually add the powdered sugar, mixing as you go. Don’t dump it all in at once or you’ll end up with a sugar cloud. Mix until the dough holds together but isn’t too sticky.
Finally, fold in 2 cups of the crushed Butterfinger pieces. Use a spatula or wooden spoon for this step—this keeps the candy chunks from breaking down too much. You want little bits of crunch throughout each bite.
Tip: If the dough feels too soft to roll, pop it in the fridge for 10–15 minutes to firm up slightly.
Step 2: Shape the Balls
Using your hands or a small cookie scoop, roll the mixture into 1-inch balls. Try to keep them uniform in size so they chill and dip evenly.
Place each ball on a baking sheet lined with parchment or wax paper. Once you’ve shaped them all, transfer the tray to the refrigerator. Chill for at least 30 minutes. This step is key—it helps the balls firm up and makes dipping in chocolate much easier.
Optional: If you’re making these ahead, you can freeze the balls at this stage and dip them later.
Step 3: Dip in Chocolate
Melt your chocolate coating of choice using a microwave-safe bowl. Heat in 30-second bursts, stirring in between, until smooth and pourable. Be patient—burnt chocolate isn’t salvageable, and a little stirring goes a long way.
Using a fork or dipping tool, lower each peanut butter ball into the melted chocolate. Turn it gently to coat, then lift it out and tap the fork lightly against the bowl to let the excess chocolate drip off.
Set the coated balls back on the parchment-lined tray.
Tip: Work in small batches if your chocolate starts to thicken—just reheat briefly to keep it smooth.
Step 4: Top and Set
While the chocolate is still wet, sprinkle the remaining 1 cup of crushed Butterfingers over the tops. Don’t wait too long—the coating sets quickly.
You can also get creative here. Add festive sprinkles, a drizzle of white chocolate, or even a pinch of sea salt if you like a salty-sweet finish.
Let the balls sit at room temperature until the chocolate is fully set, or pop the tray back into the fridge to speed things up. Once hardened, they’re ready to enjoy.
Tips for Success
Here’s how to make sure your Butterfinger Balls come out picture-perfect every time.
-
Chill, chill, chill. Chilling the dough makes it easier to roll and dip. Warm dough will melt in the chocolate and create a mess.
-
Use good-quality chocolate. It makes a difference. Choose coating chocolate or melt chocolate chips with a bit of shortening to get that silky dip.
-
Don’t over-crush the Butterfingers. You want bits of crunch, not candy dust. A food processor is fine—just pulse briefly.
-
Work quickly when dipping. The chocolate will begin to cool and harden as you go. Reheat as needed to keep it smooth.
-
Want more crunch? Stir in Rice Krispies or crushed pretzels before rolling the dough.
How to Store Butterfinger Balls
Whether you’re making a batch ahead of time or storing leftovers (if there are any), Butterfinger Balls are incredibly storage-friendly.
At Room Temperature
Store the finished balls in an airtight container at room temperature for up to 3–4 days. Keep them in a cool spot, away from direct sunlight or heat, to prevent the chocolate from melting or blooming.
In the Refrigerator
Want them to last a bit longer? Store them in the fridge for up to 2 weeks. Place a sheet of parchment paper between layers if you’re stacking them to avoid sticking or smudging.
Before serving, let them sit at room temperature for a few minutes—this softens the center just enough to give you that perfect bite.
Freezing Tips
These Butterfinger Balls freeze like a dream. Lay them out in a single layer on a parchment-lined baking sheet and freeze until firm. Then transfer to a freezer-safe container or zip-top bag.
They’ll keep well for up to 2 months.
To serve, just thaw them in the fridge overnight or let them sit on the counter for about 15–20 minutes.
Frequently Asked Questions
Can I make these ahead of time?
Absolutely. These are perfect for prepping in advance. You can make and store them in the fridge for up to two weeks or freeze them for longer. They’re ideal for holiday planning or gifting.
What can I use instead of Butterfinger bars?
If you can’t find Butterfingers, try chopped Heath bars, toffee bits, Reese’s Pieces, or even chopped chocolate-covered pretzels. You’ll still get that satisfying crunch and sweet-salty combo.
Can I use natural peanut butter?
Yes, but with caution. Natural peanut butter is oilier and can separate, which may affect texture. If you’re using it, make sure it’s well-stirred and consider adding a pinch of salt for balance.
How do I keep the chocolate from cracking?
Great question. Make sure the balls aren’t too cold when you dip them. If they’re frozen solid, the sudden temperature difference can cause the chocolate to crack. Let them rest at room temperature for 5–10 minutes before dipping.
Related Recipes You’ll Love
If you loved this Butterfinger Balls recipe, you might enjoy these other sweet treats from RecipeSeasys:
-
No-Bake Coconut Cream Balls Recipe – Light and creamy bites with coconut goodness.
-
Peanut Butter Rice Krispie Treats with M&Ms and Chocolate Chips – Perfect blend of chewy, crunchy, and chocolatey.
-
Easy Divinity Candy Recipe – Classic fluffy white candy for the holidays.
-
Coconut Toffee Chocolate Chip Cookie Bars – Gooey and rich with layers of flavor.
-
Creamy Nougat Bars – Soft, nutty, and chewy, with a chocolate twist.
Conclusion
These Butterfinger Balls aren’t just a recipe—they’re the kind of treat that becomes tradition. Whether you’re making them for a holiday dessert tray, a weekend treat, or a sweet gift, they’re guaranteed to impress. The crunchy, creamy, chocolatey combination is hard to resist, and the ease of preparation makes them a favorite for busy bakers and beginners alike.
Go ahead and give them a try. Just don’t be surprised when the first batch disappears before they even make it to the fridge.
Print
Butterfinger Balls
- Total Time: 55 minutes (including chilling)
- Yield: 36 balls
Description
These Butterfinger Balls are no-bake, easy-to-make peanut butter truffles coated in rich chocolate and topped with crunchy candy pieces.
Ingredients
- 1 (16 oz) jar creamy peanut butter
- 1 (16 oz) box powdered sugar
- 1 stick (½ cup) unsalted butter, softened
- 3 cups crushed Butterfinger candy bars (about 12 fun-size bars)
- 16 oz chocolate candy coating (almond bark, melting wafers, or chocolate chips + 1 tbsp shortening)
Instructions
- In a large mixing bowl, beat together peanut butter and softened butter until smooth.
- Gradually mix in powdered sugar until fully combined.
- Stir in 2 cups of the crushed Butterfinger pieces.
- Roll into 1-inch balls and place on a parchment-lined baking sheet.
- Chill in the refrigerator for at least 30 minutes.
- Melt the chocolate coating in a microwave-safe bowl, stirring every 30 seconds until smooth.
- Dip each ball in the chocolate, allow excess to drip off, and return to the tray.
- Immediately sprinkle remaining crushed Butterfingers over the top.
- Let chocolate set fully (you can refrigerate to speed this up).
Notes
- Add Rice Krispies to the mixture for extra crunch.
- Drizzle white chocolate or use sprinkles for holiday flair.
- These freeze well for up to 2 months.
- Prep Time: 25 minutes
- Cook Time: 0 minutes
Nutrition
- Serving Size: 1 ball
- Calories: 180
- Sugar: 15g
- Sodium: 85mg
- Fat: 10g
- Saturated Fat: 5g
- Unsaturated Fat: 3g
- Trans Fat: 0g
- Carbohydrates: 18g
- Fiber: 1g
- Protein: 3g
- Cholesterol: 5mg
")